Cocktail Cab Project
-
I'm a 48yo dad w/ an 8yo, so I've been working on this since December - I have almost 0 free time - you dads know what I'm talking about. It's at a point where I think I can share now. It's designed to mimic the classic cocktail cabinets. I'm a programmer, so I've got some tech savvy, but this was my first real woodworking project. Boards are high density MDF.
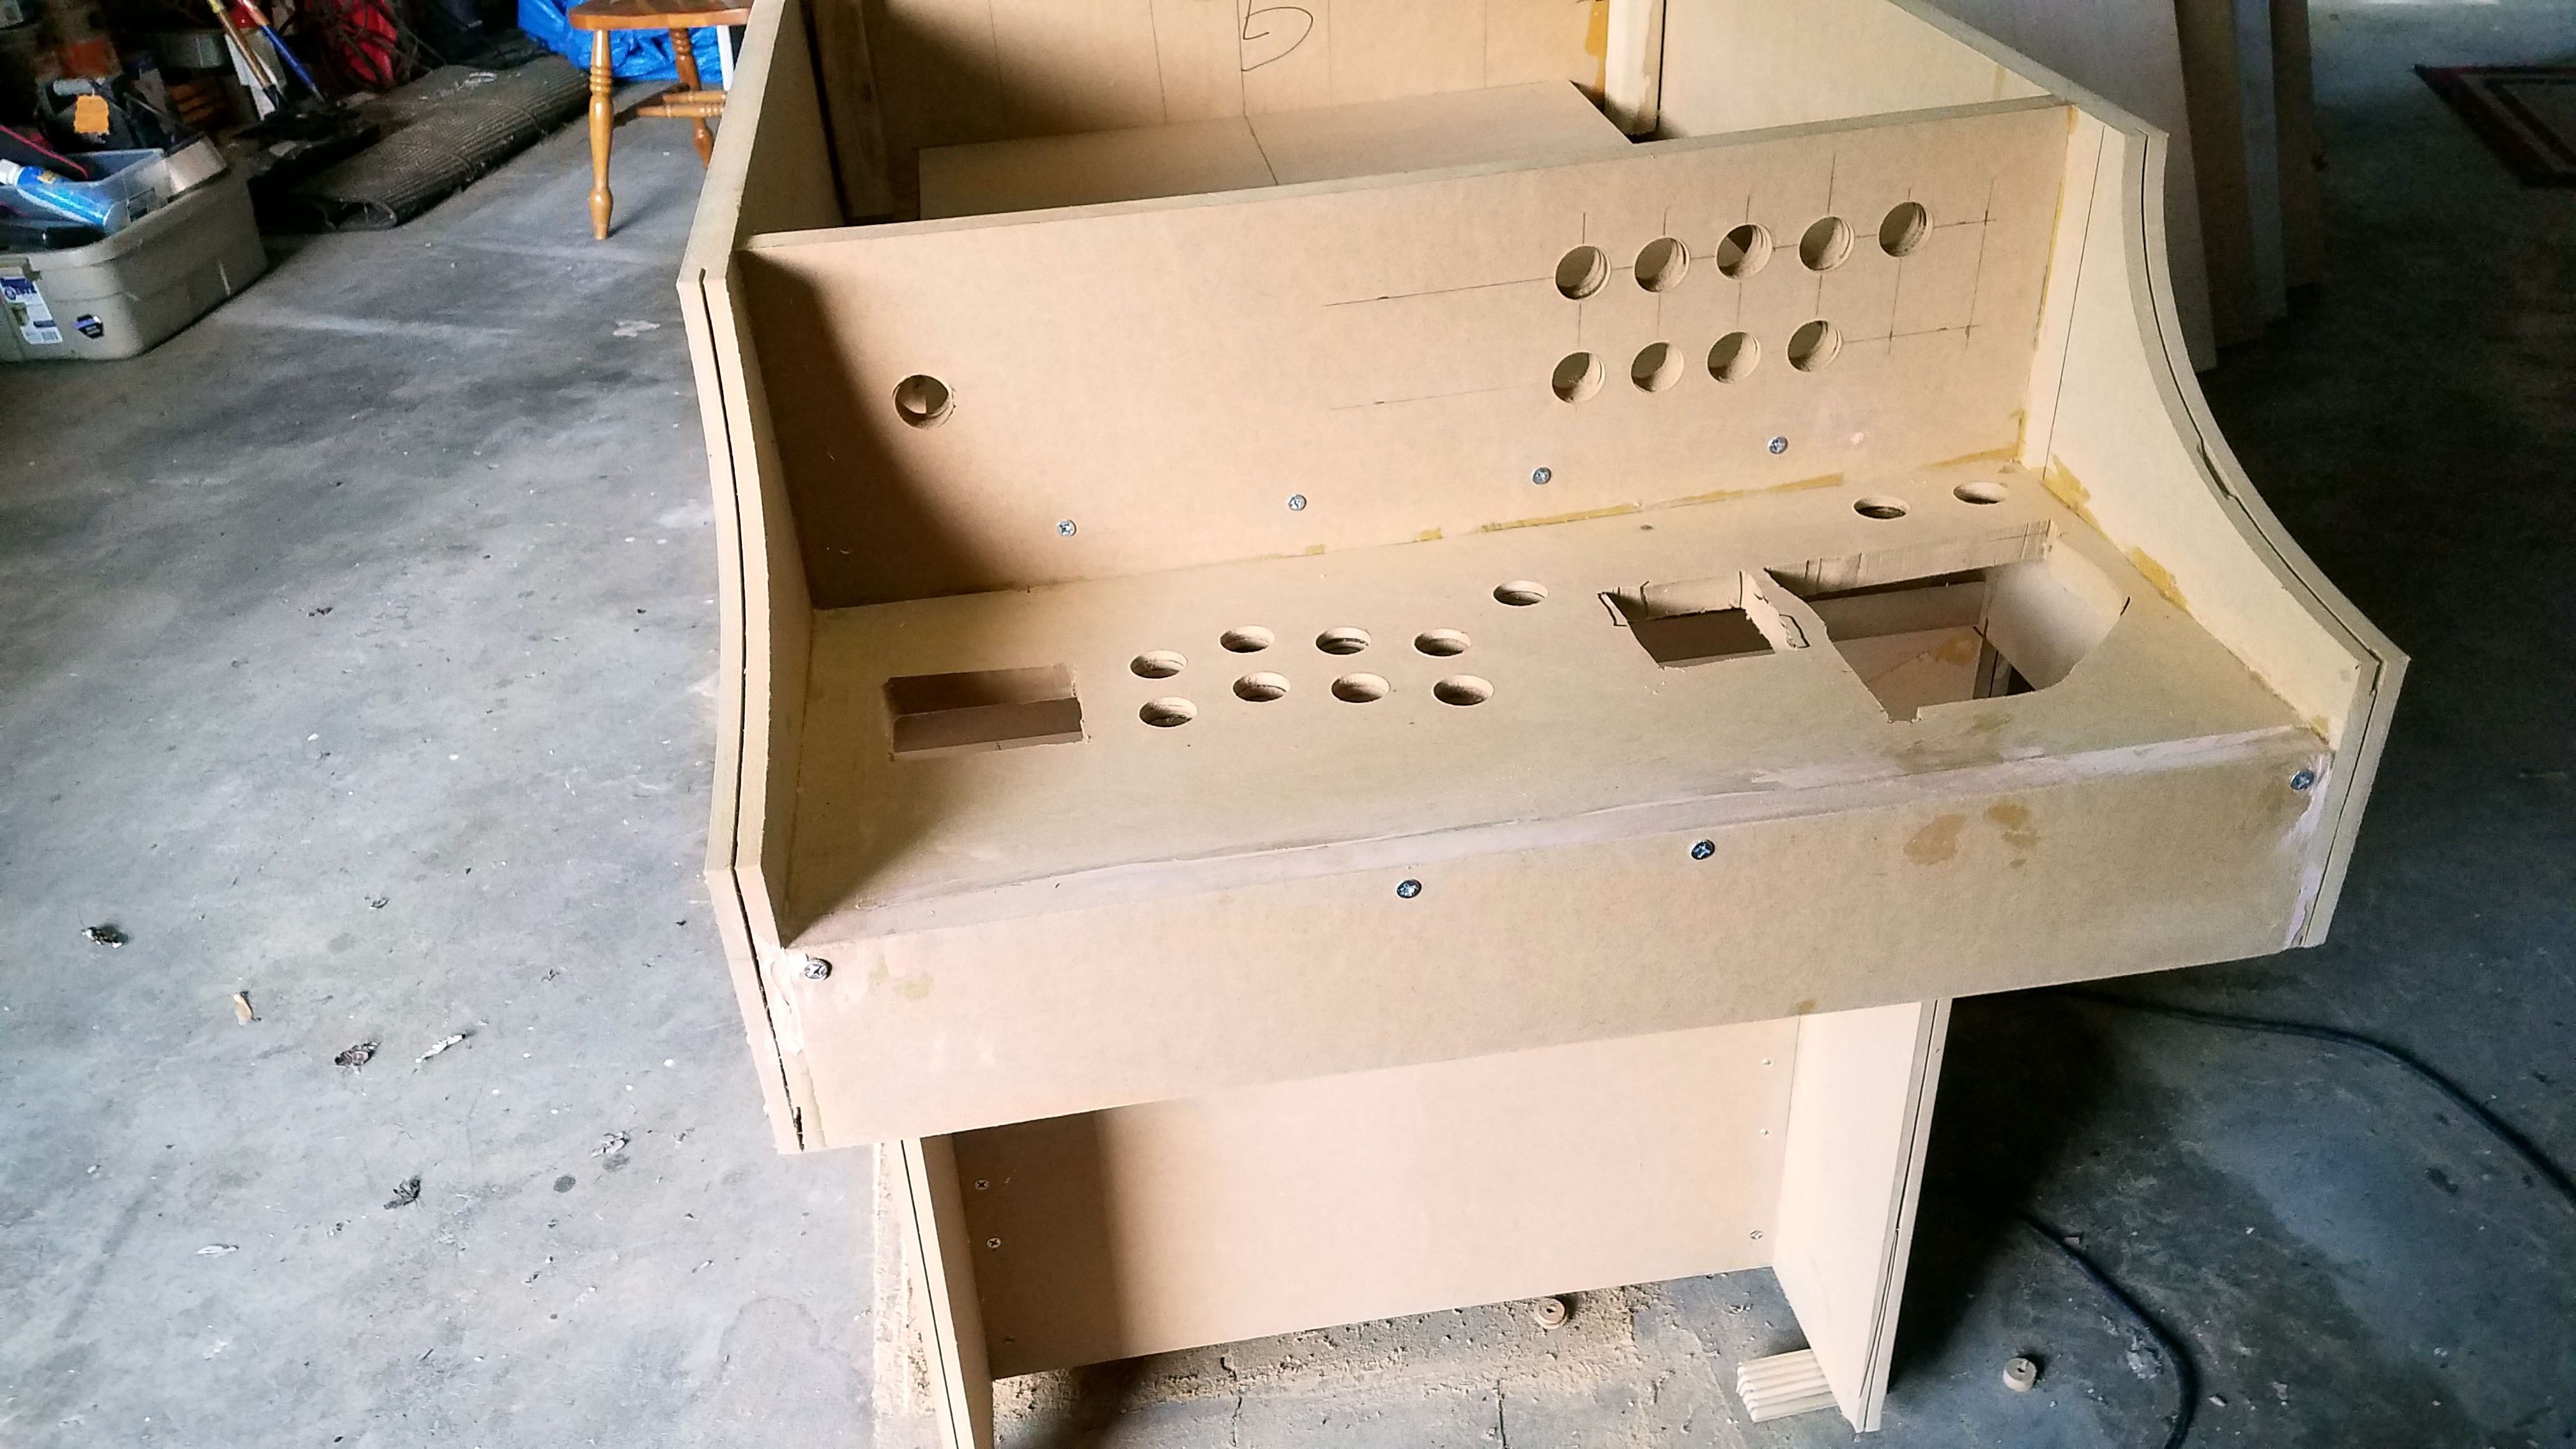
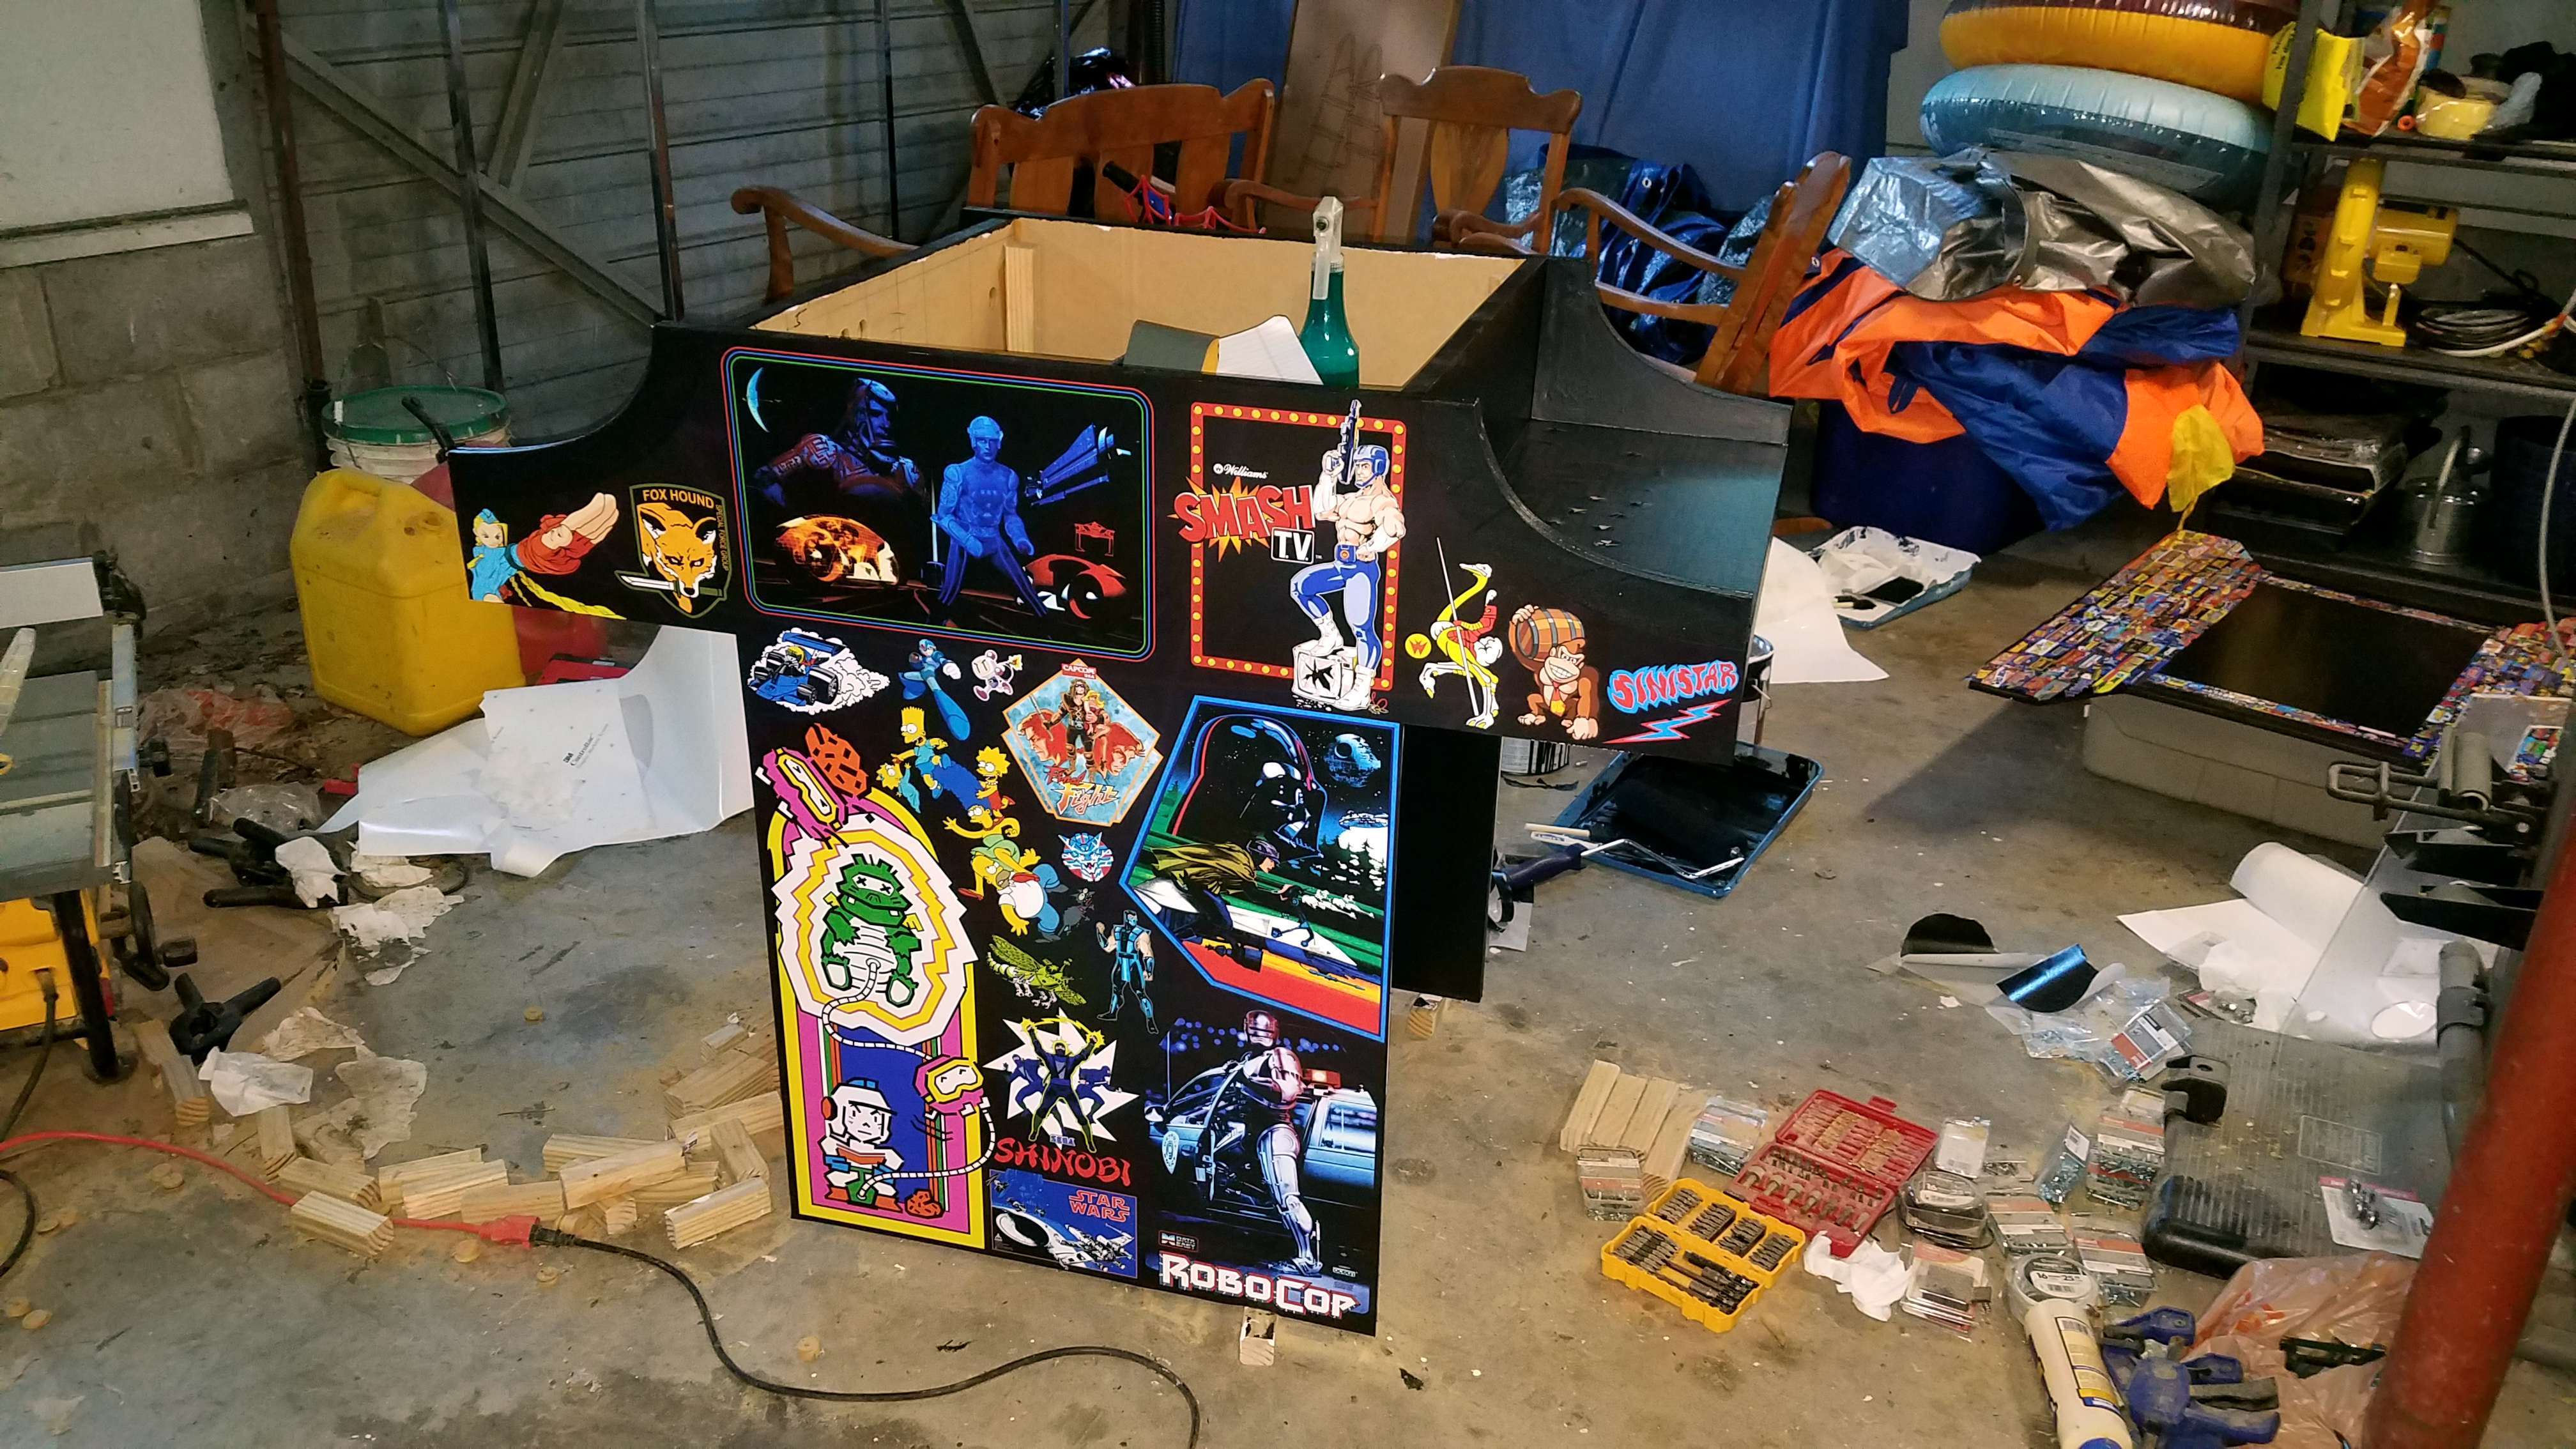
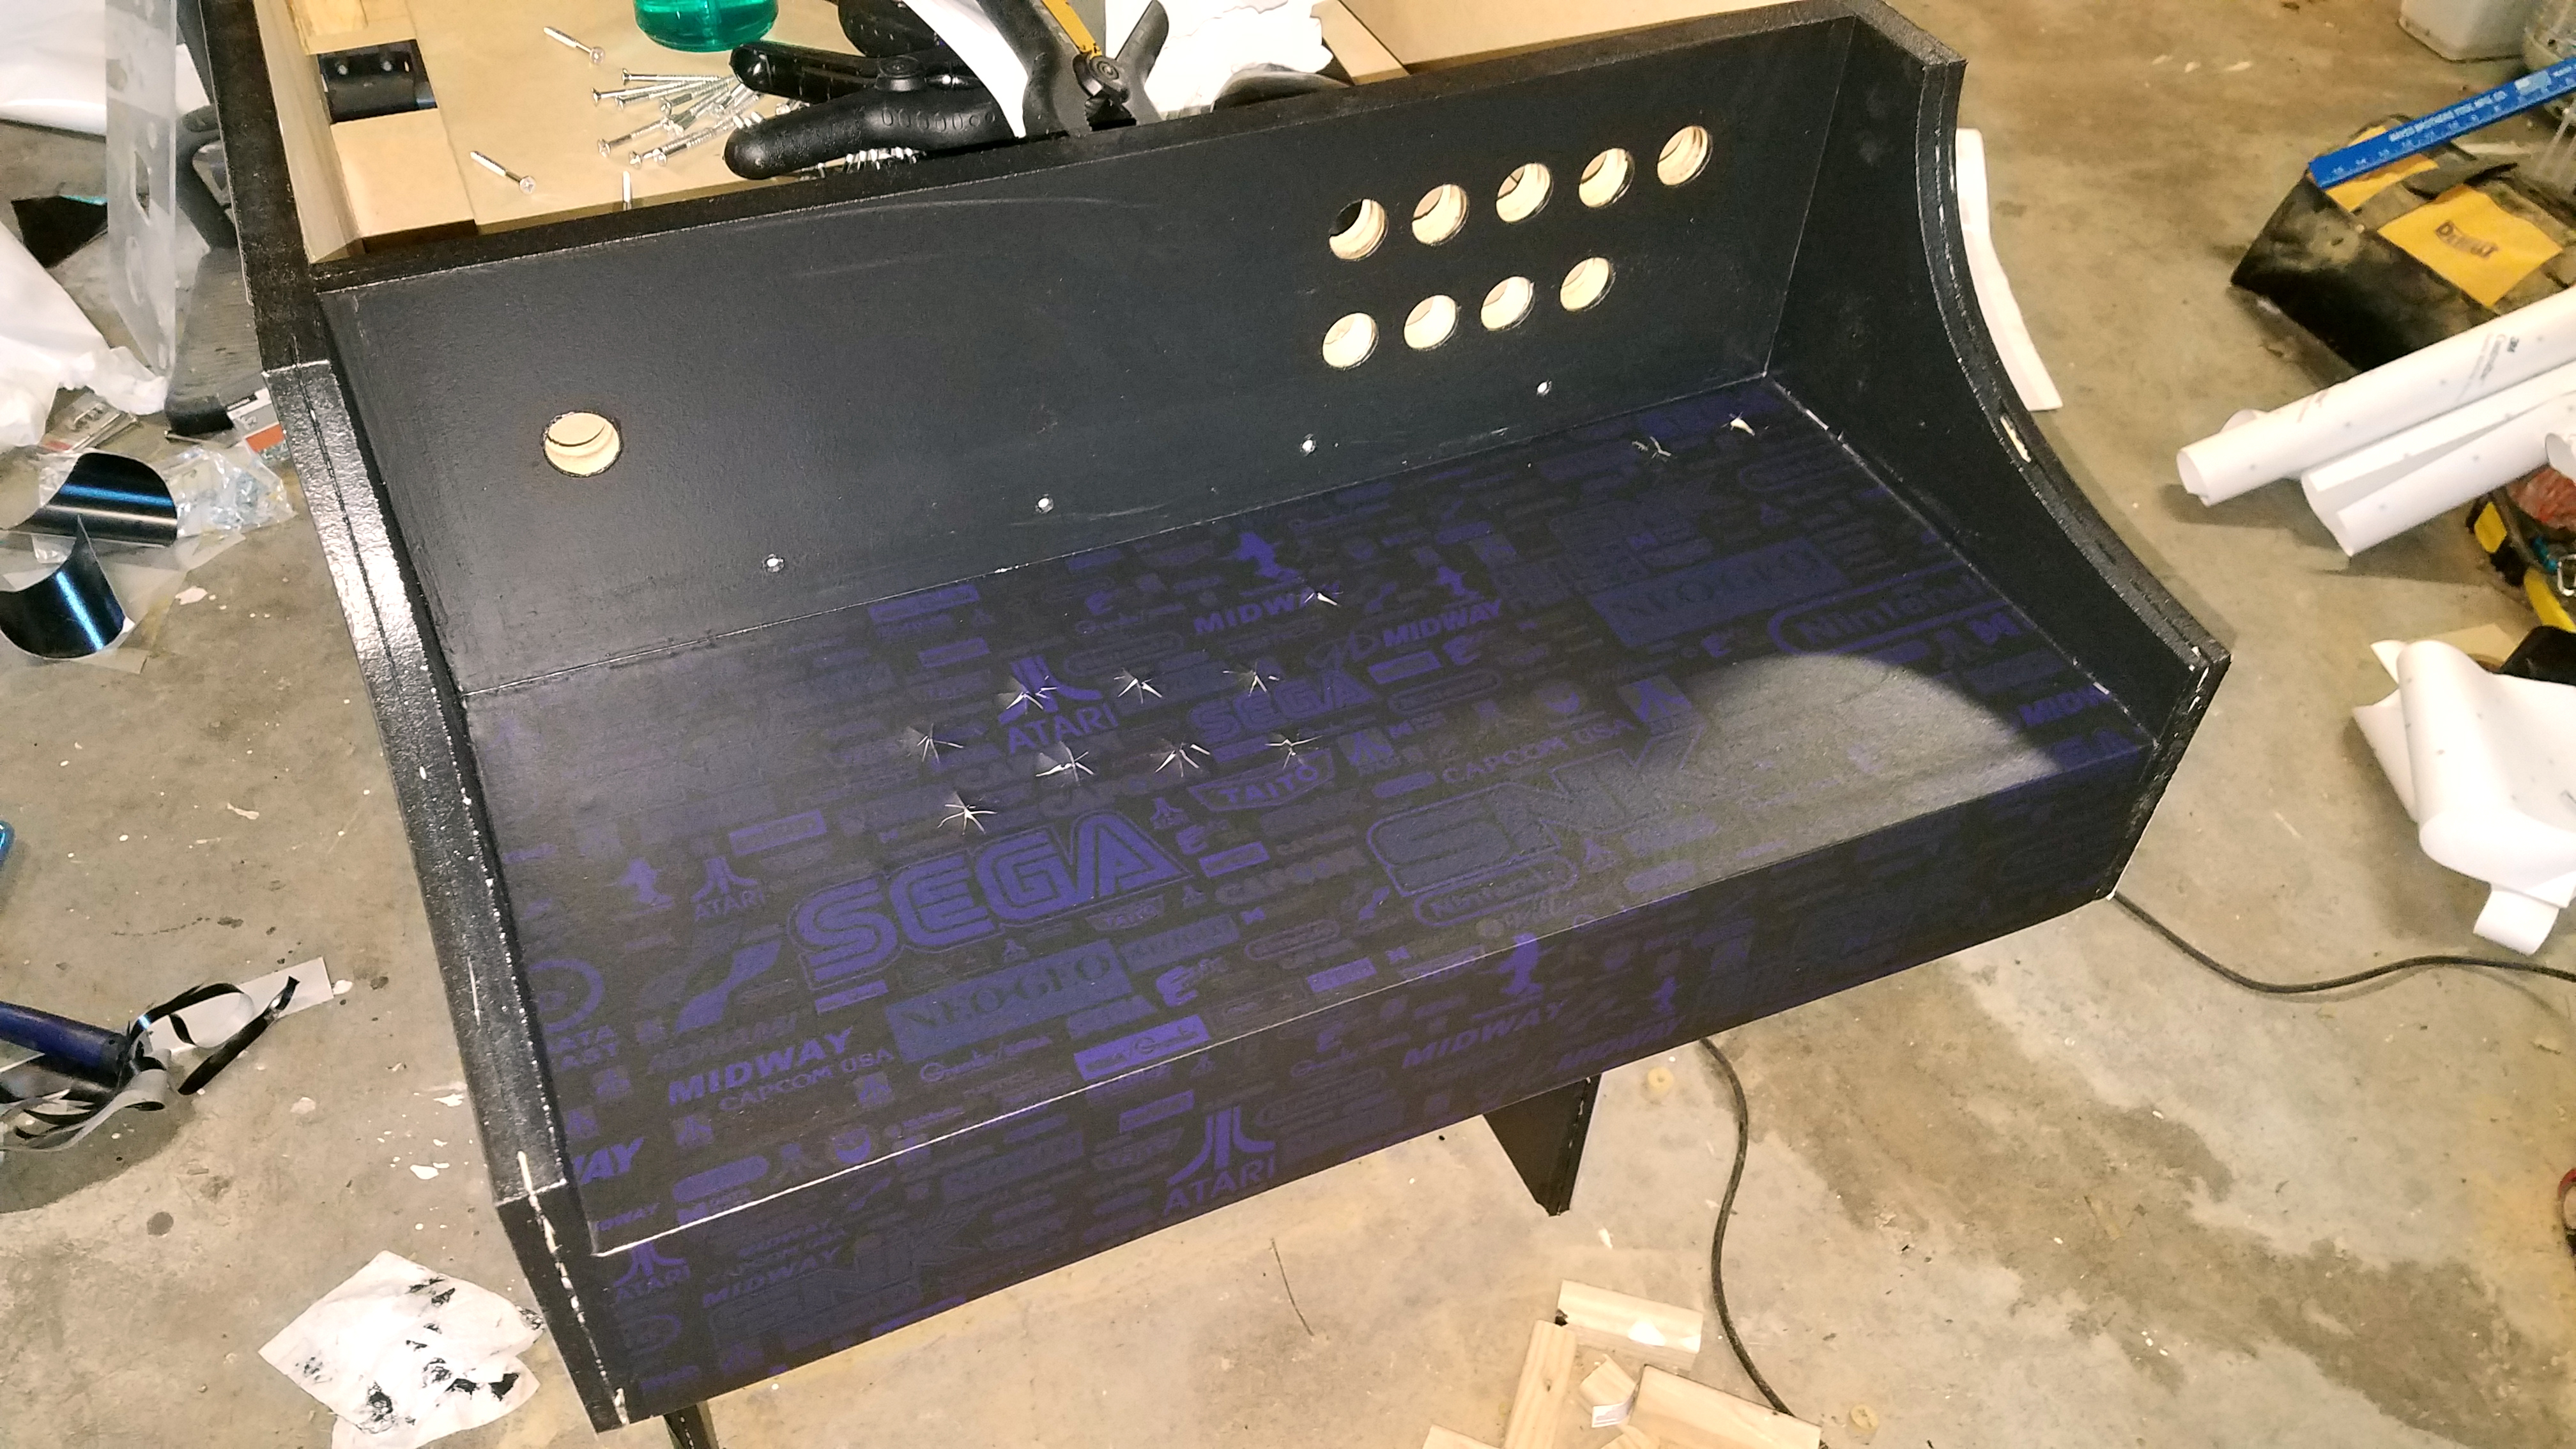
Beginning construction

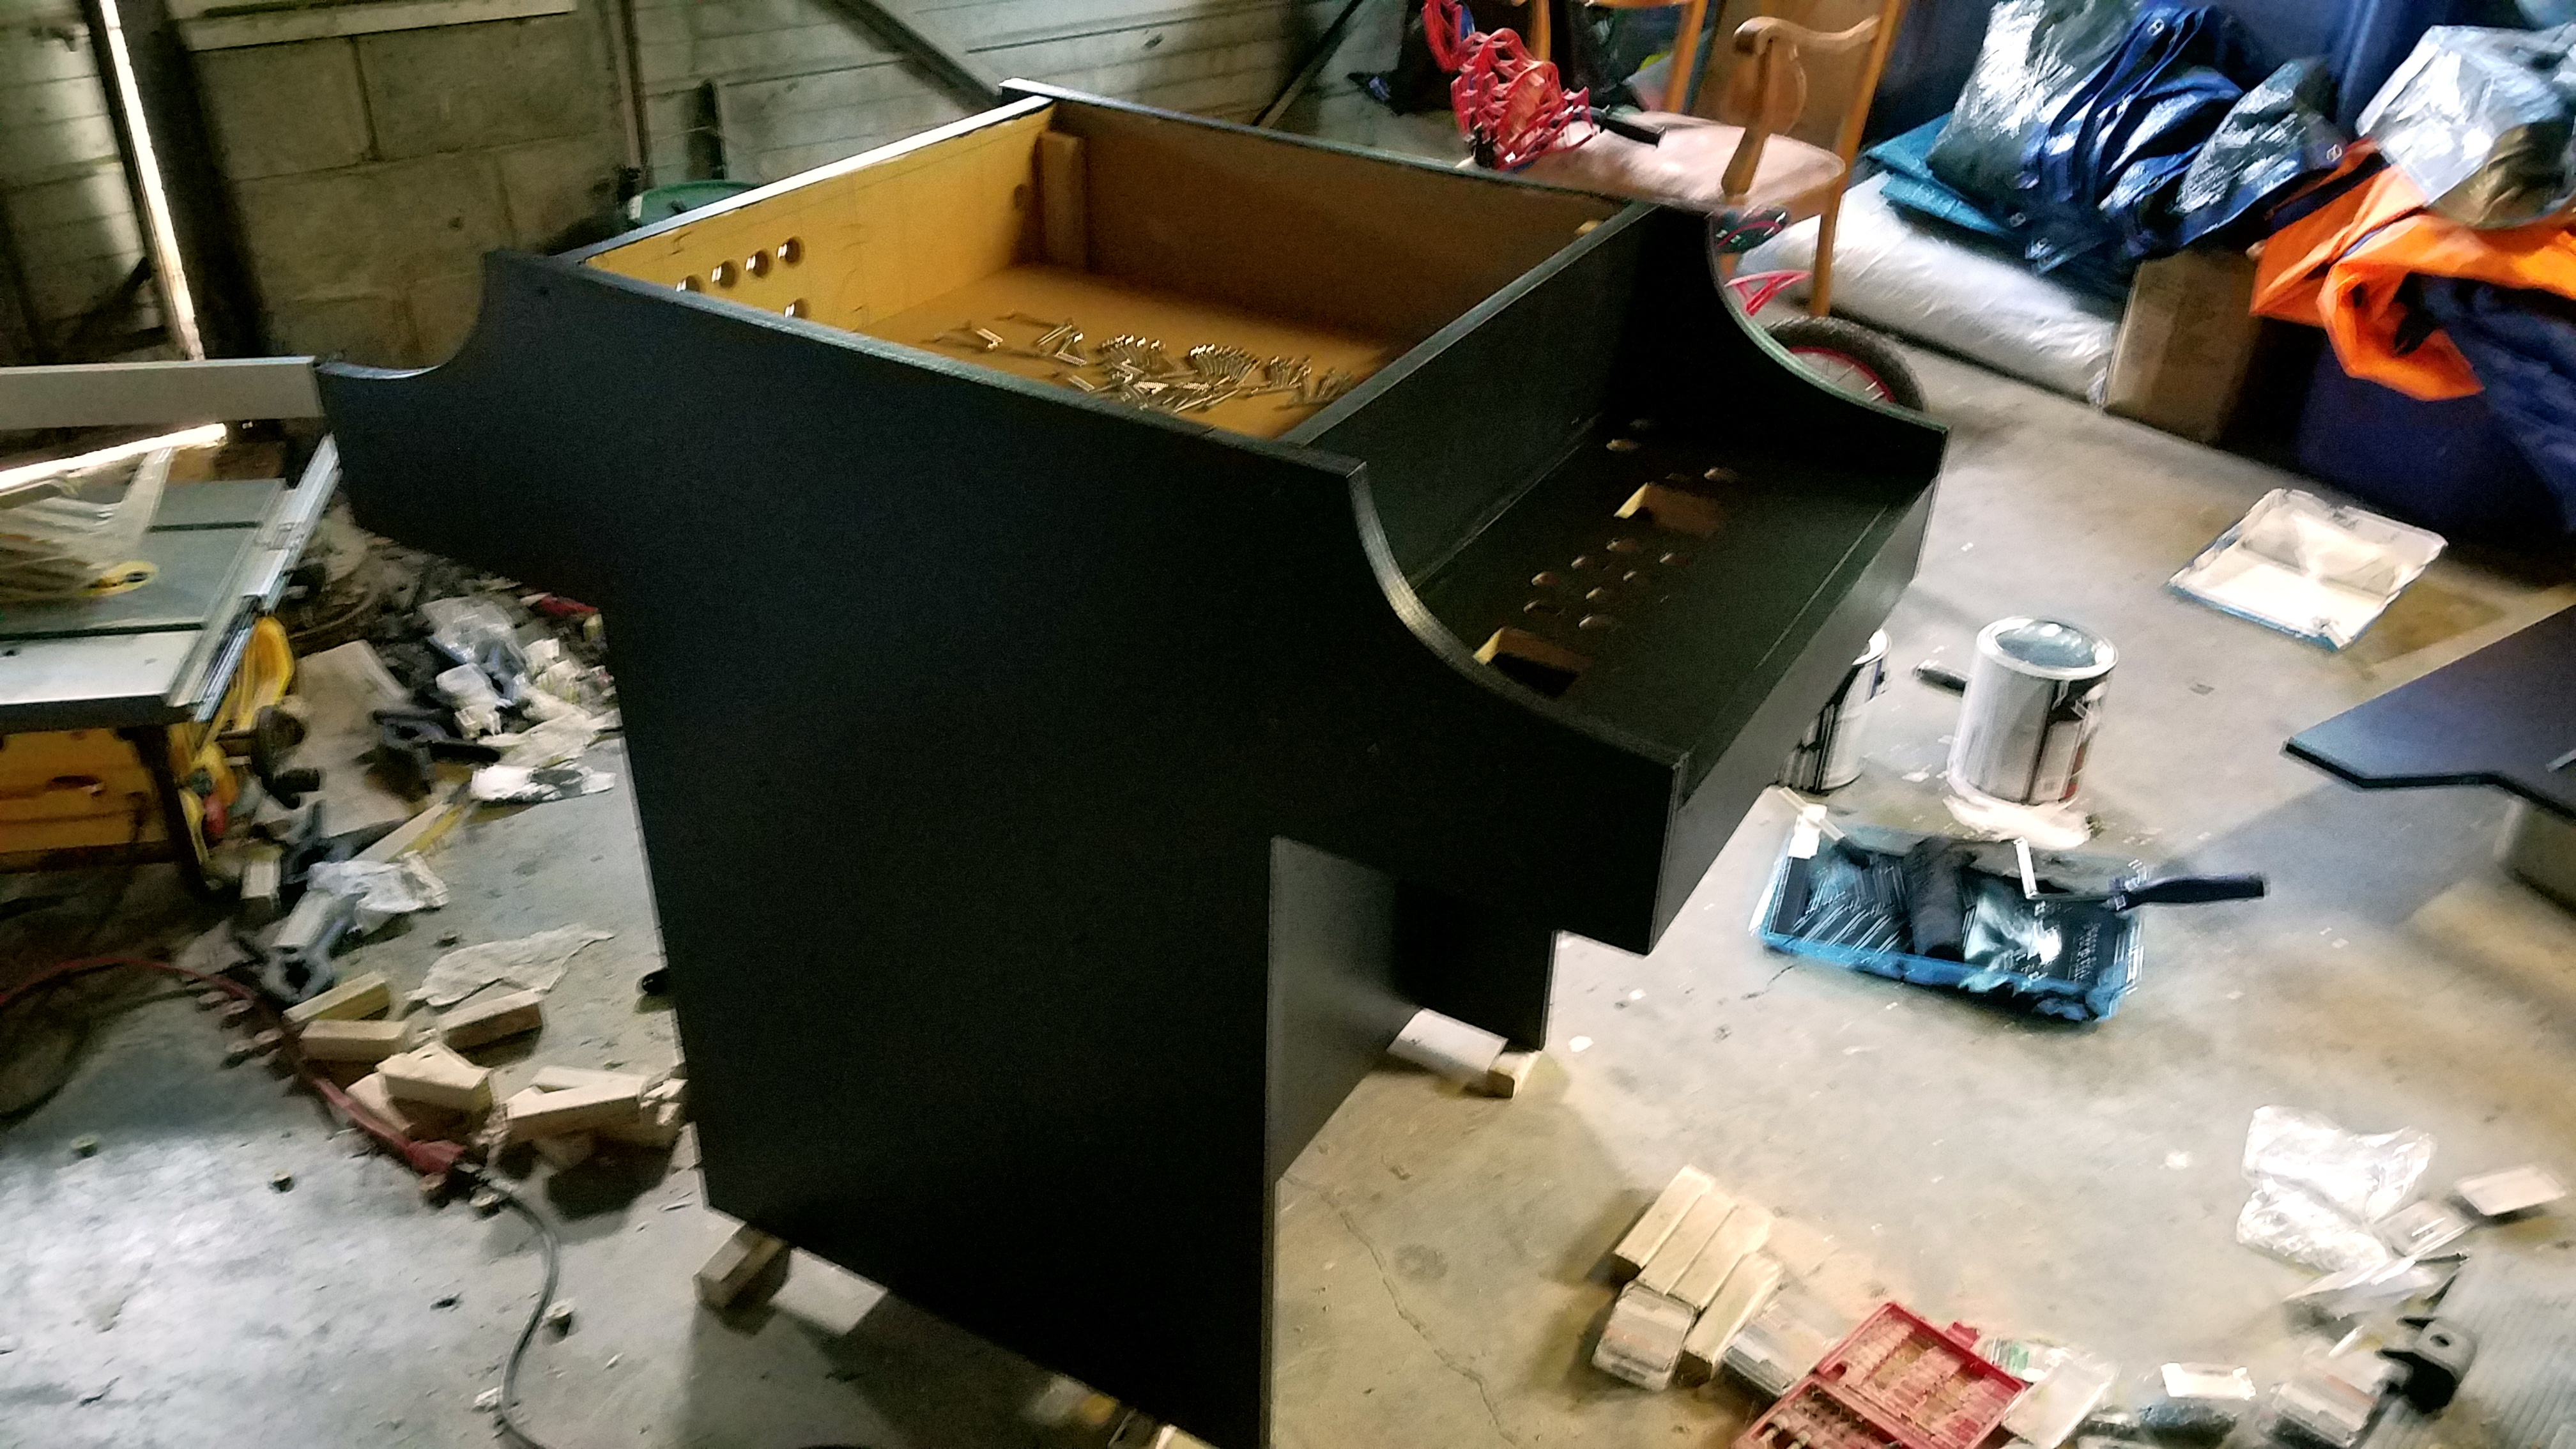
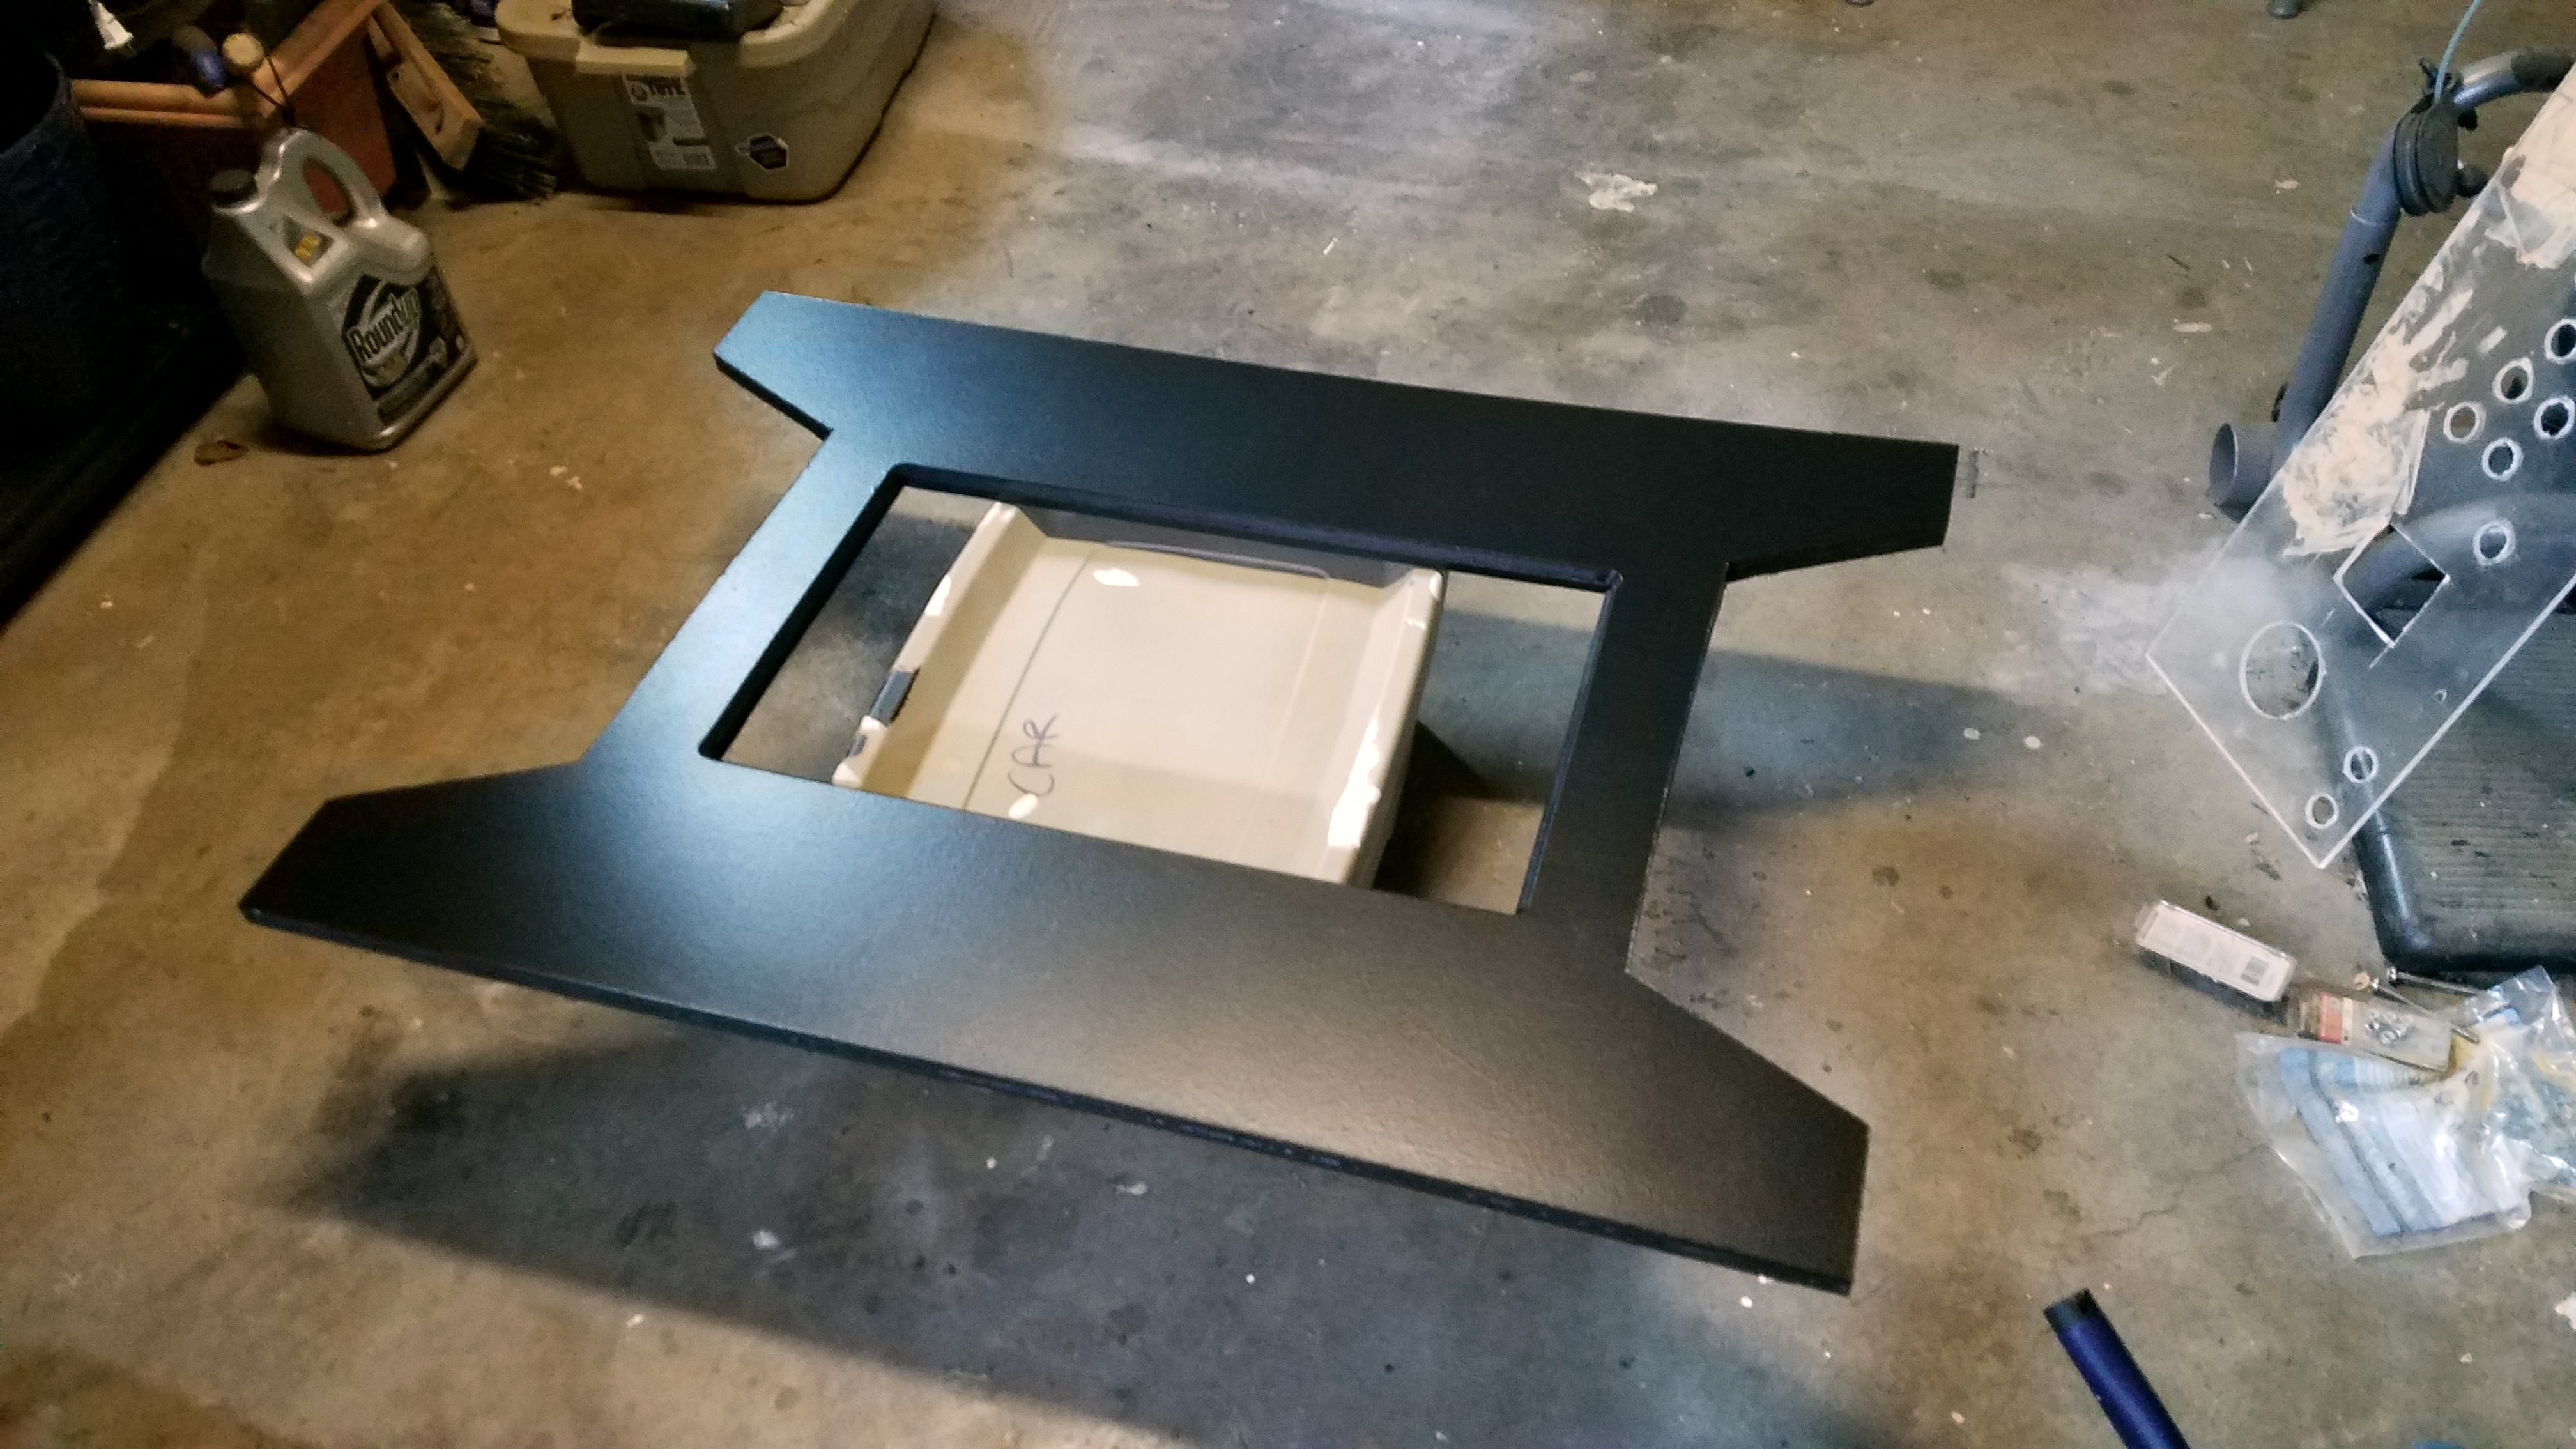
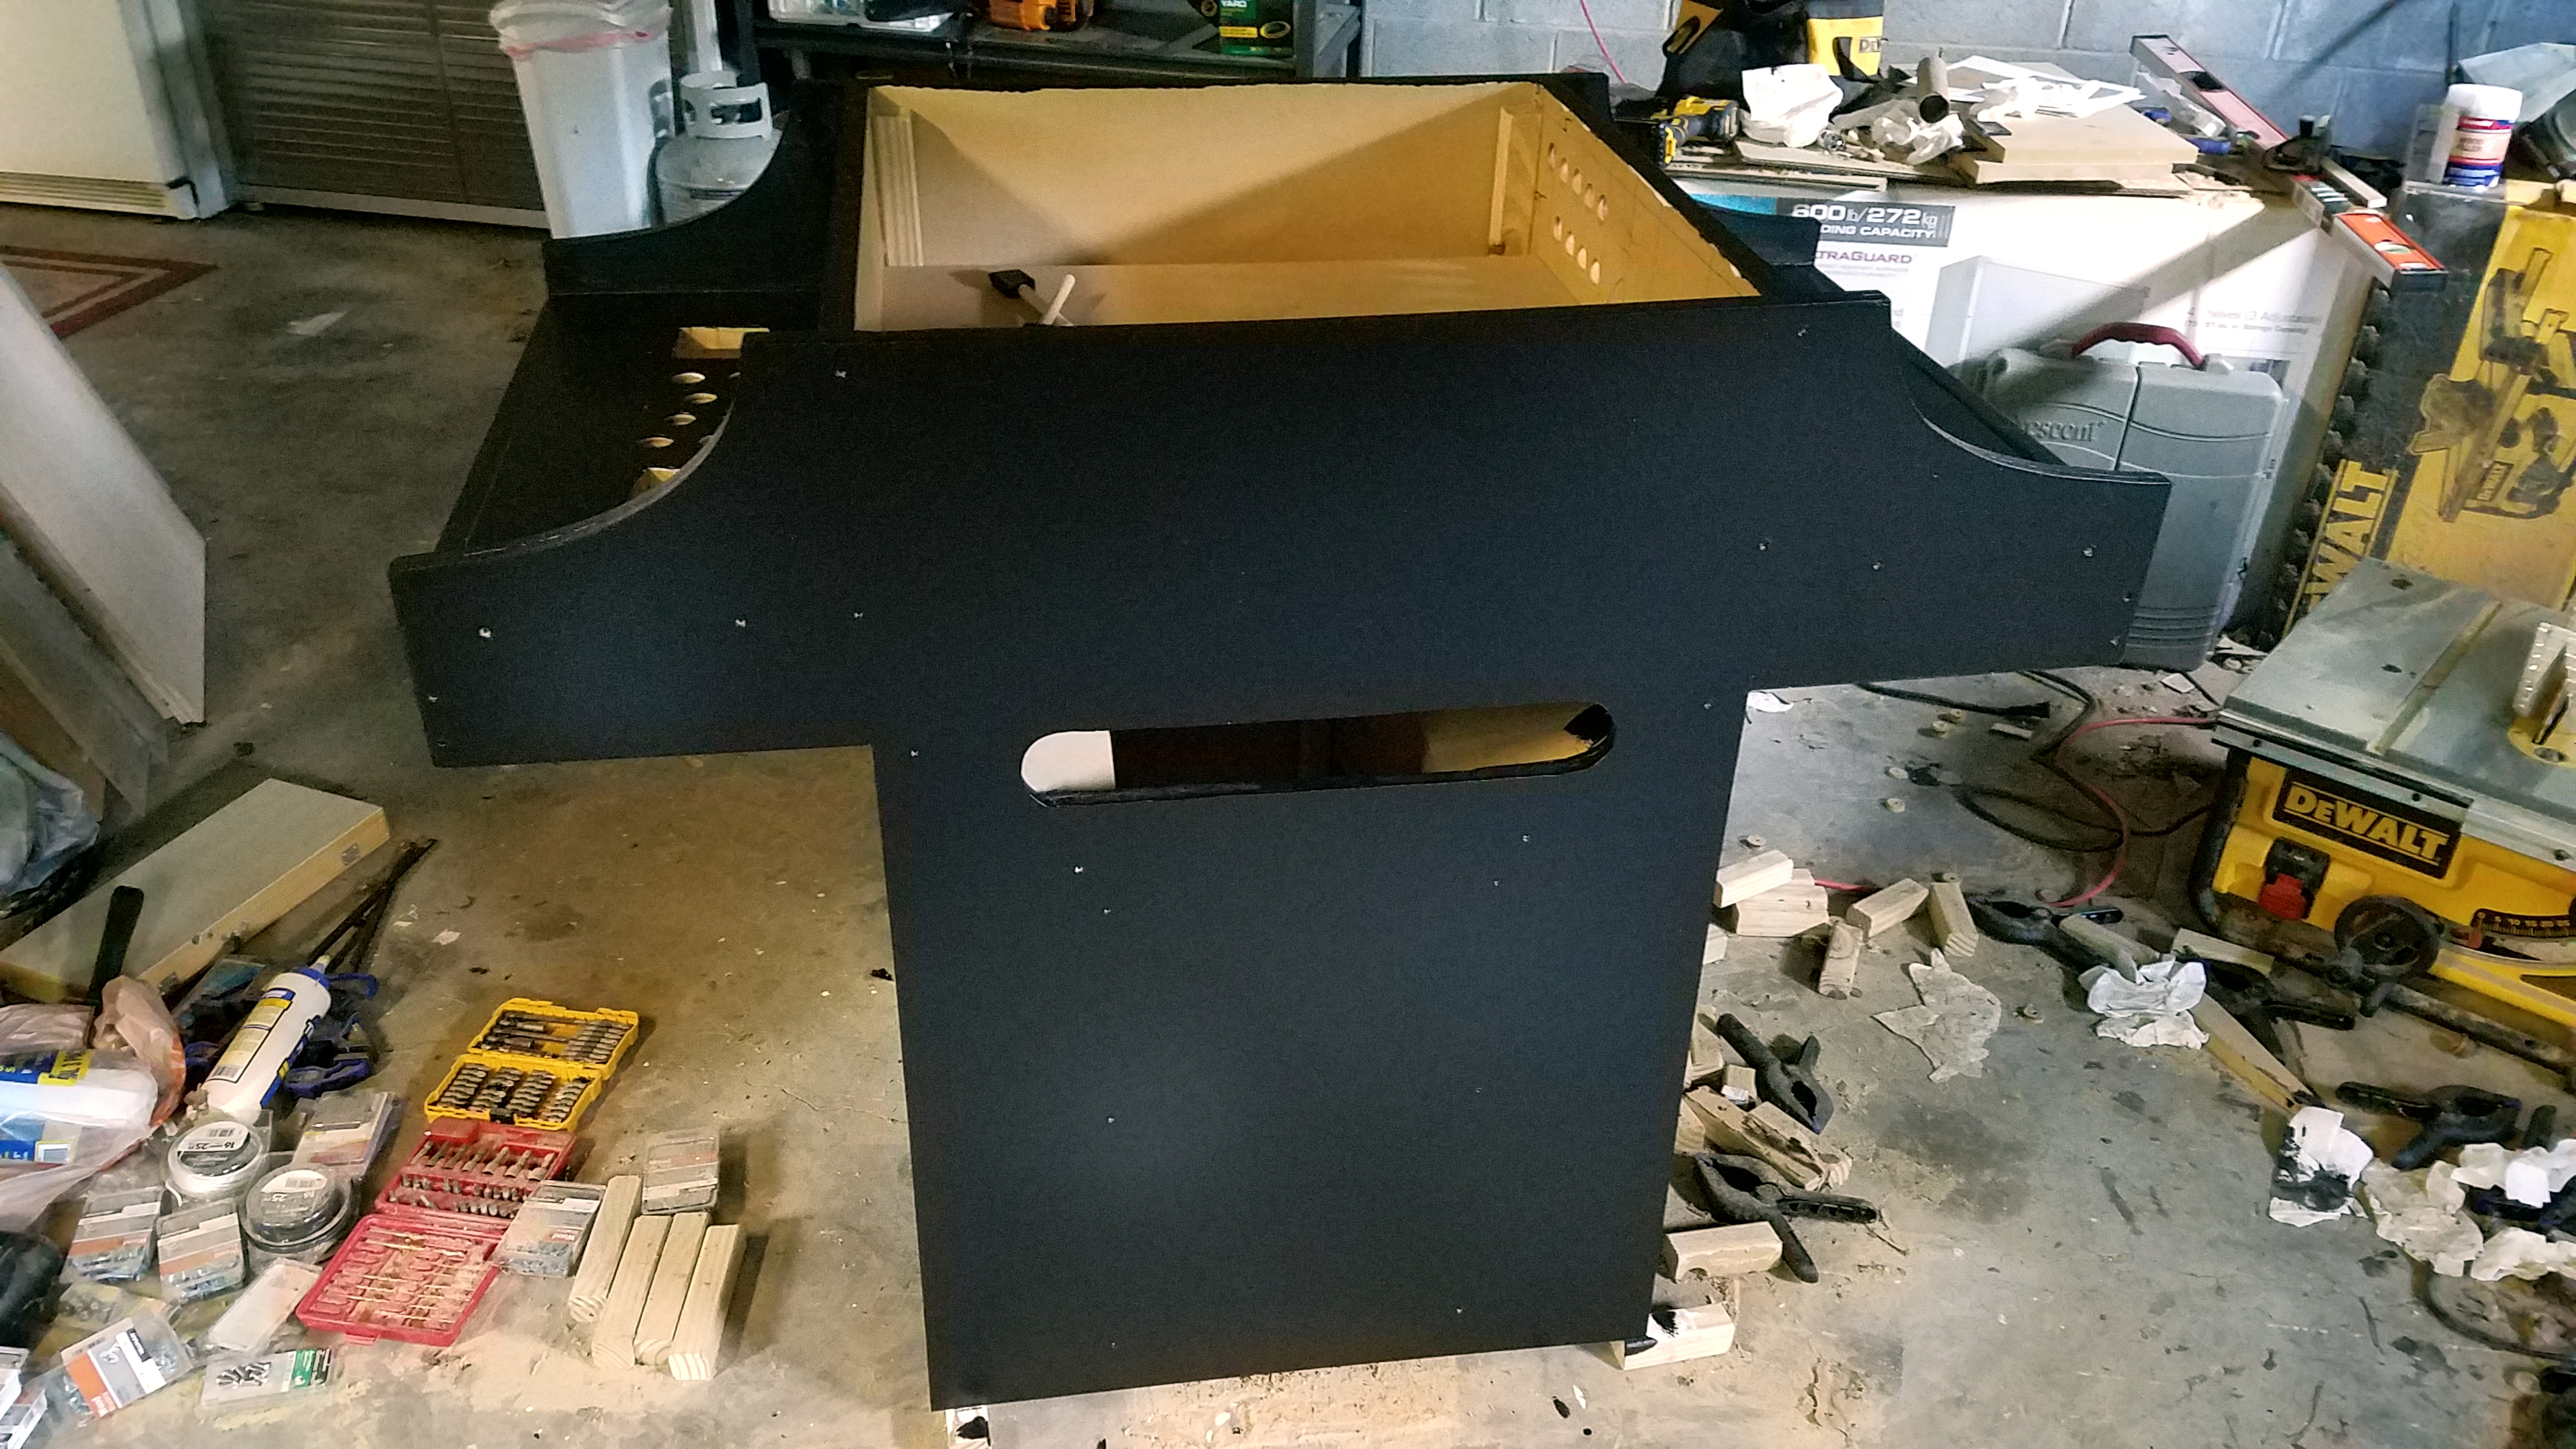
Primer and paint
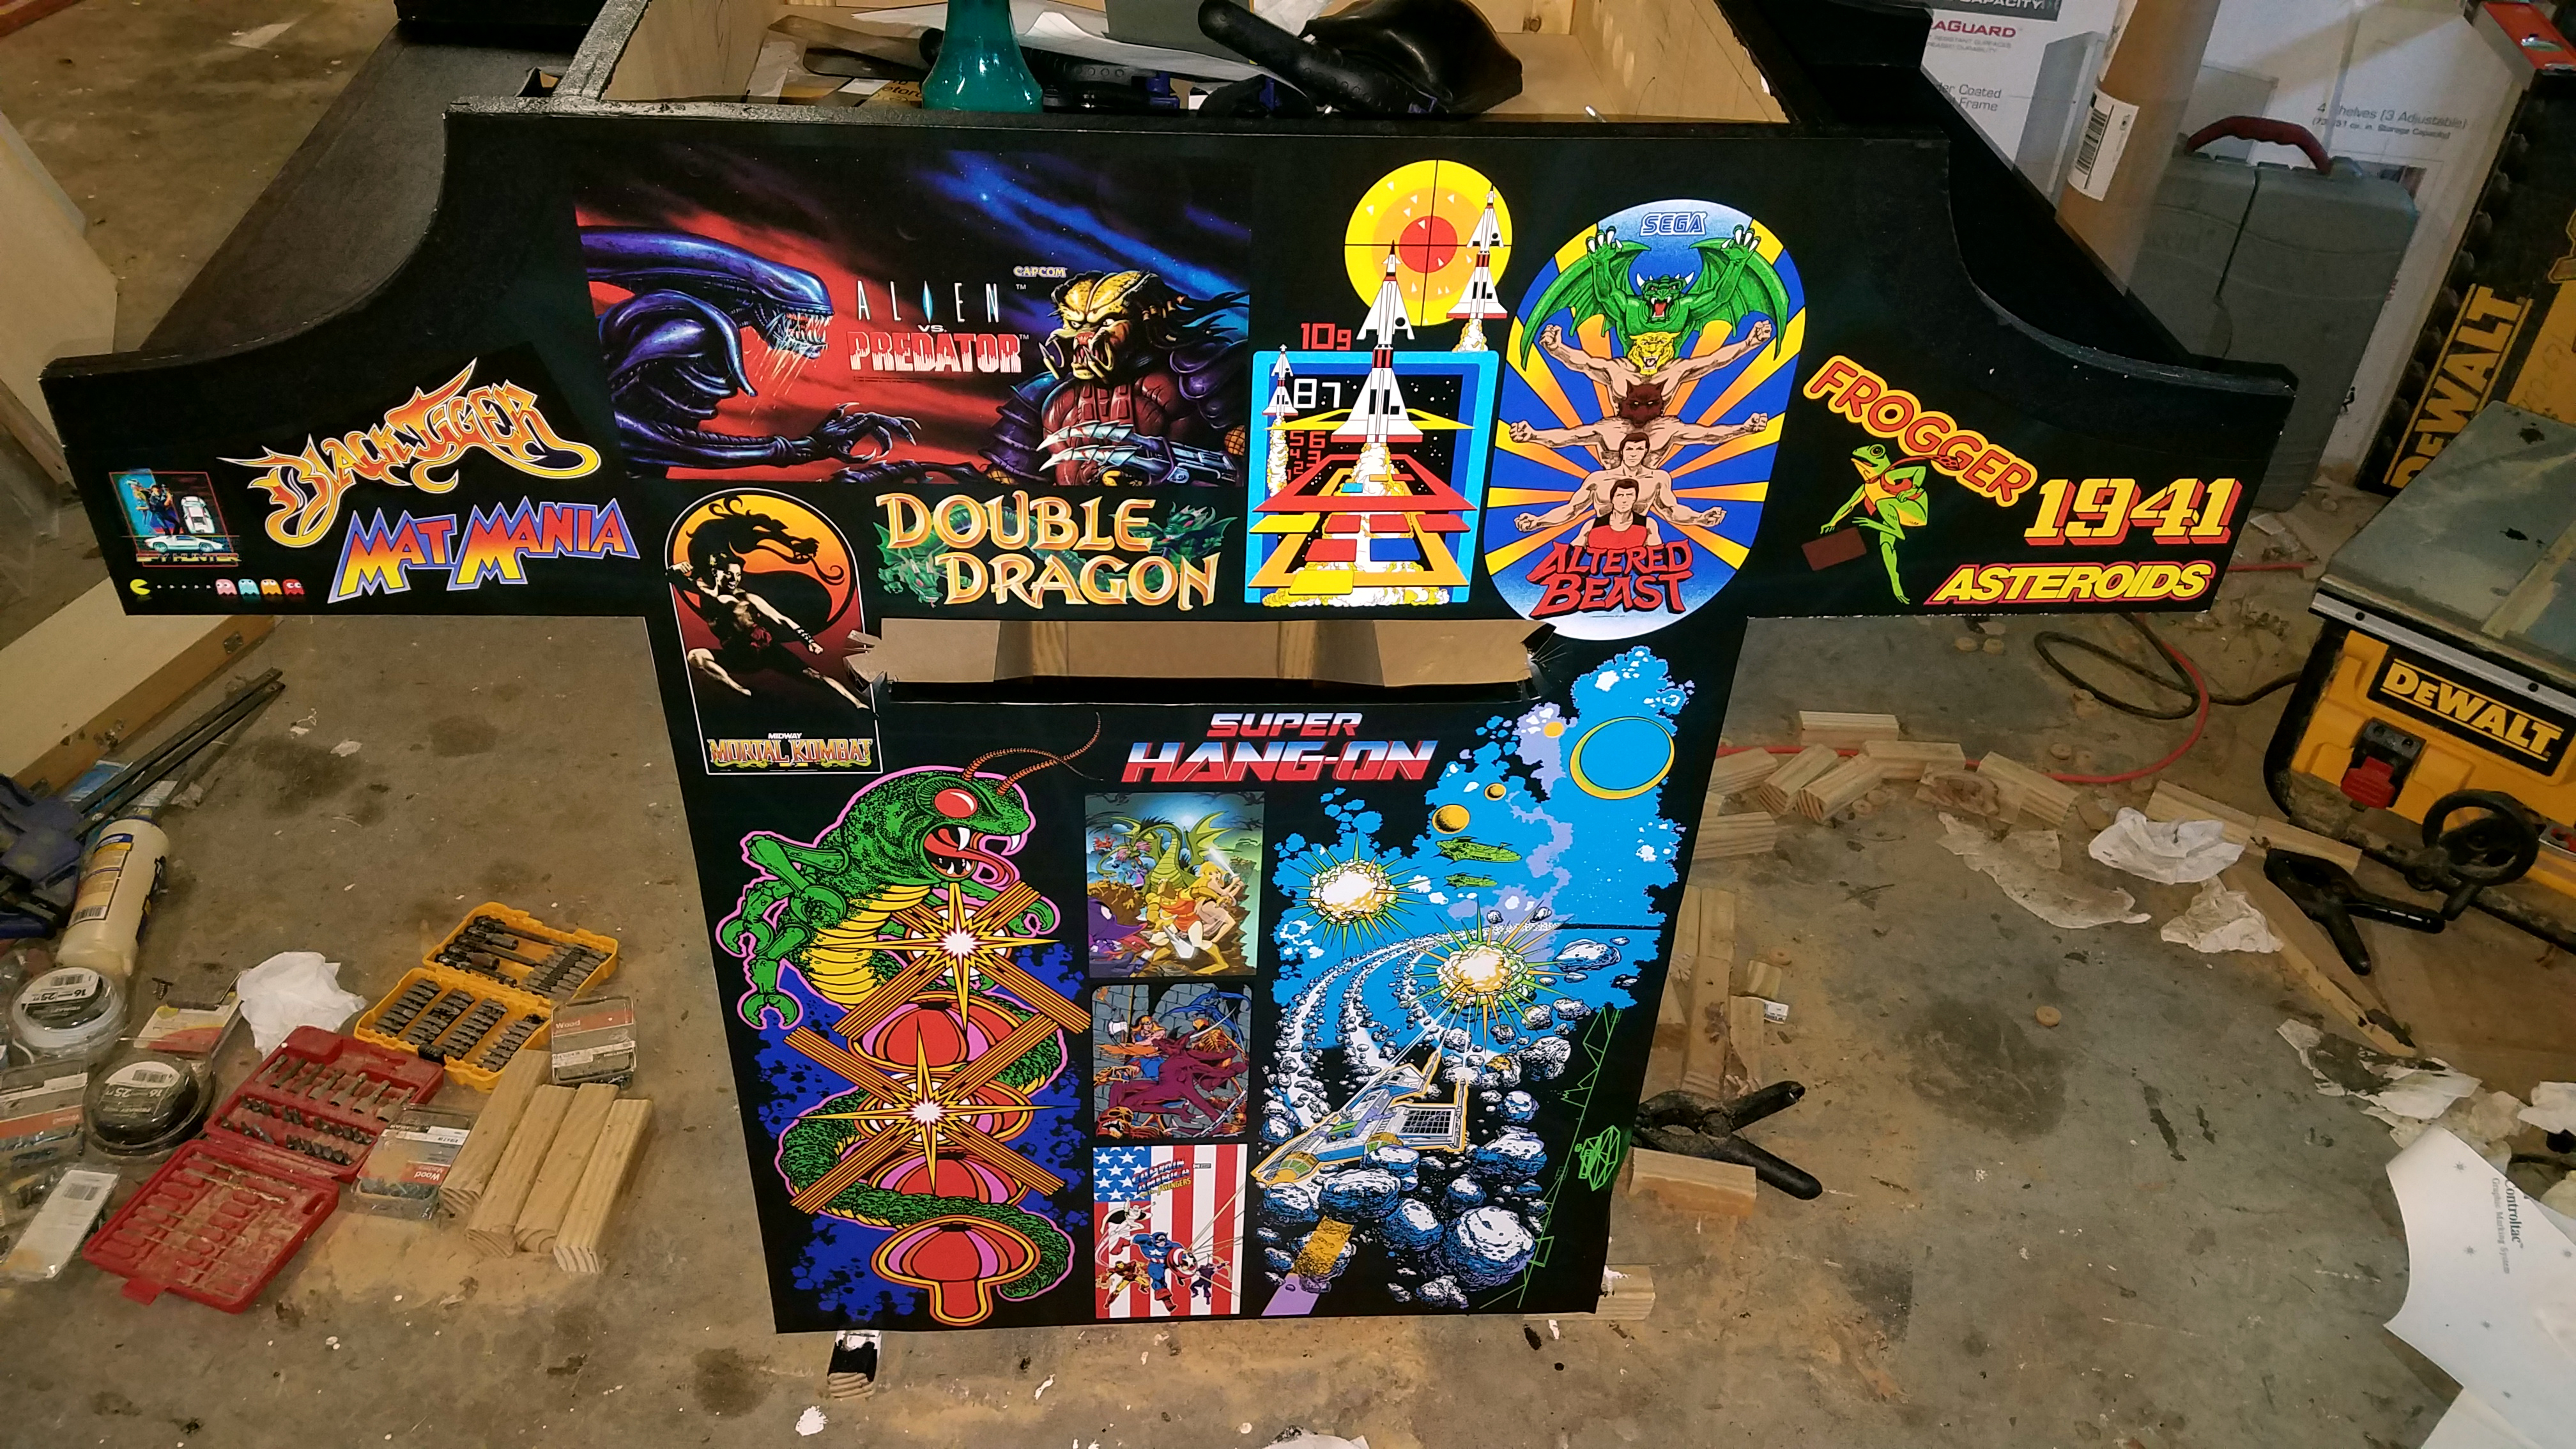
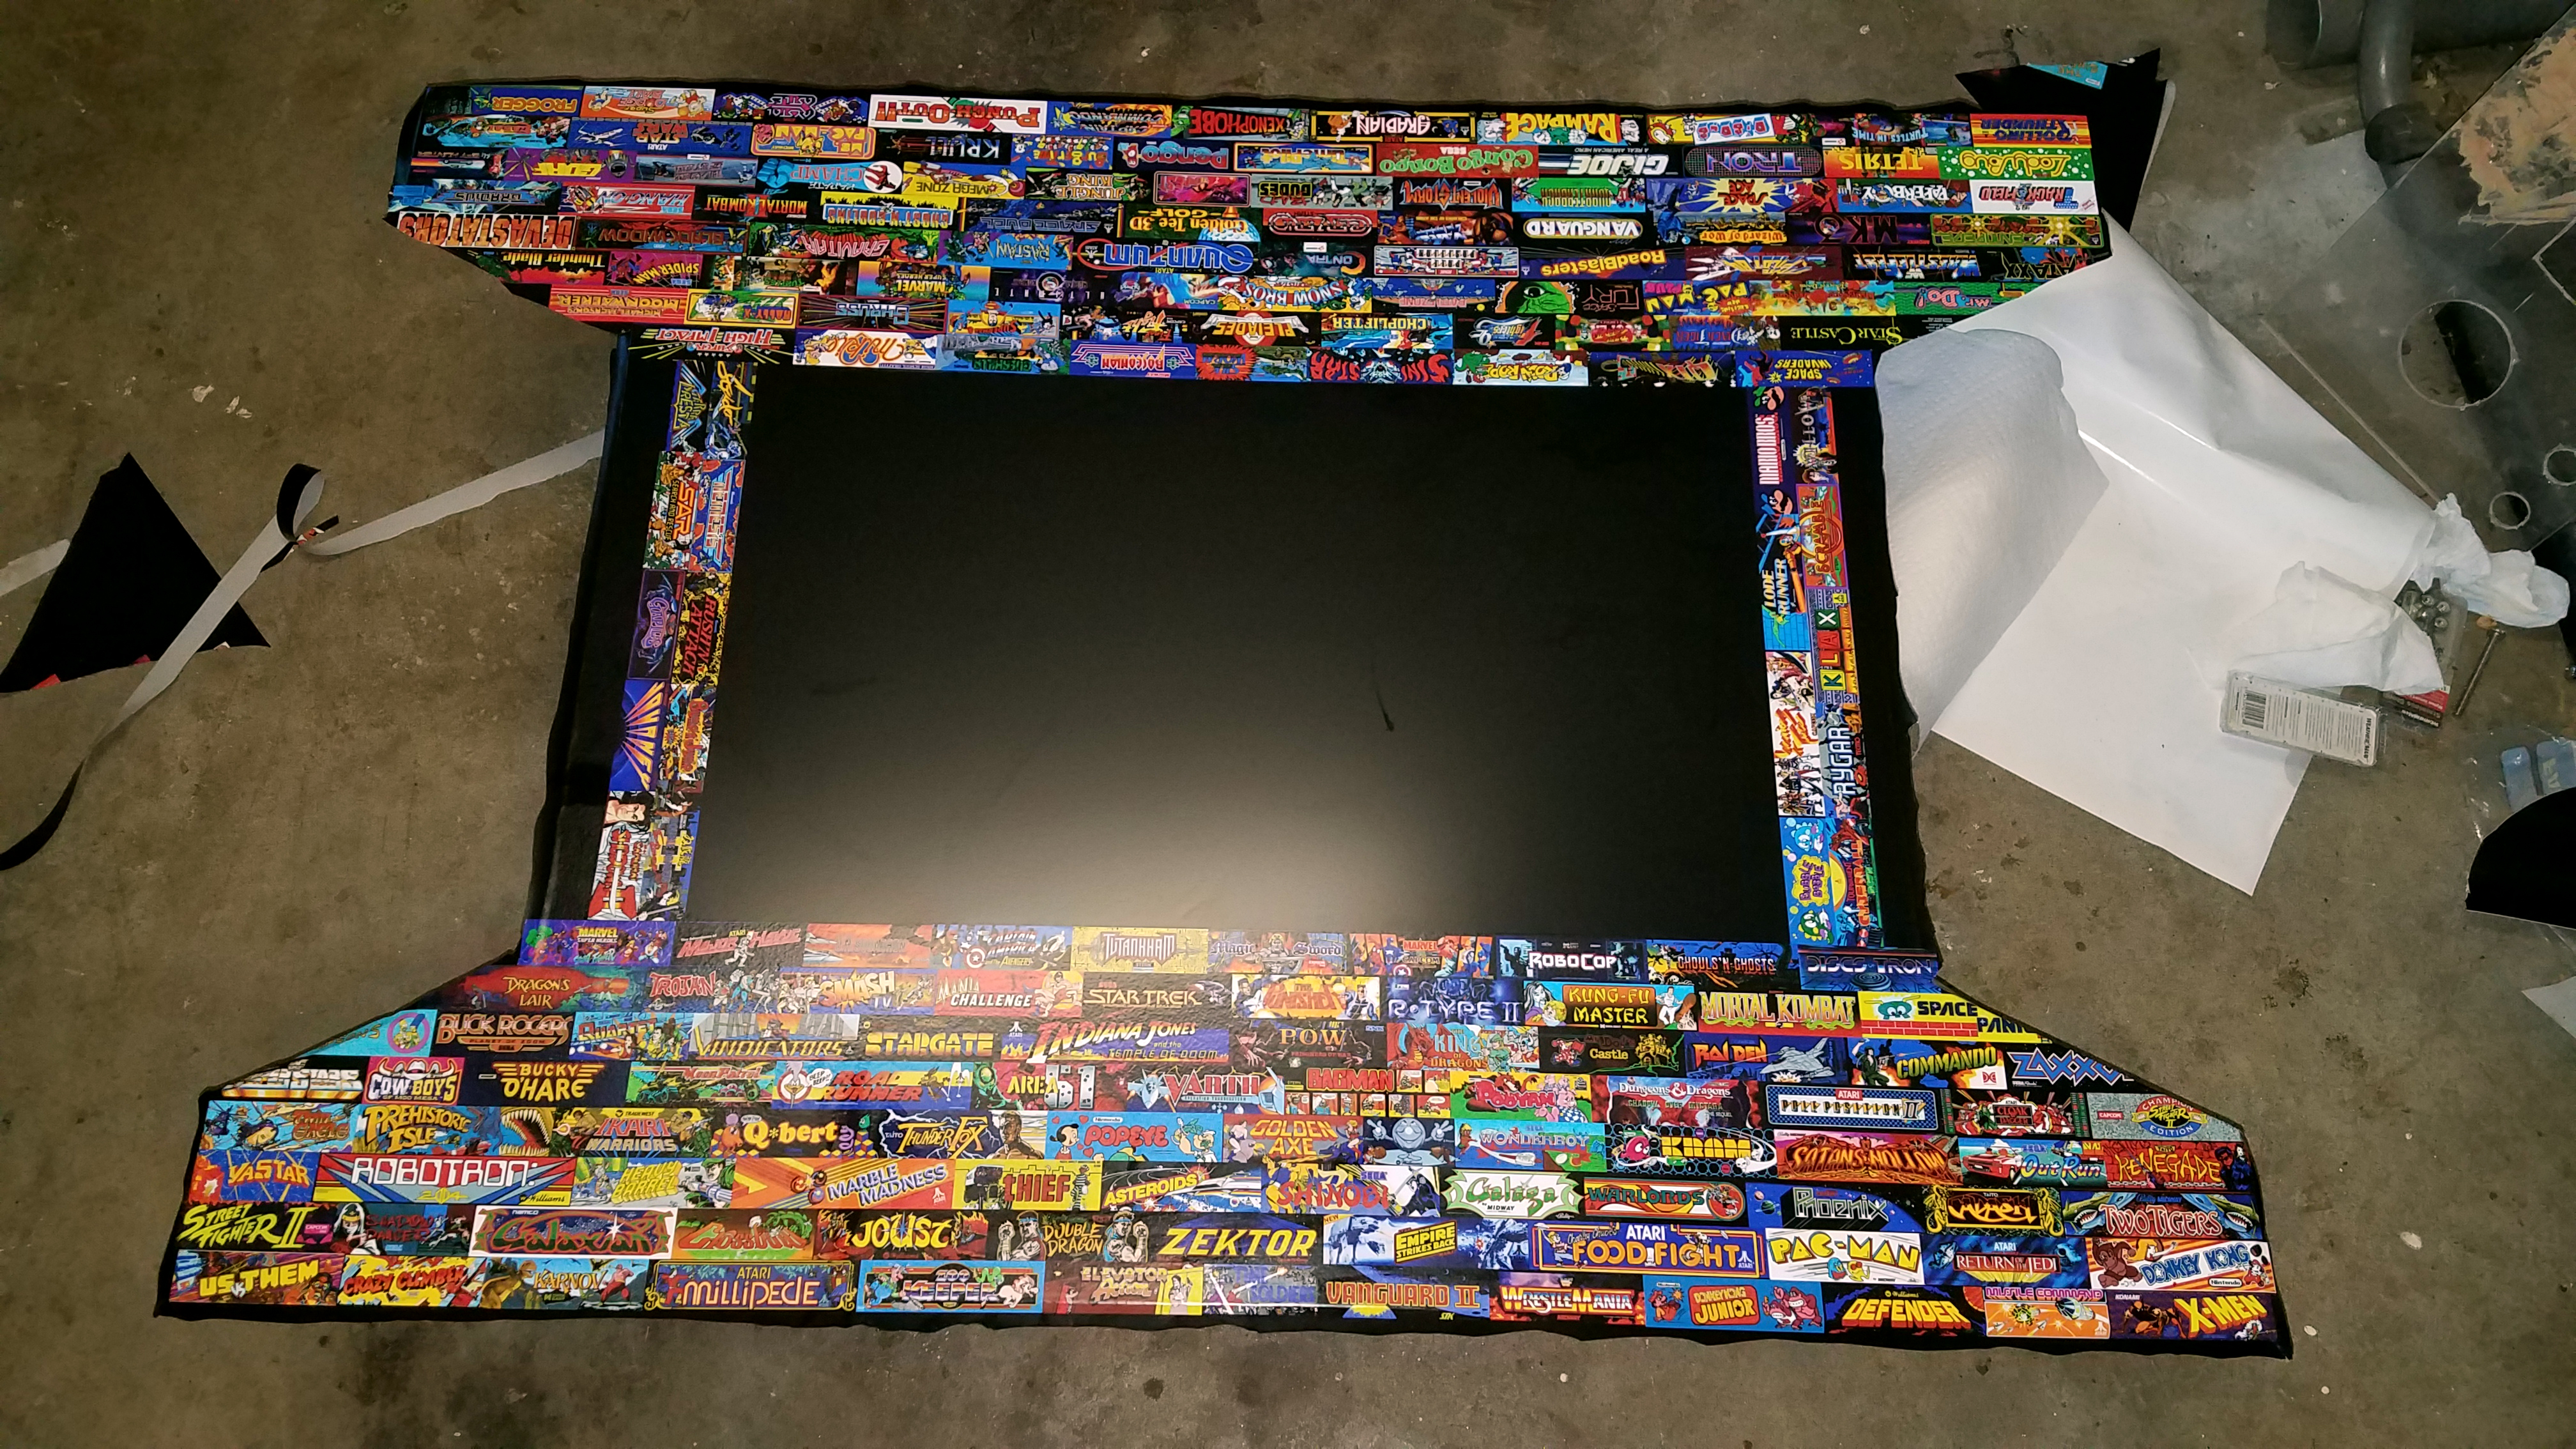
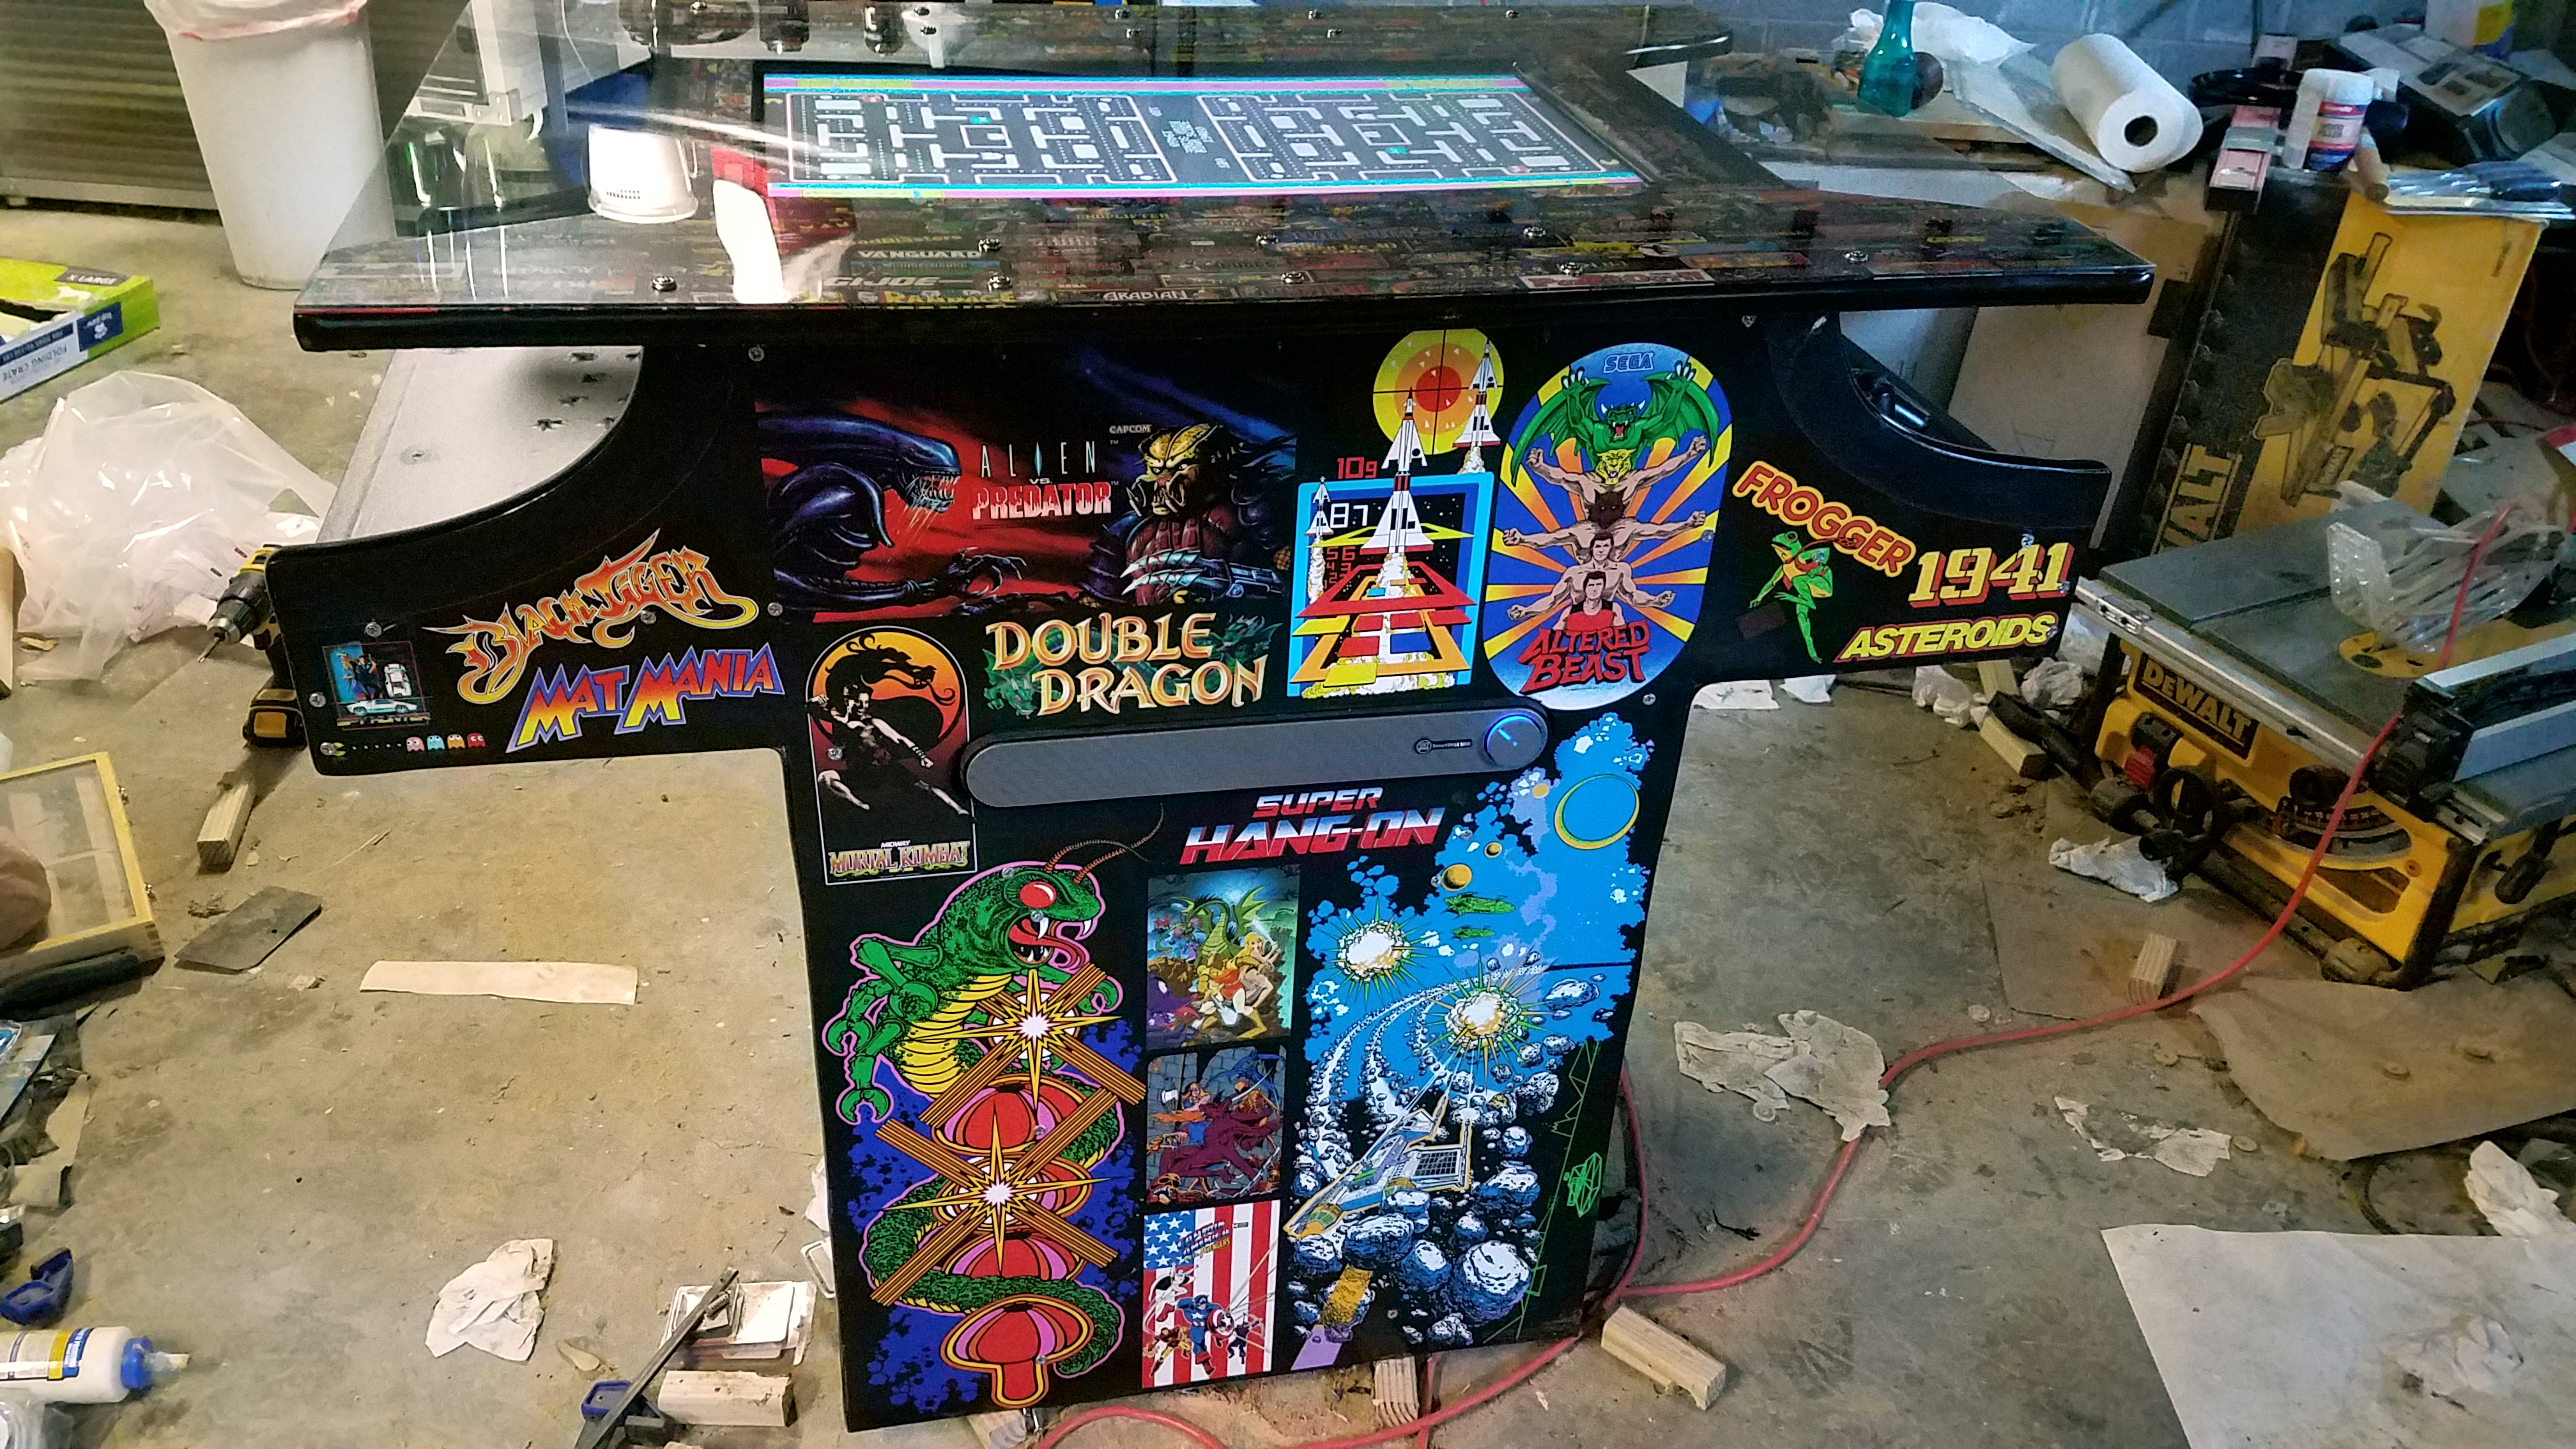
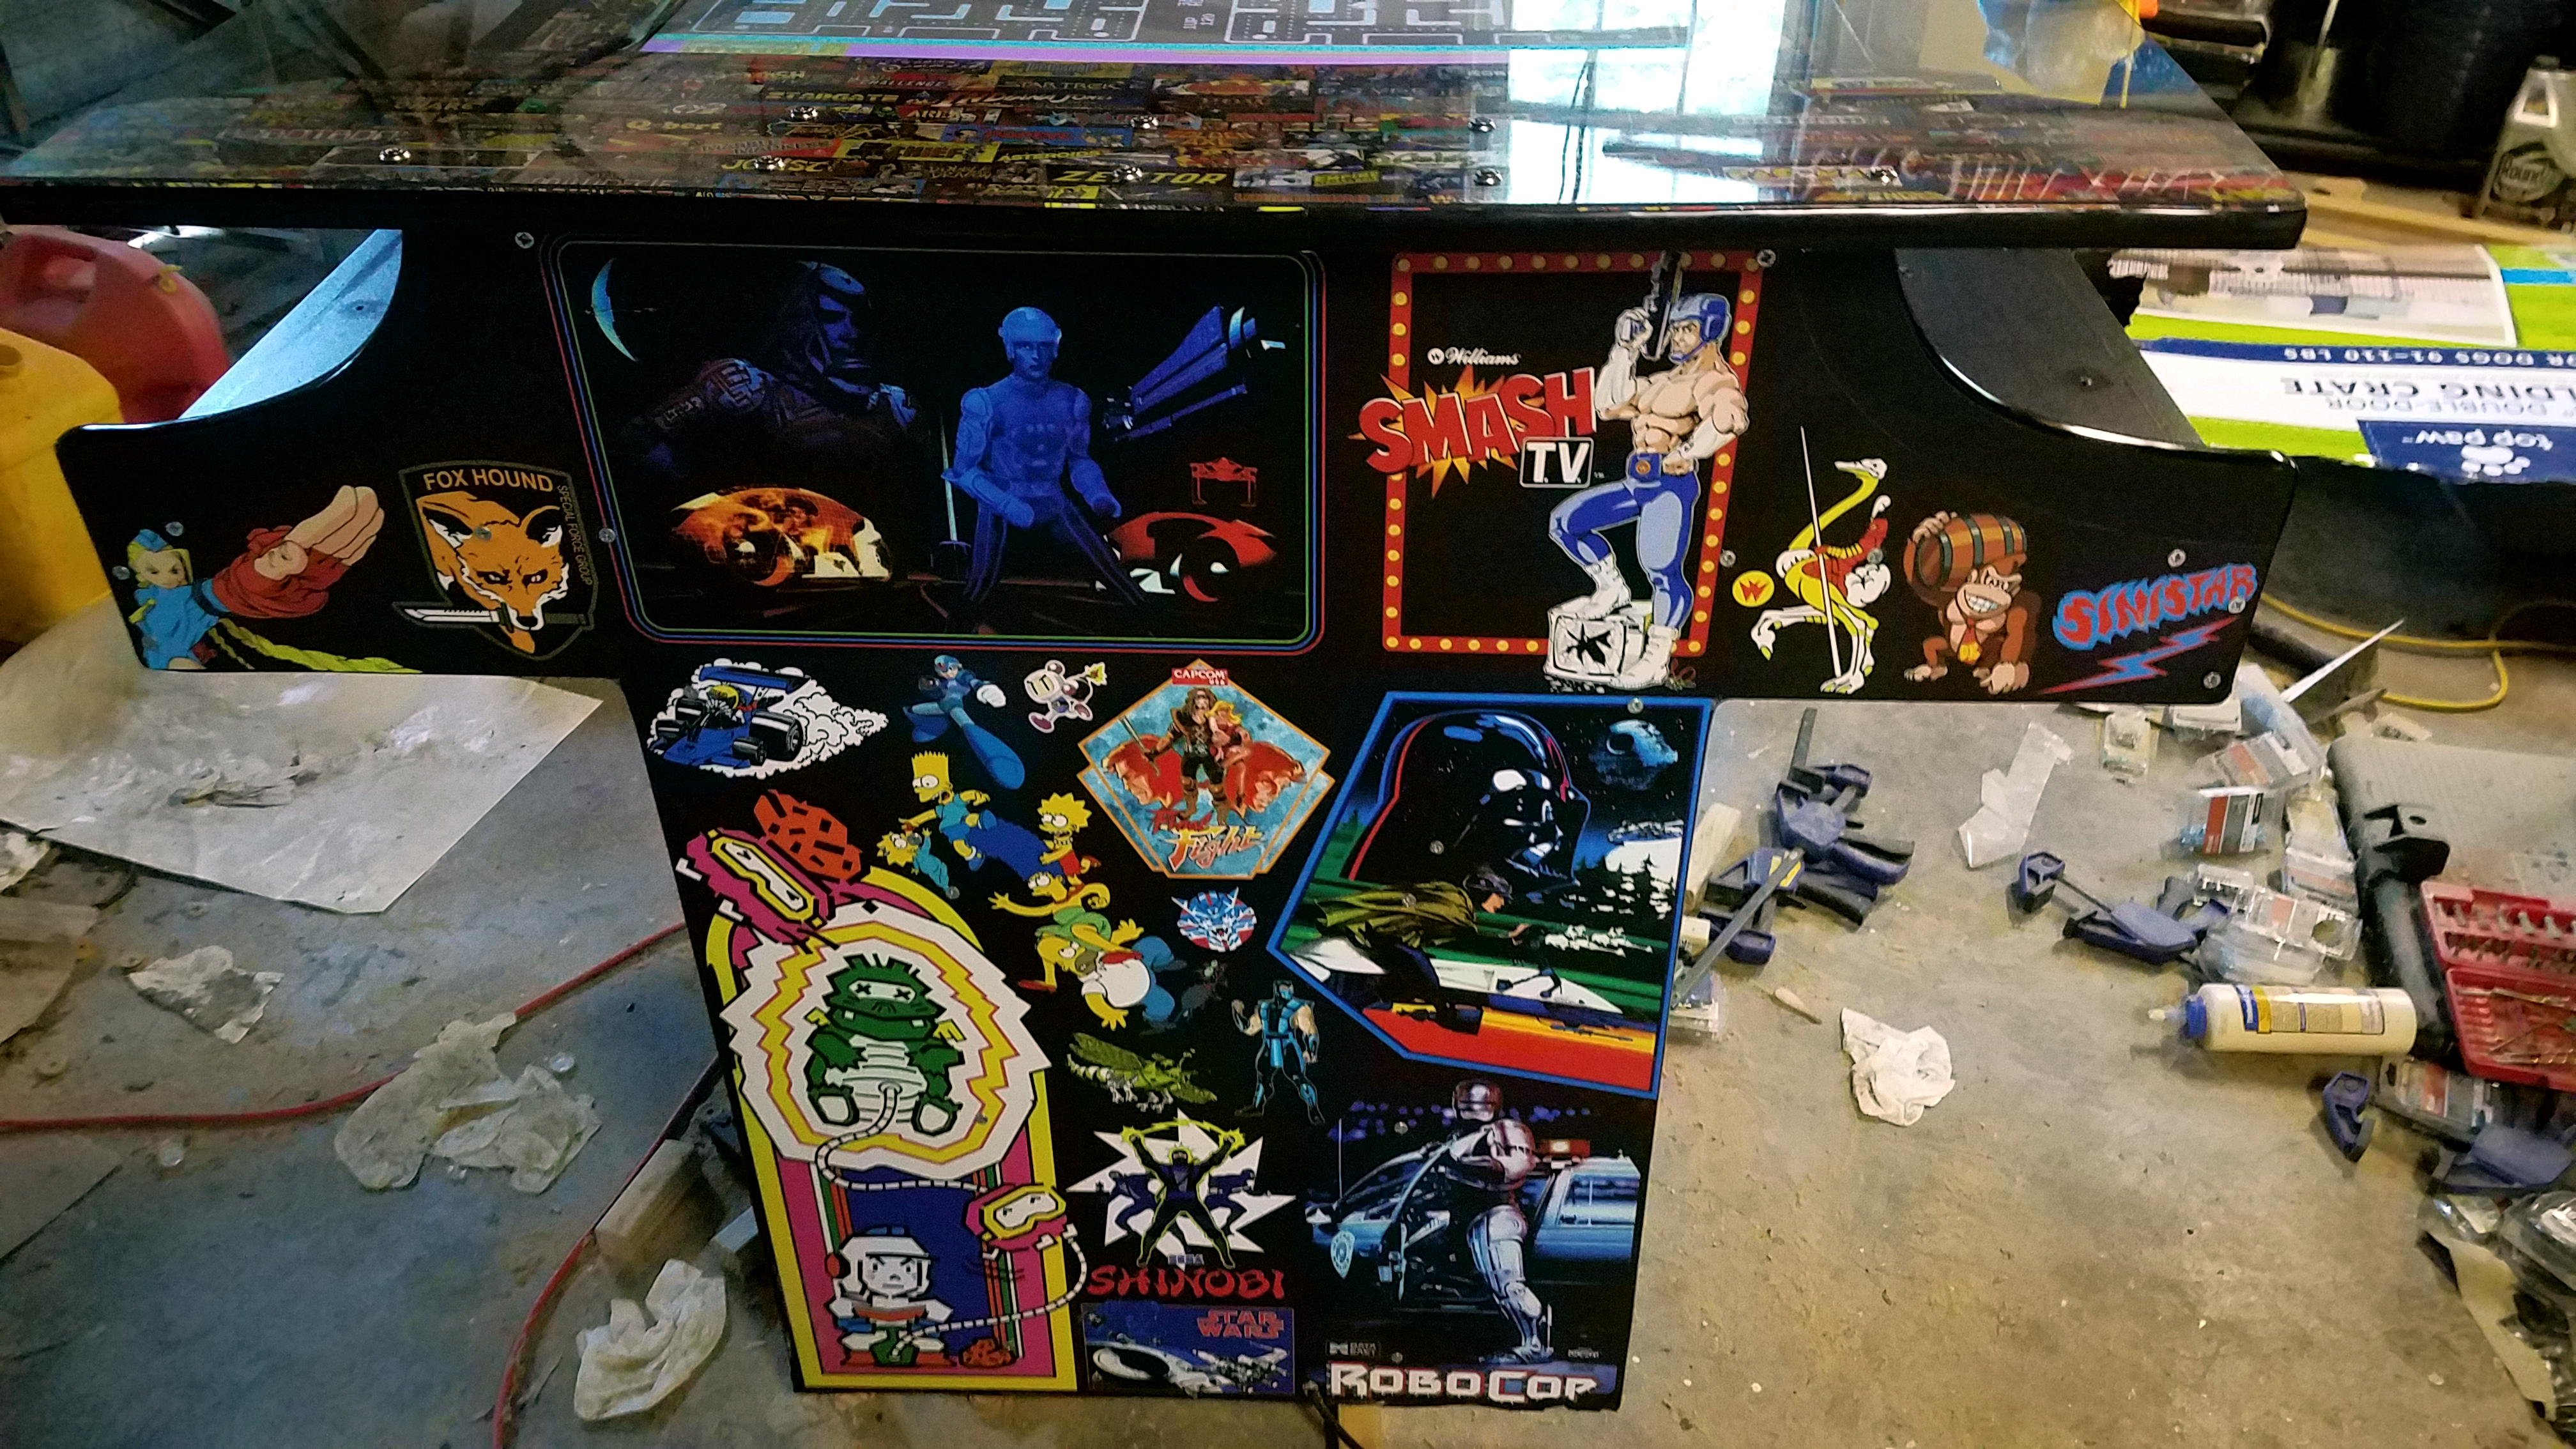
Vinyls on - Vinyls designed in PS (except for the control panels which I found) - Game on Grafix out of Minnesota were really nice to work with - PSDs were at 300dpi so pretty large files to scale (gigs)
Top mounted via piano hinge for access as well as being able to be propped up to use in native rotation for things like PSX sitting on the couch w/ PS3 controllers. It's a Pi3b+ w/ a 2tb hd. Will gain a USB hub when I wire the controls.
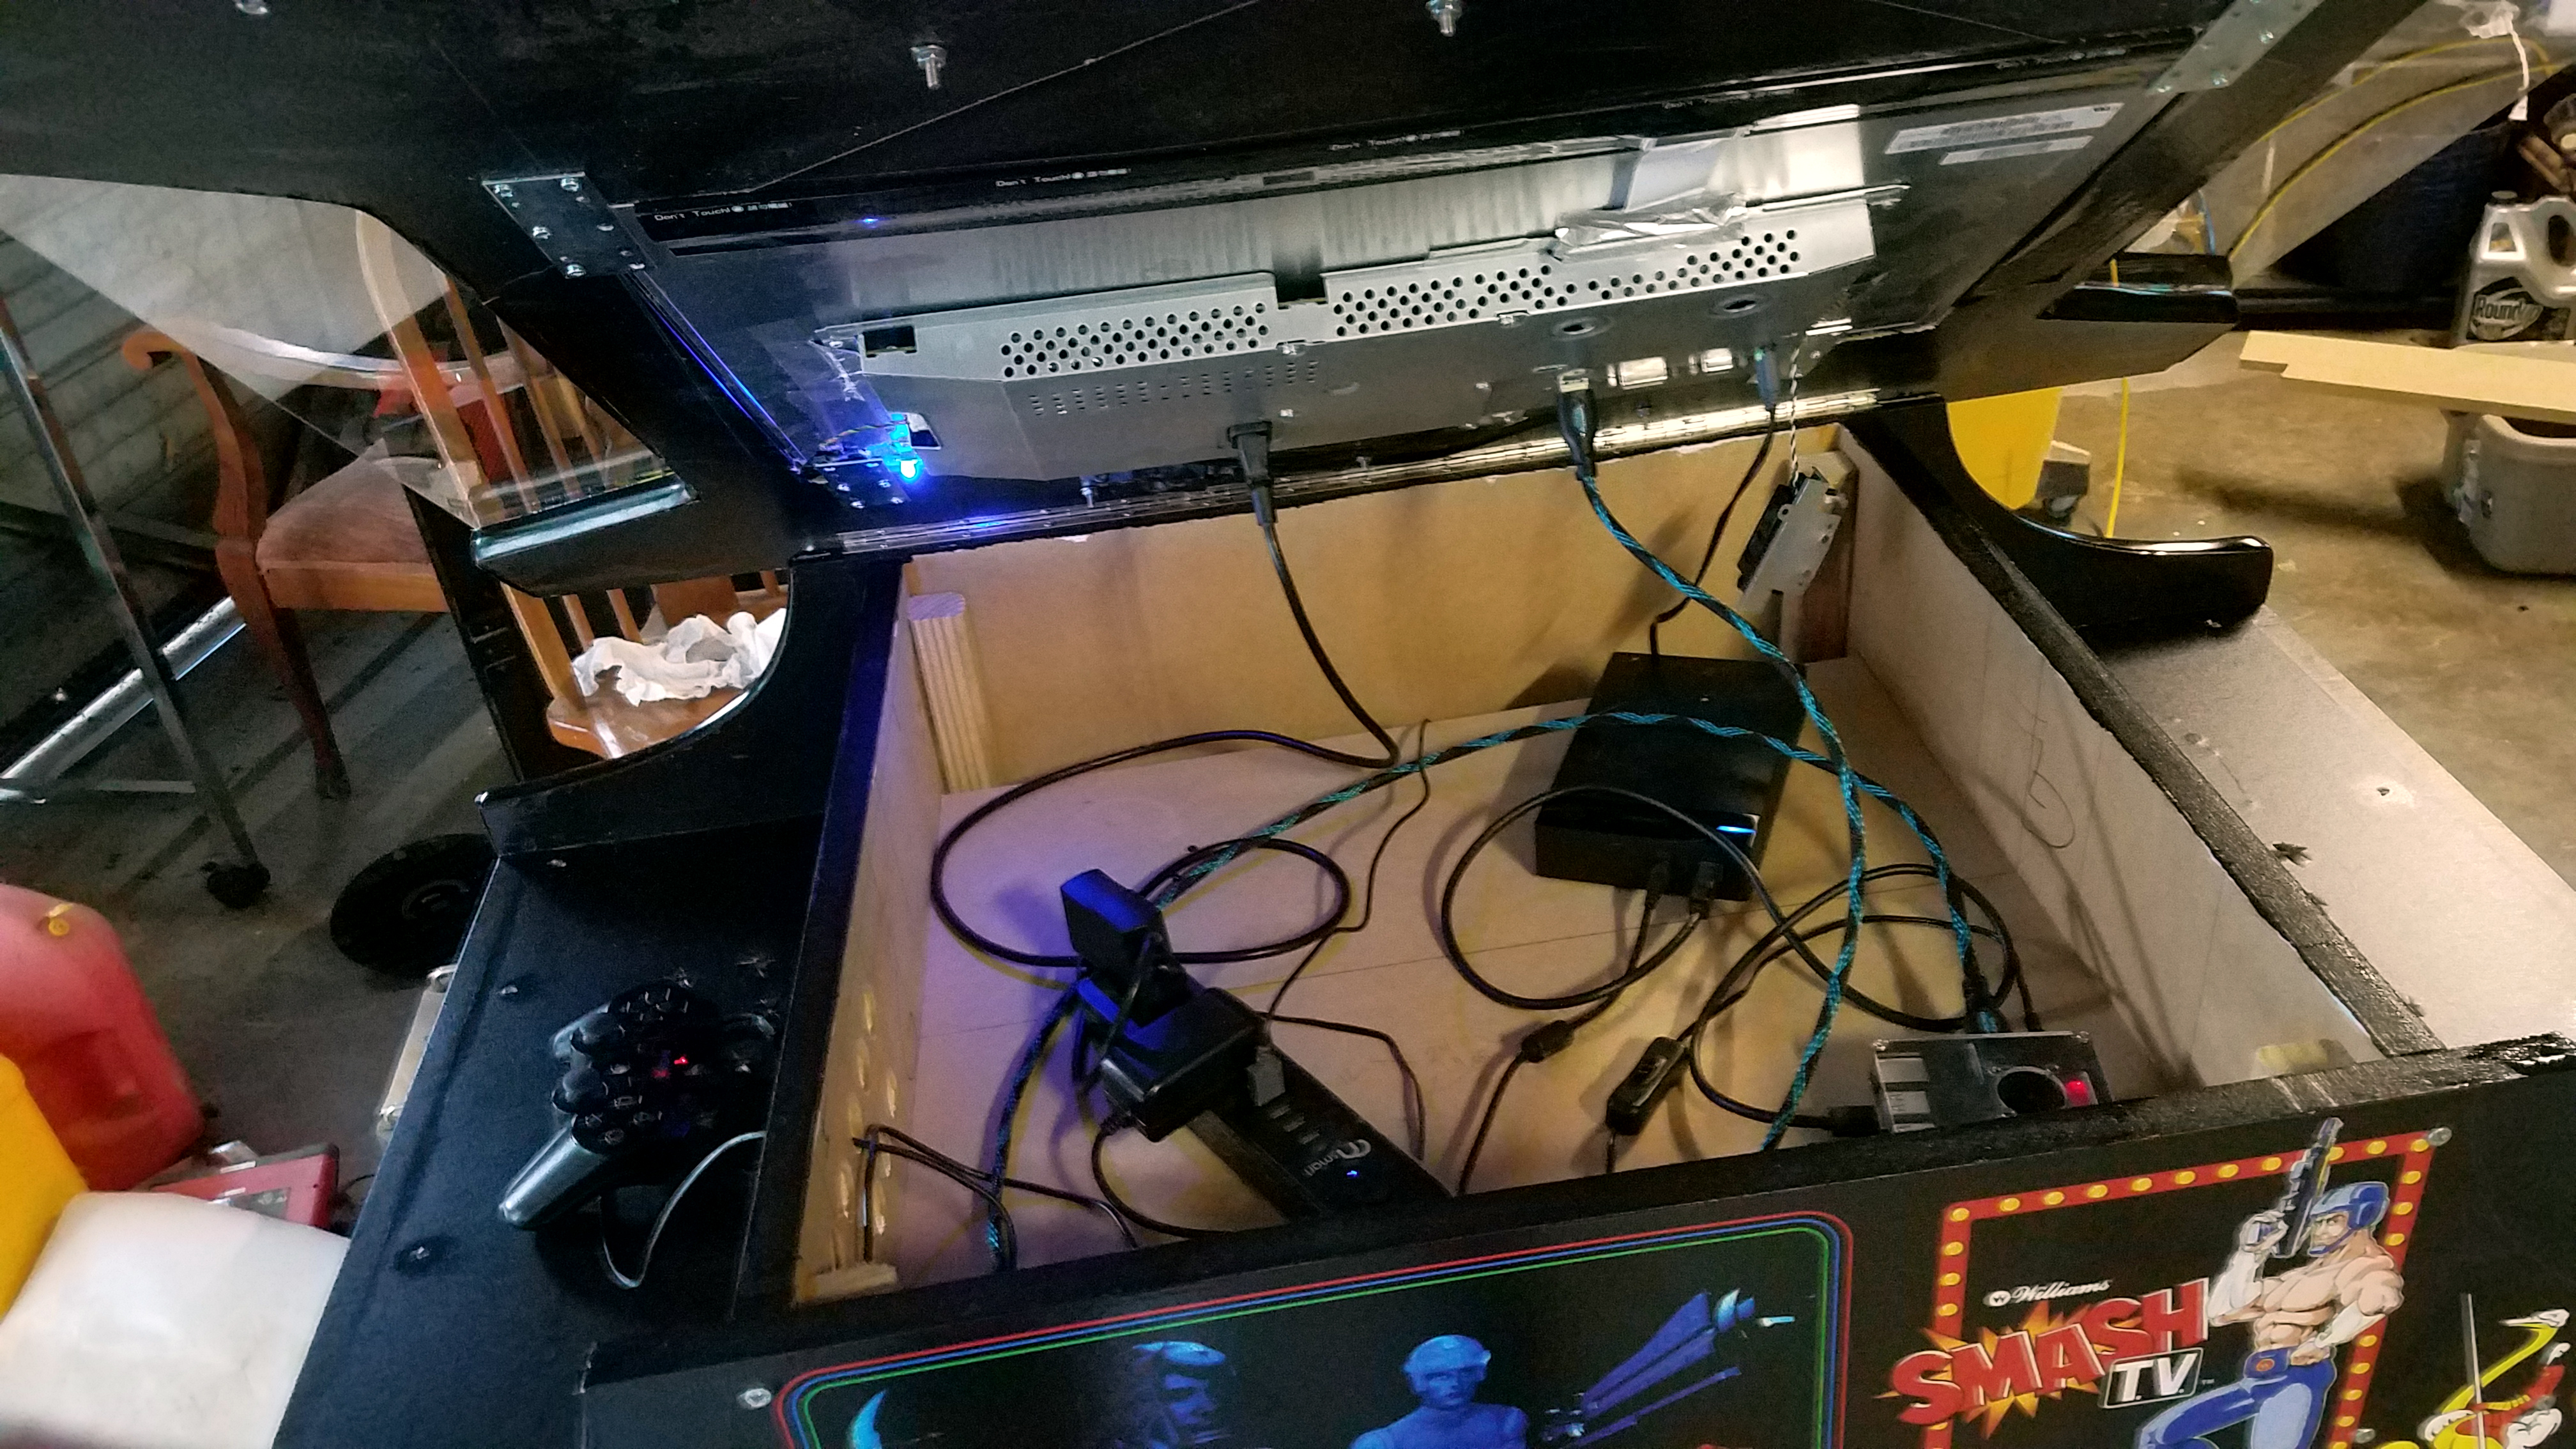
Monitor, T-molding and sound bar in and wired up - Chose a soundbar w/ a volume knob on the face for easy access when the wife thinks we're too loud =D
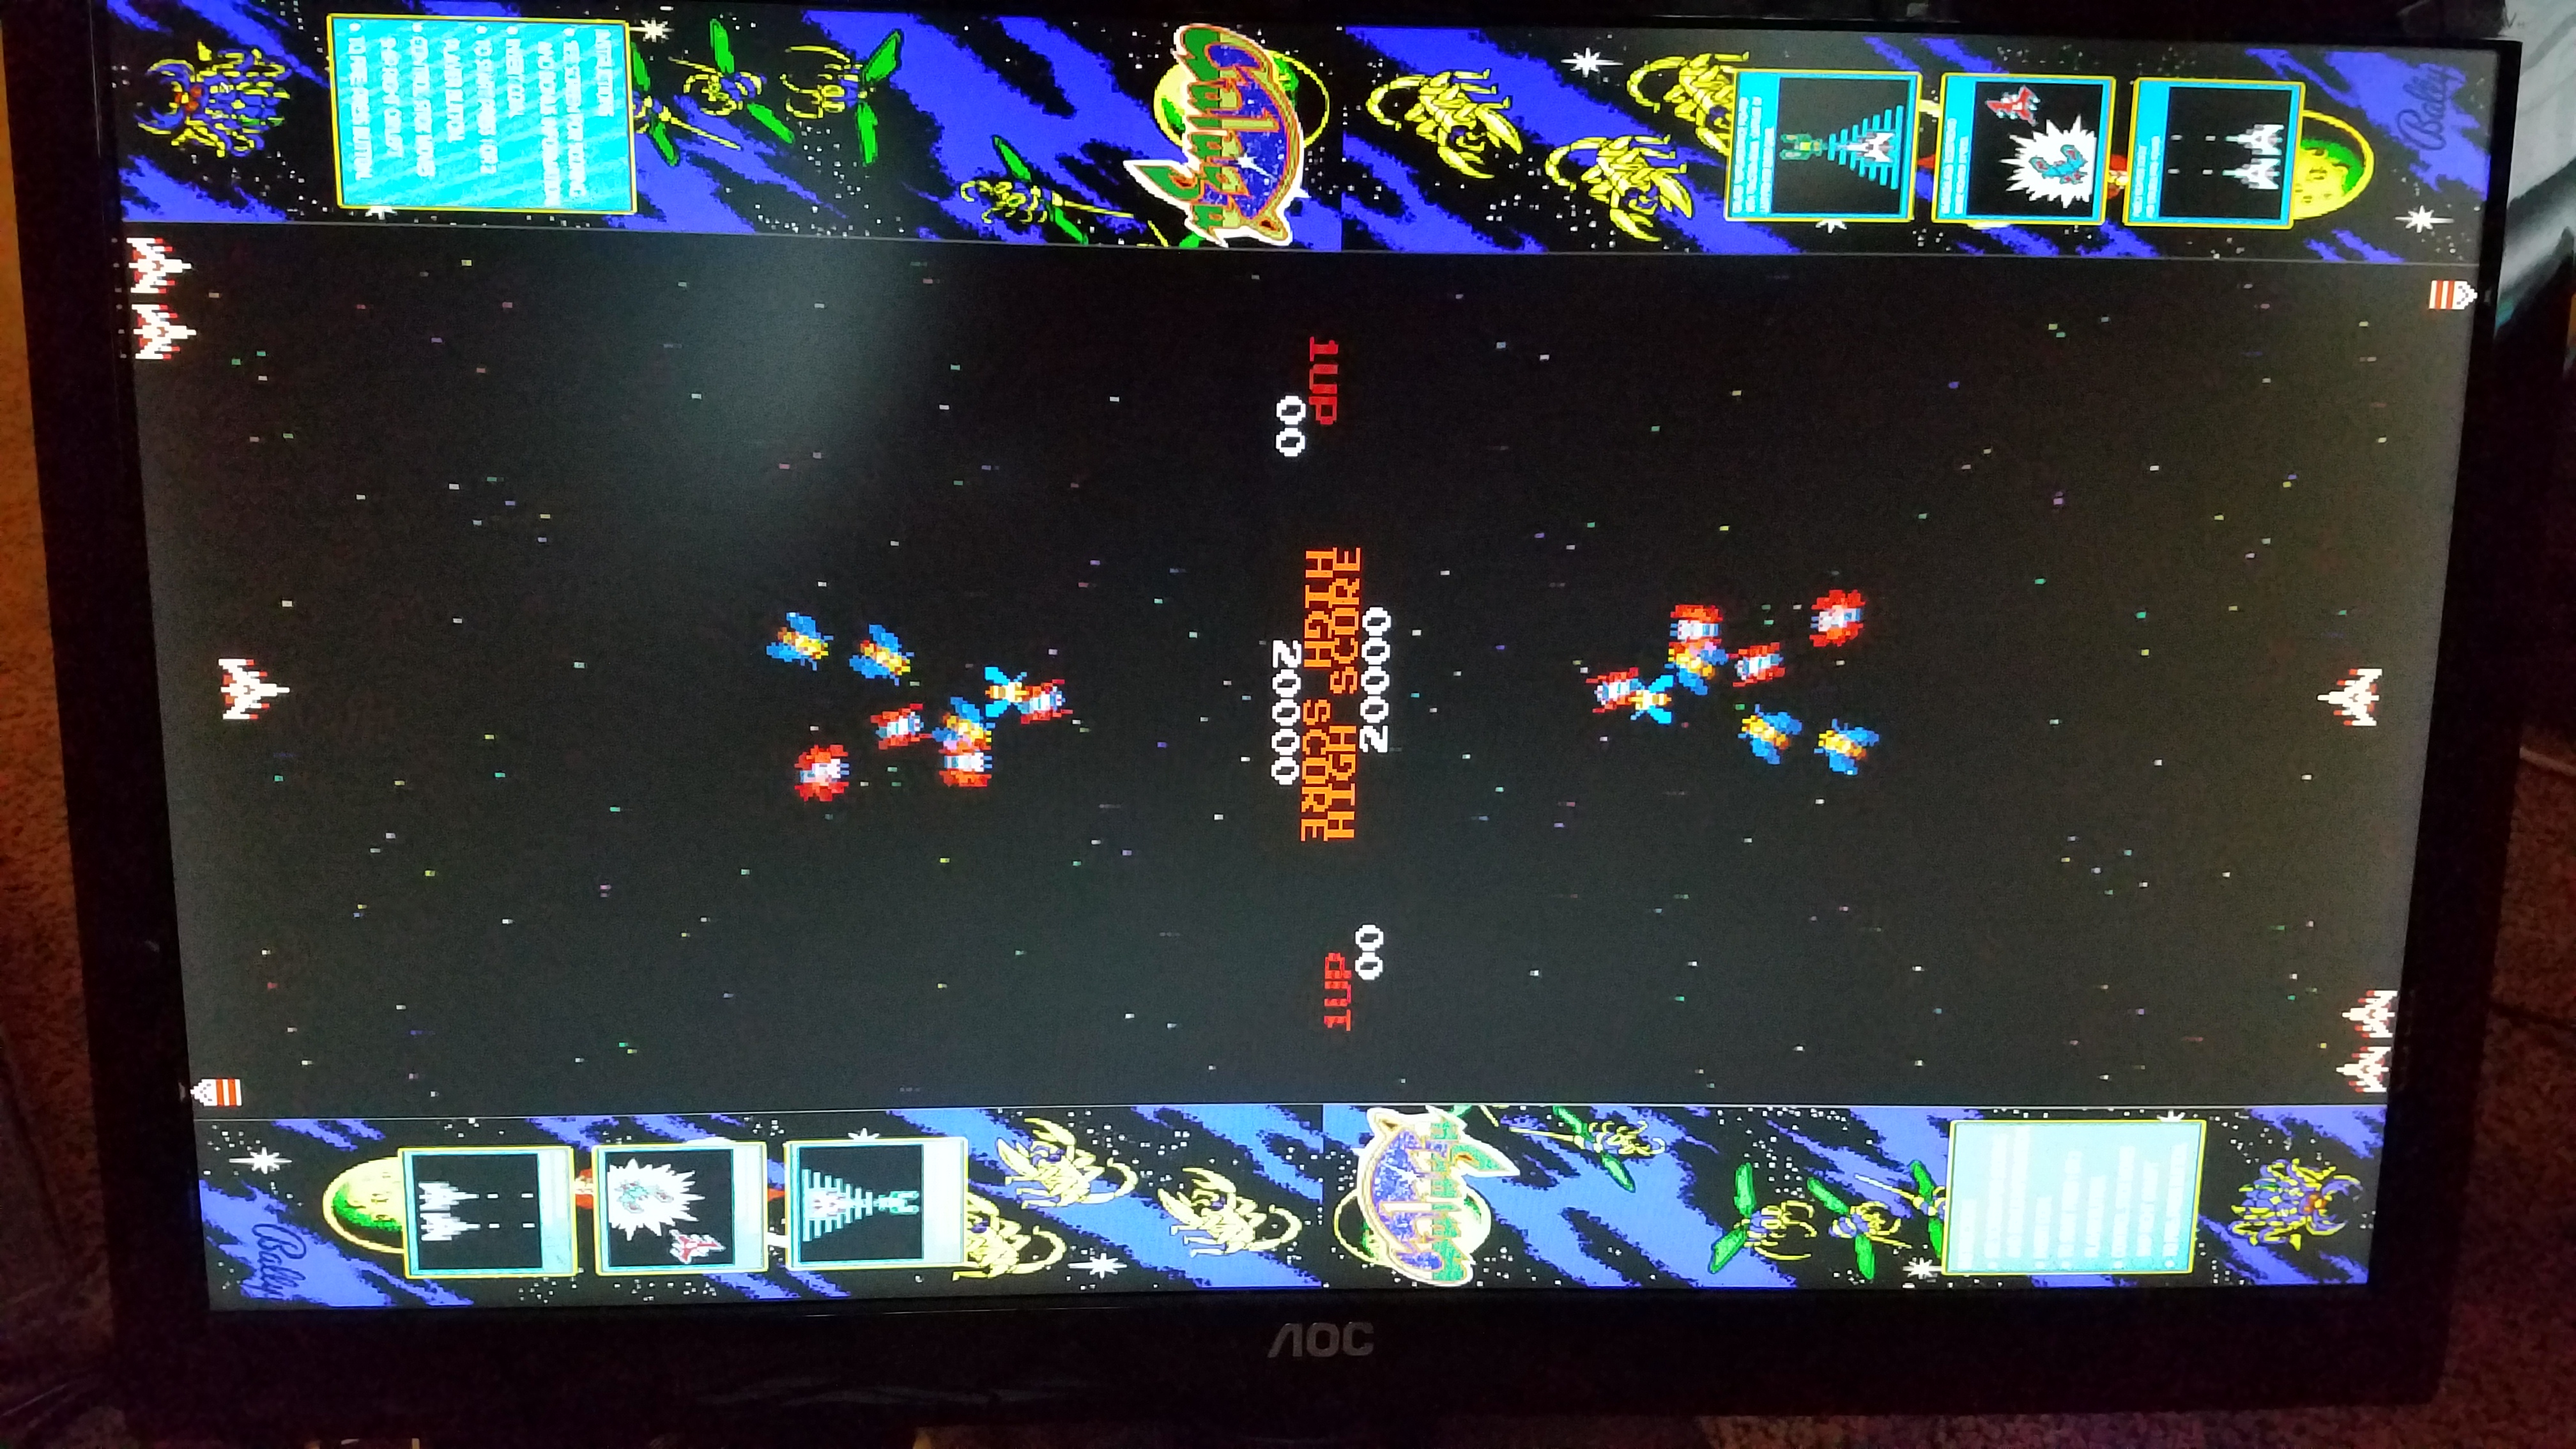
Monitor is an old 27" AOC. Using the coctail shader from here and variants (horiz flipped, vert/vert flipped) I had to tweak to get horizontal games mirroring like this
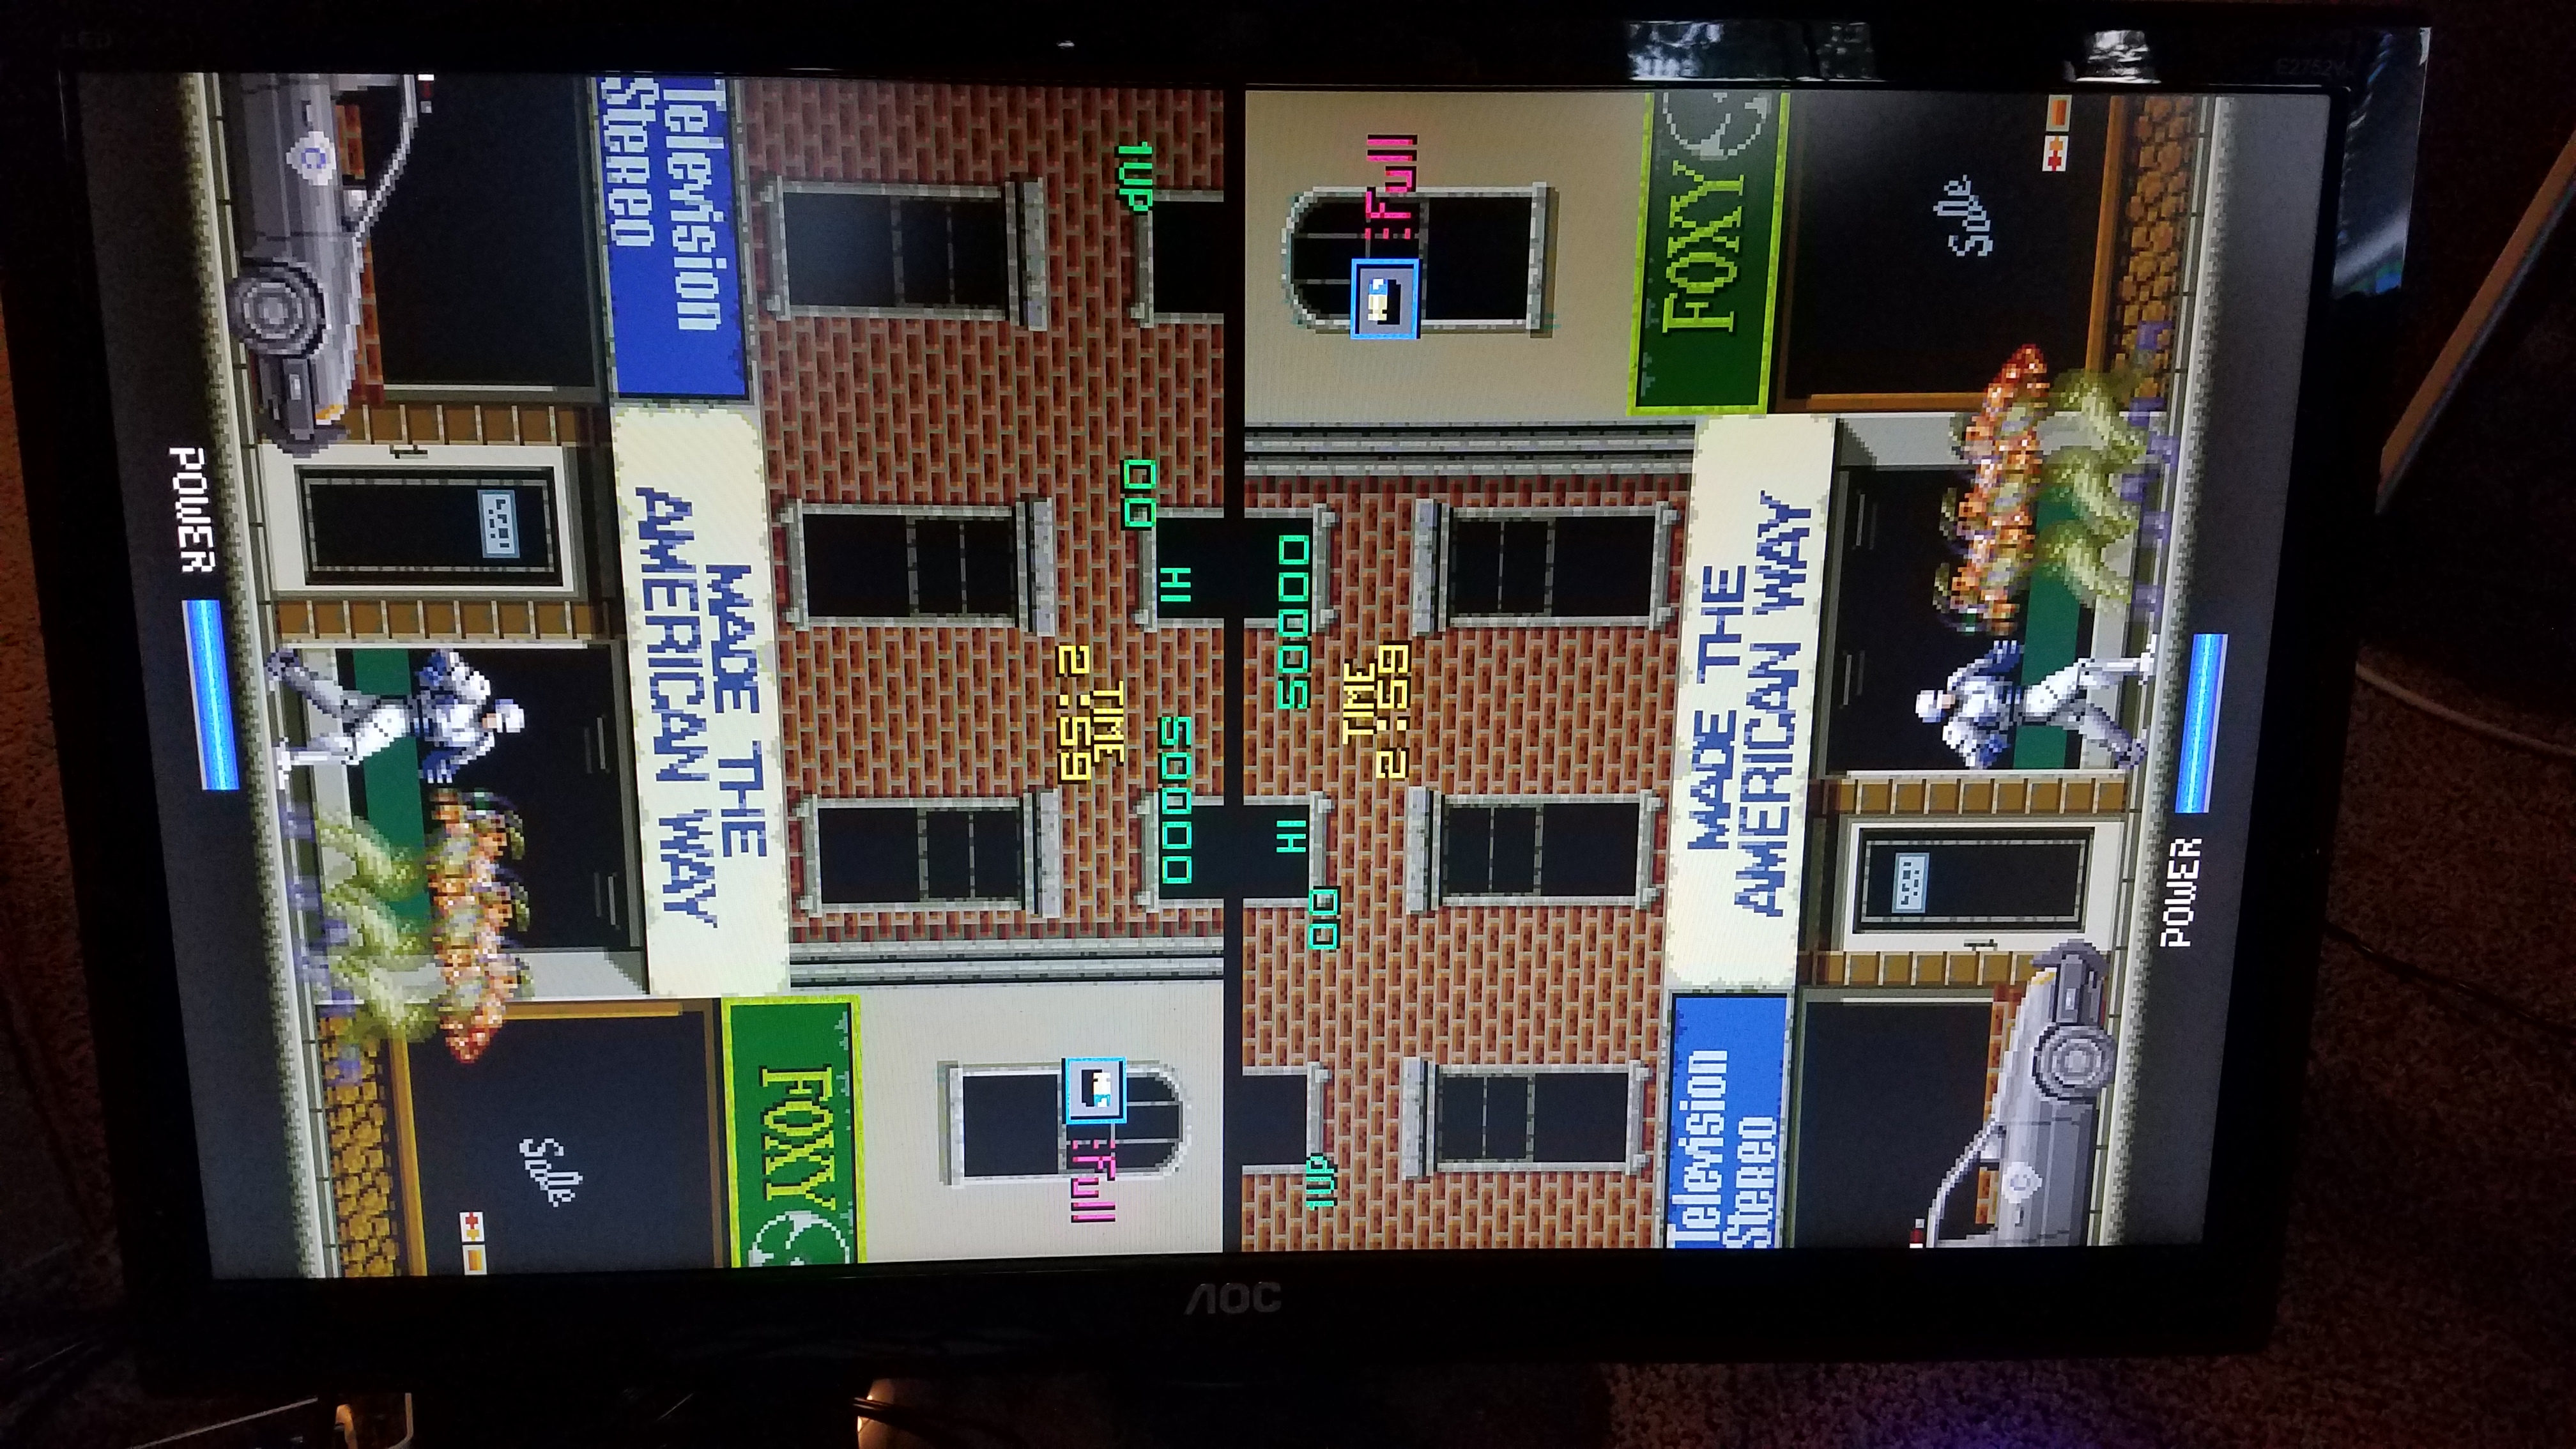
Vertical has empty space so can throw artwork on for some of the popular games
Viewing angle is AWESOME for all angles except for from below the monitor (which I didn't realize until I had it mounted (who looks at monitors from below!??!) so I had to rotate the Pi display 180° from the boot cmd line and move the piano hinge to the other side of the top face. Front is designed to be the sound bar side (back side being against a wall) and I just couldn't abide the bad viewing angle from the front side - doesn't matter if the bad angle is from the wall side). I used the beautiful Art Book theme, slightly tweaked for emulation station. It's landscape mode (as the mirrors are actually rotated).
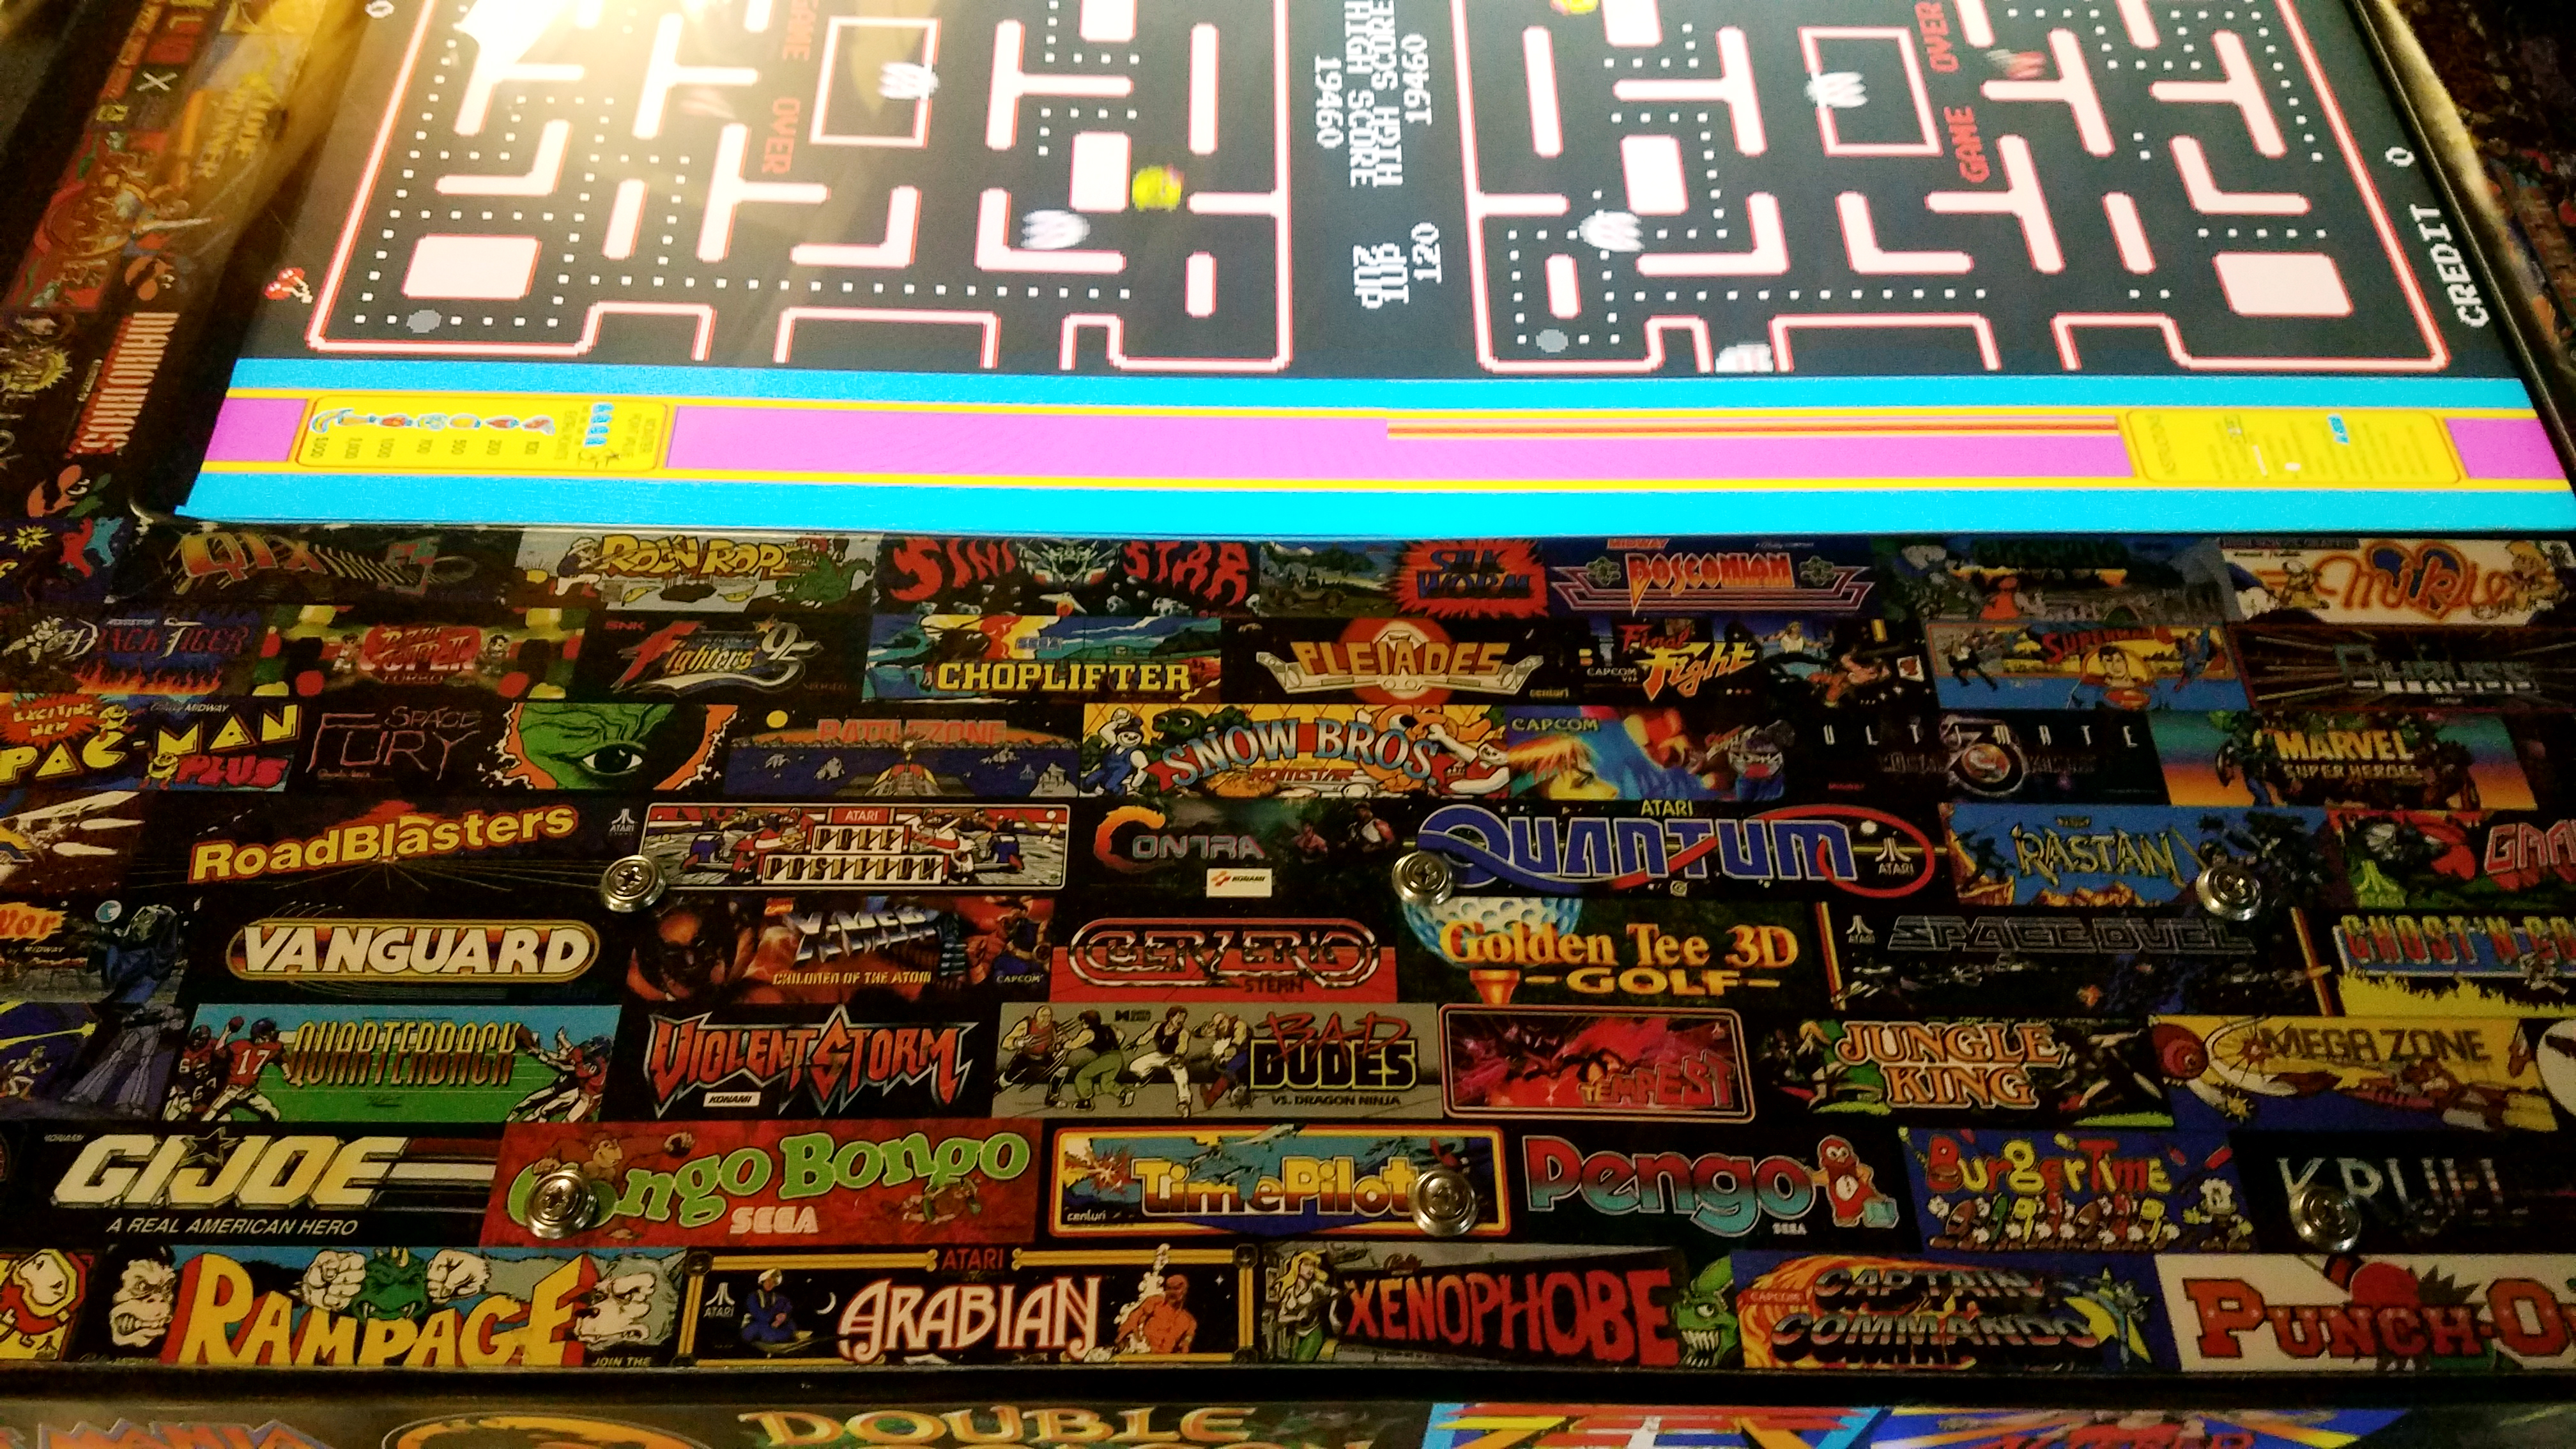
I really love how the top face turned out. Used a mosaic of marquees. Took a while to create, but sooooo sexy.
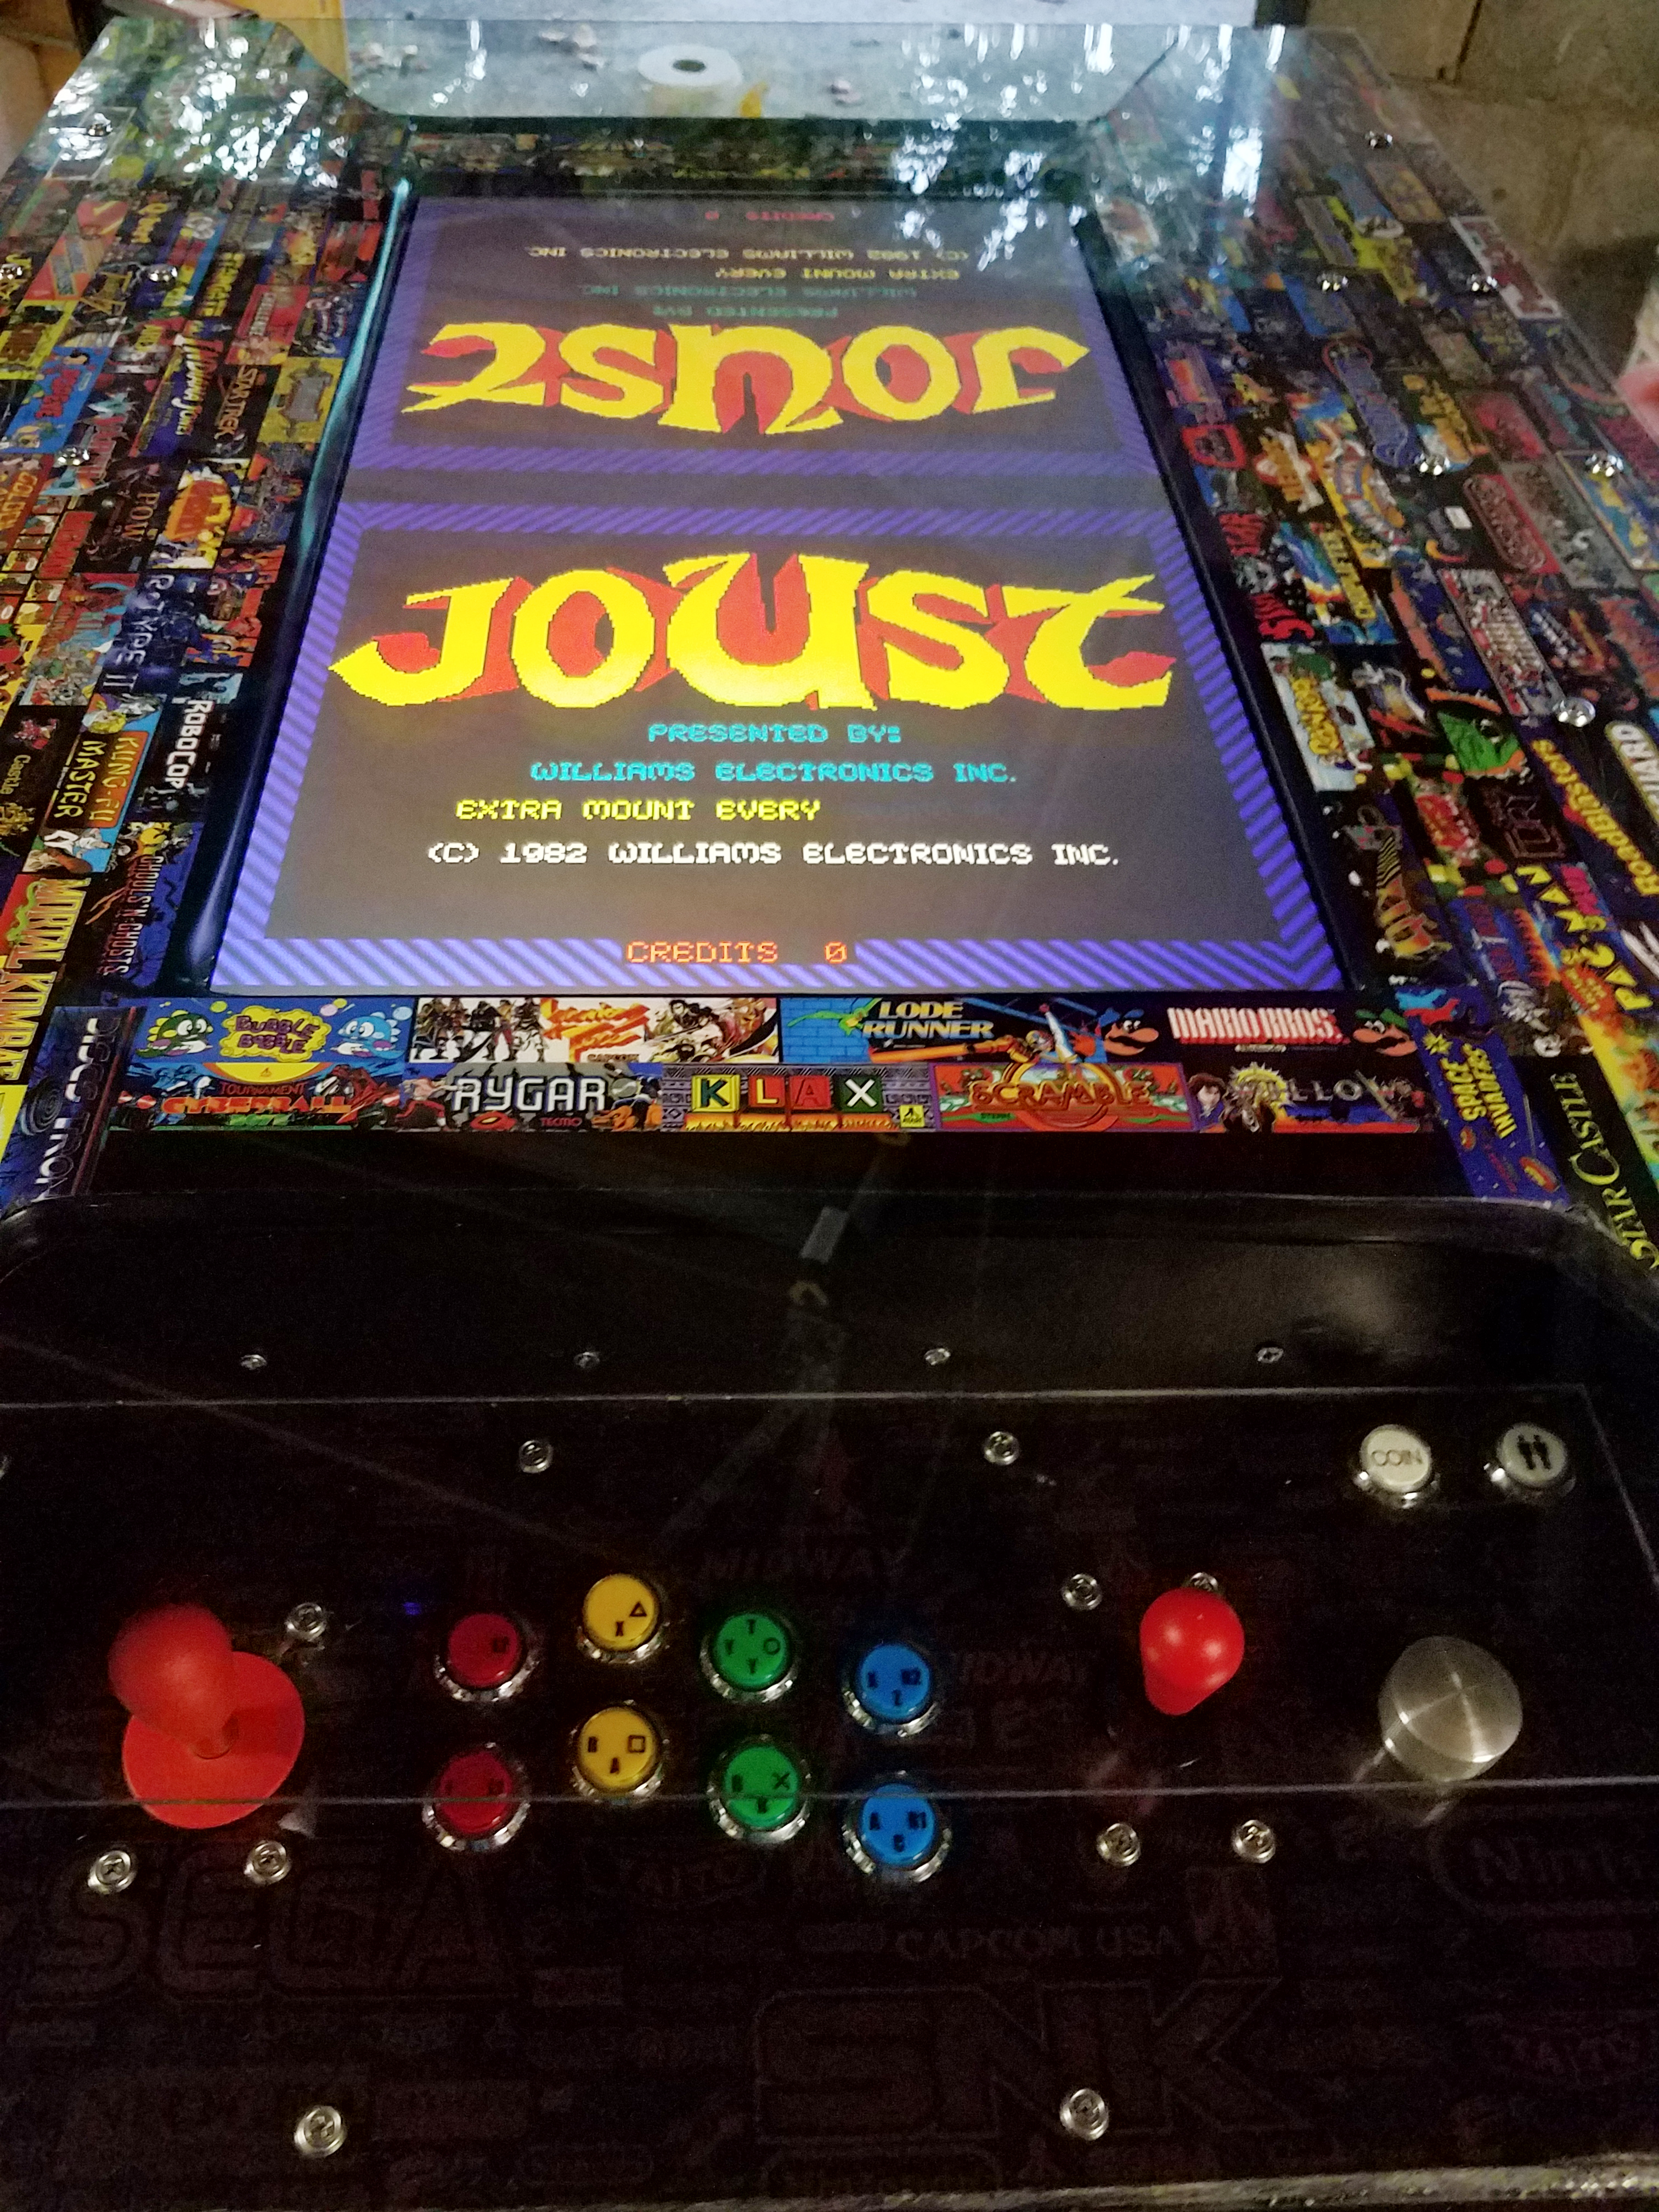
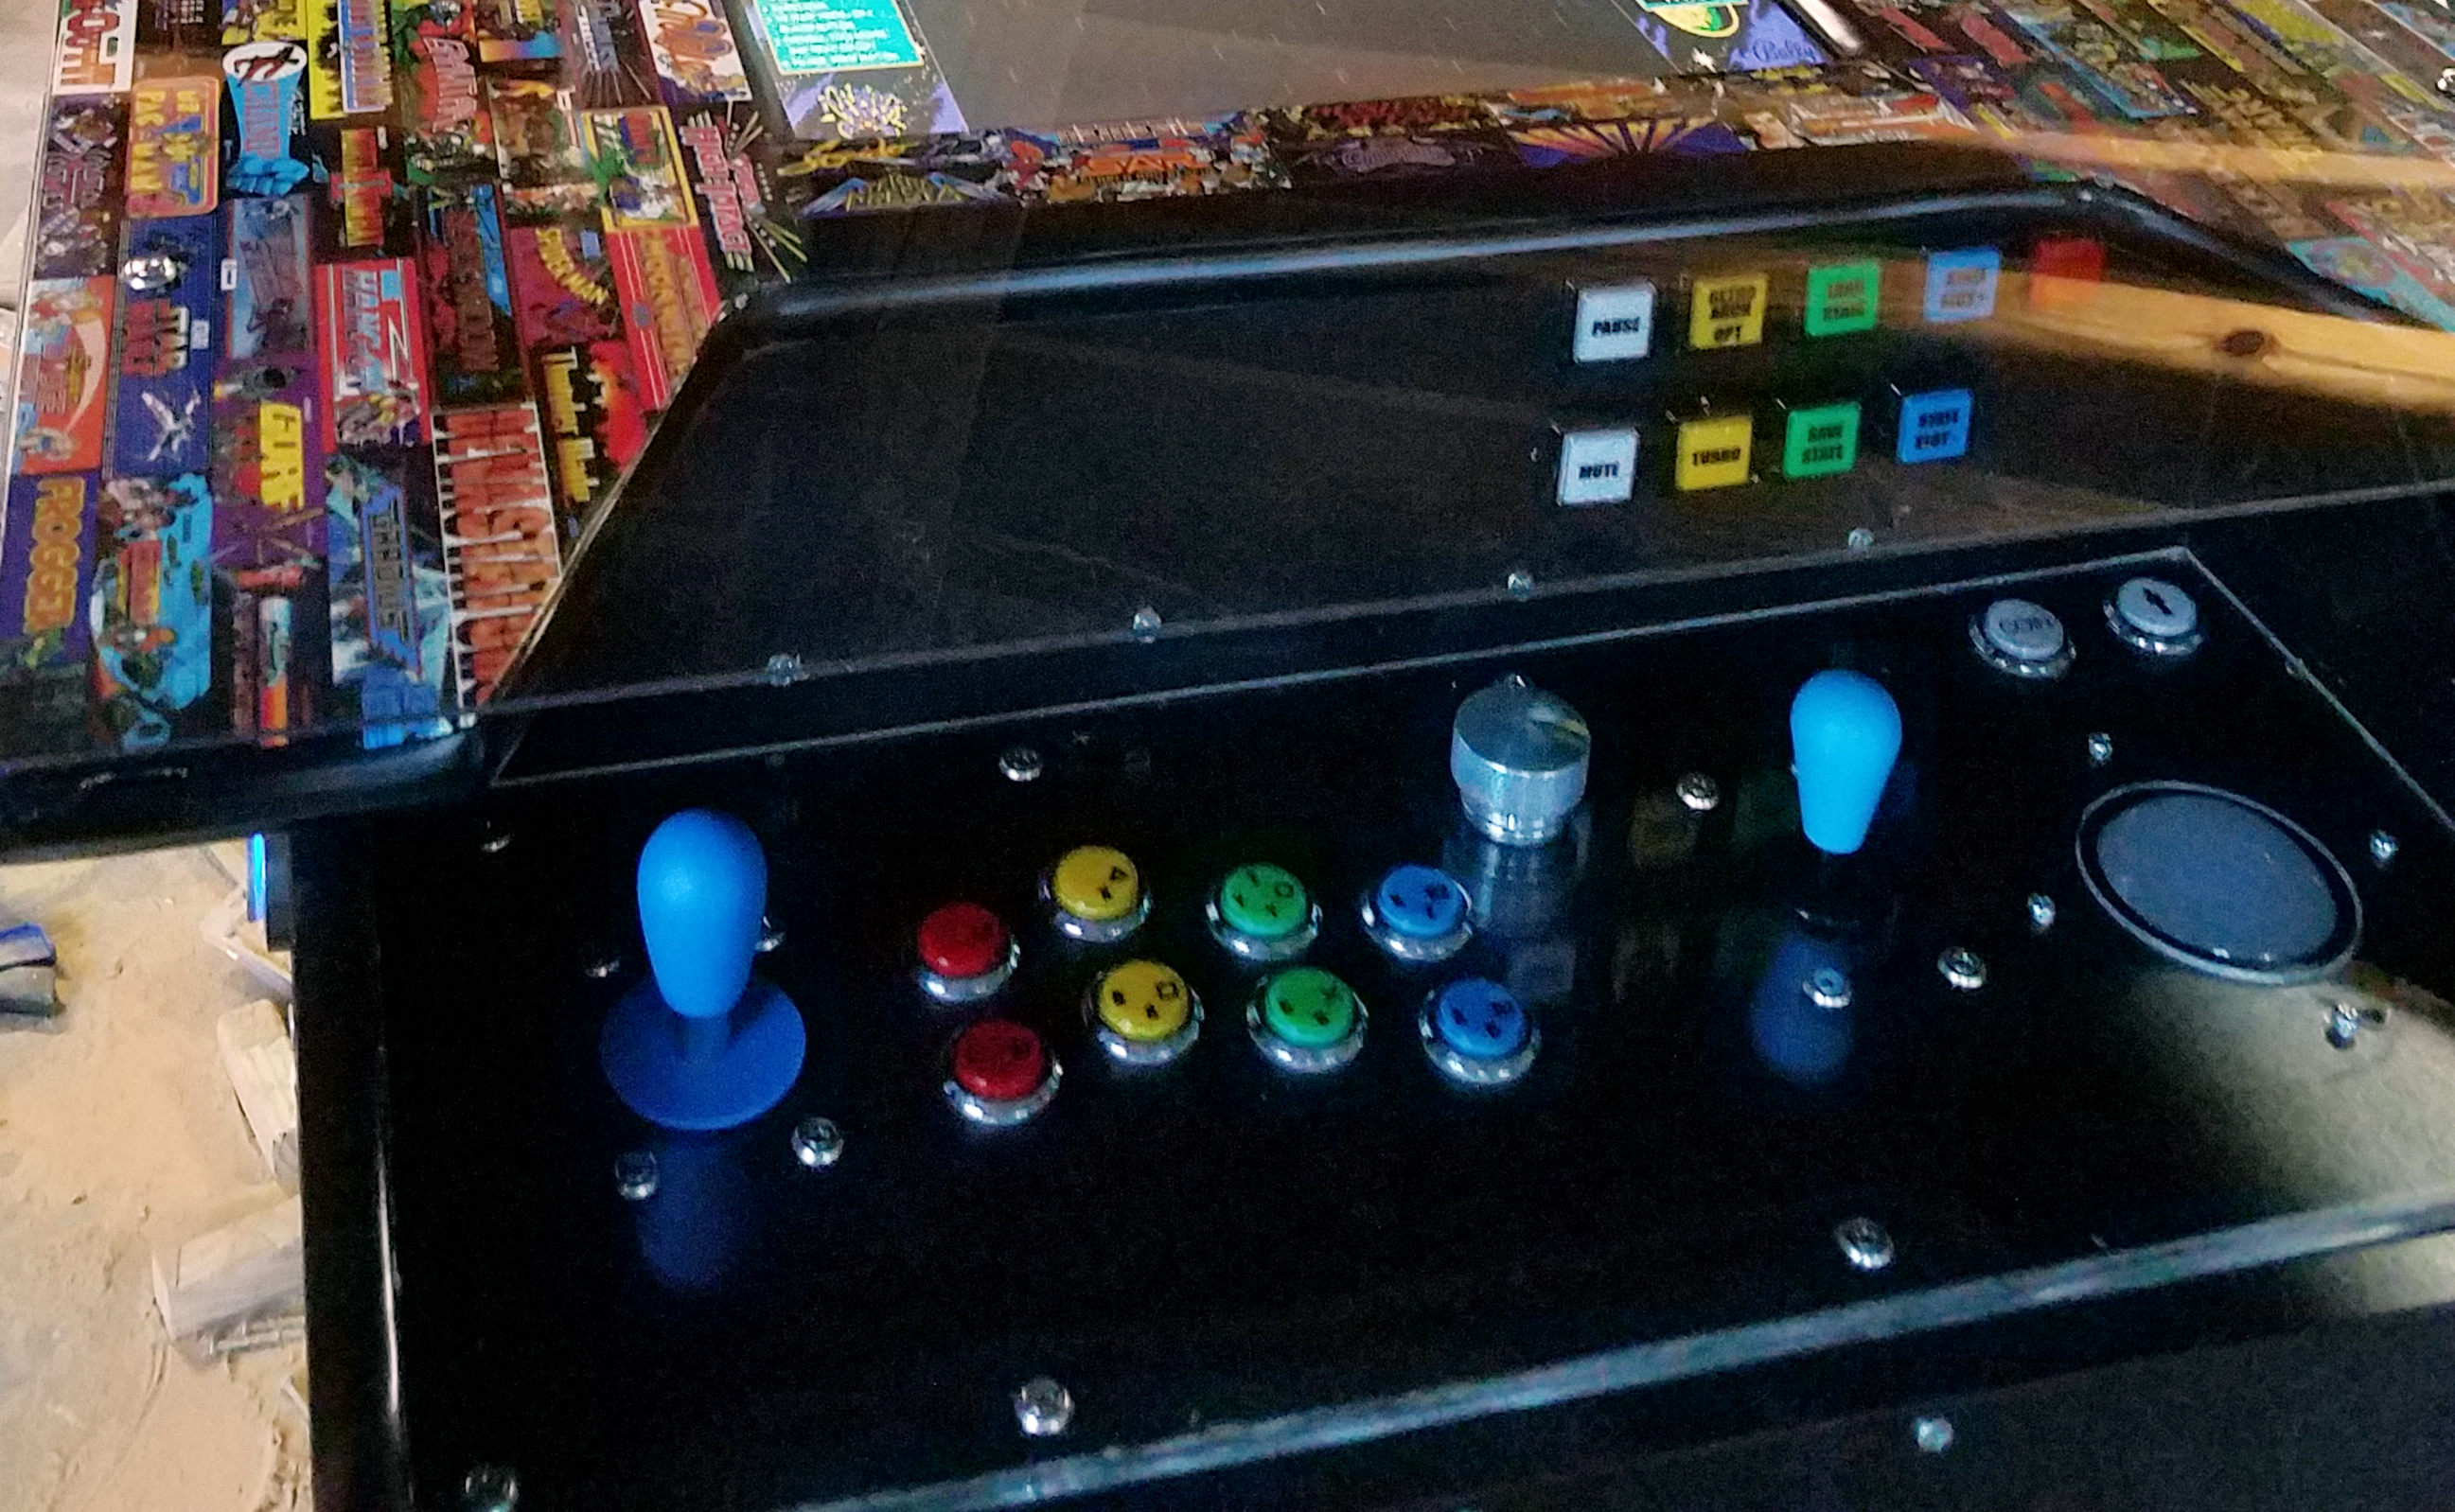
Player one controls in (but not wired yet) - Magstik Plus (4/8-way by pulling up and rotating - nice not to have to get inside the panel); 8 LED buttons (enough for PS L1/2 + R1/2 - we'll see how that works); Turbo Twist 2 spinner w/ the flywheel weight (man this thing feels great); 8-way stick that came w/ the buttons; 3" trackball
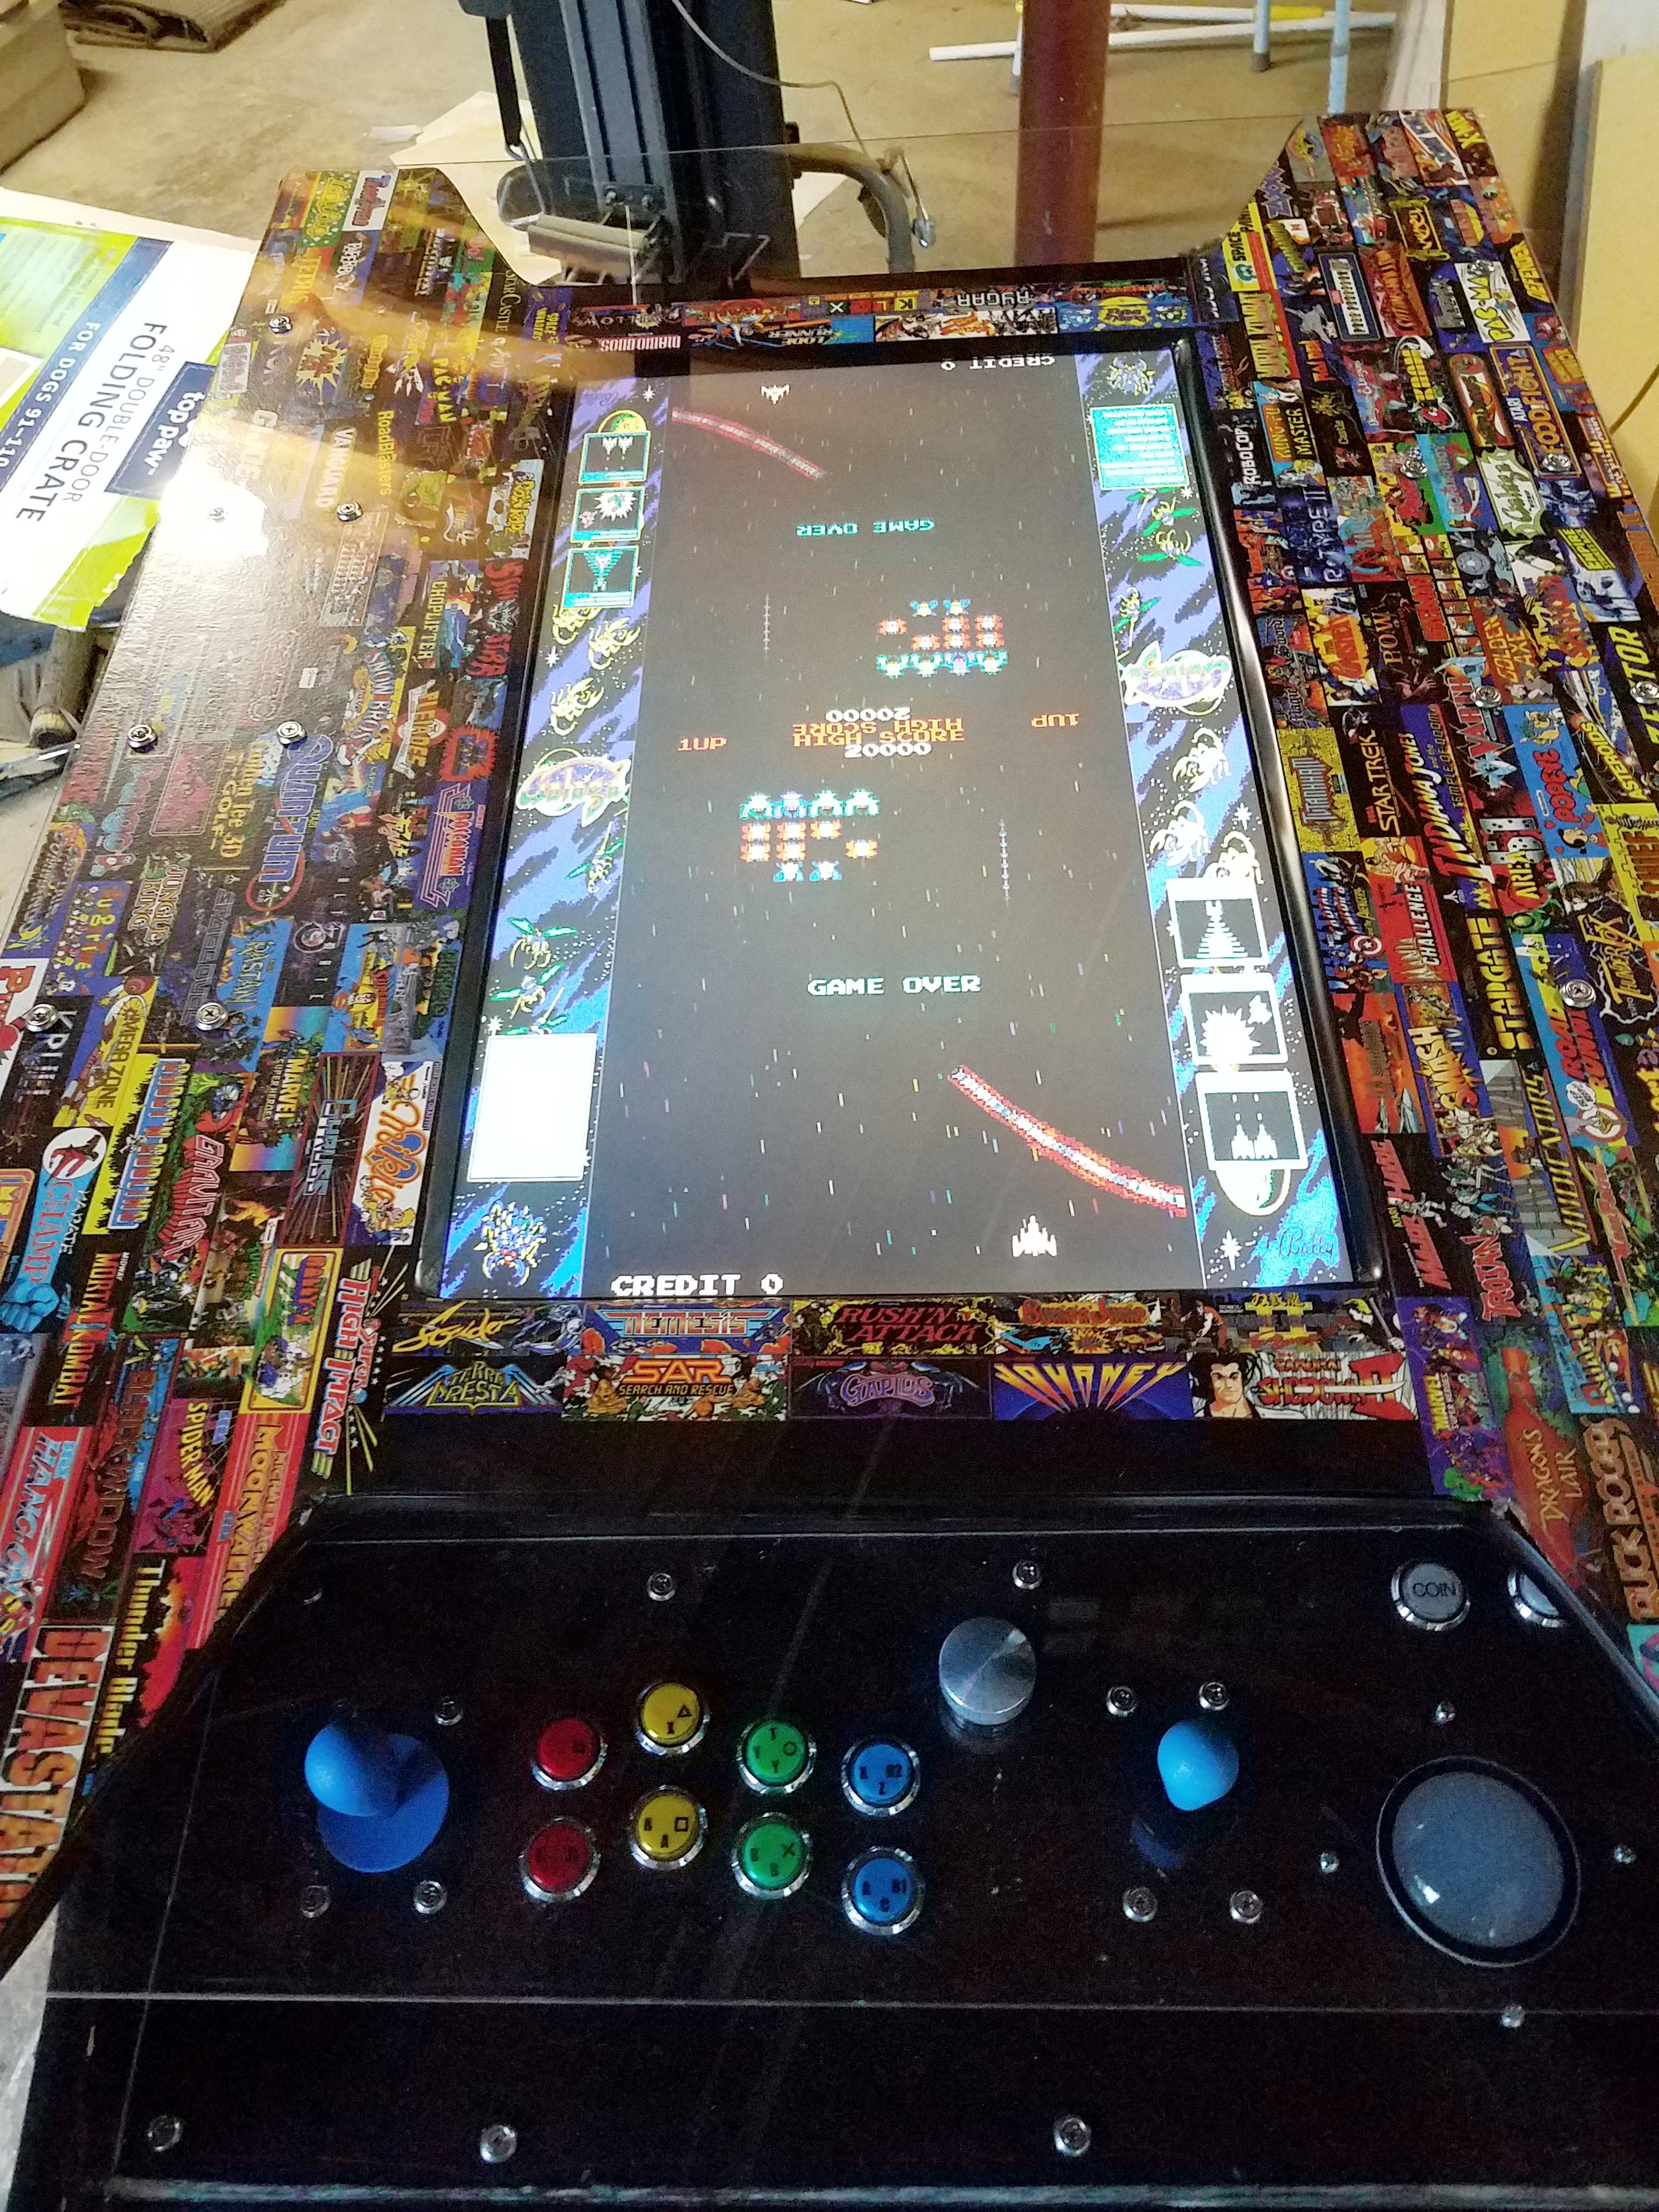
Player two is the same controls, w/ slightly altered layout and no trackball
Player one also has buttons on the face over the control panel - Far left (not shown - you can see the position in the raw wood construction images above) is the exit button - right side has things like mute, pause, retroarch menu, states, etc.
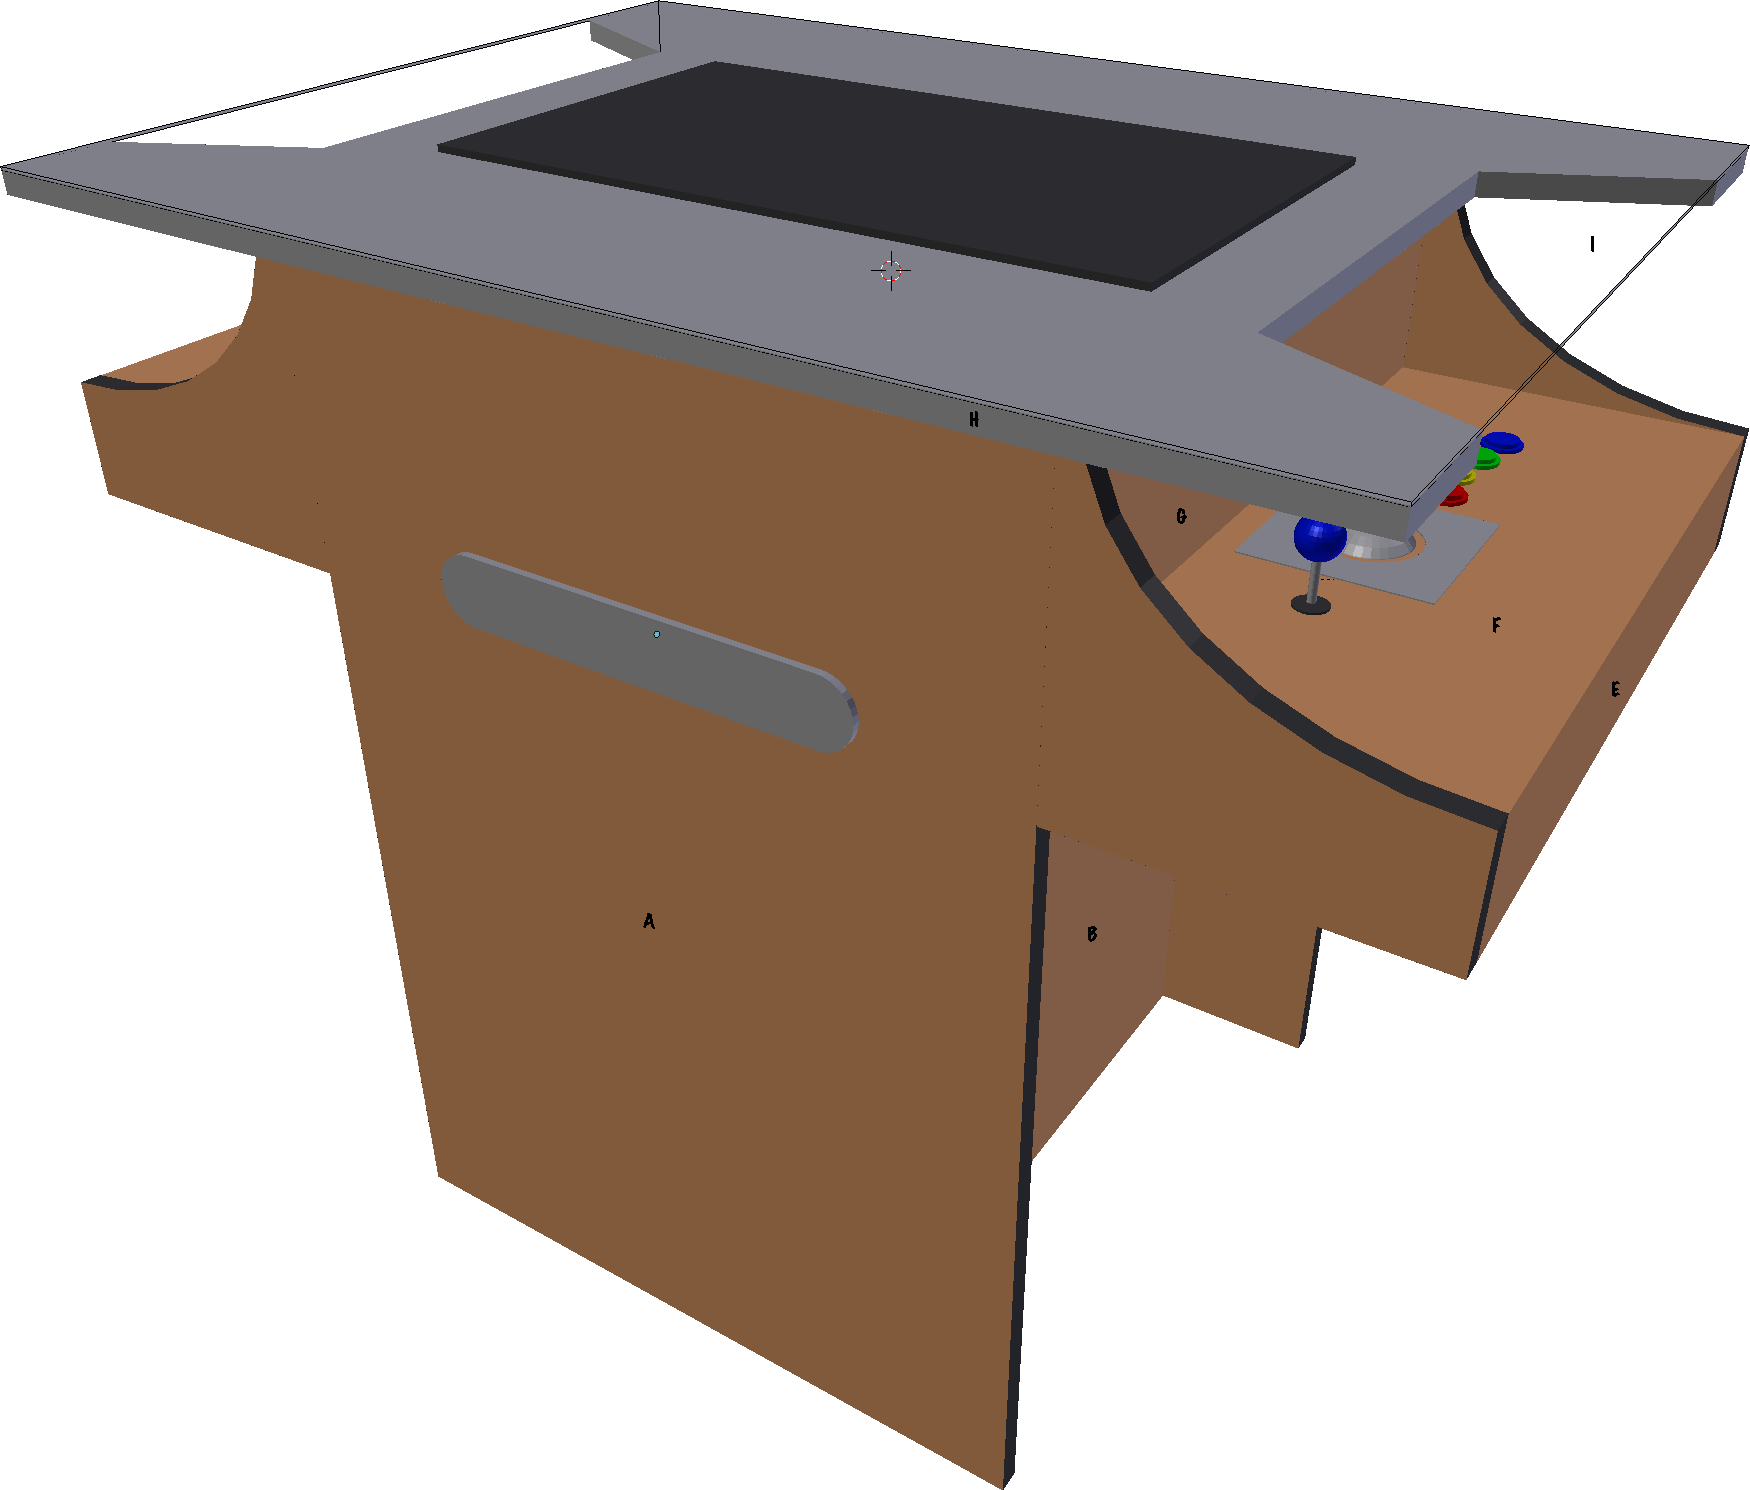
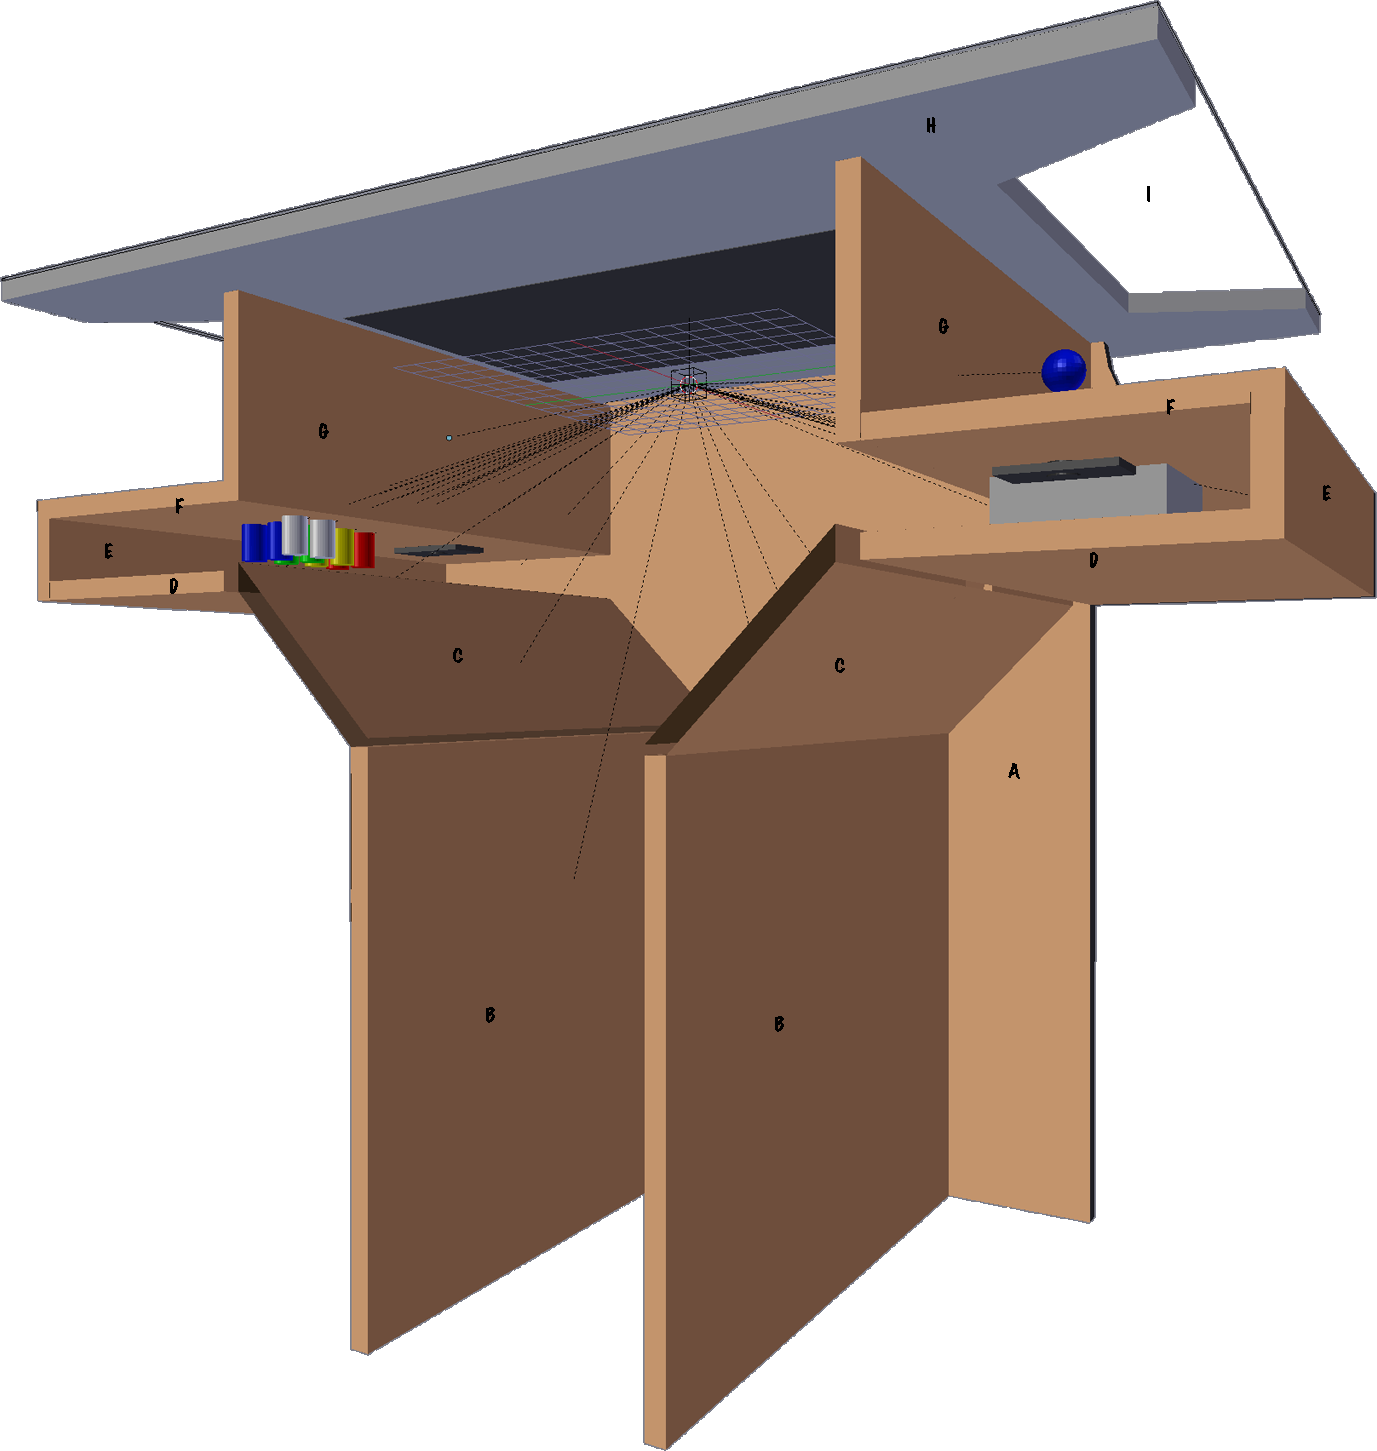
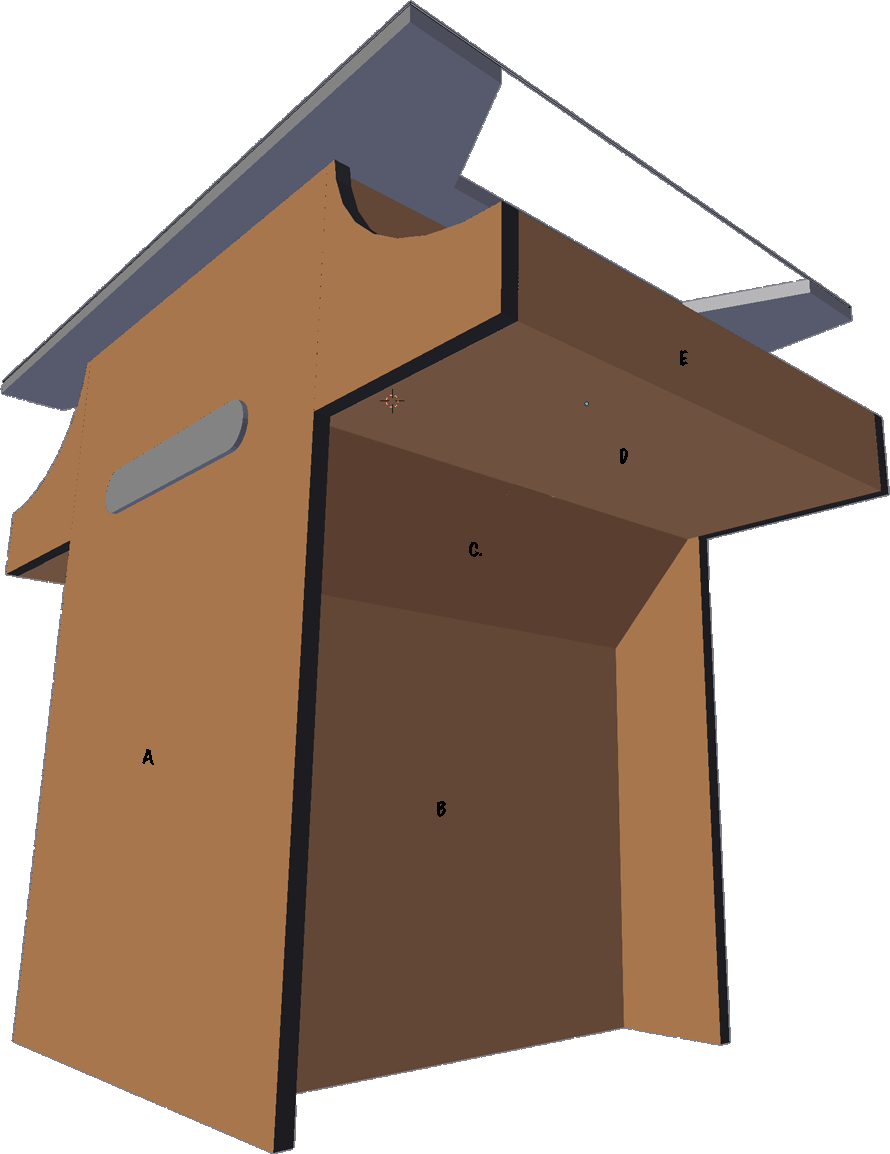
I designed it in blender
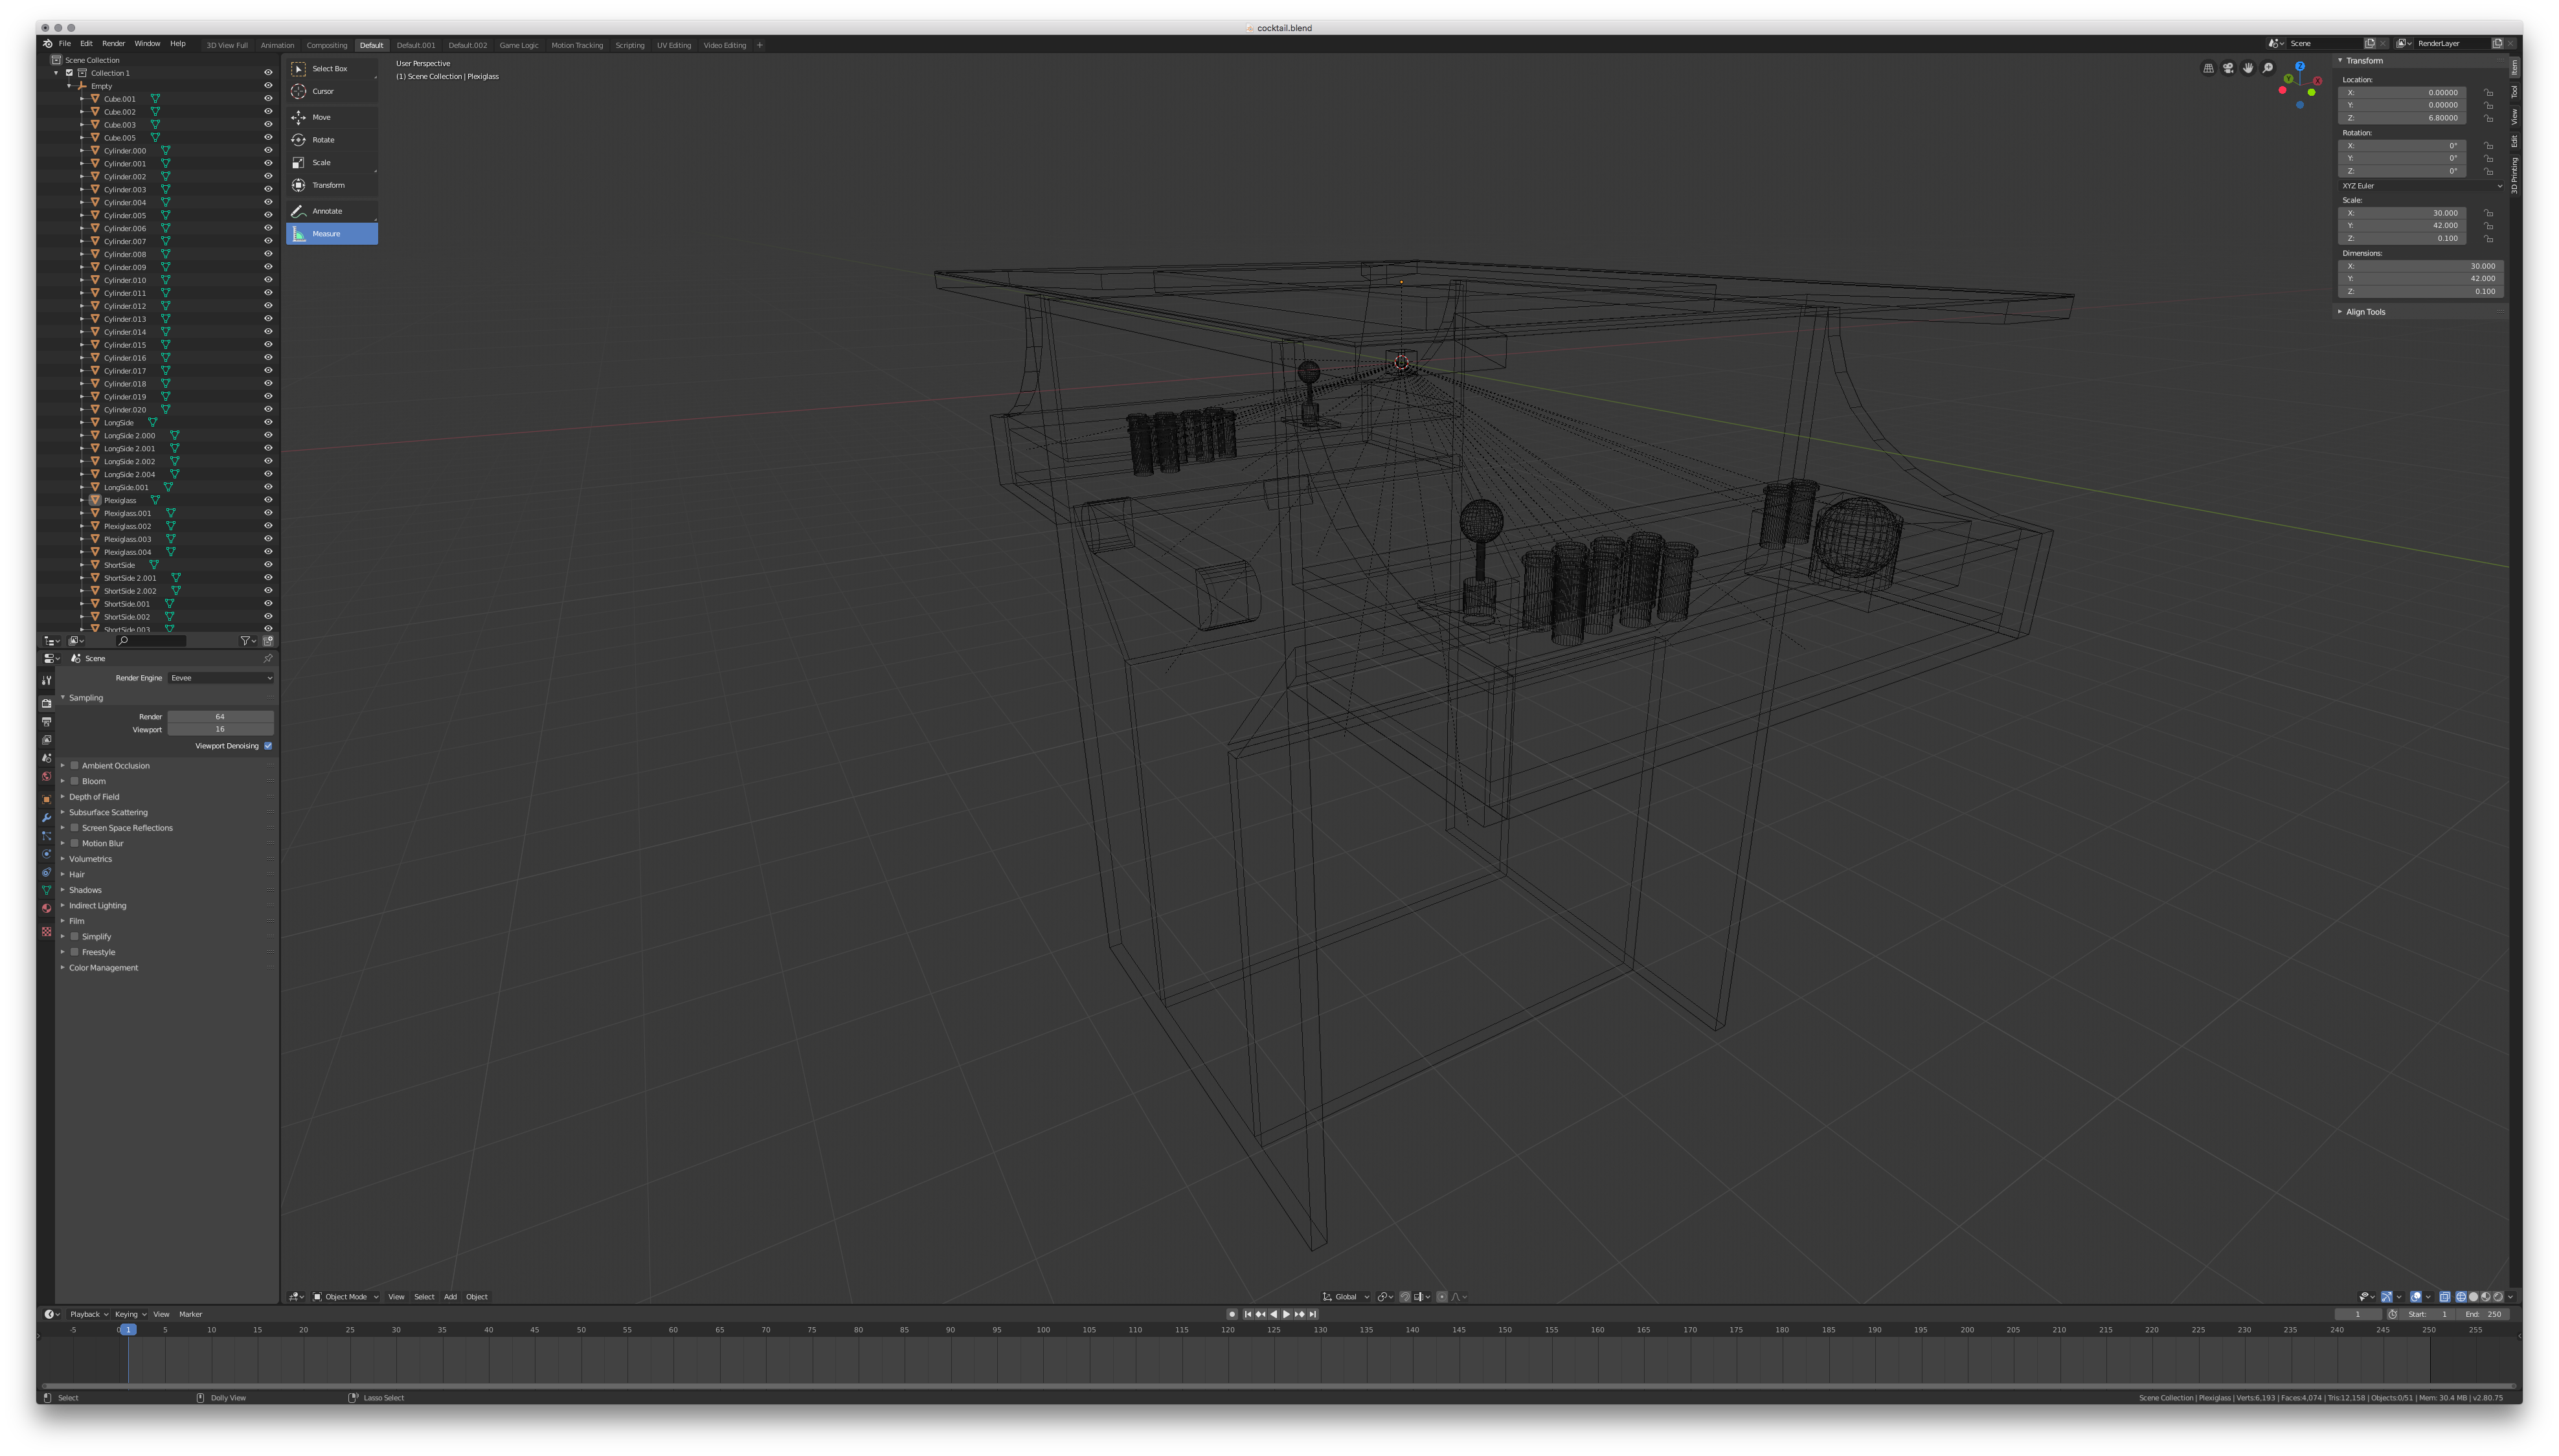
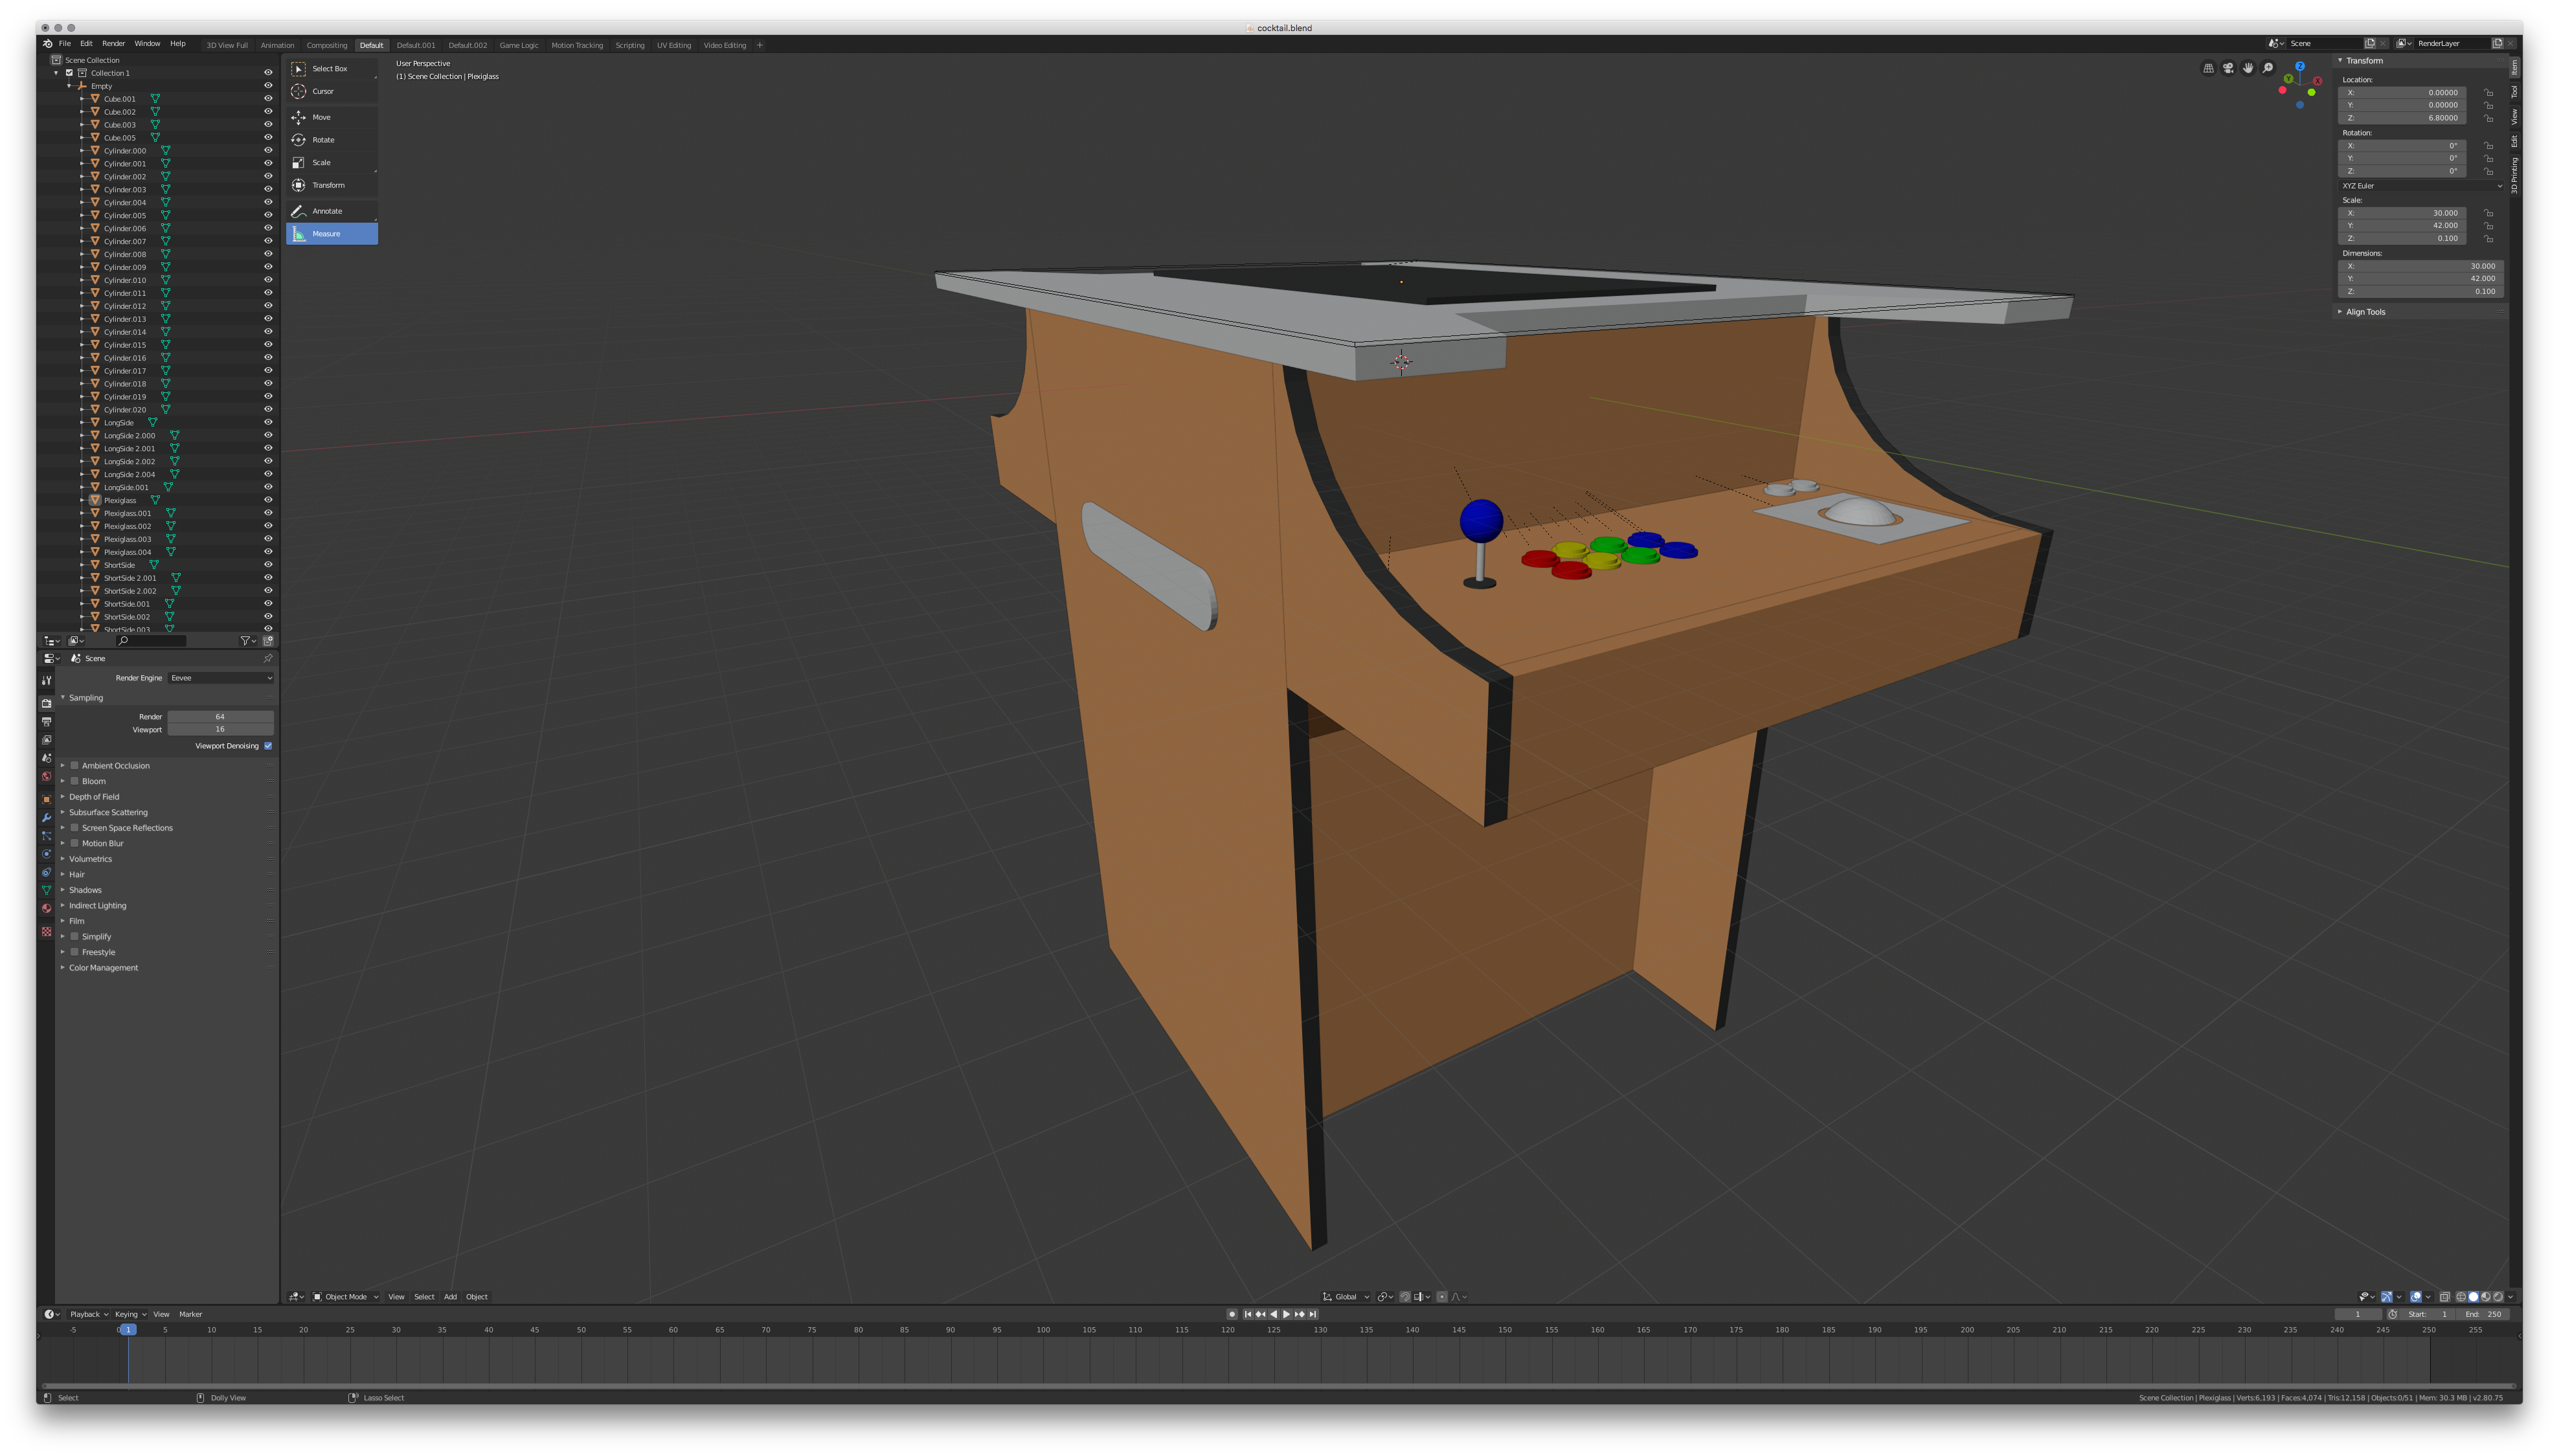
Blender file if anyone wants it. It's set up where 1 blender unit = 1 inch.
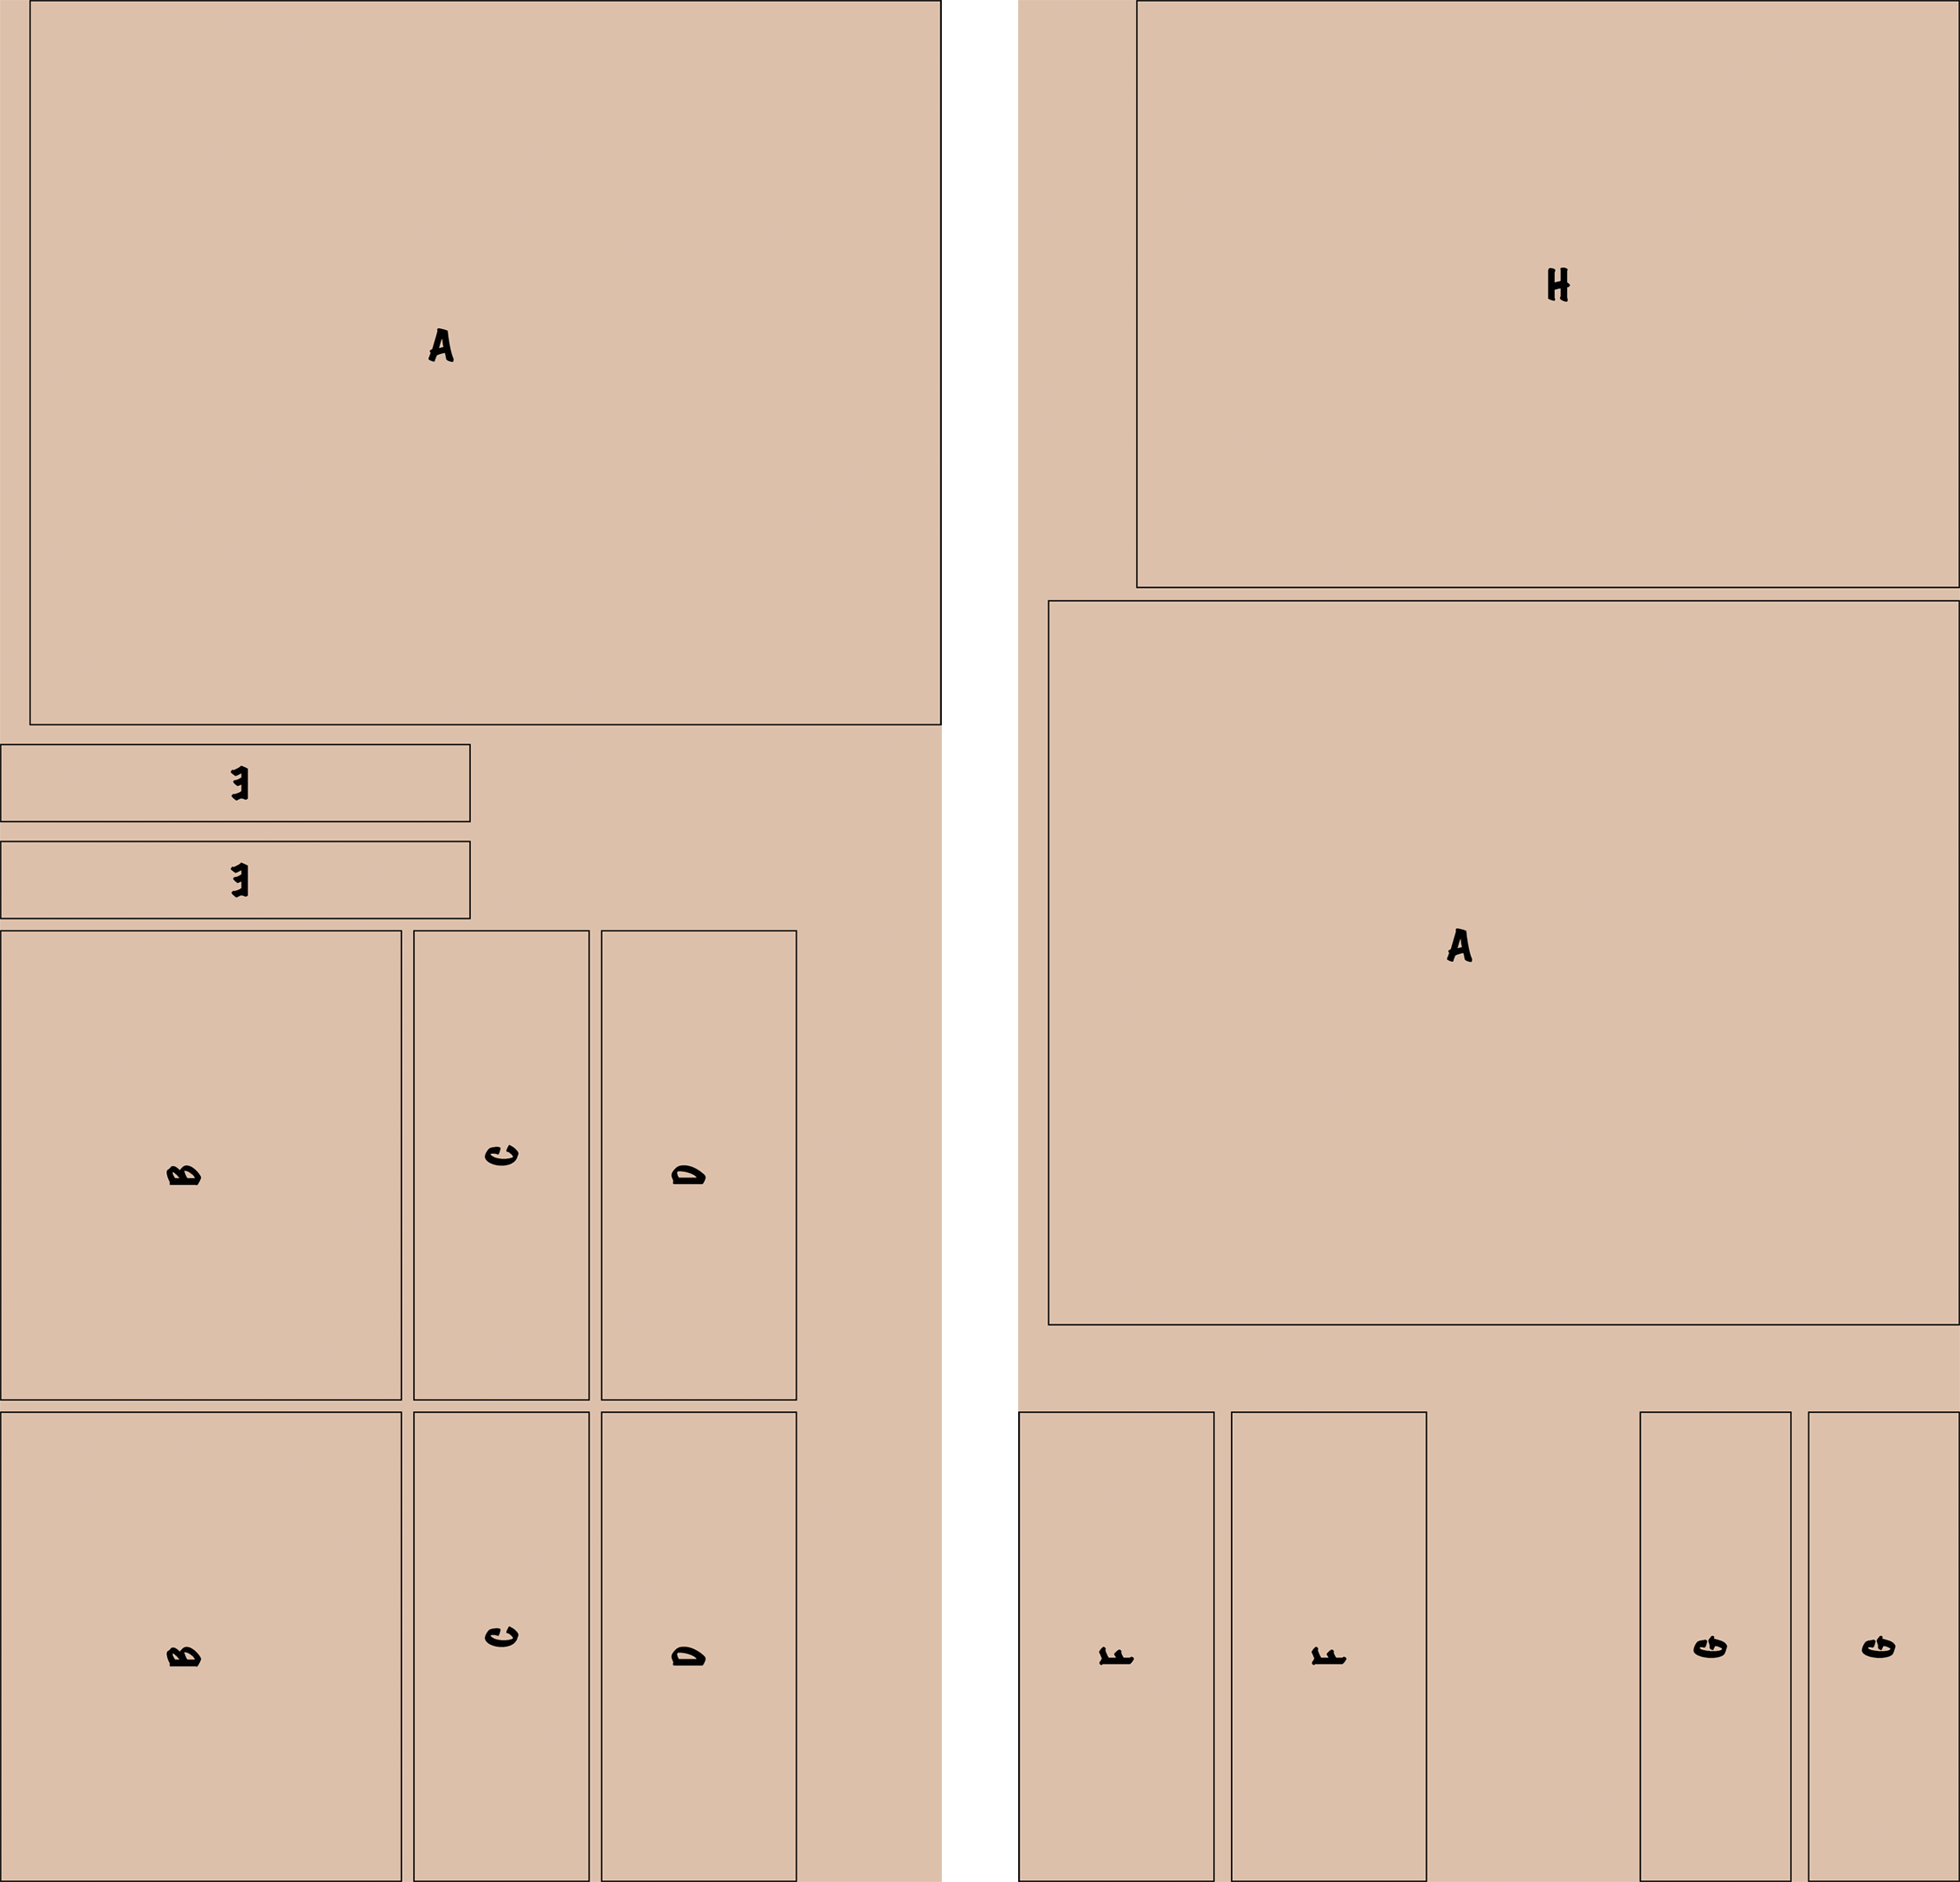
Measurement printers
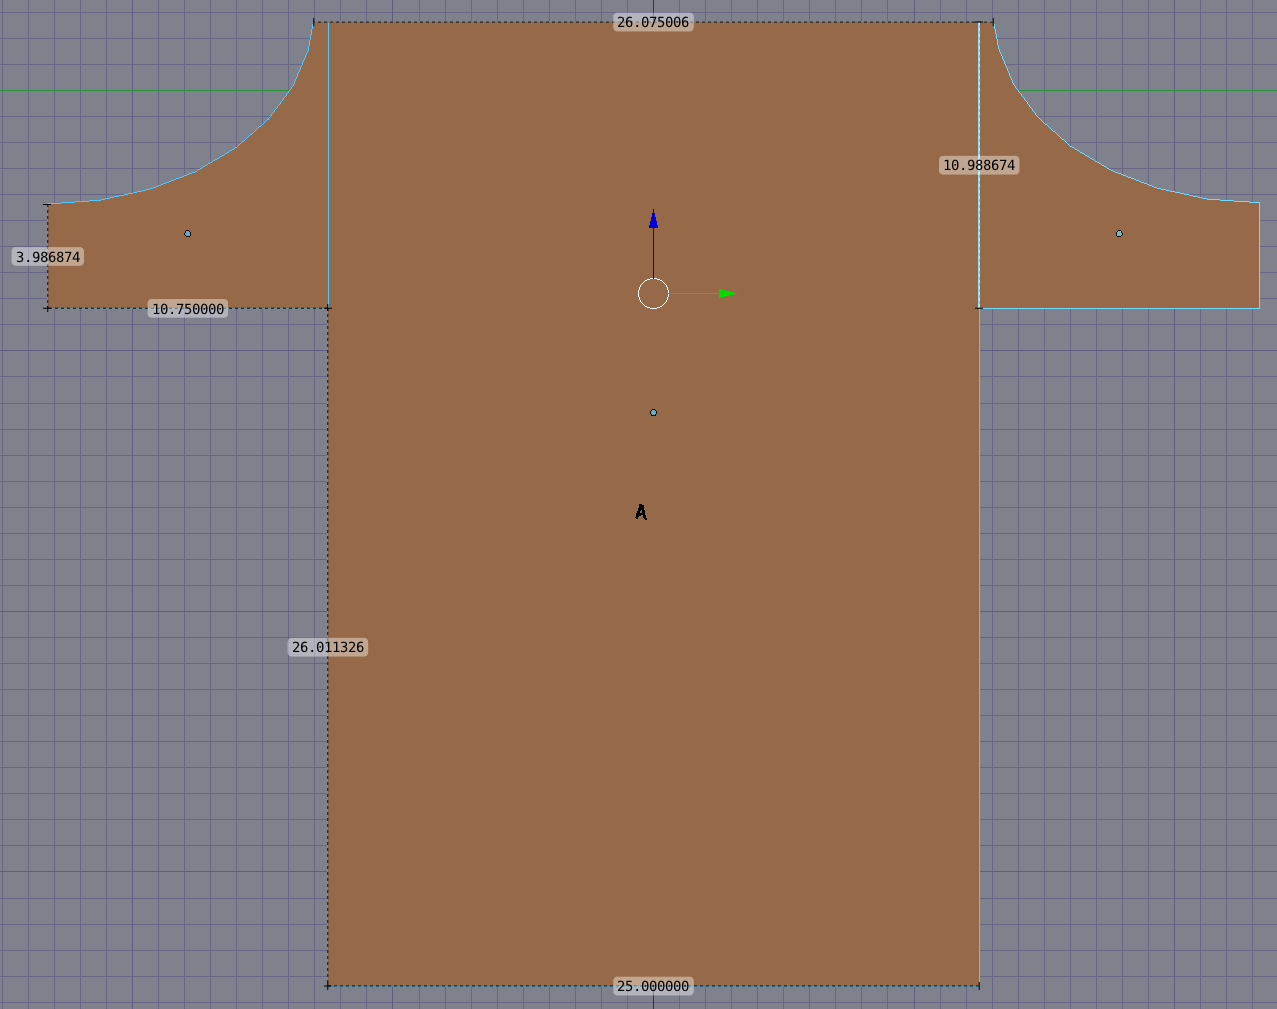
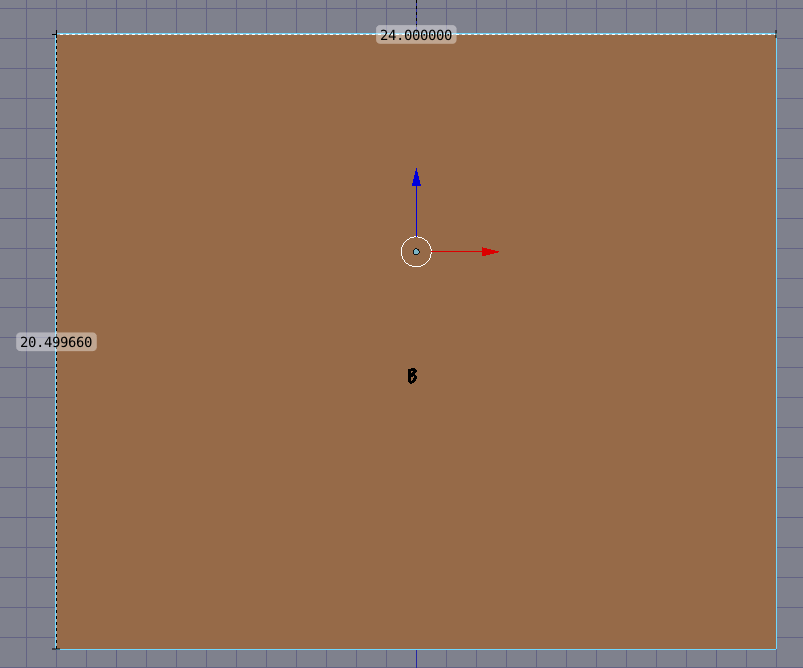
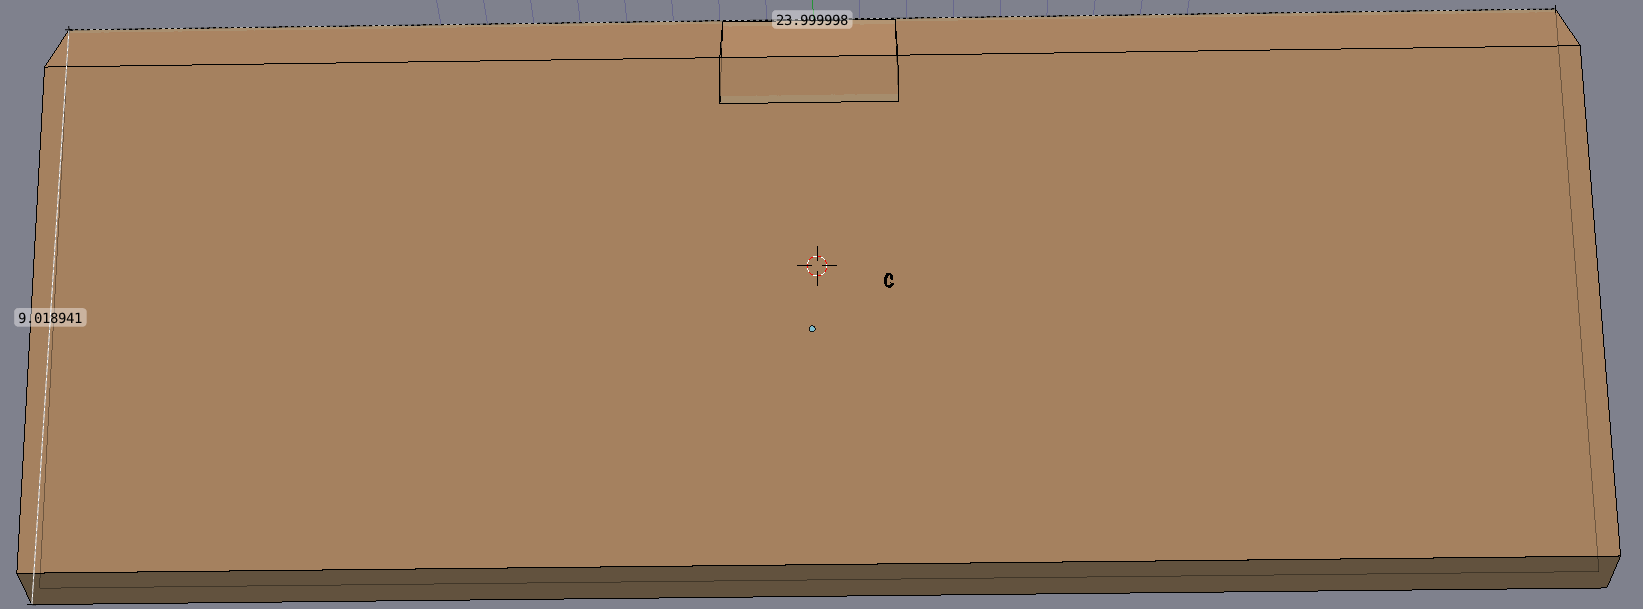
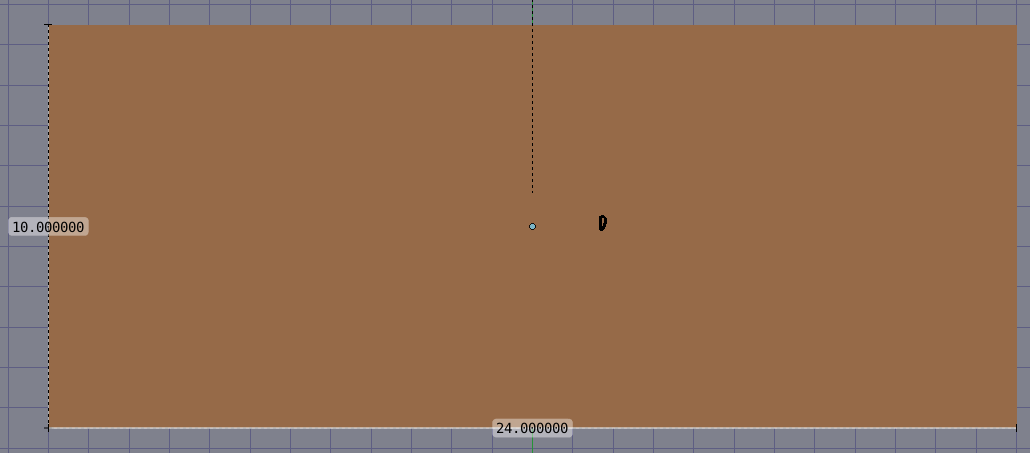

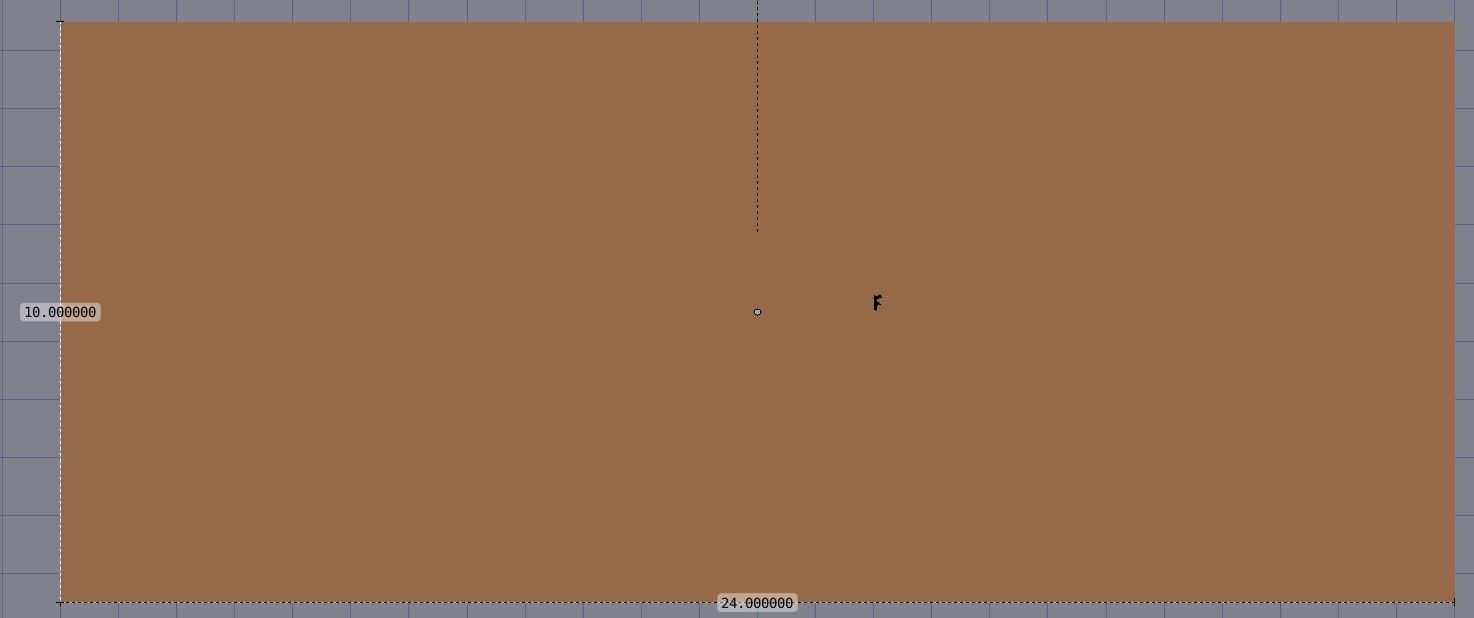
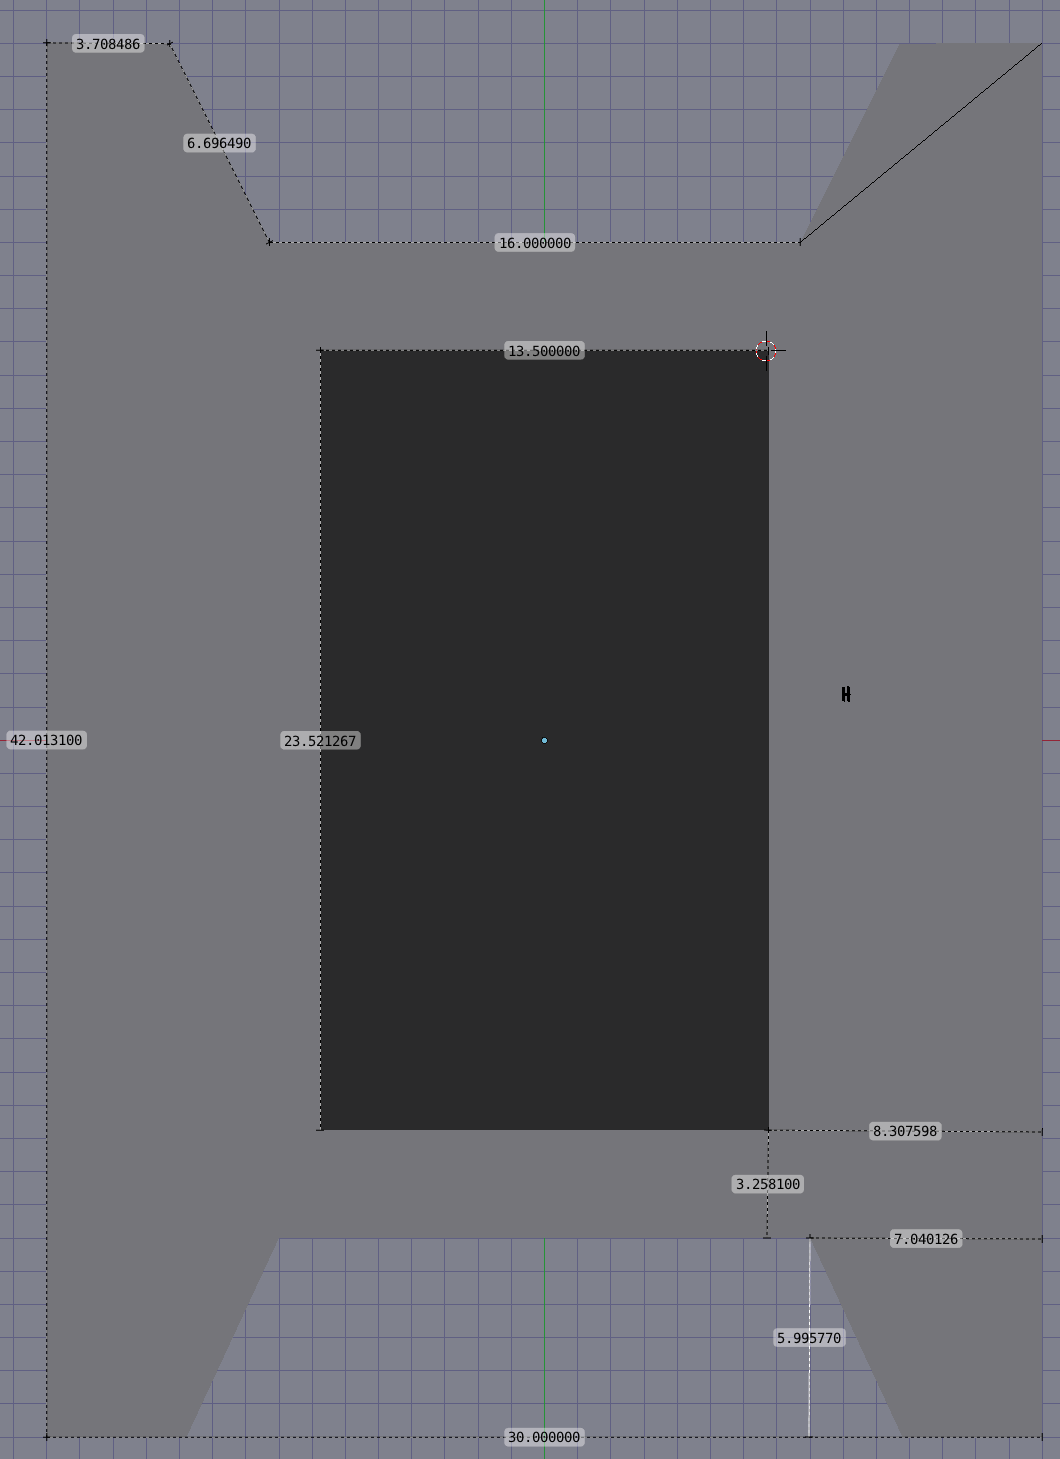
How I was able to fit everything on 2 MDF boards. Note that the A pieces are raw and get cut down further into the final shape. I drew a freehand sweep for the wings on a scrap piece of wood based roughly on the blender measurements and then used that scrap piece to draw the sweep on both sides of the A pieces and used a jigsaw to cut those out. The top piece (H) also has further cuts off the raw piece and a router bevel on inside edge cuts.
I wanted plenty of leg room inside, so it's kind of concave. When i measured where I wanted the bottom of the control panel, I measured against my legs sitting in my computer chair which was a little high, so the control panel is a little too high in my opionion. Height is absolutely perfect standing. Definitely don't want to cut off any of the bottom at this point. Going to try to find some mid-height bar stools and should be good. T-molding not as tight as I'd like, but it's close.
Definitely pleased how this turned out. I'm planning on hooking up LEDSpicer after it's wired to call out what buttons are used by console and arcade games.
Cocktail Cab Project - https://retropie.org.uk/forum/topic/23763/cocktail-cab-project?_=1592408967951
-
Been a long time lurker here. Just wanted to add a thank you to this community. It's been incredibly awesome!
-
I love this arcade cocktail table build!
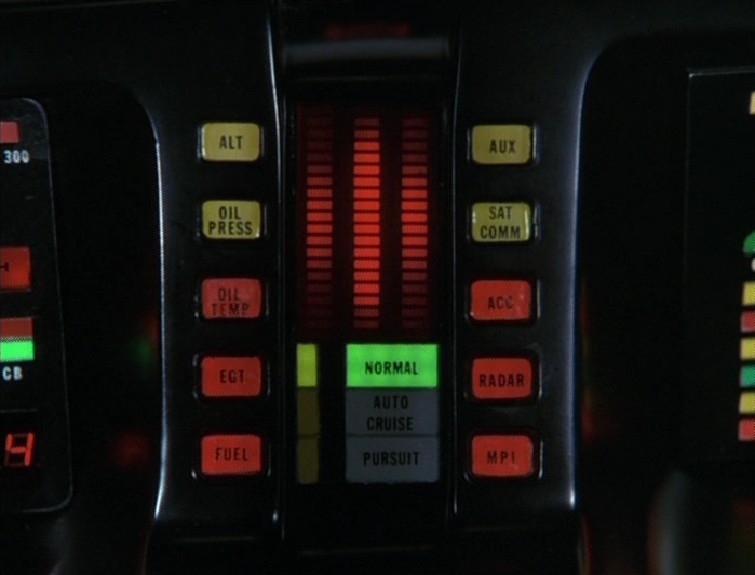
The control panel remind me of Knight Rider:
And the bezel reminds me of the shirts and lamp shades from the movie Idiocracy:

I wonder if it would be possible to have two RPi's networked together and use RetroArch Netplay for two player games.
-
Ya, I toyed w/ that idea for a little bit, but I think it'd be too much work, at least in this style. Was thinking it'd be cool to do a build with a battleship-style piece in the middle and monitors back to back. Probably going to be a while before (re: if) I ever do another cab. Still have a Boba Fett costume I'm working on in my dad free time as well. =D
Cocktail Cab Project - https://retropie.org.uk/forum/topic/23763/cocktail-cab-project?_=1592408967951
-
A battleship-style build would be cool! Maybe have it were the 2 monitors can lay down flat like __ but you can fold them up in the middle like /\ for competitions so you don't have any screen watching.
-
@theissdev Thanks for sharing the pictures and the schematics. I also have two Mag-Stiks Plus in my DIY upright cabinet and I like them very much. 😊
-
@Clyde Very nice!
-
@theissdev Back to back? You mean like the old Nintendo "red tent" cabinets? Those are cool.
- 5 Favorite Arcade Games in MAME
- Cocktail Cabinet Games
- Check out the MAME RoW
-
@IanDaemon For everyone who doesn't know them:
-
Whoaaaaaa. Talk about a throwback. I haven't seen one of those in forever!
-
Nice build!
I wonder if you have explored true cocktail settings in MAME for the vertical games. This would eliminate mirroring and no longer supply room for bezels, but it is how these were meant to be played and why the cocktail cabinet exists. The game dominates the screen, and when it is player 2’s turn, the video auto-rotates. Just an idea. I have all of my classic vertical games setup this way and it works great, provided the game was designed to use that feature (MAME DIP switches).
-
Sir, your really impressed me!!, excellent work!!!, let me know (msg me to the FB page) when you are ready to set LEDSpicer, so I can give you a hand with the configuration, I wrote some documentation on the sourceforge wiki page that may be helpful, but anyway you can ask me anything.

-
@caver01 Ya, I still have to wire the controls (dad time). was definitely planning on exploring throwing games that support cocktail mode into cocktail mode. Hopefully I'll have this thing completely done before a year has elapsed this December! =D
@MeduZaPaT Thanks! I really appreciate it. I've got it installed, but obviously can't do anything until the LED controller is wired. Quick reading on your documentation seems pretty straightforward. Will definitely reach out if I run into issues.
-
@MeduZaPaT I've gotten the bottom of the control panels built w/ hinges and locks and am now ready to finish up the rest of this - the wiring. I'm about done w/ the controls themselves and have a question about the LED wiring for LEDSpicer support:
I've got a PacLED64 (https://www.ultimarc.com/output/led-and-output-controllers/pacled64/) that I'm planning on using. I was going to use a couple of spare ground chains on a few of the + terminals of the PacLED64. All of my button LEDs are single-color.
It feels like everything's in sets of (+, R, G, B). Will LEDSpicer support a configuration of using all of the RGB pins for individual LEDs (Button 1 - 1R, Button 2 - 1G, Button 3 - 1B, Button 4 - 2R, Button 5 - 2G, etc.) or do I need to wire each button to a common pin, (like all buttons are wired to 1R, 2R, 3R, etc.). Is doing either way easier in config later?
Whether I end up soldering the wiring directly to the PacLED64 pins or using some of the leftover contact pins to plug into the plastic harness pieces, reverting may not be so easy, so thought I'd ask b4 I get to that point. Thanks for your help!
Cocktail Cab Project - https://retropie.org.uk/forum/topic/23763/cocktail-cab-project?_=1592408967951
-
@theissdev said in Cocktail Cab Project:
@MeduZaPaT I've gotten the bottom of the control panels built w/ hinges and locks and am now ready to finish up the rest of this - the wiring. I'm about done w/ the controls themselves and have a question about the LED wiring for LEDSpicer support:
I've got a PacLED64 (https://www.ultimarc.com/output/led-and-output-controllers/pacled64/) that I'm planning on using. I was going to use a couple of spare ground chains on a few of the + terminals of the PacLED64. All of my button LEDs are single-color.
It feels like everything's in sets of (+, R, G, B). Will LEDSpicer support a configuration of using all of the RGB pins for individual LEDs (Button 1 - 1R, Button 2 - 1G, Button 3 - 1B, Button 4 - 2R, Button 5 - 2G, etc.) or do I need to wire each button to a common pin, (like all buttons are wired to 1R, 2R, 3R, etc.). Is doing either way easier in config later?
Whether I end up soldering the wiring directly to the PacLED64 pins or using some of the leftover contact pins to plug into the plastic harness pieces, reverting may not be so easy, so thought I'd ask b4 I get to that point. Thanks for your help!
Yes, LEDSpicer can handle RGB or single color elements, when creating the elements instead of using red/green/blue, use led like this:
<element
	name="ELEMENT NAME"
	led="PIN NUMBER"
/>
For more details read this section of the wiki
On my cab, I have RGB and Single LED elements, I just wire 1 pin to the LED and that works perfect.
-
@MeduZaPaT Sweet. Thank you sir!
Cocktail Cab Project - https://retropie.org.uk/forum/topic/23763/cocktail-cab-project?_=1592408967951
-
@theissdev I very recommend you to don't solder the pins to the pac64 directly, get a cheap Crimping Tool and some pins, is really easy to do, and in no time you will get a really good interface that is easy to maintain.
I used something like this:
Crimping tool
Jumper connectors -
@MeduZaPaT You expect a wise man to come around this time of year. =D
-
@MeduZaPaT So, I've got all the lights wired up - used your connectors and the molex connectors that came w/ the pacled64. I've got button groups mapped and profiles for all the system combos. Everything is working great (and looks sooooo cool) for all the roms that don't have parentheses in their names. The ones that do (which is unfortunately most of them) throw an error and return to emulationStation on running the runcommand intermediary:
sh: 1: Syntax error: "(" unexpectedIt's definitely related to the parentheses in the rom names (there are none in the paths). It's all the '(U)' etc. stuff.
I've tried wrapping all instances of the rom names in double quotes in the es_system.cfg command as well as the refs in the intermediary .sh that lights the buttons then calls runcommand.
runcommand.sh doesn't have any issues w/ the parentheses b4 hijack. I went in and copied the clean_name function from there and wrapped the $ROM in that and still having the error.
My runEmulator.sh (for the non-arcade systems):
#!/bin/bash
EMU=$1
ROM=$2
RAW=$3
SYS=$4
emitter LoadProfile $EMU > /dev/null 2>&1
/opt/retropie/supplementary/runcommand/runcommand.sh 0 _SYS_ $EMU "$ROM"
I split the finish call to a new runcommand-onend.sh:
#!/bin/bash
emitter FinishLastProfile > /dev/null 2>&1
Sample from my es_systems.cfg:
  <system>
    <name>atari2600</name>
    <fullname>Atari 2600</fullname>
    <path>/home/pi/RetroPie/roms/atari2600</path>
    <extension>.7z .a26 .bin .rom .zip .gz .7Z .A26 .BIN .ROM .ZIP .GZ</extension>
    <command>/opt/retropie/supplementary/runcommand/runEmulator.sh atari2600 %ROM% %BASENAME% atari2600</command>
    <platform>atari2600</platform>
    <theme>atari2600</theme>
  </system>
Again, everything is great if there's no parentheses in the rom name. Just can't seem to figure out how to work around that and I shudder at the thought of having to strip those from all the configs and the filenames...
Any suggestions? Thanks and sorry my bash is weak. =(
Cocktail Cab Project - https://retropie.org.uk/forum/topic/23763/cocktail-cab-project?_=1592408967951
-
@theissdev In the bash, you either need to "escape" special characters with a leading backslash
\(example\)or put the whole command in either single or double quotation marks. See https://stackoverflow.com/questions/6697753/difference-between-single-and-double-quotes-in-bash for the difference between them.I have not much practical experience in Bash-Fu, but for a start, I'd try to put your command in quotes:
<command>"/opt/retropie/supplementary/runcommand/runEmulator.sh atari2600 %ROM% %BASENAME% atari2600"</command>
Contributions to the project are always appreciated, so if you would like to support us with a donation you can do so here.
Hosting provided by Mythic-Beasts. See the Hosting Information page for more information.