DIY EXPANDABLE Single/Multi-Player RetroPie ARCADE Gaming Console with OpenCADE - 3D Printed
-
Hmmm. Well, the approach you took is quite interesting. I like that you made a module that works with your current build. My only comment is that it's on the opposite side of where I had envisioned. =D It's the button array that really needs the support. Like many people, I plant the heel of my hand down while I am using a mouse or playing an arcade game. The height of the box makes that largely impossible, particularly with how close the button array is to the front edge of the unit. It's particularly tiresome when play a shmup and you are railing on only 1 or 2 buttons and your arm isn't supported. Here is what I currently am using (while I am working out a full arcade implementation): http://www.8bitdo.com/n30-arcade-stick/
The front image on that page shows where hand placement is for most people. The unit looks to have good distance between the lowest button and the bevel of the front edge. (The dark portion is flat, the light gray edge is beveled down.) Even in this position, the heel of her hand is on the bevel. (This image could easily be my wife. She stopped playing Galaga with me on this unit because there's no support for her hand.) The height of this unit is about 2 inches, which I think is shorter than your box design. This stick doesn't have enough space for comfort.
This shelf is still very useful because it gives your stick hand some spreading room. For games like Pac-Man and other non-firing games, this is perfectly good.
My implementation would be a blank box in the same shape as your current version, but at a height equal to the front edge. It would sit in front and be a place for the heels of your hand to rest. The box could have a rear cutout to accommodate the front p1/p2 buttons of the main unit. (personally, I wouldn't build those buttons on the front anyway.) It doesn't have to attach, per se, since you may not always want it there. (You could still have a side attachment port like the main box so that a 2-player implementation would work the same way as the main boxes do.)Anyway, just my thoughts. Keep up the good work. =)
-
@Thorr69 Thank you again for your feedback! Wrist support extensions for the button panel. In fact, this panel can be used with a 2-player configuration and is of course optional. If you wanted one or the other or both, you could easily configure it however you want.
I'm also going to design the joystick-only panel and separate button panel that was mentioned earlier. That will give anyone options on how they wish to configure their OpenCADE.
Haven't yet tested the Robotron console, I'll get to that soon as well. After that, trackball!
-
Nice! I like the way you attached it to the under pinnings of the front. Have you tested the strength of it?
-
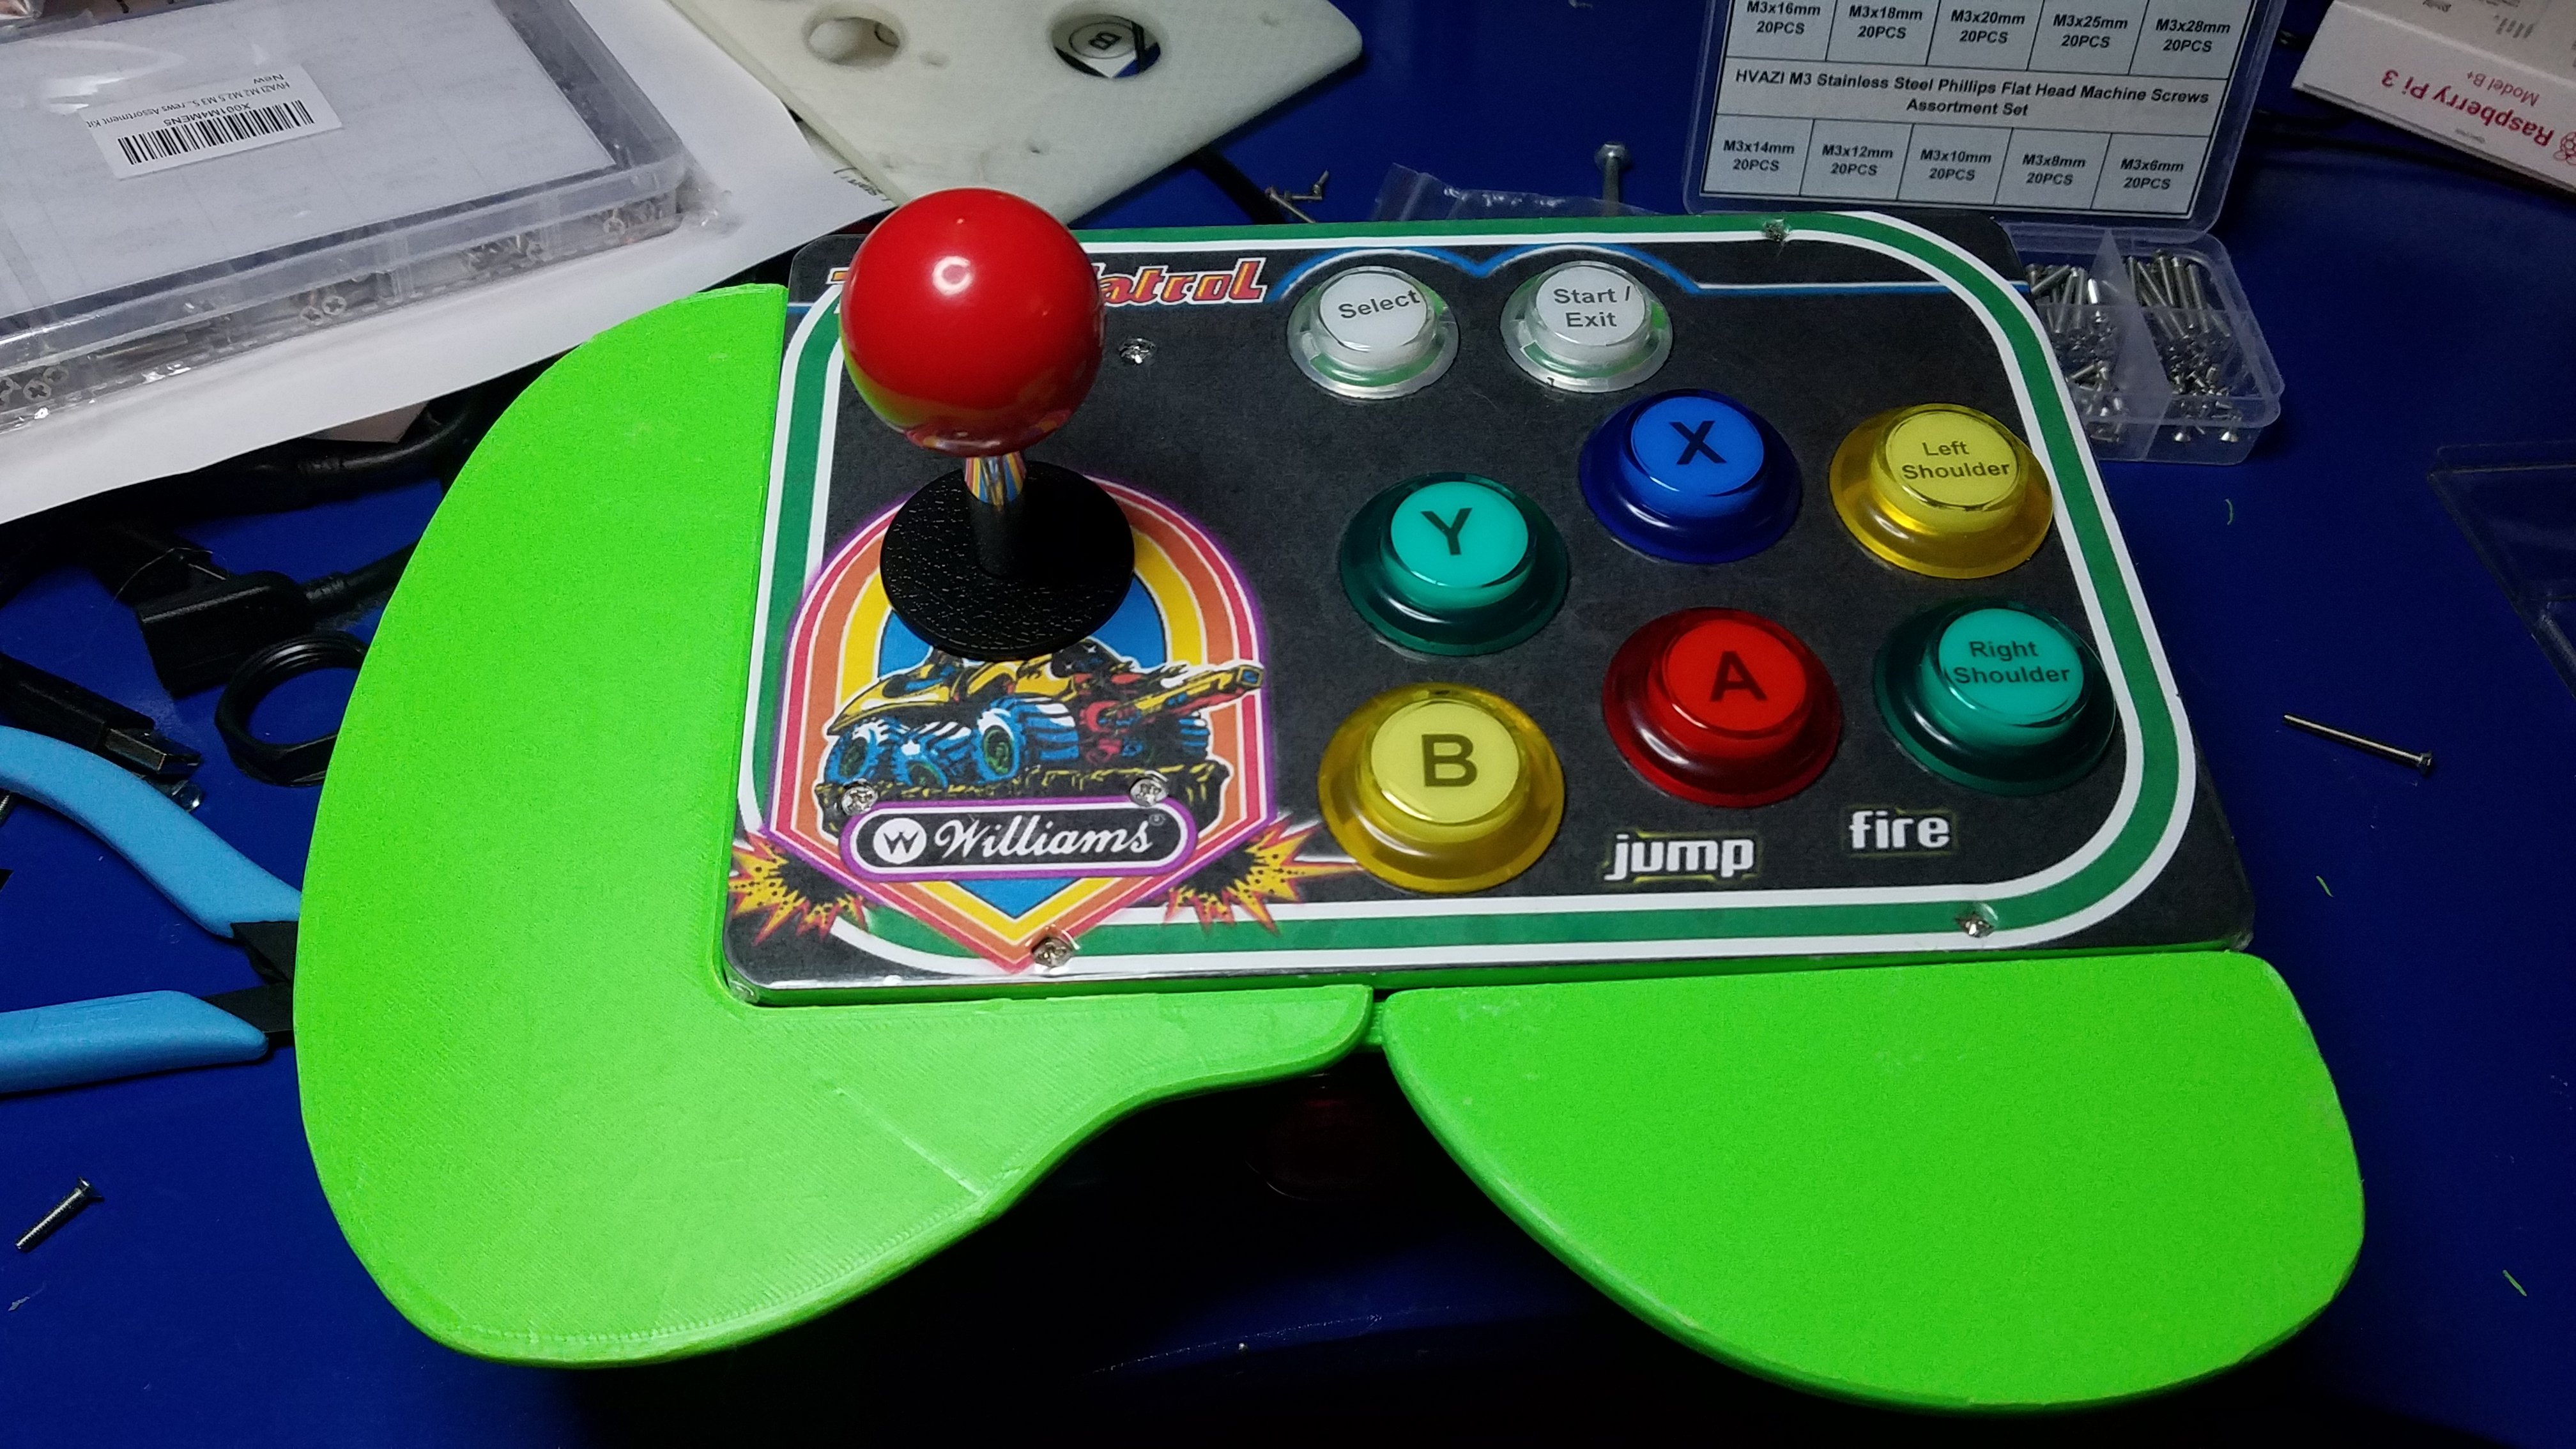
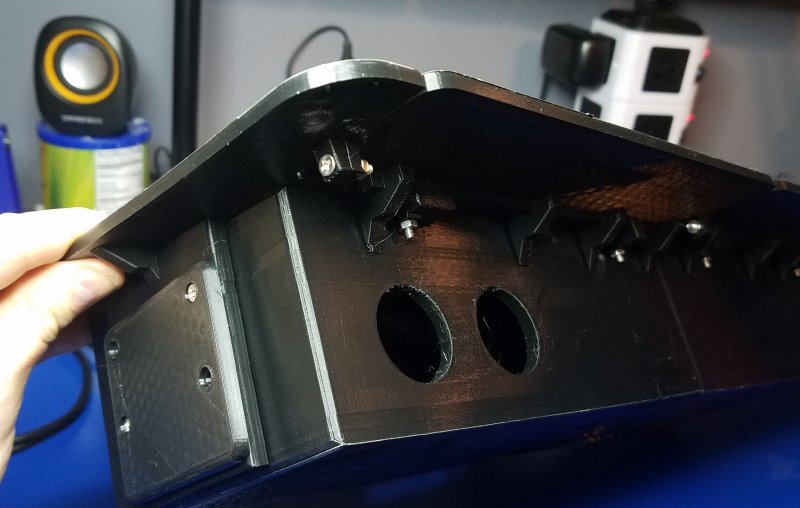
@Thorr69 It was sturdy, but I found a better way to go that works with any configuration. The above worked just fine, but was limited to a 1-player only configuration as it would expose the support bar if used on a 2-player setup. Instead of having two different designs, just going to scrap the above but use the core elements to create one that works with 1 base or 2+ bases. Finished designing the control panels for a joystick on the left panel and buttons on the right. This really gives you the ultimate flexibility in building an arcade control panel. I'll have real pictures soon, it's printing now...
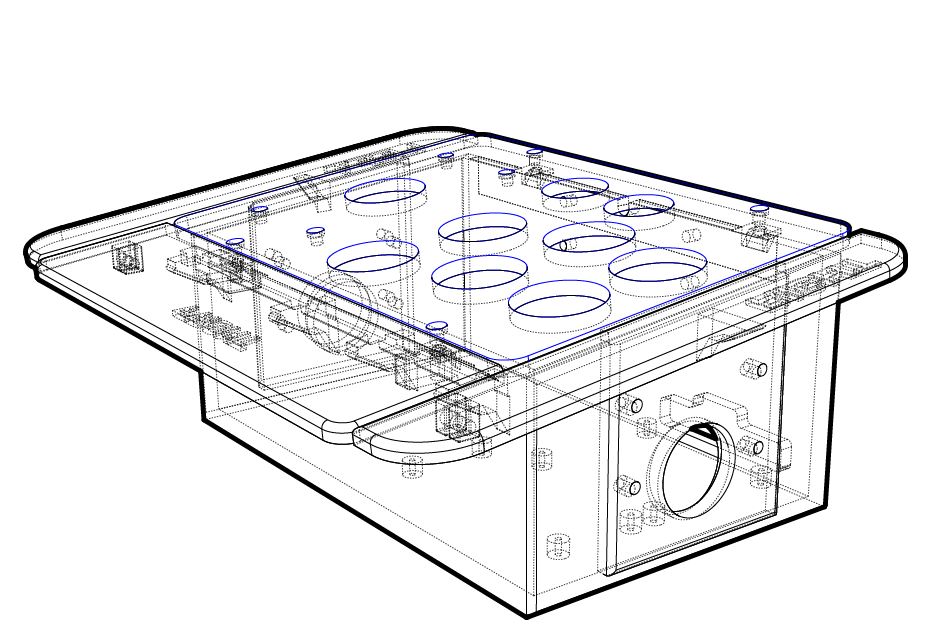
New Control Panel for a larger 1-player configuration:
-
Not to rain on anyone's parade, but shouldn't this topic be in the projects subforum? It'll probably get more views too there from people specifically looking for this kind of threads.
-
@jonecool I like it!!!! Every little bit of support helps. This iteration is clean and modular. I totally dig it!
-
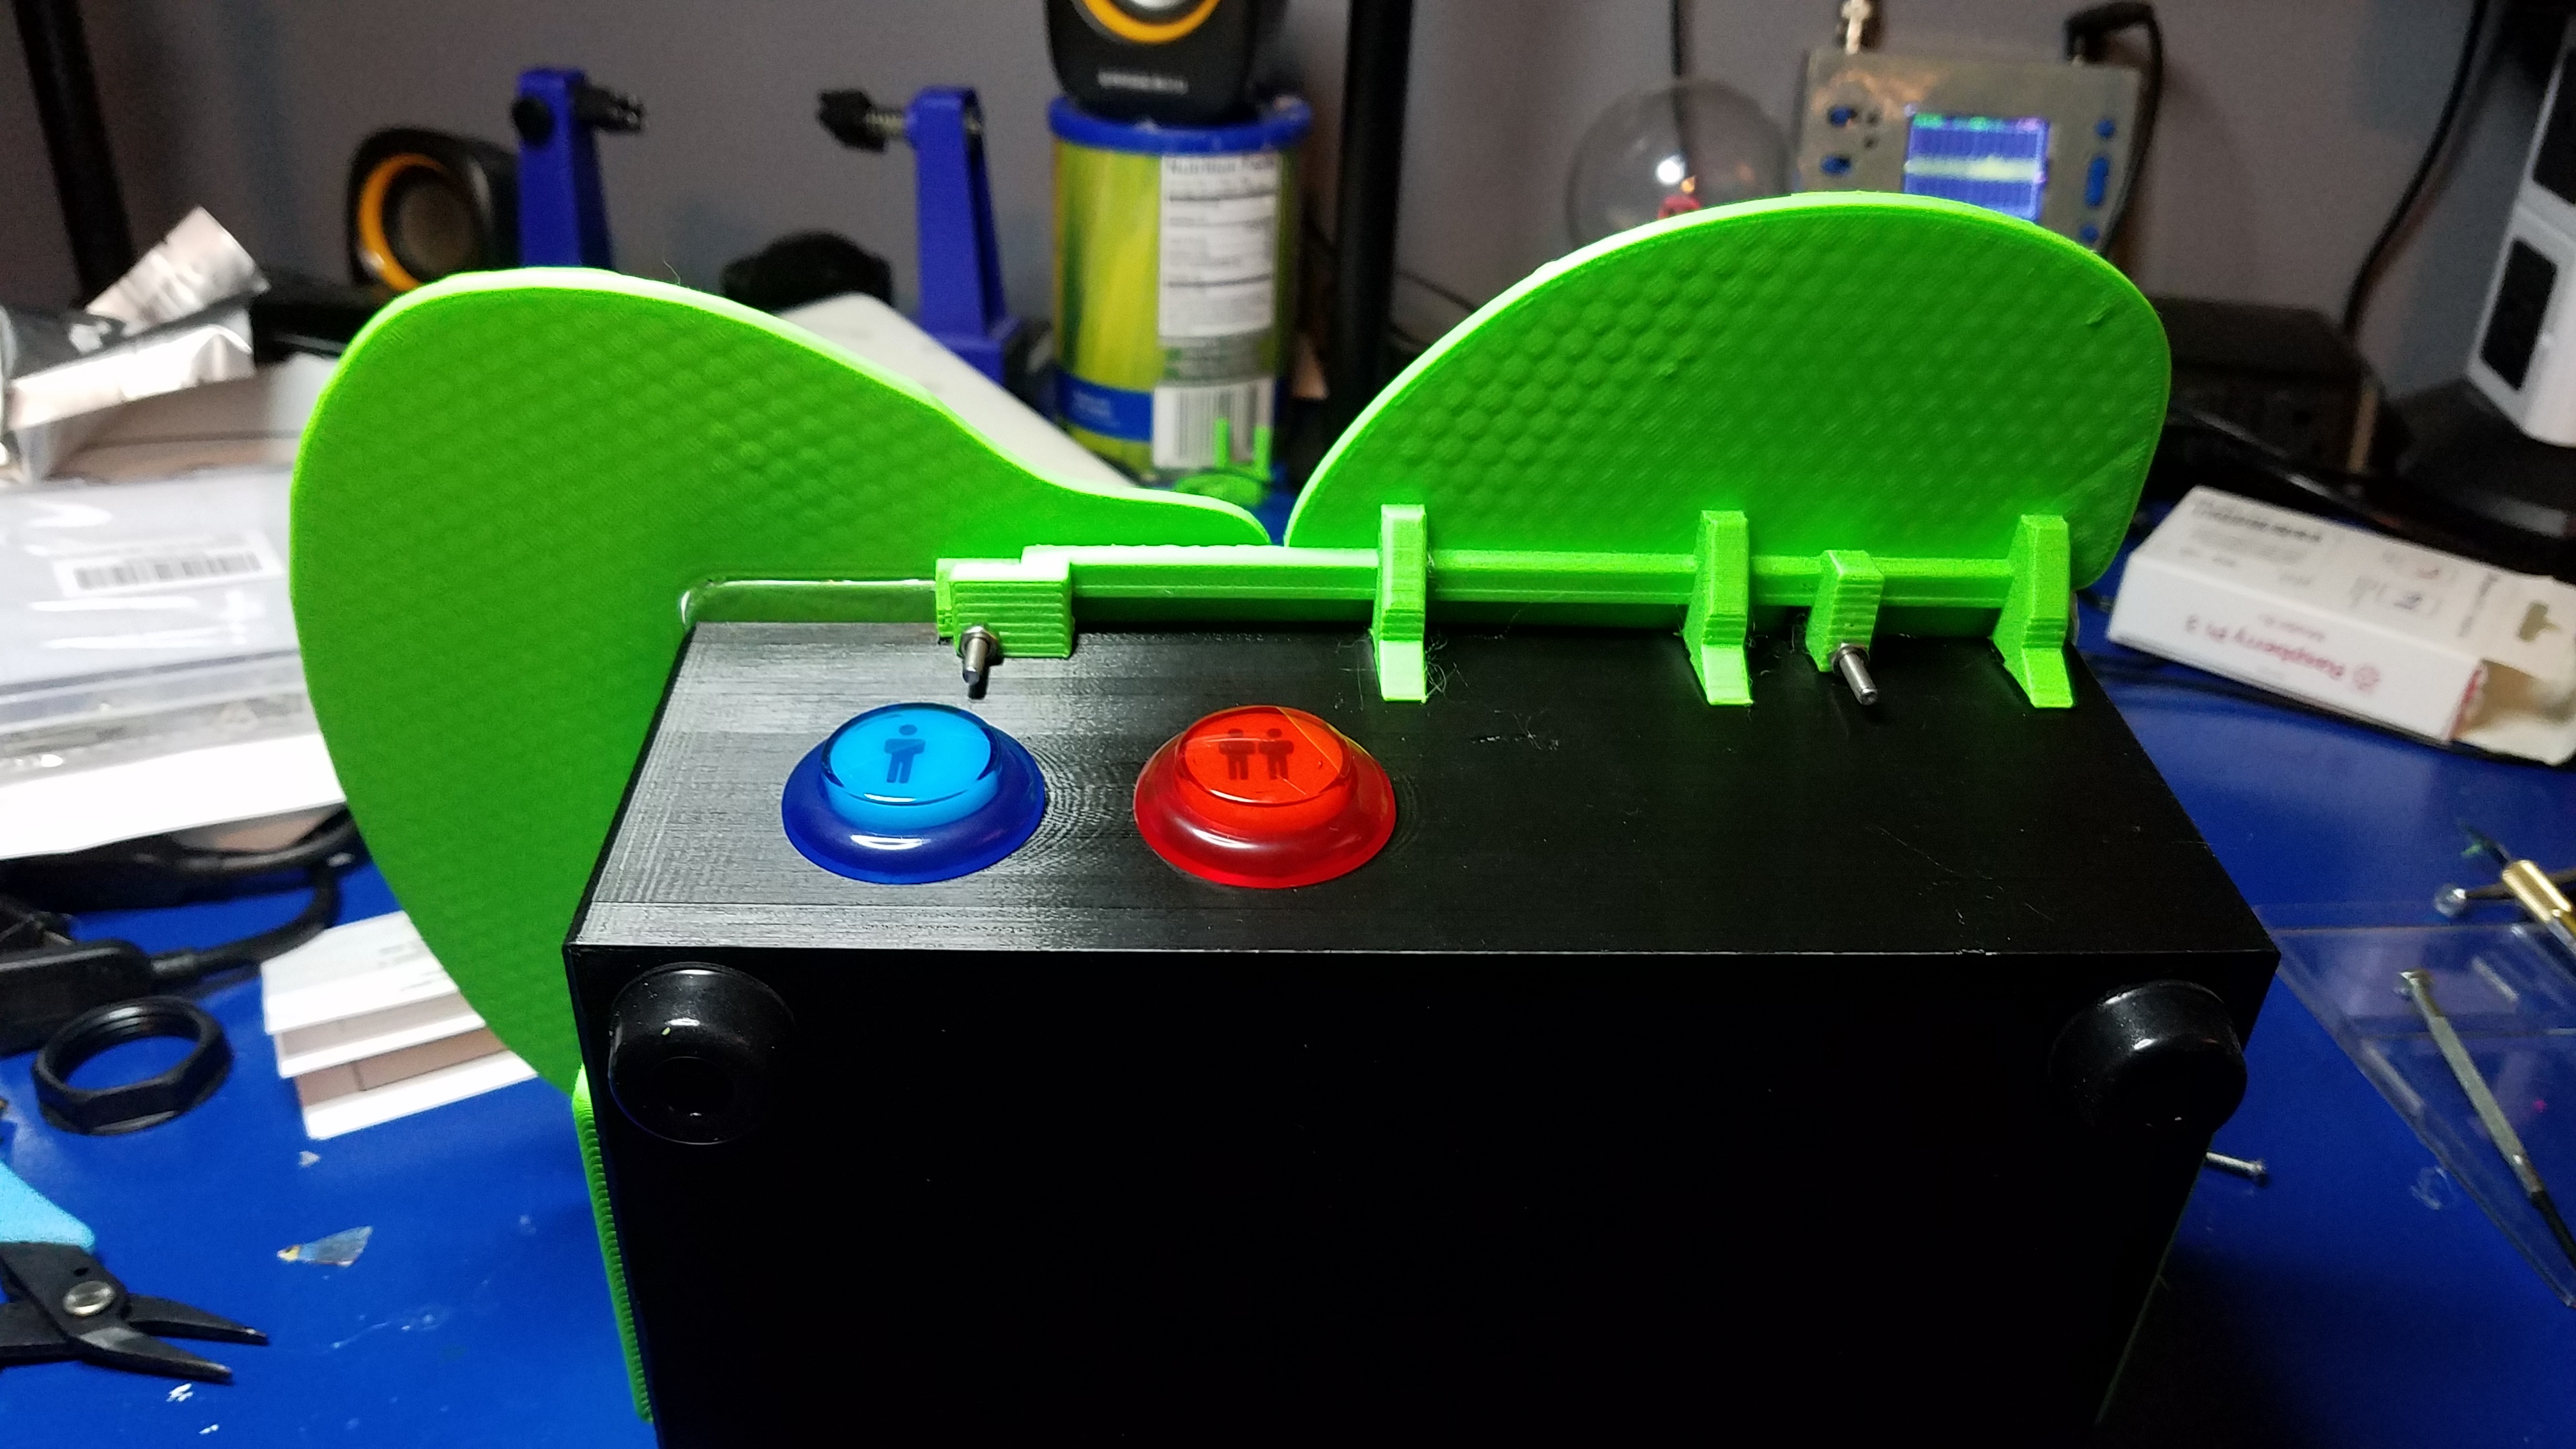
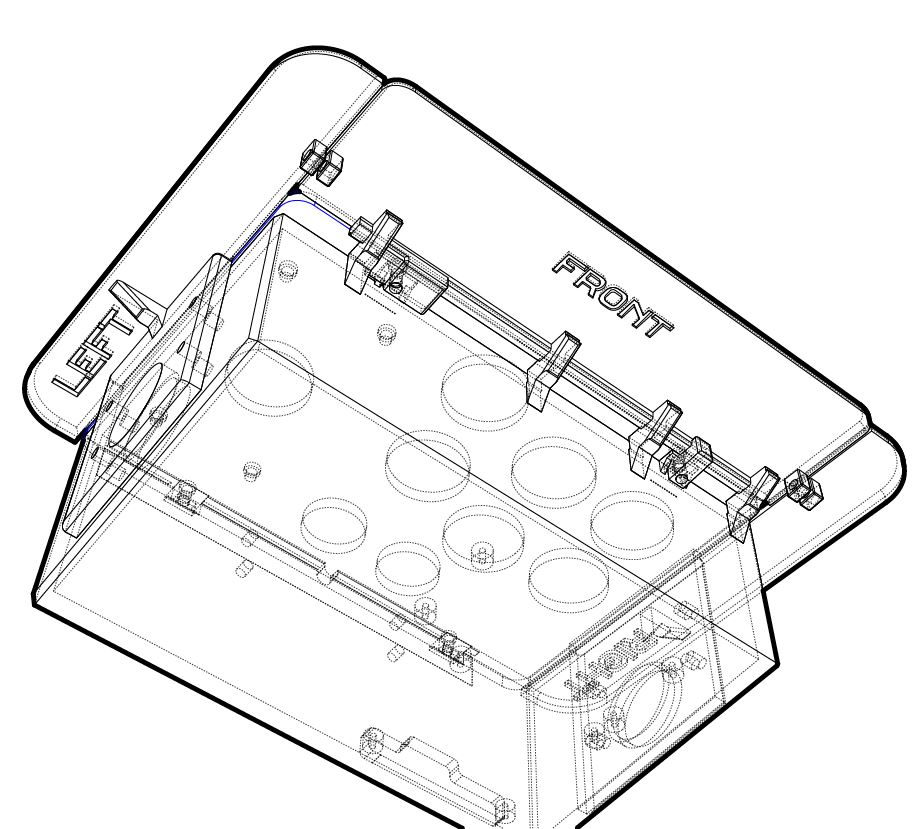
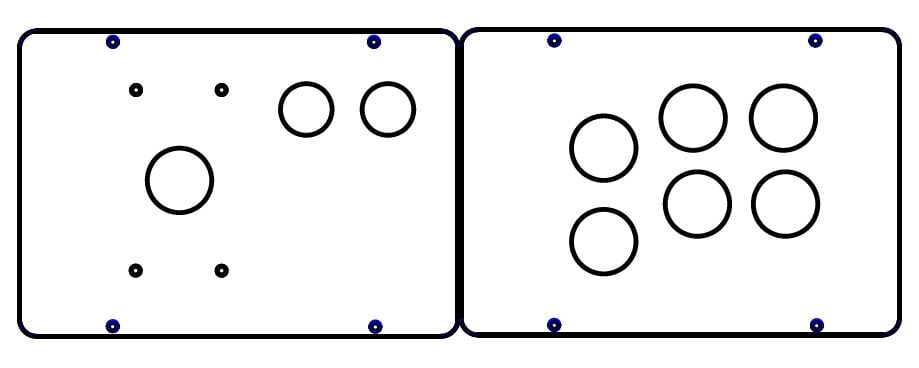
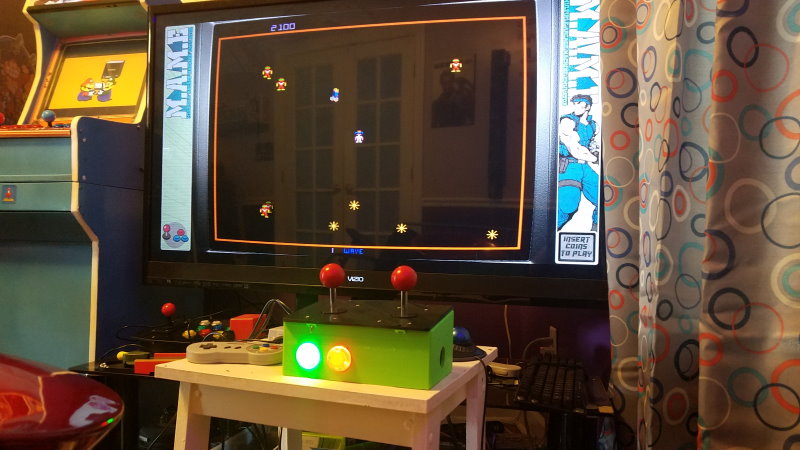
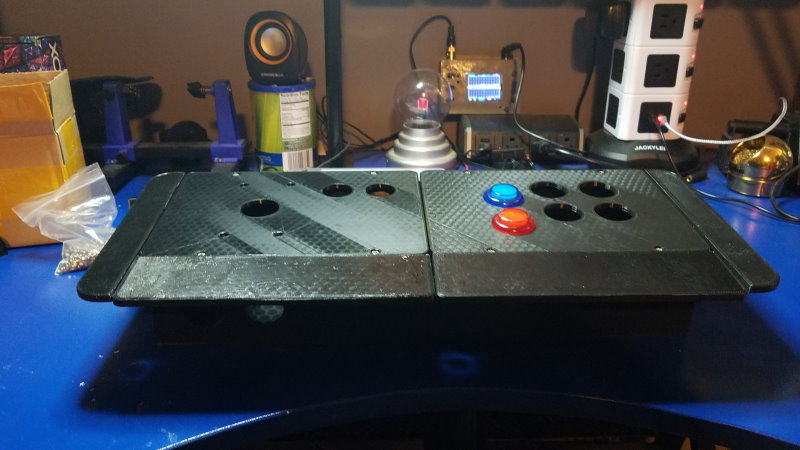
@Thorr69 I took your recommendation and made it so :) Robotron 2084 playing in an OpenCADE console. One minor change to make and that's the cutout in the back needs to be a little deeper to support 2 USB encoders. The reason is, you can't connect 2 joysticks up to one encoder (at least, the set I purchased). So, there are two sticks, 2 encoders and 2 cables from the box. Also, each controller must have one button assigned to each of the sticks or it's impossible to configure the stick in RetroPie (and in MAME).
After adding 2 encoders, I then mapped the left button to insert a coin and the right button to start the game. Works perfectly, you'd need to add another button on the left/right of the box to be able to navigate RetroPie. But, the project is a success! Files will be uploaded once I do more testing and document how to set it all up.
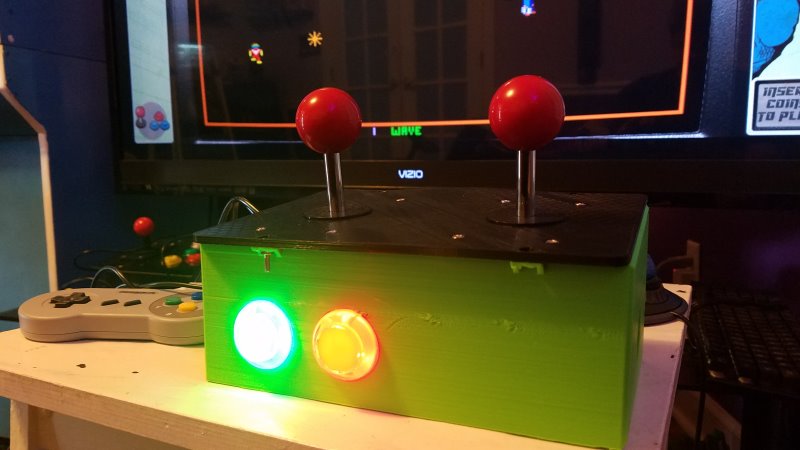
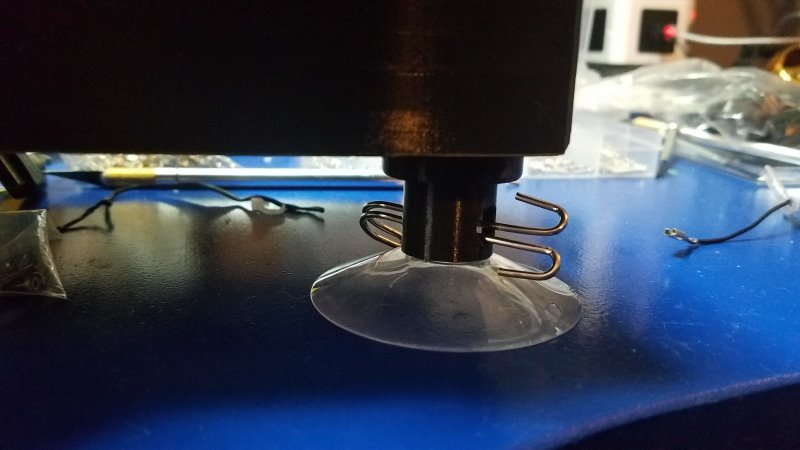
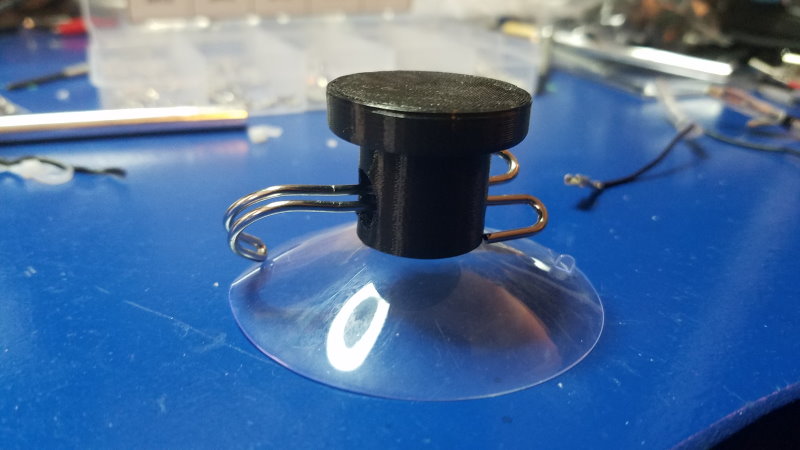
Oh, new suction cup holders for the base too...
-
Very nice! Pretty much exactly how I pictured it!
-
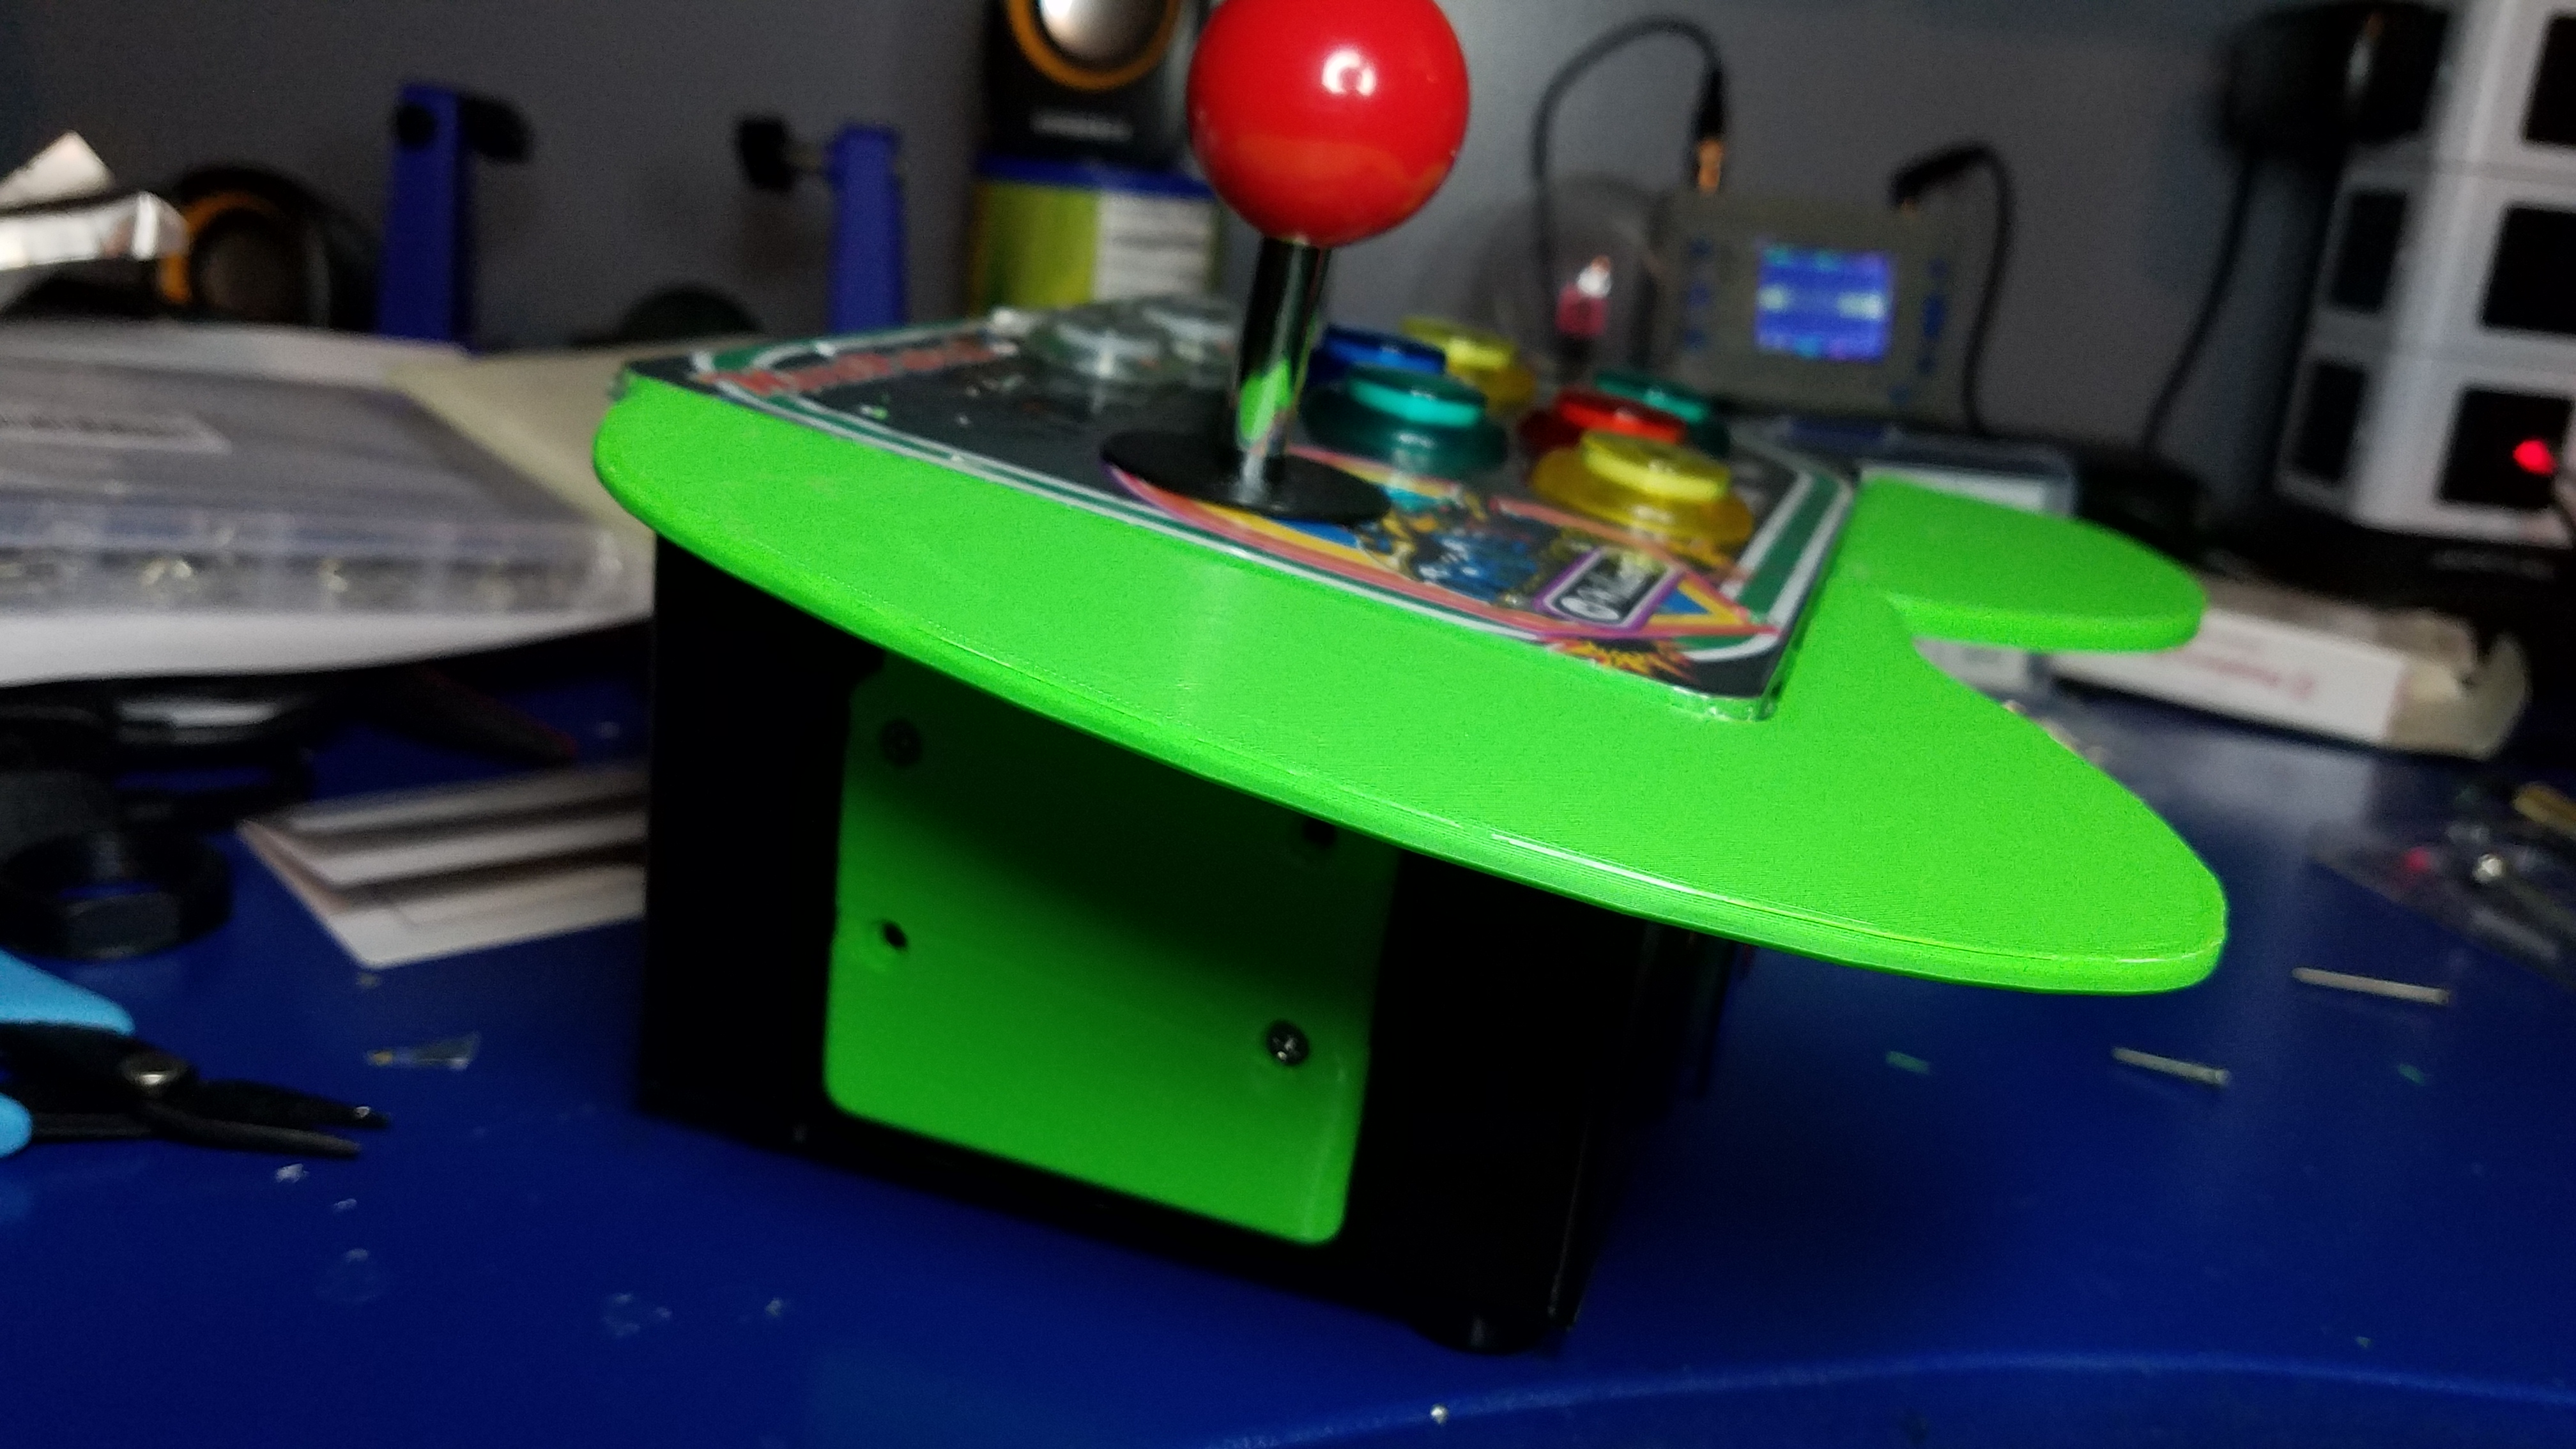
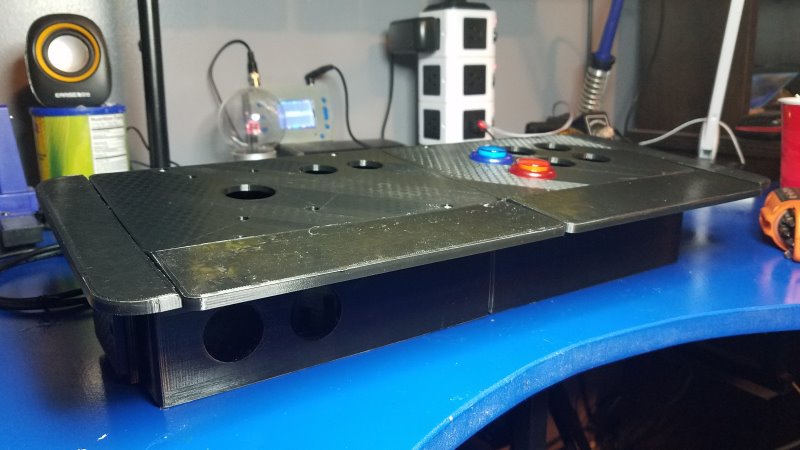
@Thorr69 This is what the pieces look like printed for a single player extended configuration. It could also easily have been a 2-player extended but I'm wanting to try some new designs for the stick+buttons on separate panels :) Of course, you can also use the suction cup holders (above) to secure it as well. Getting close to a release, just need to fully assemble with stick+buttons and test it out.
-
The Expansion Pack has been released on Thingiverse: https://www.thingiverse.com/thing:3491239
Additional Details can be found here.
Contributions to the project are always appreciated, so if you would like to support us with a donation you can do so here.
Hosting provided by Mythic-Beasts. See the Hosting Information page for more information.