Retropie Installation on Ubuntu Server x64 18.04.1
-
@johnodon said in Retropie Installation on Ubuntu Server x64 18.04.1:
However, if delete the autostart file and edit the Firefox.sh file to be...
I'm pretty sure startx blocks. And I don't think adding
&to background it would work either. -
@etheling said in Retropie Installation on Ubuntu Server x64 18.04.1:
@johnodon said in Retropie Installation on Ubuntu Server x64 18.04.1:
However, if delete the autostart file and edit the Firefox.sh file to be...
I'm pretty sure startx blocks. And I don't think adding
&to background it would work either.So, Chromium appears to work just fine when calling it directly using startx (
startx chromium-browser). If I try to do the same with Firefox, the window isn't maximized and the mouse goes whacko. -
@MisterB Ubuntu 20.10 is now out. I quickly tested the script and looks like Python2 dependency
python-xdgis no longer available and thus it doesn't install any of the other dependencies either and produces broken install (after reboot you'll get the infamous black screen). Changing topython3-xdgappears to fix it and produce mostly working install (see next message; not all libretro cores get installed). (edit)20.04 appear to have python3-xdg as well.
I'm not familiar for what it is used for, so don't know if this is the right way to fix this though.
Maybe the script should abort/exit if RETROPIE_DEPENDS fails to install in any case? Something like this:
# Install RetroPie dependencies function install_retropie_dependencies() { echo "--------------------------------------------------------------------------------" echo "| Updating OS packages and installing RetroPie dependencies" echo "--------------------------------------------------------------------------------" apt-get update && apt-get -y upgrade && \ apt-get install -y $APT_RECOMMENDS ${RETROPIE_DEPENDS[@]} if [ ! $? -eq 0 ]; then echo "ERROR: Problem with apt-get. Cowardly refusing to continue." exit 1 fi echo -e "FINISHED install_retropie_dependencies \n\n" sleep 2 } -
Also noticed that RetroPie
setup basic_installdoesn't pass on Ubuntu 20.10 x64.I suspect this might be related to recent RetroPie/Retroarch updates more so than testing it on 20.10 though.But just wanted to drop it here as I have the logs in front of me now (will test on 20.04 soon).Edit #1: tested on a clean 20.04.1 and 20.10 VMs. Looks like this only happens on 20.10. GCC on 20.04 is 9.3.0 and on 20.10 it is 10.2.0.
Edit #2: Looks like this is caused by Ubuntu 20.10 upgrading to GCC 10.x. Created new thread with a workaround here.
... Getting sources for 'lr-mupen64plus' : N64 emu - Mupen64Plus + GLideN64 for libretro = = = = = = = = = = = = = = = = = = = = = git clone --recursive --depth 1 --branch master "https://github.com/libretro/mupen64plus-libretro.git" "/home/pi/RetroPie-Setup/tmp/build/lr-mupen64plus" .... /home/pi/RetroPie-Setup/tmp/build/lr-mupen64plus /home/pi = = = = = = = = = = = = = = = = = = = = = Building 'lr-mupen64plus' : N64 emu - Mupen64Plus + GLideN64 for libretro ... ... g++ -march=native -O2 -fvisibility-inlines-hidden -std=c++11 -O2 -DNDEBUG -fsigned-char -ffast-math -fno-strict-aliasing -fomit-frame-pointer -fvisibility=hidden -DGIT_VERSION=\"" ab8 134a"\" -DOS_LINUX -DARCH_MIN_SSE2 -msse -msse2 -D__LIBRETRO__ -DUSE_FILE32API -DM64P_PLUGIN_API -DM64P_CORE_PROTOTYPES -D_ENDUSER_RELEASE -DSINC_LOWER_QUALITY -DTXFILTER_LIB -D__VEC4_O PT -DMUPENPLUSAPI -I./custom -I./custom/mupen64plus-core -I./custom/android/include -I./custom/GLideN64 -I./GLideN64/src -I./GLideN64/src/osal -I./mupen64plus-core/src -I./mupen64plus-c ore/src/api -I./custom/mupen64plus-core/plugin/audio_libretro -I./libretro-common/include -I./libretro -I./GLideN64/src/inc -I./xxHash -I./libretro-deps/libpng -fPIC -DCORE -DHAVE_OPE NGL -DDYNAREC -c GLideN64/src/ShaderUtils.cpp -o GLideN64/src/ShaderUtils.o In file included from GLideN64/src/ShaderUtils.cpp:3: GLideN64/src/ShaderUtils.h:10:52: error: ‘string’ in namespace ‘std’ does not name a type 10 | void logErrorShader(GLenum _shaderType, const std::string & _strShader); | ^~~~~~ GLideN64/src/ShaderUtils.h:6:1: note: ‘std::string’ is defined in header ‘<string>’; did you forget to ‘#include <string>’? 5 | #include "Combiner.h" +++ |+#include <string> 6 | GLideN64/src/ShaderUtils.h:11:93: error: ‘std::string’ has not been declared 11 | int compileCombiner(const gDPCombine & _combine, Combiner & _color, Combiner & _alpha, std::string & _strShader); | ^~~~~~ make: *** [Makefile:433: GLideN64/src/ShaderUtils.o] Error 1 make: *** Waiting for unfinished jobs.... Removing additional swap /home/pi Could not successfully build lr-mupen64plus - N64 emu - Mupen64Plus + GLideN64 for libretro (/home/pi/RetroPie-Setup/tmp/build/lr-mupen64plus/mupen64plus_libretro.so not found). Errors: Could not successfully build lr-mupen64plus - N64 emu - Mupen64Plus + GLideN64 for libretro (/home/pi/RetroPie-Setup/tmp/build/lr-mupen64plus/mupen64plus_libretro.so not found). No module 'splashscreen' found for platform x86 -
@noise said in Retropie Installation on Ubuntu Server x64 18.04.1:
My main problem is now pcsx2 i can't install from
Did you managed to install it?!
I recently got into RetroPie and had PCSX2 installed on my normal Ubuntu 20.04 Desktop version, yesterday when I found this script online I switched to Ubuntu server 20.04 and now can't install PCSX2 either. -
I never really had used/liked shaders much for a variety of reasons such as speed, gimmicky look, etc. Over the weekend I came a cross some posts with examples of scalefx and xBRZ shaders and started reading more about Pixel-art scaling algorithms. And it looks like I can run many systems (SNES, NeoGeo, ...) with full framerate with ScaleFX or xBRZ enabled (on 8th gen NUC). And while results and performance vary, subjectively these filters really perform miracles on some games - see below:

Looks like RetroArch is moving away from [old?] GLSL/Cg shaders to new(er) Slang shaders (Github) which are also only supported shaders with Vulkan and glcore video drivers.
Setup script didn't install slang shaders. I modified
install_retroarch_shaders()to install them to/opt/retropie/configs/all/retroarch/shaders-slang. See below. Also sent pull request to @MisterB with these updates.# Install RetroArch shaders from official repository function install_retroarch_shaders() { echo "--------------------------------------------------------------------------------" echo "| Remove the RPi shaders installed by RetroPie-Setup and replace with" echo "| RetroArch (merge of common & GLSL, and new Slang) shaders from Libretro" echo "--------------------------------------------------------------------------------" # Cleanup pi shaders installed by RetroPie-Setup rm -rf /opt/retropie/configs/all/retroarch/shaders mkdir -p /opt/retropie/configs/all/retroarch/shaders mkdir -p /opt/retropie/configs/all/retroarch/shaders-slang # Install common shaders from Libretro repository git clone --depth=1 https://github.com/libretro/common-shaders.git /tmp/common-shaders cp -r /tmp/common-shaders/* /opt/retropie/configs/all/retroarch/shaders/ rm -rf /tmp/common-shaders # Install GLSL shaders from Libretro repository git clone --depth=1 https://github.com/libretro/glsl-shaders.git /tmp/glsl-shaders cp -r /tmp/glsl-shaders/* /opt/retropie/configs/all/retroarch/shaders/ rm -rf /tmp/glsl-shaders # Install Slang shaders from Libretro repository (for use with Vulkan, glcore, ..) # https://www.libretro.com/index.php/category/slang/ git clone --depth=1 https://github.com/libretro/slang-shaders.git /tmp/slang-shaders cp -r /tmp/slang-shaders/* /opt/retropie/configs/all/retroarch/shaders-slang rm -rf /tmp/slang-shaders # Remove git repository from shader dir rm -rf /opt/retropie/configs/all/retroarch/shaders/.git rm -rf /opt/retropie/configs/all/retroarch/slang-shaders/.git chown -R $USER:$USER /opt/retropie/configs echo -e "FINISHED install_retroarch_shaders \n\n" sleep 2 } -
Installed this mod years ago and it worked straight away. But after installing this script, after the initial RetroPie animation loading bar, it just goes to the black screen.
Tried another fresh Ubuntu image but got to the same point again.
Any ideas?
I am using the ubuntu-20.04.1-live-server-amd64 version of Ubuntu.
-
@elliot123 It sounds like you maybe hitting this problem (discussed earlier in this thread).
-
@johnodon said in Retropie Installation on Ubuntu Server x64 18.04.1:
You learn something new everyday.
I run RetroPie on top of Ubuntu on an Asus CN65 Chromebox (Intel(R) Core(TM) i7-5500U CPU @ 2.40GHz). I also have an Asus CN60 Chromebox (Celeron) that runs stock ChromeOS. I use this second box to stream web content (mainly sports from some nefarious sources).
And then it dawned on me...
Why not just install genuine Google Chrome (no need for Chromium) on the RetroPie box and create a launcher for it in Ports. It works BEAUTIFULLY!!! I can stream 4K content from Youtube without a single hiccup and I can now retire a piece of equipment.
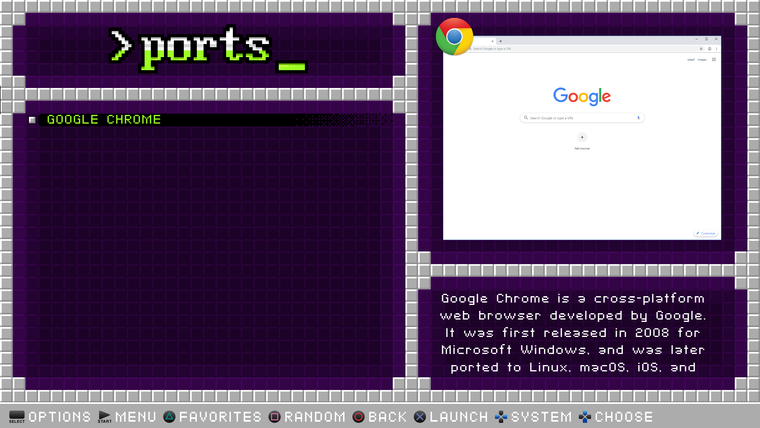

If anyone wants to do this, all I did was download the current stable release and install it using apt:
wget https://dl.google.com/linux/direct/google-chrome-stable_current_amd64.deb
sudo apt install ./google-chrome-stable_current_amd64.deb
If not already done, add 'Ports' to your /opt/retropie/configs/all/emulationstation/es_systems.cfg:
  <system>
    <name>ports</name>
    <fullname>Ports</fullname>
    <path>~/RetroPie/roms/ports</path>
    <extension>.sh .SH</extension>
    <command>bash %ROM%</command>
    <platform>ports</platform>
    <theme>ports</theme>
  </system>
Create a ~/Retropie/roms/ports/Google Chrome.sh script with the following in it:
google-chrome &>/dev/nullCreate a ~/Retropie/roms/ports/gamelist.xml:
<?xml version="1.0"?>
<gameList>
	<game>
		<path>./Chrome.sh</path>
		<name>Chrome</name>
		<playcount>2</playcount>
		<lastplayed>20200906T151625</lastplayed>
	</game>
	<game>
		<path>./Google Chrome.sh</path>
		<name>Google Chrome</name>
		<desc>Google Chrome is a cross-platform web browser developed by Google. It was first released in 2008 for Microsoft Windows, and was later ported to Linux, macOS, iOS, and Android where it is the default browser built into the OS. </desc>
		<image>./images/Google Chrome-image.png</image>
		<video>./images/Google Chrome-video.mp4</video>
		<marquee>./images/Google Chrome-marquee.png</marquee>
		<rating>0.85</rating>
		<releasedate>20080902T000000</releasedate>
		<developer>Google</developer>
		<publisher>Google</publisher>
		<genre>Web Browser</genre>
		<playcount>1</playcount>
		<lastplayed>20200906T153421</lastplayed>
	</game>
</gameList>
And of course add some images and video if you like.
John
PERFECT!
This is the first and only thing I tried and BAM! Works perfectly!
I only wanted to add it to load a hi-score web page/tracker I whipped up and this was super simple to setup in like 30 seconds.
Thank you, John!Jay
cheers -
I just had to register so I could say, YOU GUYS ROCK! This will be about my 10th Ubuntu/retoropie install trying to get a good working setup on an old laptop. I have a really good feeling about this one!
-
@elliot123 as per the "error above" (earlier in the thread) What Kernal version are people running? I get
pi@retropie:~$ uname -r
5.4.0-58-generic
I am also getting the black screen. I first tried installing via Ubuntu 20.04 live server, then with the link for mini.iso provided by MizterB on GitHub.
if I hit
alt +F2, login and runemulationstationon the laptop, it sayslvl0: Error initializing SDL!
No available video device
lvl0: Renderer failed to initialize!
Window failed to initalize!And somewere I read to look in a log file, but I don't remeber where or what log file, but do recal it said something about "screens found, but none configured correctly"
-
@nobodyfamous said in Retropie Installation on Ubuntu Server x64 18.04.1:
No available video device
Are you using unmodified install script from MisterBs github repo? I'll try to test it out on a laptop this weekend to see what is going on.
When you run the script, it creates a rather large log file to /home/pi (*retropie_setup_ubuntu.log). Would you mind uploading the install log to some pastebin and post a link so we can take a look. Also, while at it, can you reply with with output of
inxi -F -c0- I am curious of what kind of hardware you're running.edit: btw - what is the username you're using to login and run the 'retropie_setup_ubuntu.sh' script under? pi or something else?
-
I tested the install on fresh Ubuntu 20.04.1 LTS on old Lenovo x200 laptop with latest script from MisterB. And it works. I don't think it makes a difference but after I install Ubuntu, I do
apt -y update && apt -y upgrade && rebootbefore launching the setup script.That said, I think you're running stock kernel for 20.04.1 - did you try updating to newer kernel (see discussion here)?
-
On a hunch I installed Ubuntu 18.04 server and got the same results (well, the black screen). I would see a mouse if I moved it around. I could not get to the cli with
alt + f2I follow the instructions on MrBs repo exactly. User/Password is pi/raspberry. I am a long time linux user, so also have a really good grasp on what I am doing.
I run (after downloading with wget)
sudo bash ./bootstrap.shand thensudo ./RetroPie-Setup-Ubuntu/retropie_setup_ubuntu.shI'll boot the laptop up again to get the log file.
-
So, starangest thing. On the second boot after setting up with Ubuntu 18.04 it worked. I am copying over my roms now and will test. I am even getting hui sounds. If games play, I'll move on to fighting with the hdmi audio (had to do this with every thing I install on this laptop)
unfortunatly, I won't have a log file from the failed installs of all the 20.04 tries.
UPDATE:
So the games mostly work, PSX is crap, but there is only one emulator installed. I need the "fast" emulators for this old laptop. NES worked great, no suprise there. N64 worked better than I expected, but I got an "error" in Hot Wheels turbo racing saying the rumble pack/memmory card changed and it wouldn't save the game. I'll add more emulators and do my usual tweeks and post in new threads if I need as this would be related to RetroPie ands not specifically this install method.
-
I updated my Wine installation script that sets up RetroPie so that I can launch GOGcom Windows games [and other Windows apps via] RetroPie ports and made it compatible with post_install mechanism used by MisterBs script (PR sent). It is now also compatible with running under both KMS/DRM (in which case game is launched as X session) and X.
Script will on high level:
- Add i386 architecture to Ubuntu (will install 32bit versions of many libraries)
- Install wine32 and wine64 and winetricks
- Create new wineHQ root /home/pi/winehq under which 32bit and 64bit wineprefixes
and shared data are stored (to avoid cluttering /home/pi) - Use winetricks to install xact, d3dx9, d3dx10, d3dx11_43
- Set OS versions to Win7 (32bit prefix), Win10 (64 bit prefix)
- Create new .xsession that will launch openbox or if
/dev/shm/portruncommand.shexists launch that as X session instead.
For Gog games best strategy seems to be to install them on Windows, and then move installed files to Linux/RetroPie (I am putting them to /opt/gog.com/....). This appears to work for most of my games where e.g. Fallout New Vegas is a notable exception. To check if a given game/program is supposed to run under wine - use Wine compatibility DB.
To support launching games under both KMS/DRM and X the port launch scripts in
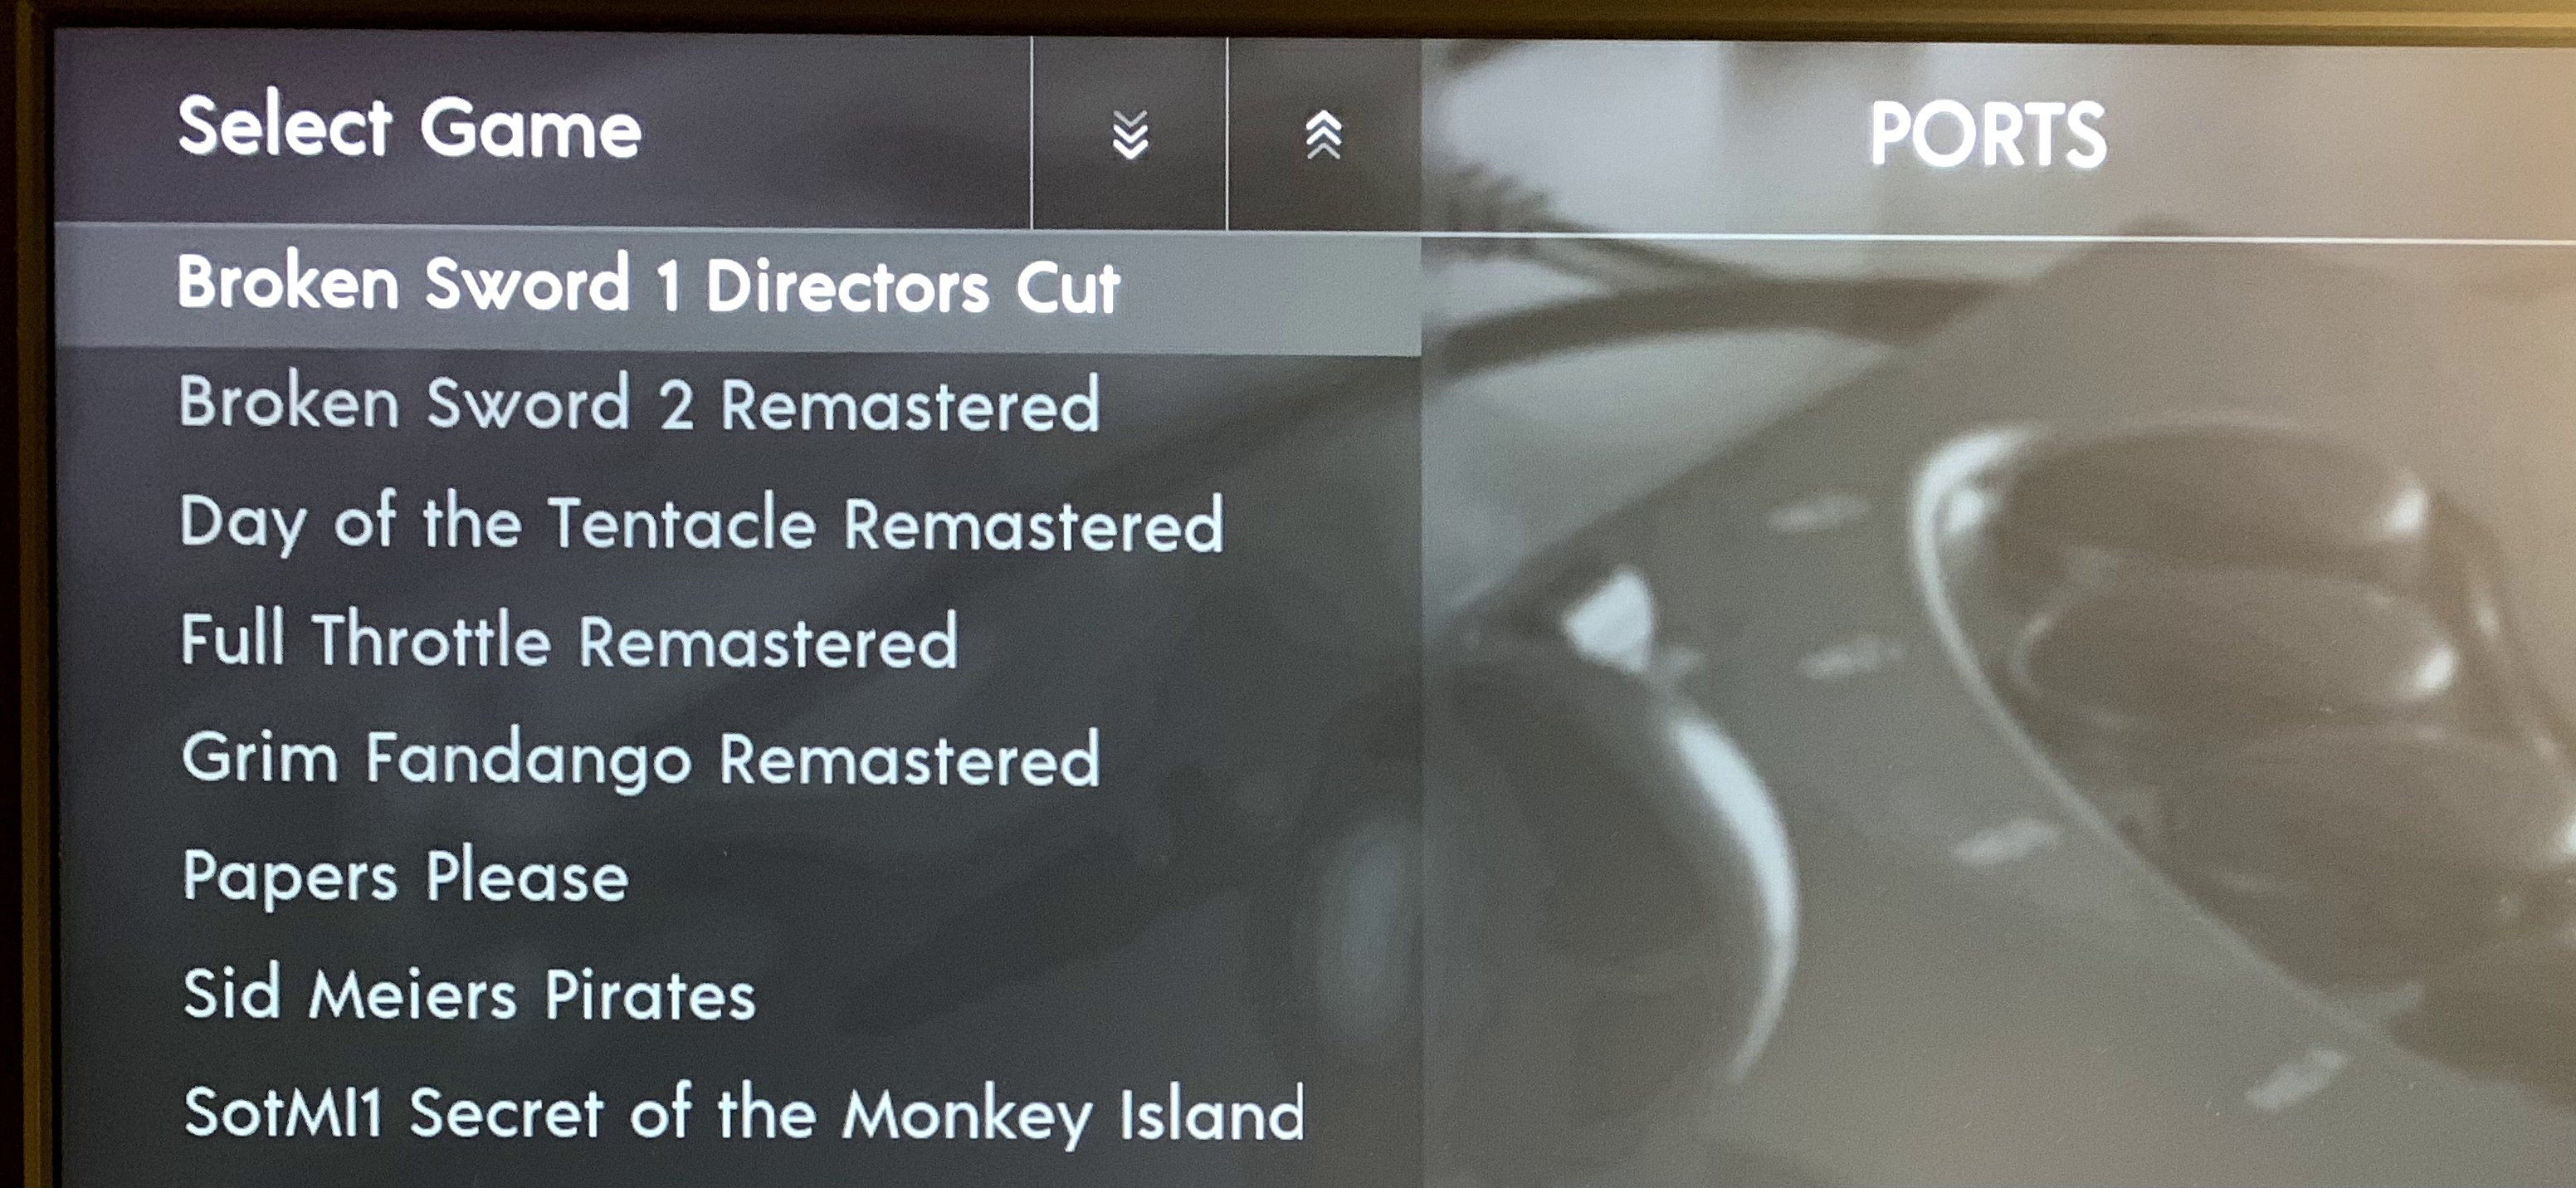
/home/pi/RetroPie/roms/portslook as follows (e.g. it creates/dev/shm/portruncommand.sh, and then determines how to launch it, and then cleans up):pi@retropie ~ $ cat /home/pi/RetroPie/roms/ports/SotMI1\ Secret\ of\ the\ Monkey\ Island\ Remastered.sh #!/bin/bash PORTRUNCOMMAND=/dev/shm/portruncommand.sh PORT_DIR="/opt/games.gog/Monkey Island 1 SE/" PORT_CMD='MISE.exe' PORT_ENV="WINEPREFIX=/home/pi/winehq/win32 WINEARCH=win32 HOME=/home/pi/winehq/shared" cat << EOF > "$PORTRUNCOMMAND" #!/bin/bash cd "$PORT_DIR" $PORT_ENV wine ./$PORT_CMD > /dev/shm/portruncommand_winehq.log 2>&1 EOF chmod +x $PORTRUNCOMMAND if [[ -z "${DISPLAY}" ]]; then # DISPLAY not set; assume we're on console startx > /dev/shm/portruncommand_x.log 2>&1 else $PORTRUNCOMMAND fi # .xession checks if portruncommand.sh exists mv -v $PORTRUNCOMMAND $PORTRUNCOMMAND.previous >> /dev/shm/portruncommand_x.log 2>&1E.g. if we're running under X, just run the /dev/shm/portruncommand.sh it creates, otherwise startx and modified /home/pi/.xsession will launch /dev/shm/portruncommand.sh as X session (.xsession created by install script and original is renamed to .xsession.orig - note if 1080p resolution is not supported, consider adjusting PREFERRED_RESOLUTION in .xsession):
pi@retropie ~ $ cat /home/pi/.xsession
##
## Start /dev/shm/portruncommand.sh as X session if it exists. Otherwise
## start openbox normally. Debug logs are in /dev/shm/...

## give X time to start (shouldn't be needed)
#sleep 1

## document xrandr output $XRANDR_LOG
XRANDR_LOG=/dev/shm/xrand_modes.log
xrandr --version >> $XRANDR_LOG 2>&1
xrandr >> $XRANDR_LOG 2>&1

# Update the next line to customize the display resolution
# If will fall back to the display's preferred resolution, if the custom value is invalid
PREFERRED_RESOLUTION=1920x1080
PREFERRED_RATE=60
if [[ ! -z $PREFERRED_RESOLUTION ]]; then
    current_resolution=$(xrandr --display :0 | awk 'FNR==1{split($0,a,", "); print a[2]}' | awk '{gsub("current ","");gsub(" x ", "x");print}')
    connected_display=$(xrandr --display :0 | grep " connected " | awk '{ print $1 }')
    echo "DEBUG: current_resolution: $current_resolution, connected_display: $connected_display" >> $XRANDR_LOG
    echo "DEBUG: preferred_resolution: $PREFERRED_RESOLUTION @ $PREFERRED_RATE Hz"
    if $(xrandr --display :0 | grep -q $PREFERRED_RESOLUTION); then
        xrandr --display :0 --output $connected_display --mode $PREFERRED_RESOLUTION --rate $PREFERRED_RATE &
    else
        echo "$PREFERRED_RESOLUTION is not available on $connected_display.  Remaining at default resolution of $current_resolution."
    fi
fi

# Disable screen blanking (only happens outside of EmulationStation)
# This prevents the display from doing any ‘screen blanking’ due to inactivity
xset s off && xset -dpms

if [ ! -f /dev/shm/portruncommand.sh ] ; then
    exec openbox-session
else
    ## don't exec; we want to return & exit
    /dev/shm/portruncommand.sh
fi
And lastly here is link to the install script gist (can be dropped to optional_scripts/post_install to be run automatically by MisterBs script, or be run independently (use sudo) to install Wine and setup .xsession):
URL: https://gist.github.com/etheling/359ff231514122b1beeefebd6e99db14
-
FYI, I just ssh'ed into the laptop and got the message,
(process:9106): dconf-WARNING **: 13:28:30.389: failed to commit changes to dconf: Cannot autolaunch D-Bus without X11 $DISPLAYIs there a special way I should be ssh'ing in or should I just ignor this. I asume it's all part of the auto login auto start stuff.
-
@nobodyfamous Safe to ignore; I think that message is caused by these changes to your .bash_profile: https://github.com/MizterB/RetroPie-Setup-Ubuntu/blob/master/retropie_setup_ubuntu.sh#L258-L275
-
I have a question, and I think it relates to this particular setup.
I want to install a web browser, so I added zerojay/RetroPie-Extras, have re-booted many times but the "extras" never show up in the RetroPie setup -> Manage packages -> Manage experimental packages (or any of them)
Do I need to do something extra? Am I looking in the wrong place?
-
@nobodyfamous The 'extras' don't appear as a separate section in RetroPie-Setup, it just adds new packages in the existing section of the packages ('experimental' should have the most additions).
Contributions to the project are always appreciated, so if you would like to support us with a donation you can do so here.
Hosting provided by Mythic-Beasts. See the Hosting Information page for more information.