Pi in a Mega Drive Hub (Another one)
-
So I decided to resurrect an old project after seeing Obsidianspider’s build.
This has the same ending and a similar build process so apologies if it’s a bit repetitive but I thought I’d get mine out there and show you the methods and mistakes I made.
The beginning… This actually started 3 years ago. I got my first in 2012, I tinkered with it like most people, XBMC, 2nd desktop, experimental system etc. then in 2014 I found RetroPie. It was perfect, my youth in a pocket sized pc.
So my original idea was to fit it in a Mega drive case, but that was too big, all those builds have loads of spare space and long cables (no offence but it just wasn’t a challenge). And so the decision was made to have a half scale Mega Drive case 3d printed and fit it all in there.
I laid it out on paper, I made a foam board mock up, I’d made custom Lan cables, brought a 2 port USB hub to allow Wi-Fi and controller ports… All this can be found here…http://mukdesigns.co.uk/ (not maintained)
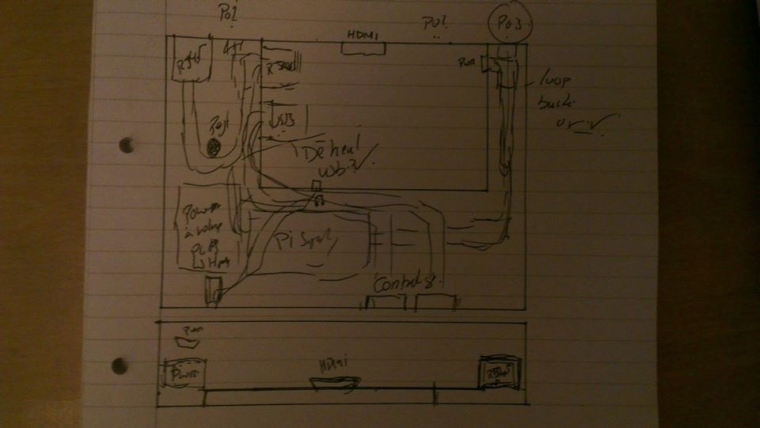
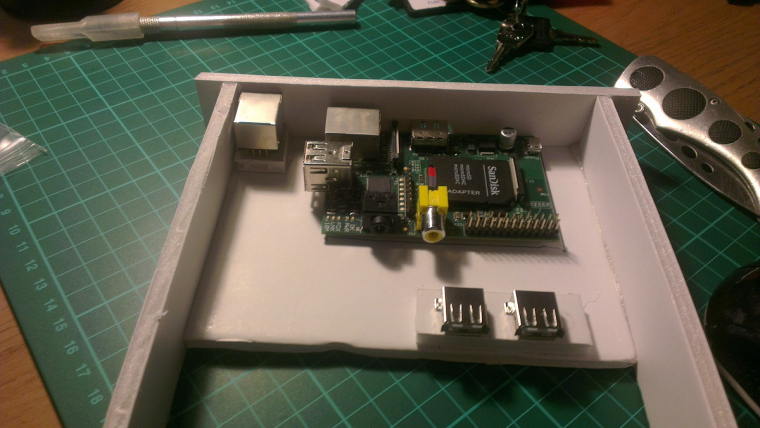
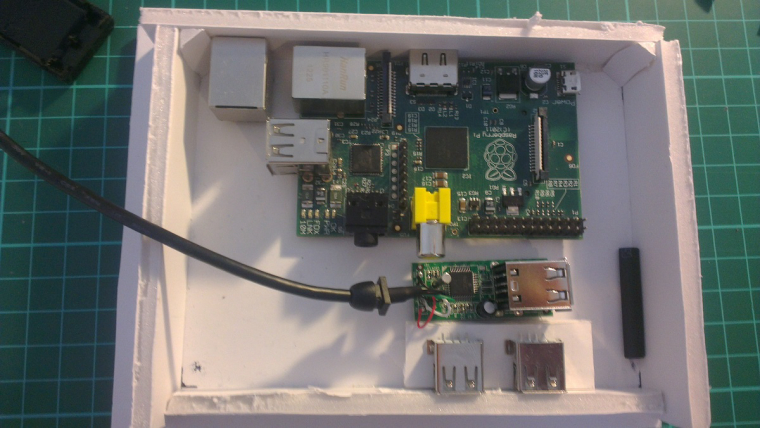
I then started on the CAD for the 3d printing, having limited experience but great passion. It began well and took a while, but slowly I was getting there, then I realised I’d somehow made the top different dimensions to the base, in a fit of frustration I gave up and put the project back in the box
Roll on 3years, I saw Obsidian's build and the USB Genesis hub it was built in. The flame re-ignited project back on.
-
Ok History lesson over; let’s crack on with the present.
So I ordered my Genesis USB hub, it’s actually a little smaller than my half scale plan. It’s also a heck of a lot better finished than I could ever hope for with 3D printing.
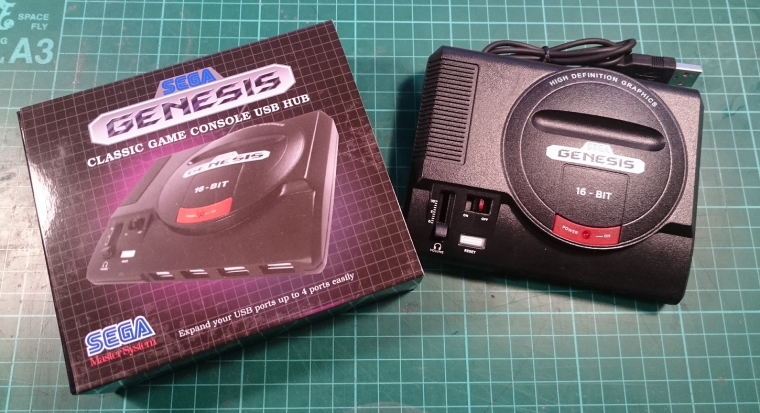
First off, opening – when you unscrew something you expect it to fall part, if not, you expect to find a couple of tabs around the edge to push… this is not the case with the hub as its glued internally across the USB port rods. With this in mind, you have to give it a little, and very scary, snap. Hoping not to ruin the whole thing and have to hit up EBay for another.
I now own a Pi3, so both Bluetooth and Wifi exist in my Pi ecosystem also – 4 USB Ports!!! The USB hub was slightly smaller than my original half scale design, however with all this built in I didn’t need as many items inside the case.
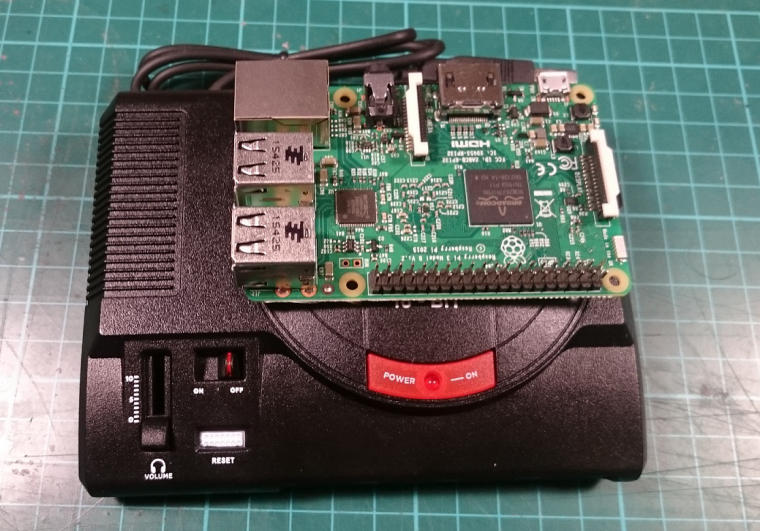
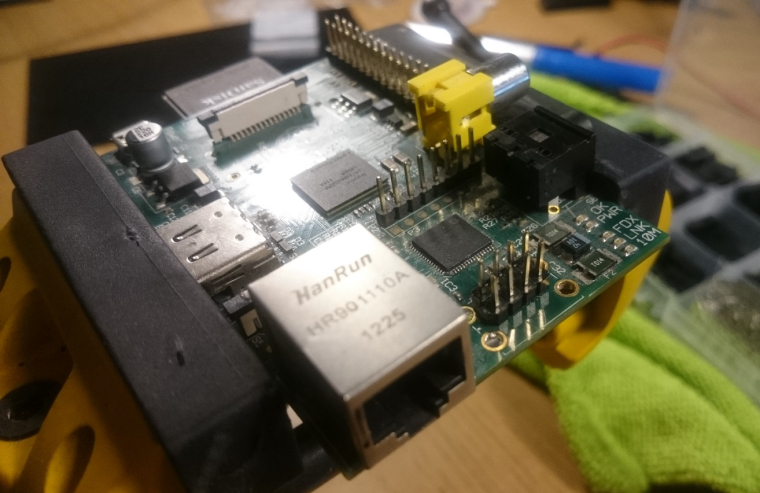
Space was still a premium so I decided to reduce the number of ports on the Pi and replace them with headers where possible. Basically, headers take up less space than ports
This was my new board though and I don’t want to ruin it as it cost real money. So I made a decision to do some testing on my PiB from 5 years ago (museum curators are weeping).
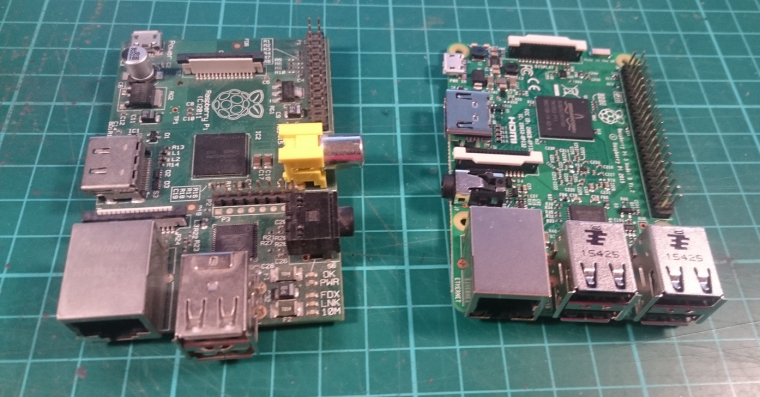
I started with the USB ports,
I quickly found out that the USB shroud acts as a heatsink to the soldering iron. This meant that all the heat I put on the solder was dissipated through the surround. Fix? > I decided to smash up the outer and flex it off to break it free of the board.
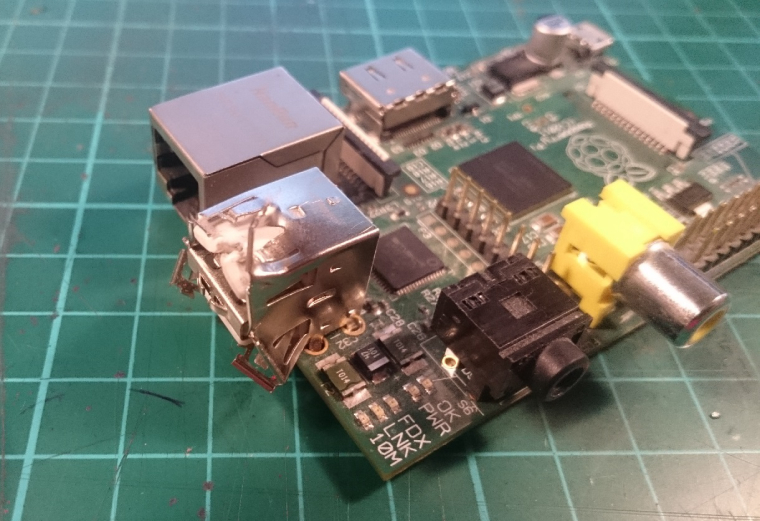
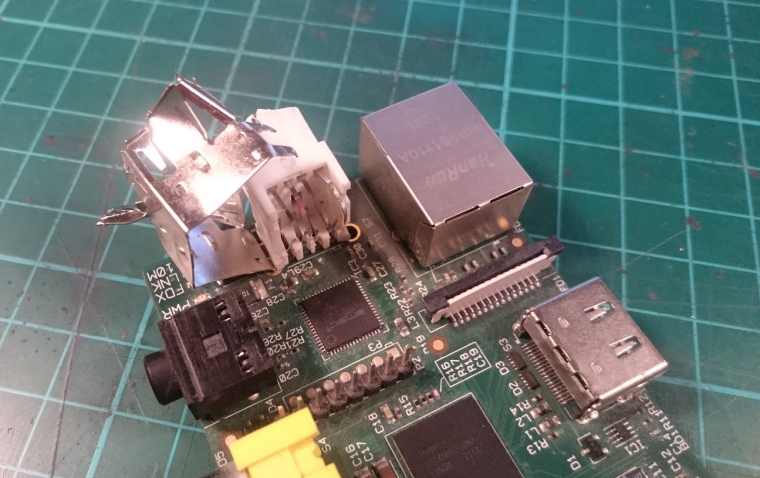
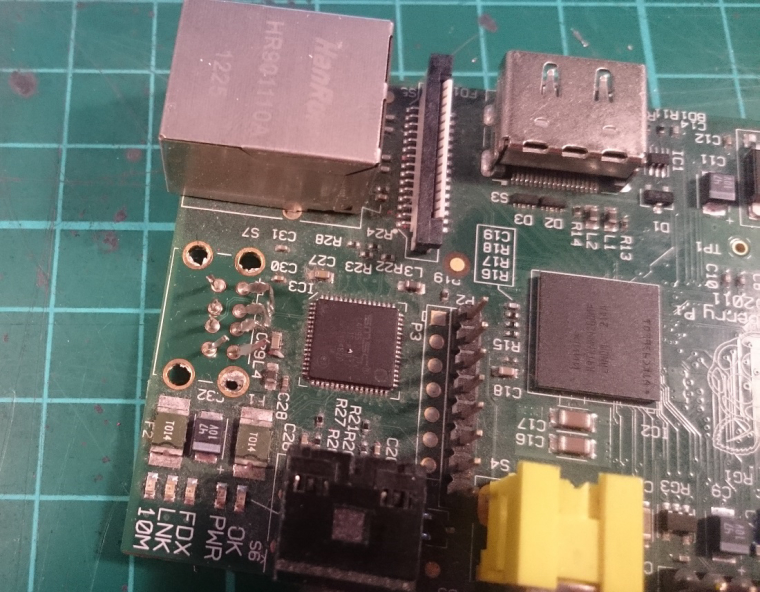
It worked wonders (if a little scary).
Then I needed to desolder everything and clean up the board. Point for those amateurs like me, lots of blogs say to use flux tape but I couldn’t get it to pull up all the excess. However, as I had removed through-hole connectors I decided to use my solder sucker – Stick soldering iron in the holes, solder sucker on opposite side – puff – remove solder.
I then slotted the headers into position – Proof Of Concept done.
-
Good luck with the project, but you can fit everything in the case without removing ports from the Pi. I even (almost) fit a USB drive inside.
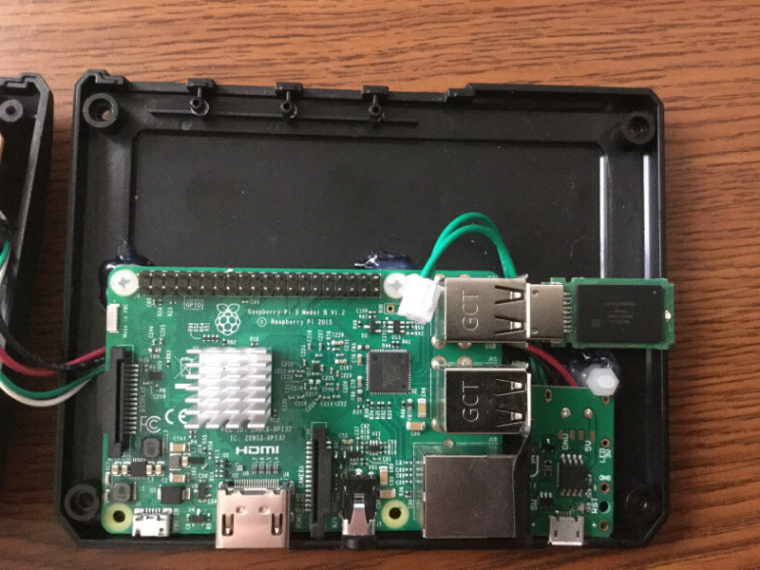
I mean, if you want to, you can, but it's not required for it to fit.
Contributions to the project are always appreciated, so if you would like to support us with a donation you can do so here.
Hosting provided by Mythic-Beasts. See the Hosting Information page for more information.