Multiple Image Types/Tags?
-
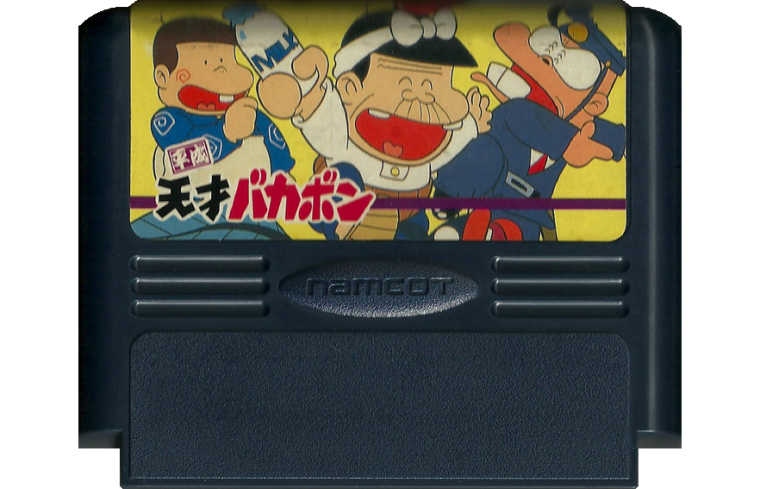
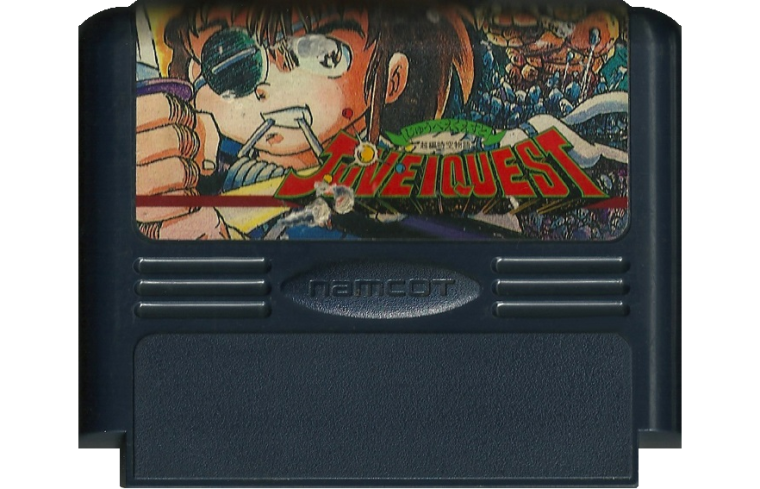
BTW... here's another cart type I just did.


I'm getting a lot better at this digital art thing and using layers to make templates to remove backgrounds with perfect circles instead of trying to do it manually or using the wand tool which leaves some jagged artifacts behind. And now, once I do one, I'm able to use that template to easily carve out the bad stuff on similar cart types that were the same size. I will have to go back when I'm done and see if there are any tricky ones that I could clean up even more with these new skills. :)
-
From what I have seen the theme xml data just refers to image refernces with an md_ prefix. Like the marquee is md_marquee. I presume that means that internally ES is just picking up on the md_ and looking in the metadata for something with a name that matches whatever follows. But I could be wrong.
So what I am saying is that I think any images you want to add to the gameslist.xml will work as long as the theme is set up to have a place to put it.
I think the trouble is that all of the existing themes would be incompatible.
-
Hmmmmm... Can anybody confirm that this is true?
I'm really going to have to take a break from all of this work and spend some time on learning how the skins work at some point. :)
-
I don't think that's true. From what I've seen from the source code, every tag is specified so that ES knows how to handle the content but I'm not sure.
Also, I'm pretty sure that there is no way to switch between images within ES. Maybe Pegasus can do that, although I have to say that I never tried it myself. In fact I wasn't even really following the development process. So I can't really tell what state it is in and what capabilities it has.
-
Yep I was totally wrong. Though it does sound like a good idea to make it work that way to me. Much more generic and extendible. ;)
But this is how it is setup now. Hard coded strings.
void VideoGameListView::onThemeChanged(const std::shared_ptr<ThemeData>& theme) { BasicGameListView::onThemeChanged(theme); using namespace ThemeFlags; mMarquee.applyTheme(theme, getName(), "md_marquee", POSITION | ThemeFlags::SIZE | Z_INDEX | ROTATION); mImage.applyTheme(theme, getName(), "md_image", POSITION | ThemeFlags::SIZE | Z_INDEX | ROTATION); mVideo->applyTheme(theme, getName(), "md_video", POSITION | ThemeFlags::SIZE | ThemeFlags::DELAY | Z_INDEX | ROTATION); initMDLabels(); std::vector<TextComponent*> labels = getMDLabels(); assert(labels.size() == 8); const char* lblElements[8] = { "md_lbl_rating", "md_lbl_releasedate", "md_lbl_developer", "md_lbl_publisher", "md_lbl_genre", "md_lbl_players", "md_lbl_lastplayed", "md_lbl_playcount" }; for(unsigned int i = 0; i < labels.size(); i++) { labels[i]->applyTheme(theme, getName(), lblElements[i], ALL); } initMDValues(); std::vector<GuiComponent*> values = getMDValues(); assert(values.size() == 8); const char* valElements[8] = { "md_rating", "md_releasedate", "md_developer", "md_publisher", "md_genre", "md_players", "md_lastplayed", "md_playcount" }; for(unsigned int i = 0; i < values.size(); i++) { values[i]->applyTheme(theme, getName(), valElements[i], ALL ^ ThemeFlags::TEXT); } mDescContainer.applyTheme(theme, getName(), "md_description", POSITION | ThemeFlags::SIZE | Z_INDEX); mDescription.setSize(mDescContainer.getSize().x(), 0); mDescription.applyTheme(theme, getName(), "md_description", ALL ^ (POSITION | ThemeFlags::SIZE | ThemeFlags::ORIGIN | TEXT | ROTATION)); sortChildren(); } -
A suggestion for cutting out stuff is the pen tool, master that and you're golden.
I notice on the carts you have a blur effect at the top of the cart, is that to give the effect of it curving over the top??
-
@keigan I haven't actually ever used the pen tool. I'll have to look into that.
I actually didn't do any blur effects. I'm assuming that you are referring to the two I posted in this thread, and not the ones that I've posted in my RessurectionXtras 2.0 thread?
Those are "special" FDS carts made by Namco that actually did have a label that rounded over the top of the cart. Most of them don't do that. There aren't too many of those. Any blur effect that occurs there was due to the original photography.
-
@used2berx My appologies, I thought you had just taken a blank cart, and then found flat artwork and then laid it over top. I didn't realize that you took it and cropped it out. I was just going to suggest using a gradient/shadow at the top to make the rounded effect, but since the original is blurry at the top, not much you can do.
But yeah look into the pen tool, it's extremely handy for cropping out things, and use Layer Masks if you aren't. I know many people do not use them and I can never understand why they don't.
-
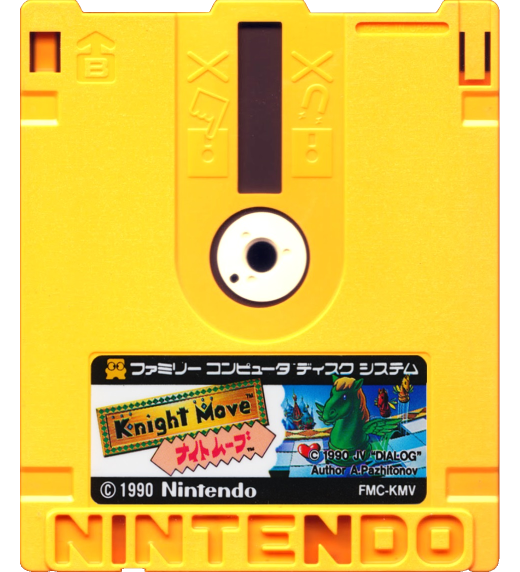
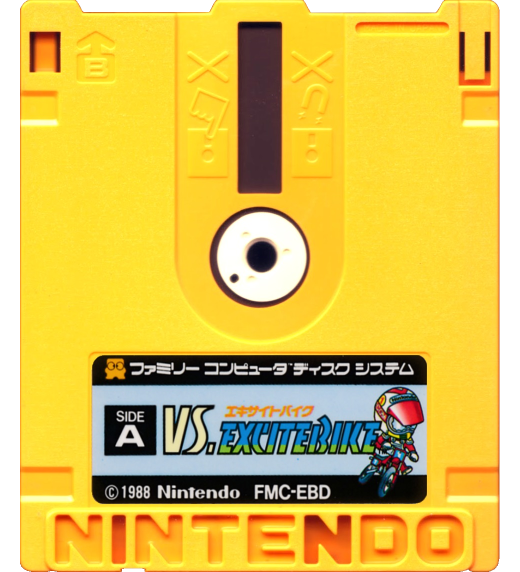
For some images I have used a blank cart as a template. This was especially true for the FDS disks where the only high quality images I could find was the labels and I found a single disk image that was very high quality and then put the labels on the disks.
For the most part though, I'm stuck using the images that I could find online. Most of them are very high quality, but some of the more obscure games are still not up the same quality as the rest. With the NES/FDS box and cart art overall though I've been extremely impressed with the artwork you can find online today compared to 10 years ago. I'm really hoping I have such luck when I start doing other systems down the road.
I use masks all the time. I've been teaching myself how to do all of this, so I learn more things as I go. I'm not using Photoshop, but I'm using a free program called Paint.NET. It might not have all of the tool that Photoshop has, but I've been able to find a lot of user created extensions to do a lot of things I wanted done like bulk resizing, quadrilateral reshaping and perspective adjustments.
I was never really into digital artwork, but I'm glad I'm doing this. It can be pretty boring at times, but I'm learning a lot. :)
-
I just completed all of the FDS updates this morning. I'm particularly proud of these images since they were all made from scratch with nothing but the labels and a large disk image as a template.
Note that these images were reduced in size by 50% because they were too large to upload here at around 1.8MB each!


Contributions to the project are always appreciated, so if you would like to support us with a donation you can do so here.
Hosting provided by Mythic-Beasts. See the Hosting Information page for more information.