De-yellowing a 1992 Super Nintendo console (progress report)
-
As discussed in this topic I'll post some pictures of the de-yellowing process I'm putting and old 1992 SNES console.
Note: I am not treating the dark grey plastic.
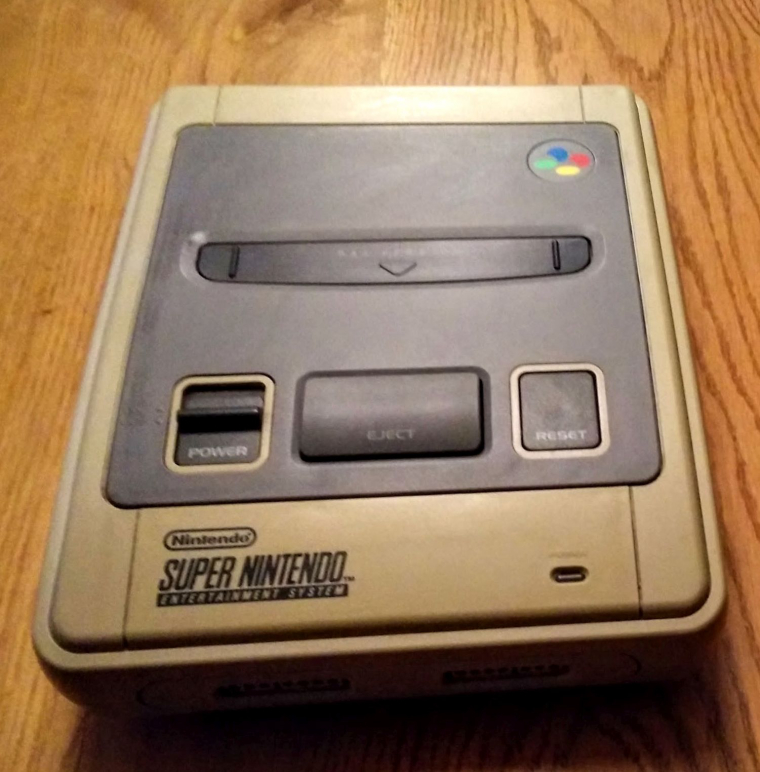
When I received the SNES it looked like this:
I'm using a 12% hairdressers Hydrogen Peroxide gel, sunlight and (in absence of sun) an old UV face tanning lamp.
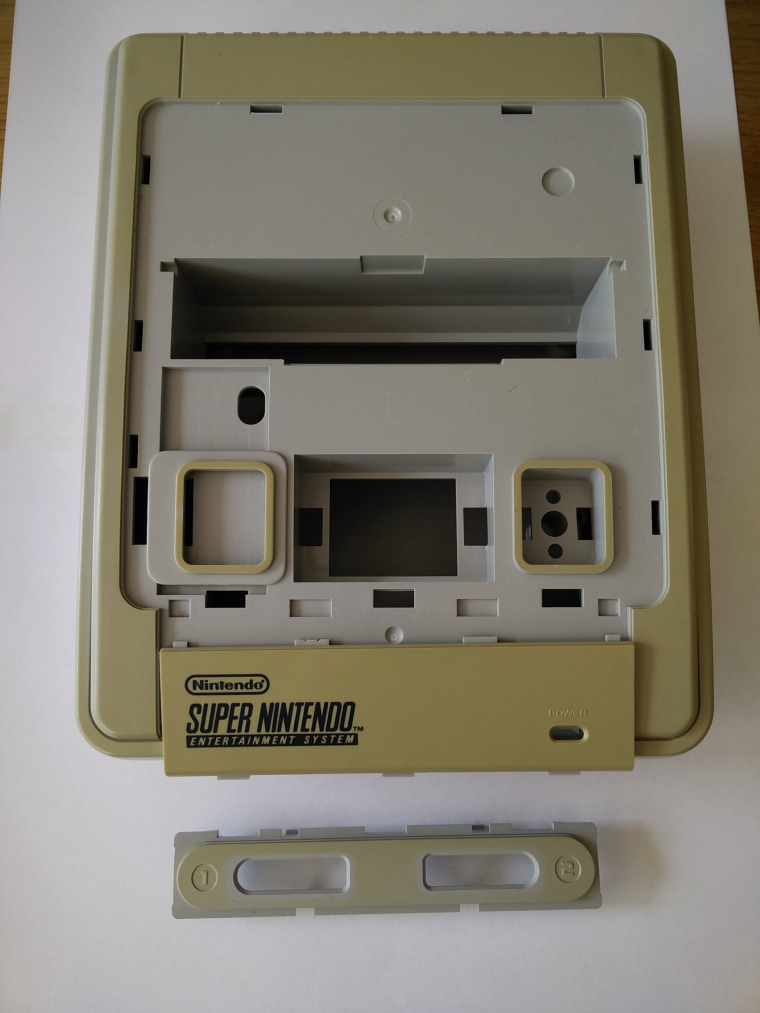
This is how the SNES looked after taking it apart and giving it a good cleaning, but no peroxide treatment yet. Notice the color difference between the 2 loose pieces (the part that says Super Nintendo and the part with the 2 holes for controllers) and the inside.
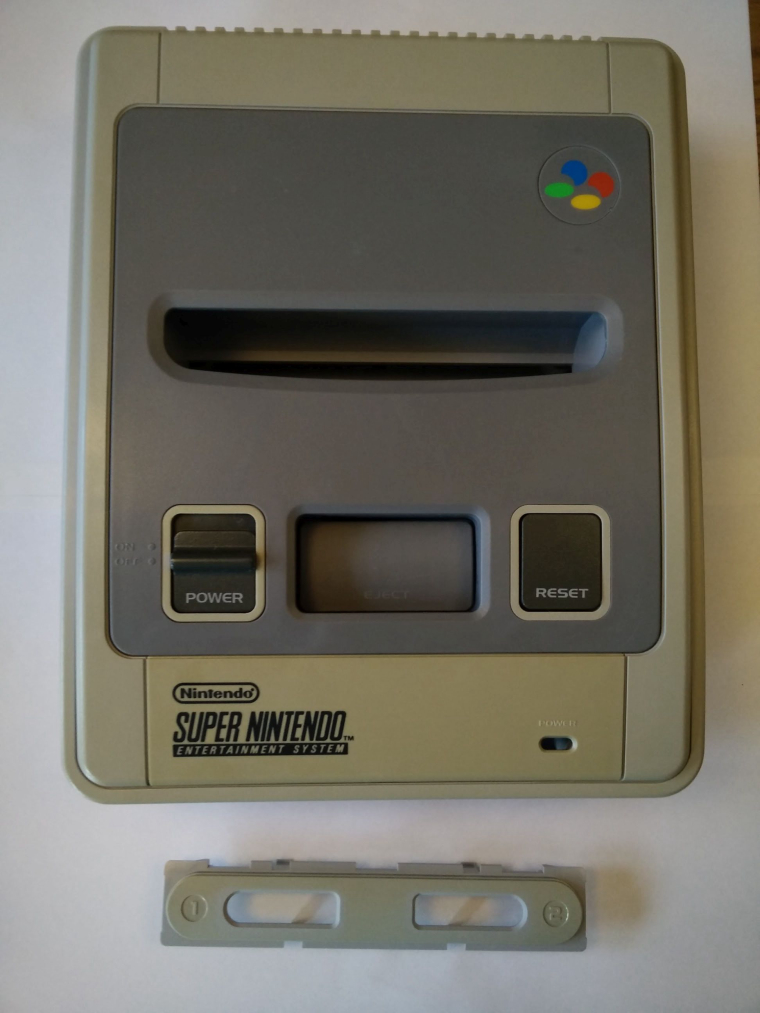
After the first day of treatment in a few hours of late afternoon sunlight, it already looks a bit better:
Day 2 was mostly rainy, so I only placed the loose parts under the UV face tanner for a few hours. At first with peroxide cream applied directly on top and later I submerged the parts in a mixture of peroxide cream and some water and placed it under the UV lamp. This is the result from day 2:
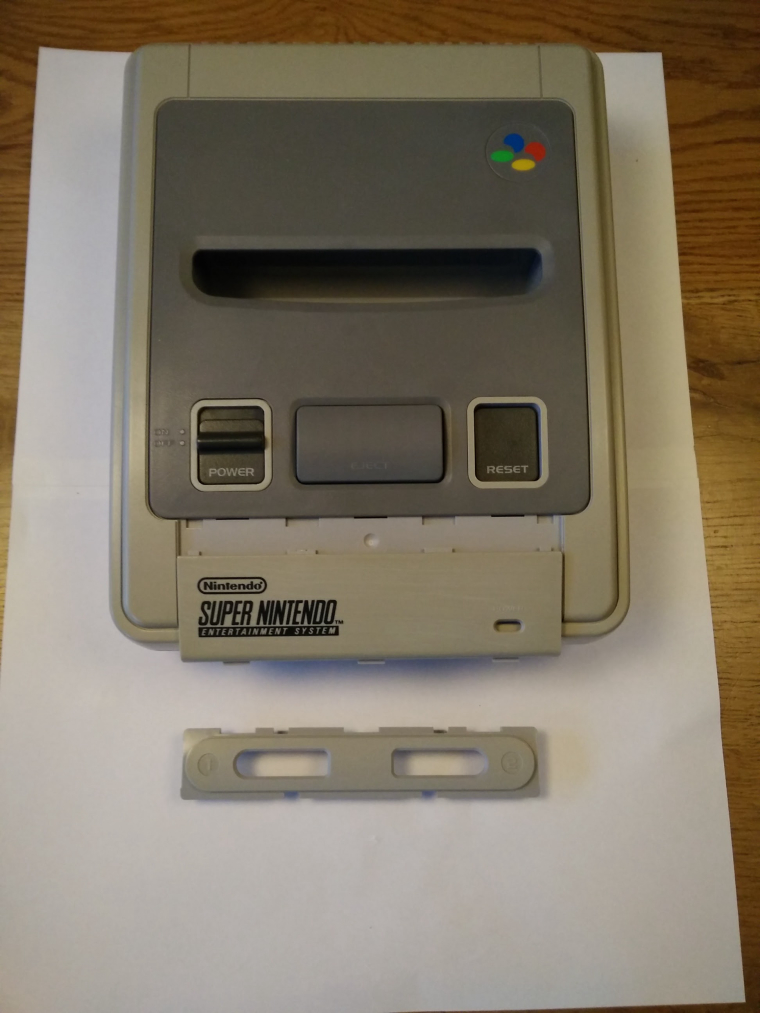
I feel I've made some nice progress. The color difference with the inside has become less (IMHO).
I'll continue the process when I have some more time.
-
I think its looking great!
-
Keep at it, I'm interested to see how it turns out.
Are you just smearing the gel on? -
Excellent! Thanks for documenting this. The change is already clearly visible. Might do this with my own SNES some day.
-
I've bought some UV leds from aliexpress to make a retrobright box. It's better then waiting for a sunny day ;) and it's a lot cheaper in power consumption. I've found a plan on instructables that is used to erase chips, and used it for the right voltages.
-
@xvo you've prompted me to do it to. Just ordered a bulb to get my original Gameboy back to scratch. It needs the screen fixed, but that's easy enough.
-
@Ekstreme said in De-yellowing a 1992 Super Nintendo console (progress report):
Keep at it, I'm interested to see how it turns out.
Are you just smearing the gel on?Yes, I used a paintbrush to smear the gel on. The downside to this is that it dries up pretty fast unless you wrap it in plastic (which I don't like to do because it might cause uneven patterns). So I also tried submerging the smaller parts in a gel/water mix.
-
On youtube I saw a video of a guy who put the parts of a snes in to a bowl of hydrogenperoxide without making the gel.
It's very expansive to do, but if you feel like your console is worth it then do what you have to do.
The proces is still the same, put everything in a bowl, put the hydrogenperoxide in the bowl so that everything is covert, then place it under a uv source (leds, sunlight).
That way you don't need to worry about certan patterns on your plastic (Waiting for my wavebird to become yellow again, it's got a marble look over it). -
I've had a crack at my original DMG-01 Gameboy. I used a black light, and had the Gameboy smeared in 12% peroxide cream\gel the inserted into a plastic zip locked sandwich bag. It was then positioned about 20cm away from the light overnight in a dark room. I have a feeling the UV output from the light is very low as some people claim they have a significant change in 3 hours. I had no noticeable change at all in that short of time.
Original
https://drive.google.com/open?id=1BOO1Qwzup_4kqysYf_H1q5IAU7KIB38QxQFirst pass
https://drive.google.com/open?id=1FbX8gzTLXhY326ES-E8bJrLpWyT5cJeRnQI'm re-doing the process again this time in a tray that is aluminium foil lined to get the sides that were missed and to improve the main body result. It looks pretty good already, but it's still far from the original color.
-
It's looking great so far, maybe one night extra and it's back to its original color ;)
-
@Ekstreme and the colored Gameboy and button text didn't fade at all? Thinking about doing this to my dmg.
-
@celly Not a bit. My actual A & B buttons are a bit faded, but they were like that before. I have new ones on order.
-
@Ekstreme
When I washed the retrobright off of my nes I ruined the text from the lid :( -
@XVO said in De-yellowing a 1992 Super Nintendo console (progress report):
@Ekstreme
When I washed the retrobright off of my nes I ruined the text from the lid :(Here you go. $2.99
https://mortoffgames.com/nintendo-nes-console-flip-door-ntsc-variant.html
Contributions to the project are always appreciated, so if you would like to support us with a donation you can do so here.
Hosting provided by Mythic-Beasts. See the Hosting Information page for more information.