Arcade joystick help
-
Ok guys i am going to need some help on this one.
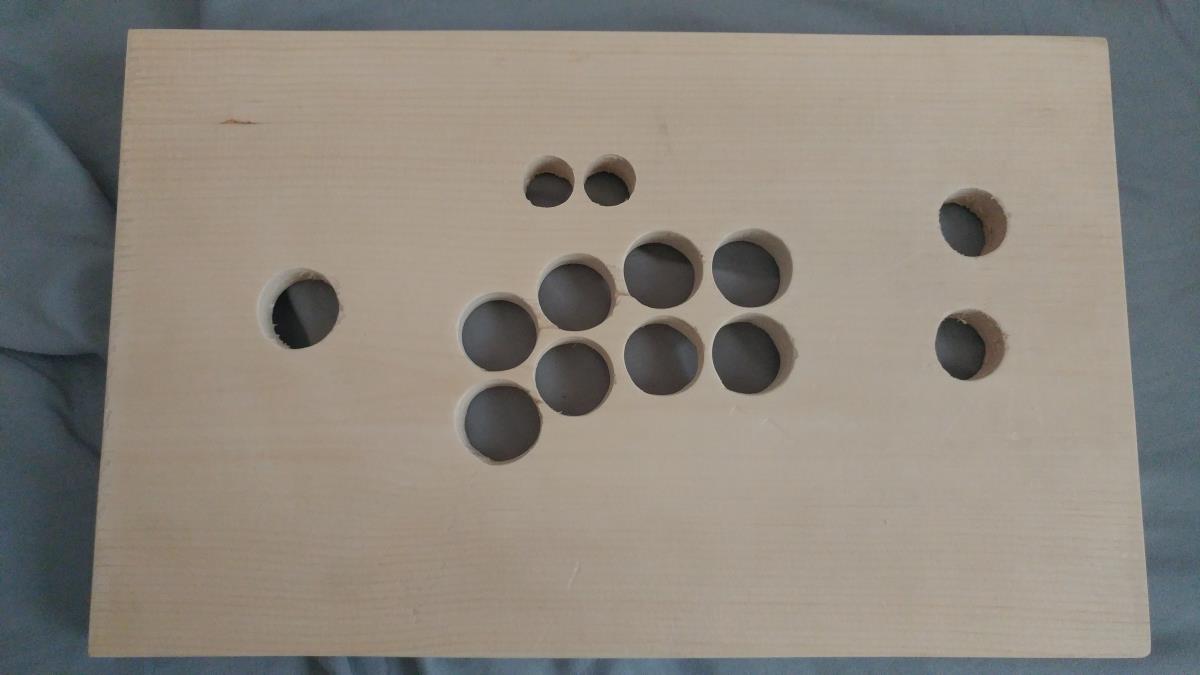
I started my arcade joystick panel which to me looks nice right now got the corners nice and rounded a bit as well but when i would try to fit the buttons in the only one that goes in is the fifth one (first one on the bottom) and i am wondering if anyone has made their own before and what kind of sand paper would i need to make the holes just a little bit bigger and also i have no power tools because i went to my uncles place for his tools and he is out of town for a week now.
-
@ecks did you use a pattern? I have made a few of these boards now and your holes look too close together, each button has a "collar" that sits on the wood, you need space between each hole for the collars for the buttons, it does not look like you have enough room for them to fit.
As for making the holes larger, doing it by hand will be a terrible task. I would suggest a drill with a grinding/sanding but or a dremel. I would double check you button spacing first though, you might need to start over :(
-
@tmntturtlguy I tried out 2 buttons next to each other the second one on the bottom fits a little bit better and there is no problem with the spacing.
-
Also i have a lot of time on my hand so i don't really mind trying to sand it down a little more.
-
@ecks glad to hear that, the photo must be decieving. I would get a large grit sand paper, maybe a 40 or 60 grit and maybe a screwdriver to help, wrap the sandpaper around the handle.
-
Try looking from the other side as you try and push the buttons through, this should give you an idea of where they are getting caught.
I purchased a 28mm spade bit when I did my arcade machine (as my buttons had a 28mm body), a lot easier than the manual method. I had previously tested the button layout on a hardboard template (an old upturned drawer) and manually cutting it and refining the holes took forever.
-
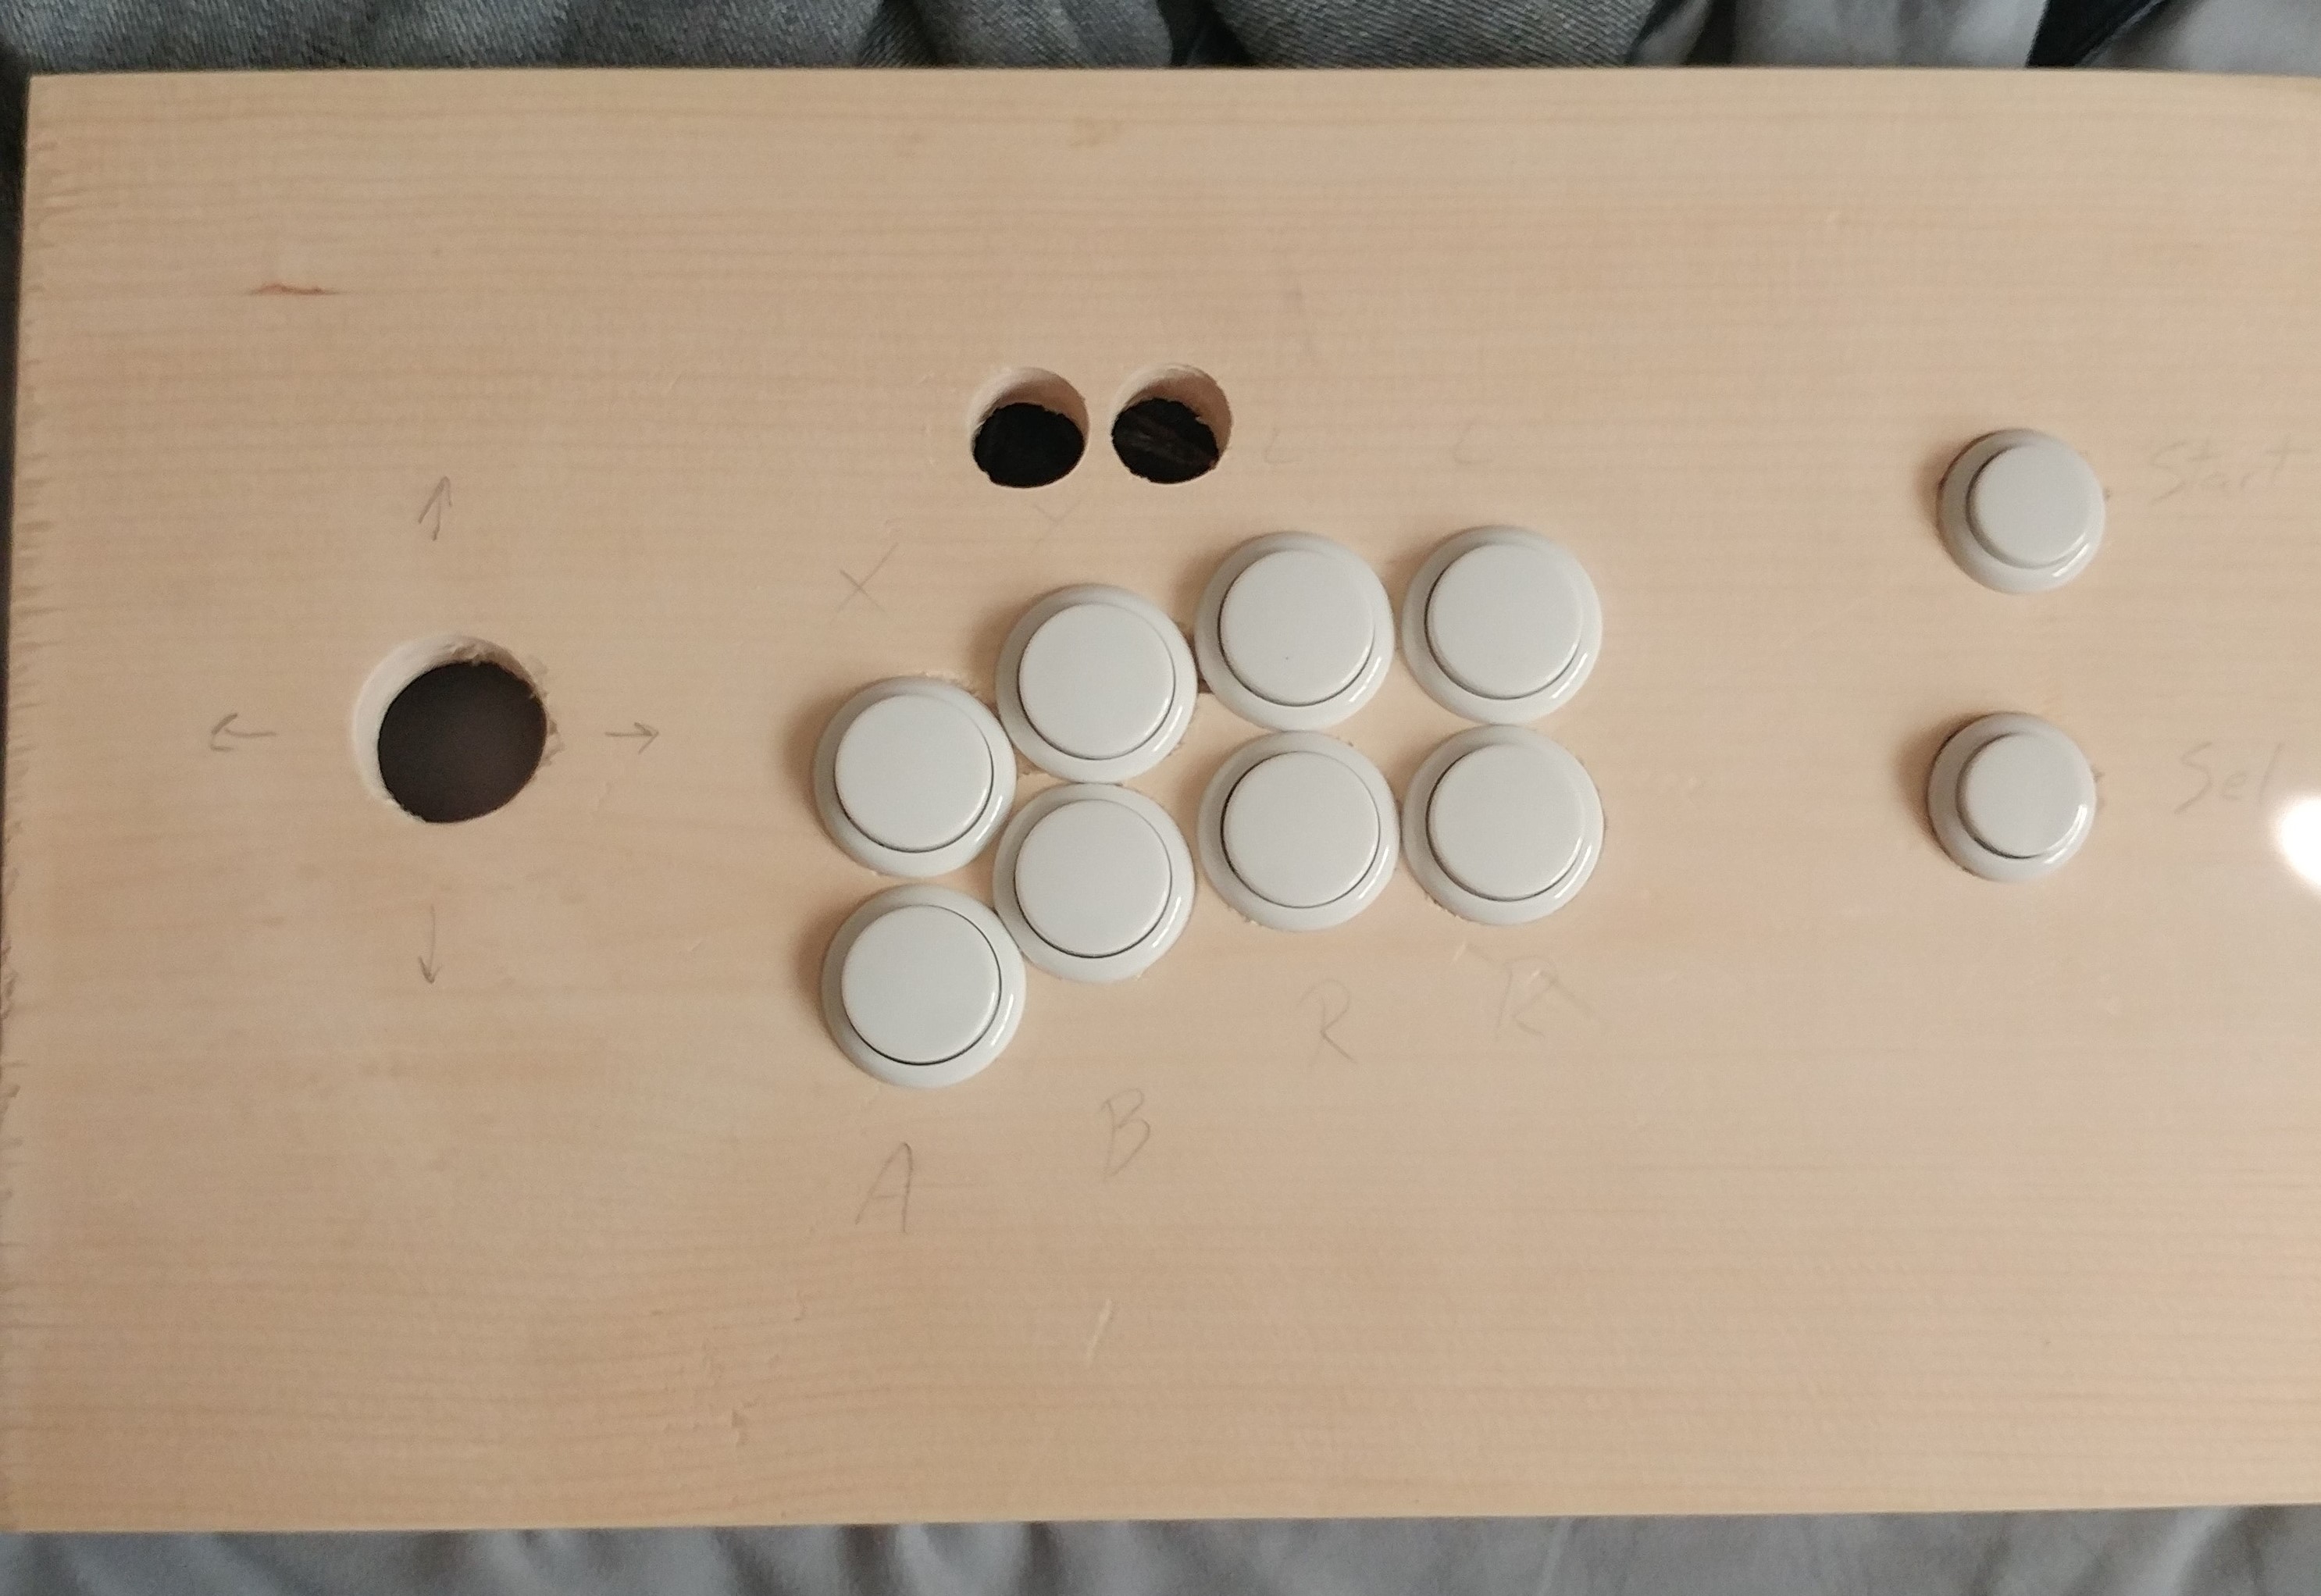
@tmntturtlguy So far this is what i got and i used a 40 grit sandpaper to make the holes a little bigger and all the buttons are flushed inside.
-
@ecks nice work! Wow that is a tight fit on your buttons! But it works.
Can i ask how you plan to map your buttons? I see the start select buttons, 8 buttons and the two way to the right.
-
@tmntturtlguy For Capcom type of games i plan on mapping it 6 buttons of course for you know street fighter games and such and for Neo Geo games the 4 buttons on the bottom.
So far i just wrote with a pencil
XYLL
ABRR
I did it like that so for most emulated games i would know how to set it up as and also another part is for the joystick cause the wood is a little thick i have to try and shave it down a little just to the stick doesn't look like it is too short because right now it is short and i already put an outline where it needs to be so it can be dropped into place without trying to hold it in place when i would screw it in. -
Also thinking about the bottom part to maybe cut it a little more.
-
@tmntturtlguy I wanted to ask you personally as well do you think this system could handle RetroPie with no problem because i know the HD 8550G can handle certain PC games good but more or less for games like Killer Instinct you know because if this stick works out well i plan on building a full size 2 player arcade system and thought of using a mini PC like this one and it will only be a RetroPie mame machine as well.
-
@ecks in regards to the control panel, typically you need to use a router and take 1/2" out of the bottom of the wood. This should be sightly larger than the joystick, the joystick unit then sits in this area so that the stick is the correct height and so the bolts can hold it in place nicely.
I understand you 8 button setup, what are your 2 buttons way to the right? Are you doing a coin button and an exit button over there?
In regards to the mini pc, I guess if it is a windows pc it should run the pc version of retropie, I am not very well versed on this, I only run retropie on raspberry pi 3's. I do know that retropie does not run on all of these other little computer boards like the asus Tinkerboard. You might want to start a new thread and post some more info on that mini pc and see if anyone who runs the pc version can help you.
-
@tmntturtlguy Thanks and the 2 buttons on the right hand side is start and select or start and coin also as for RetroPie on PC you can install it with the Ubuntu OS as you can see here and also to regards to the bottom area i have the joystick area like drawn out so i know where to shave it down right now.
-
@tmntturtlguy I have an off topic question about power plug for the Pi because recently with Dreamcast for some games i get the low power warning and the one i am using now is a 5v 2.5a power supply and was wondering if i got something like this or like this if it would help with the low power warning and also i got a newer case recently that uses a fan as well which is why i am looking at that 3A - 3.5A plugs.
-
@ecks I can't help you with that. I use a 5v 2.5 amp with a .15 fan and never have issues. That is all I know in this area.
-
@tmntturtlguy Ok thanks just wanted an opinion if i should just get one with 3A on it because i might do other things like adding a LED indicator and a power switch from the GPIO.
-
@ecks
Are you using an official power supply or a third party power supply?
2.5 amps should be plenty and I've always found the official power supplies to be reliable but have heard some third party power supplies can't supply the current that they advertise.SNES mini/Nes mini/Famicom mini theme developer.
If you'd like to support my work you can donate here: Donate
-
@ruckage I am using a third party and i have tested it out it is generating what it should because i also have a 2a one from my tablet which always gave me power warning when playing SNES games and also Dreamcast would use more juice anyways as well and like i did mention i plan on adding more things to me Pi like the power button and LED indicator light.
-
@ecks
A rpi3 draws significantly less than 2.5amps even under full load so the most likely cause is that your power supply simply isn't good enough. 2.5 amps is only recommended so that enough power is available if you have power hungry devices connected to the pi. For example I had the pi and a 7inch touchscreen both being powered by a single official 2.5amp power supply without issues.A power button and LED isn't going to have any impact, as @TMNTturtlguy said I also have a Fan and LED powered through the GPIO using the official PSU and have never had a power warning.
-
You either have something very power hungry already plugged into the pi (hard drive maybe?).
-
Your raspberry pi is faulty.
-
Or you need a better PSU (I think this is most likely, just buy the official one - it's not expensive and works well.)
-
-
@tmntturtlguy I am going to redo the top part of my stick just because i dont have the router to make the joystick area thinner so i bought thinner wood and also the back panel where the wire comes out from will be thinner as well.
Contributions to the project are always appreciated, so if you would like to support us with a donation you can do so here.
Hosting provided by Mythic-Beasts. See the Hosting Information page for more information.