Robotron vs. Octolyzer Arcade Cabinet
-
I did it , i did it, i did it :-)
Somehow i always wanted to have an arcade Cabinet. As a kid these facscinated me but i could not really get to play. There were and still are almost no gamerooms in Germany where i live.
Beginning of last year i randomly searched for retro gaming and arcade topics, i was hoping to catch a good condition shooter Cabinet. Suddenly i found out about retropie and began researching. So many great projects of cabinet builds. And great tutorials. There was no way back :-)
inspired from others but still my own build from scratch i started making construction drawings of the joypad. i used the standard japanes arcade layout as presented at slagcoin what a f****** great site! Literally coveres EVERYTHING about joypads. extremely detailed guide on how to build layerd joypads without visible screws.
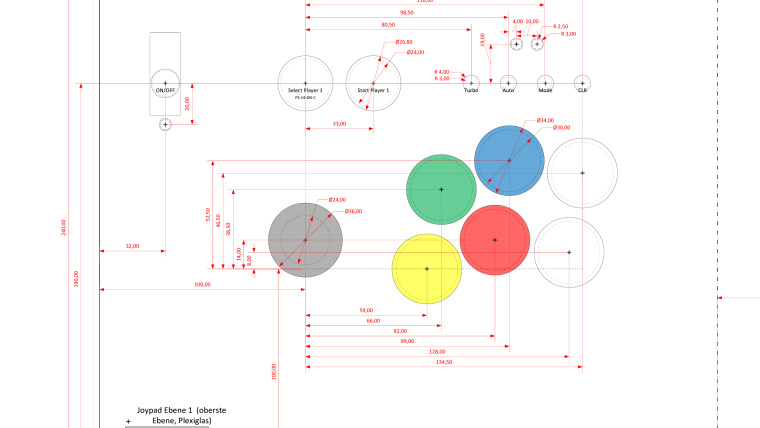
beginning in September 17 i started slow but soon had a fixed date once a week in a friends workshop. I ordered all the parts, sanwa Joysticks and buttons from japan and t-mold from netherlands. i use a Pi 3 B witch two zero delay usb encoders plus two super famicom controllers with usb adapters (up to 4 players). controllers are accessible in a tray below the joypad. there is a 7 port usb hub to be able to just plug additional controllers or keyboard any time.
here are a few impressions of the building process
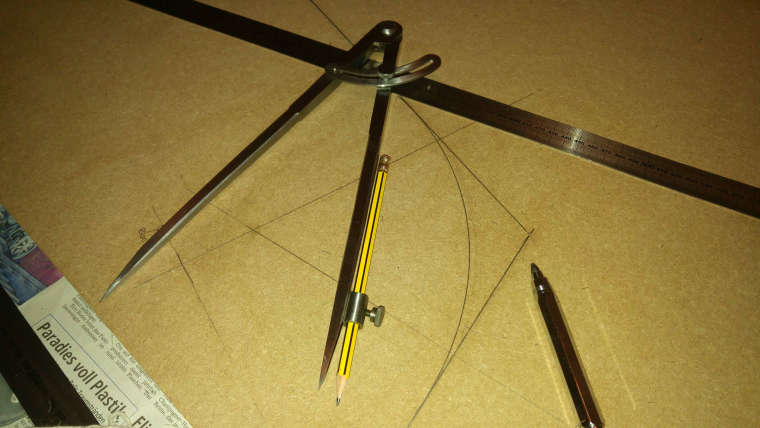
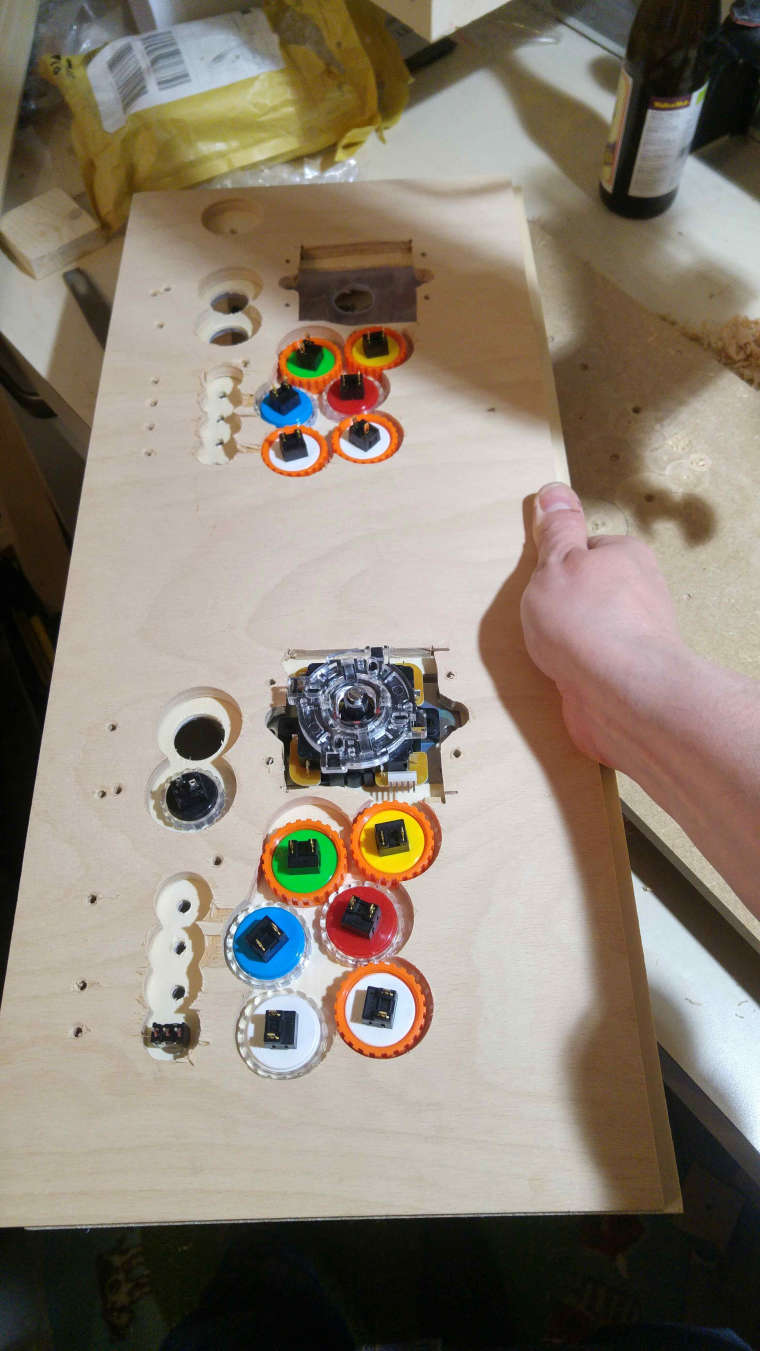
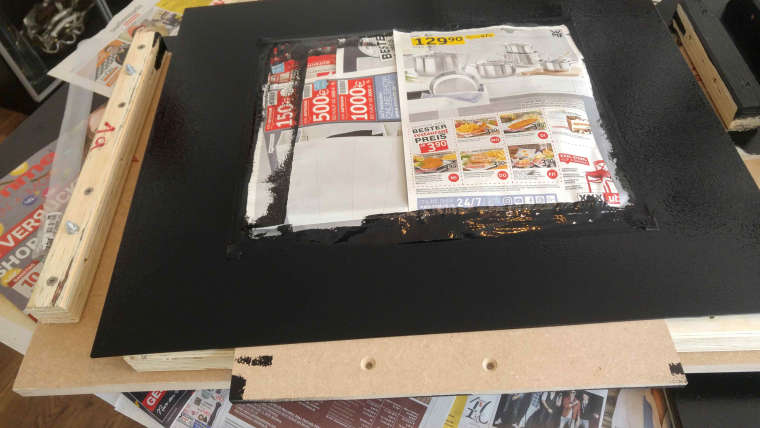
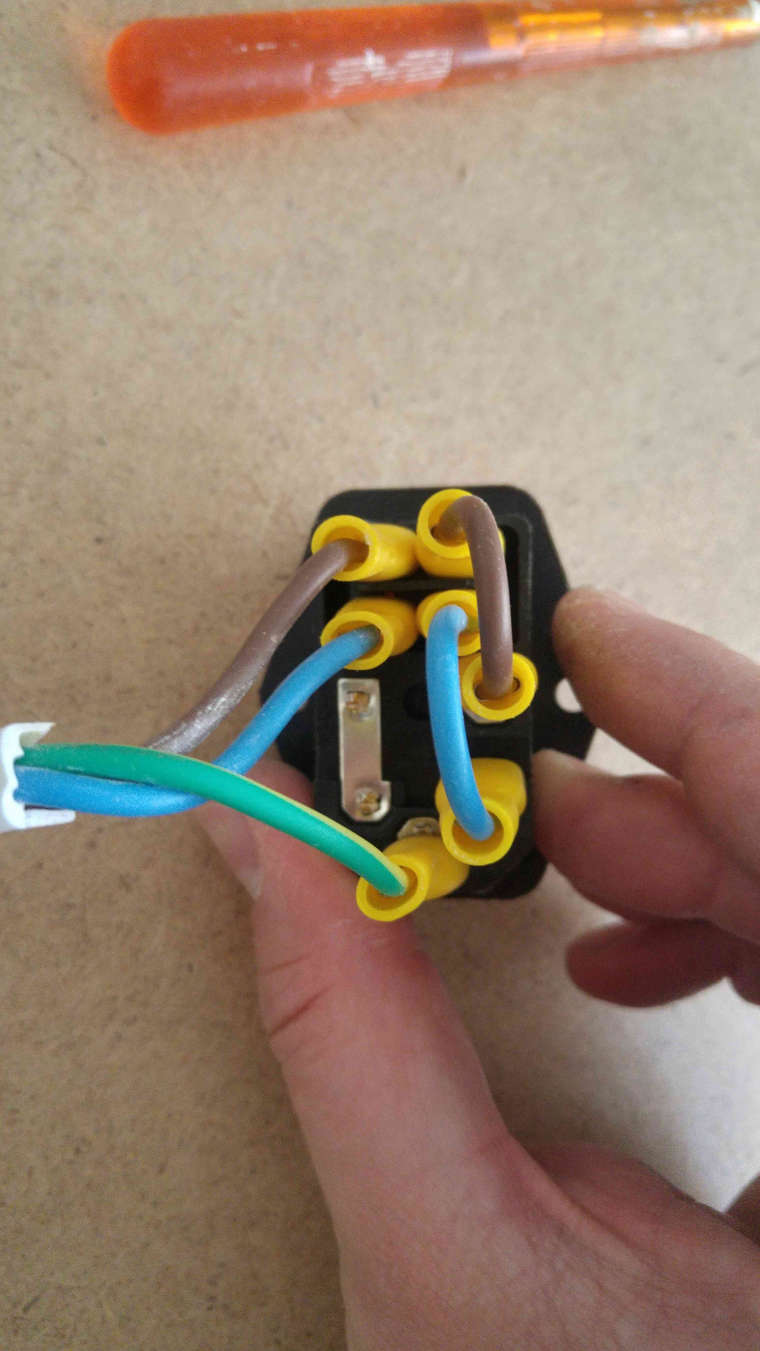
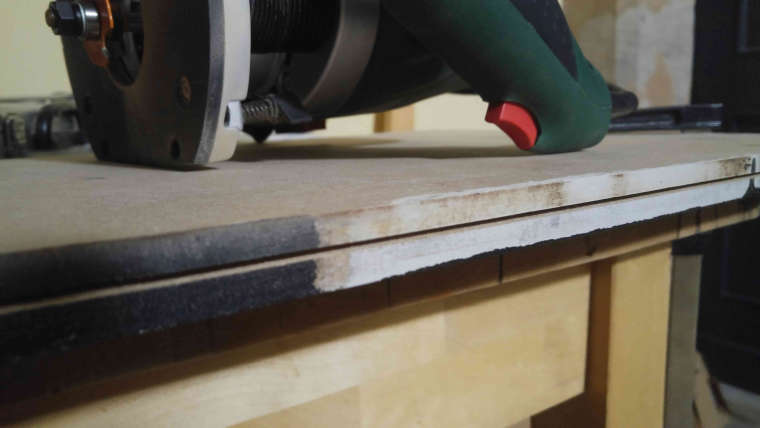
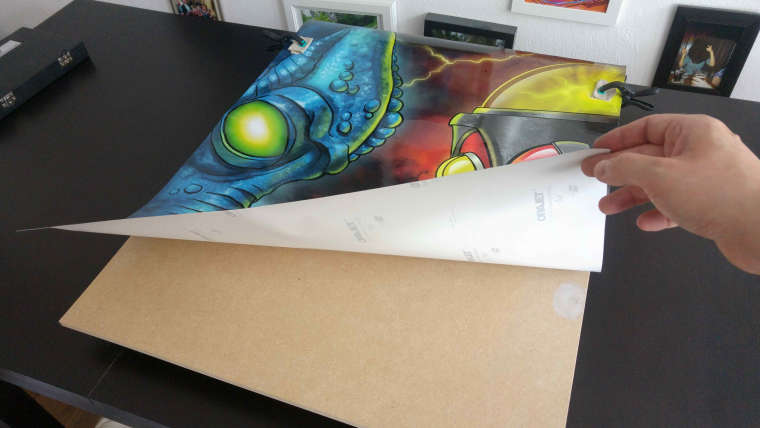
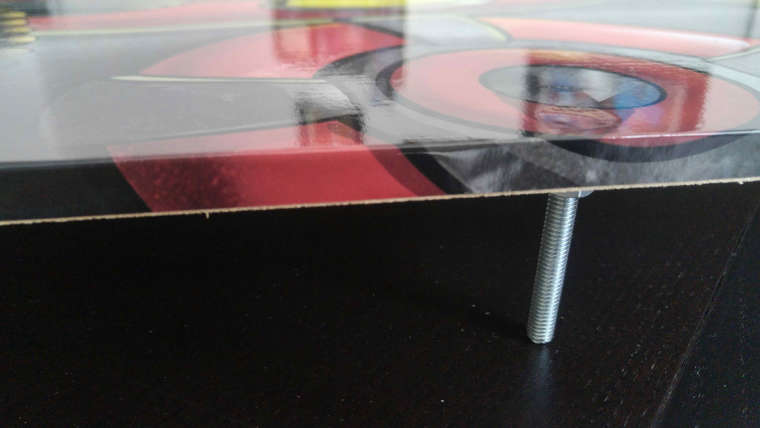
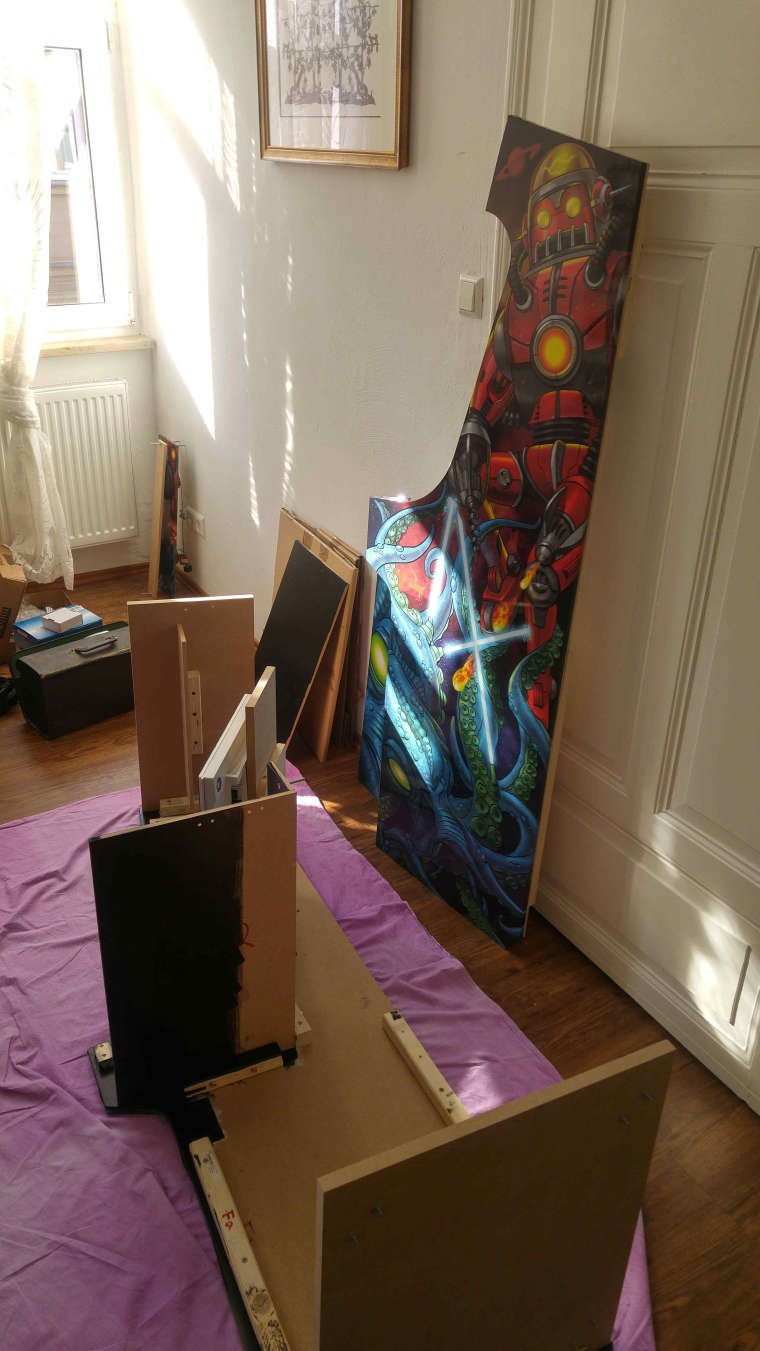
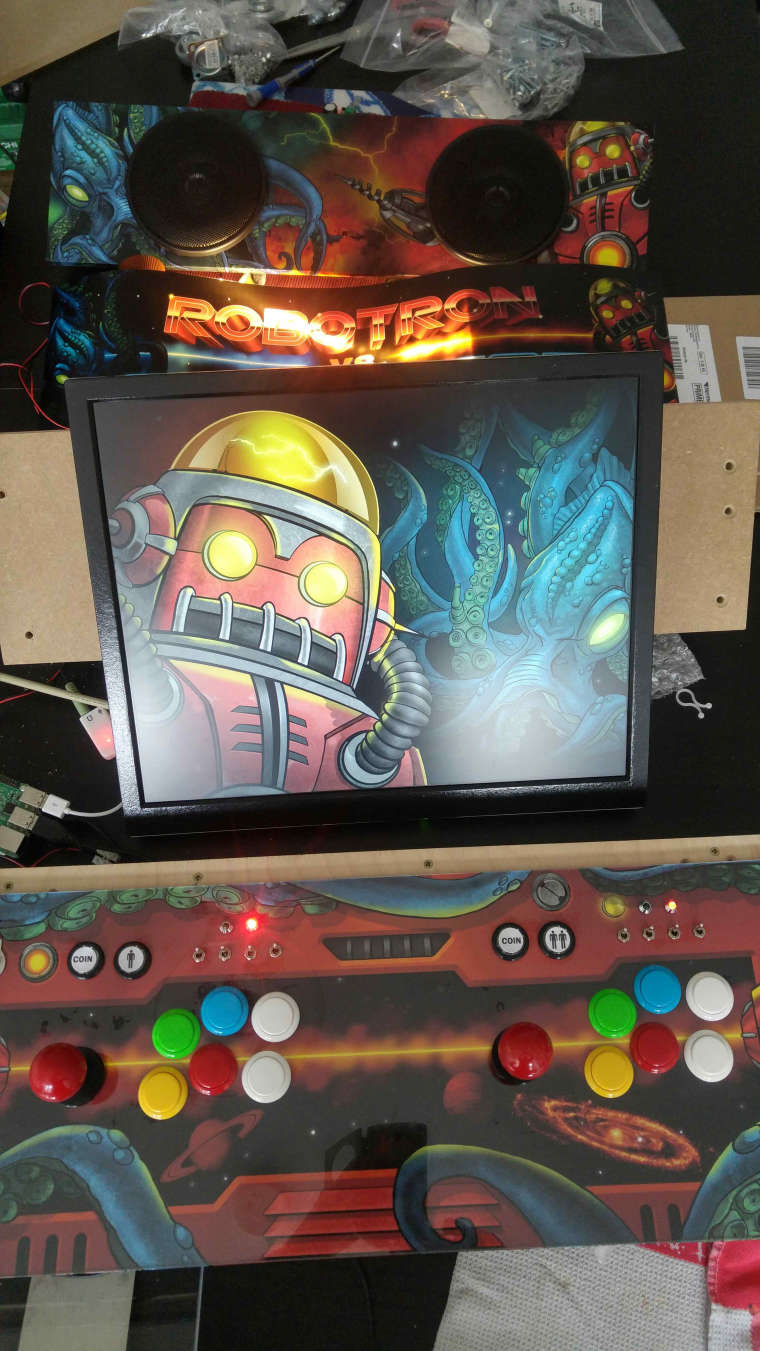
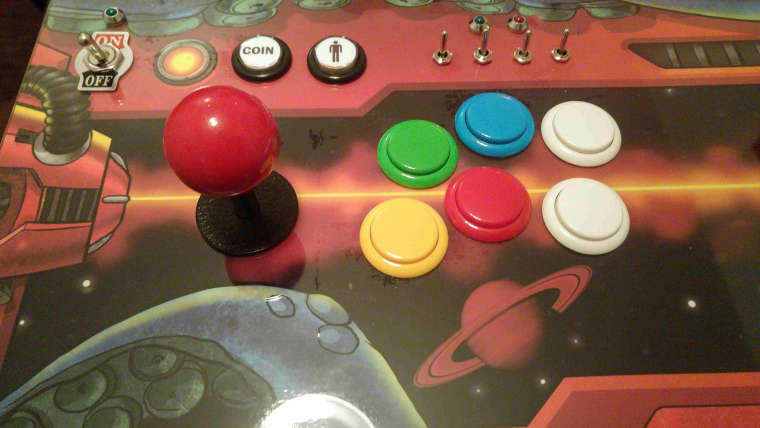
i am now very happy with the result. Countless hours went into this. research, software, learning more than actual building time plus many liters of sweat, blood, tears and beer :-).
a friend of a friend made all these insane illustrations that i could not be happier about!
this is it in all its glory
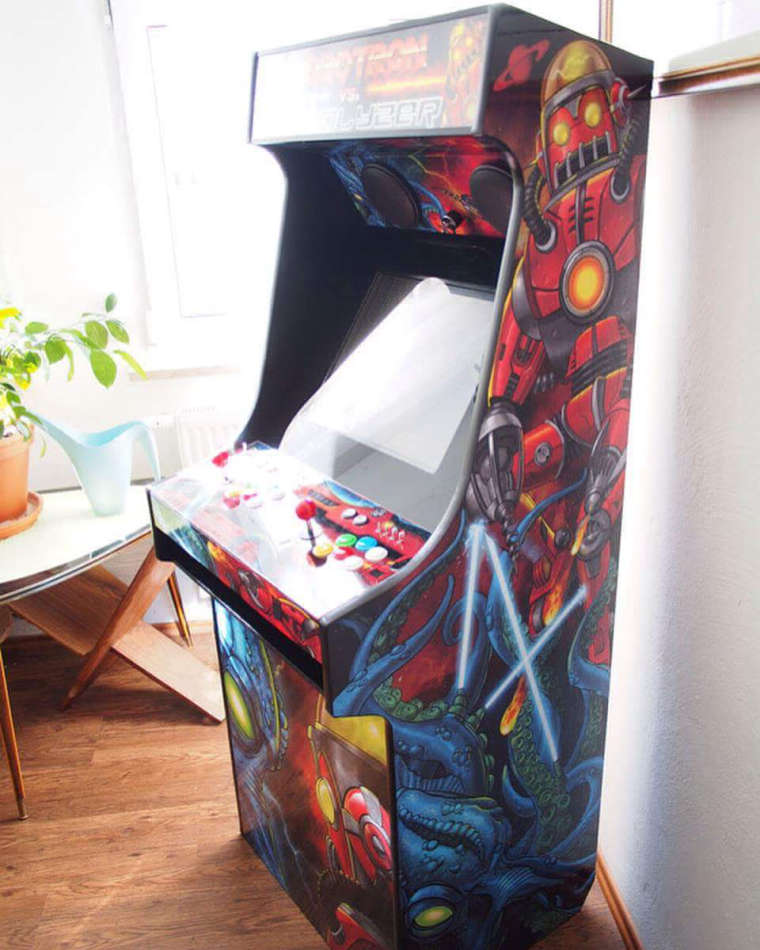
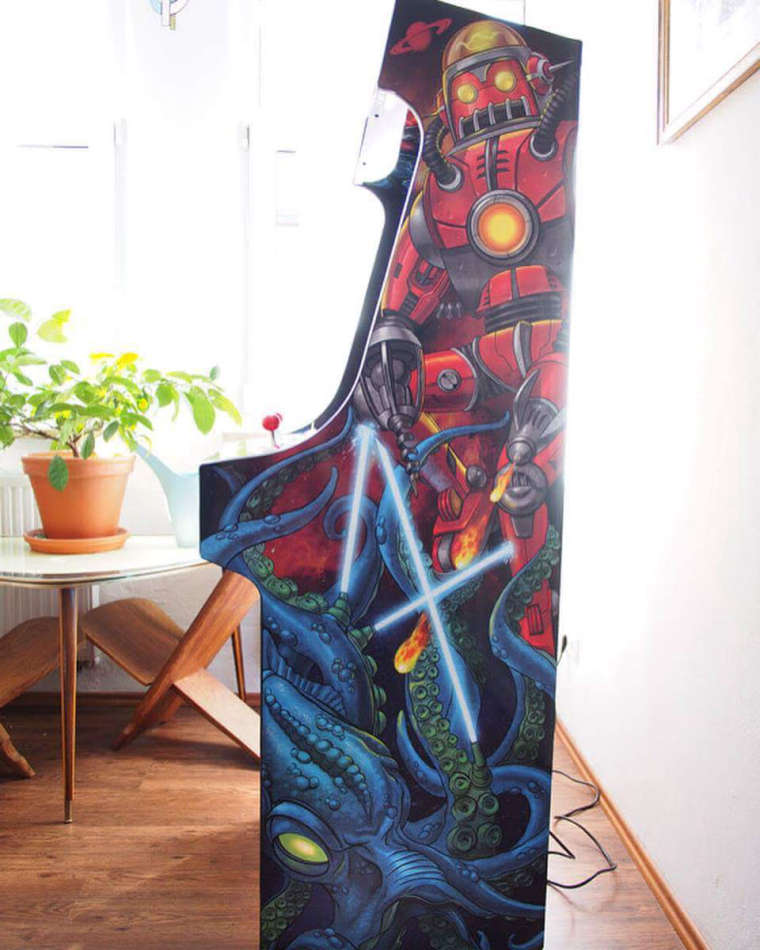
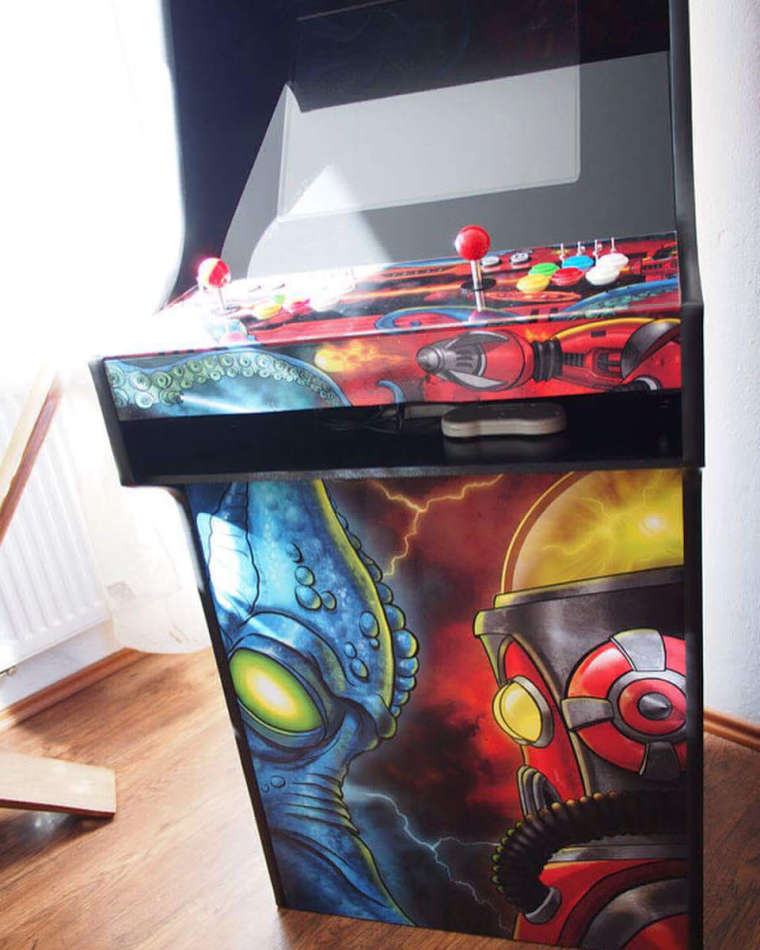
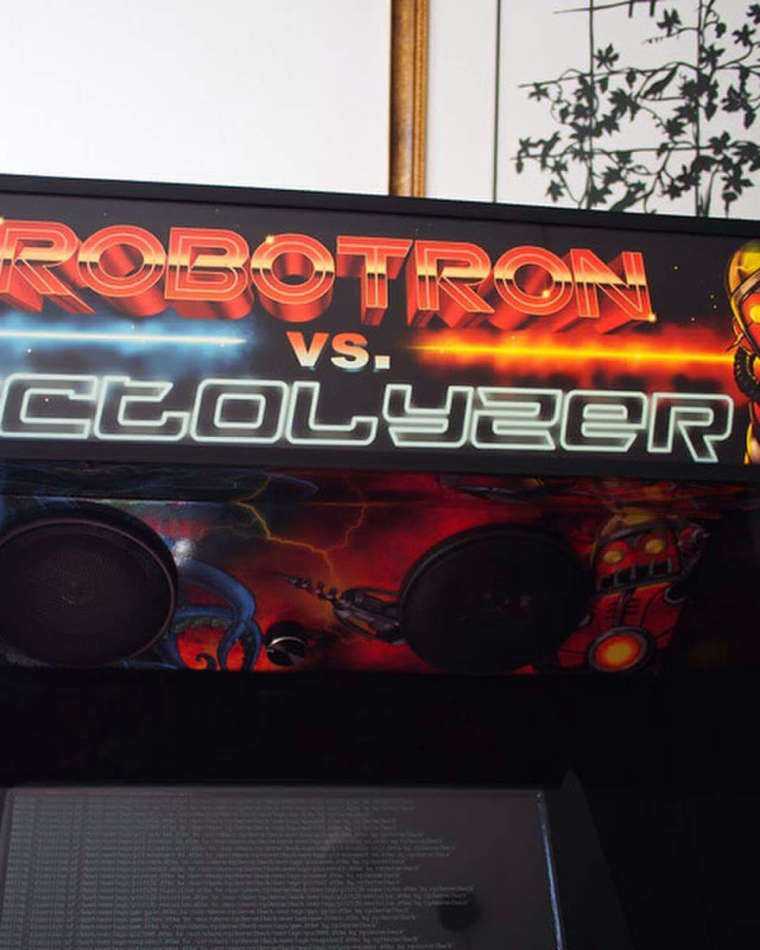
i am not at all a craftsman and have only basic soldering and programming skills. i learned everything by doing and by reading in this forum. If i can do it, you can do it! cheers!
-
@robertvb83 beautiful i love
-
Amazing cabinet!! Especially the custom artwork by a friend of yours, that makes it much more personal. I wish you loads of fun with this beautiful bad boy!
-
@morph-x thank you! It really is very personal to me.
I would have never thought how much fun this actually is! Everyone coming to my home almost instantly gets attracted by this thing and we always end up playing :-) I love it. And most of the things are just working so flawlessly because i preconfigured it already before finishing the build! -
@robertvb83 Kudos for this great build from a fellow German. 😄 I like the overall design, and the compartment beneath the control panel is a nice touch. The kickplate doesn't seem to be a door, is that right? If so, didn't you deem it necessary or wasn't it feasible? I'm asking because my purchased DIY kit has such a door and it provides a convenient access to the otherwise unused storage space in the lower part of the cabinet.
What are the switches above the six buttons for? And what kind of speakers did you use?
-
@clyde thank you!
You are right, the kickplate is not a door... I thought about it but somehow i wanted to get done with this and i did not have much time inventing some mechanism and so on... I wad just lazy :-)
Maybe i will change that some time. For now i can just unscrew the back easily and use the space for spare partsFor each player set of joystick and buttons i use a dedicated zero delay usb encoder. This encoder has additional functions "turbo" "auto" "clear" "mode" and i simply installed a switch for each function. This way i can press the turbo switch and button "A" simultanous to activate turbo for this button. Same is for auto (autofire)... Each button can be controlled and even several buttons at the same time. "Clear" function is to reverse the behavior per button again. The mode switch i dont really understand, it somehow switches the joystick from digital to analogue but i have no use case found yet.
For the speakers i used relatively cheap car speakers plus a barebone amplifier... The exact type i have to look up if you are intetested
-
@robertvb83 Thank you too for the elaborate answer, I may have similar decoders (if they show up as DragonRise in Retropie), but I never felt compelled enough to test their special ports.
I can absolutely understand your reasons for forgoing the door (yet). That said, I can recommend magnets for the back door. They can be mounted easily, and it would spare you the screwing every time.
The speakers are not that important. I am just curious what parts other builders use. So, you don't have to look them up just for me, but feel free to post their information here if you happen to stumble over it sometime.
I first tried some cheap speakers, too, but then I decided to go for reasonable higher quality and spent 70 € in total for these:
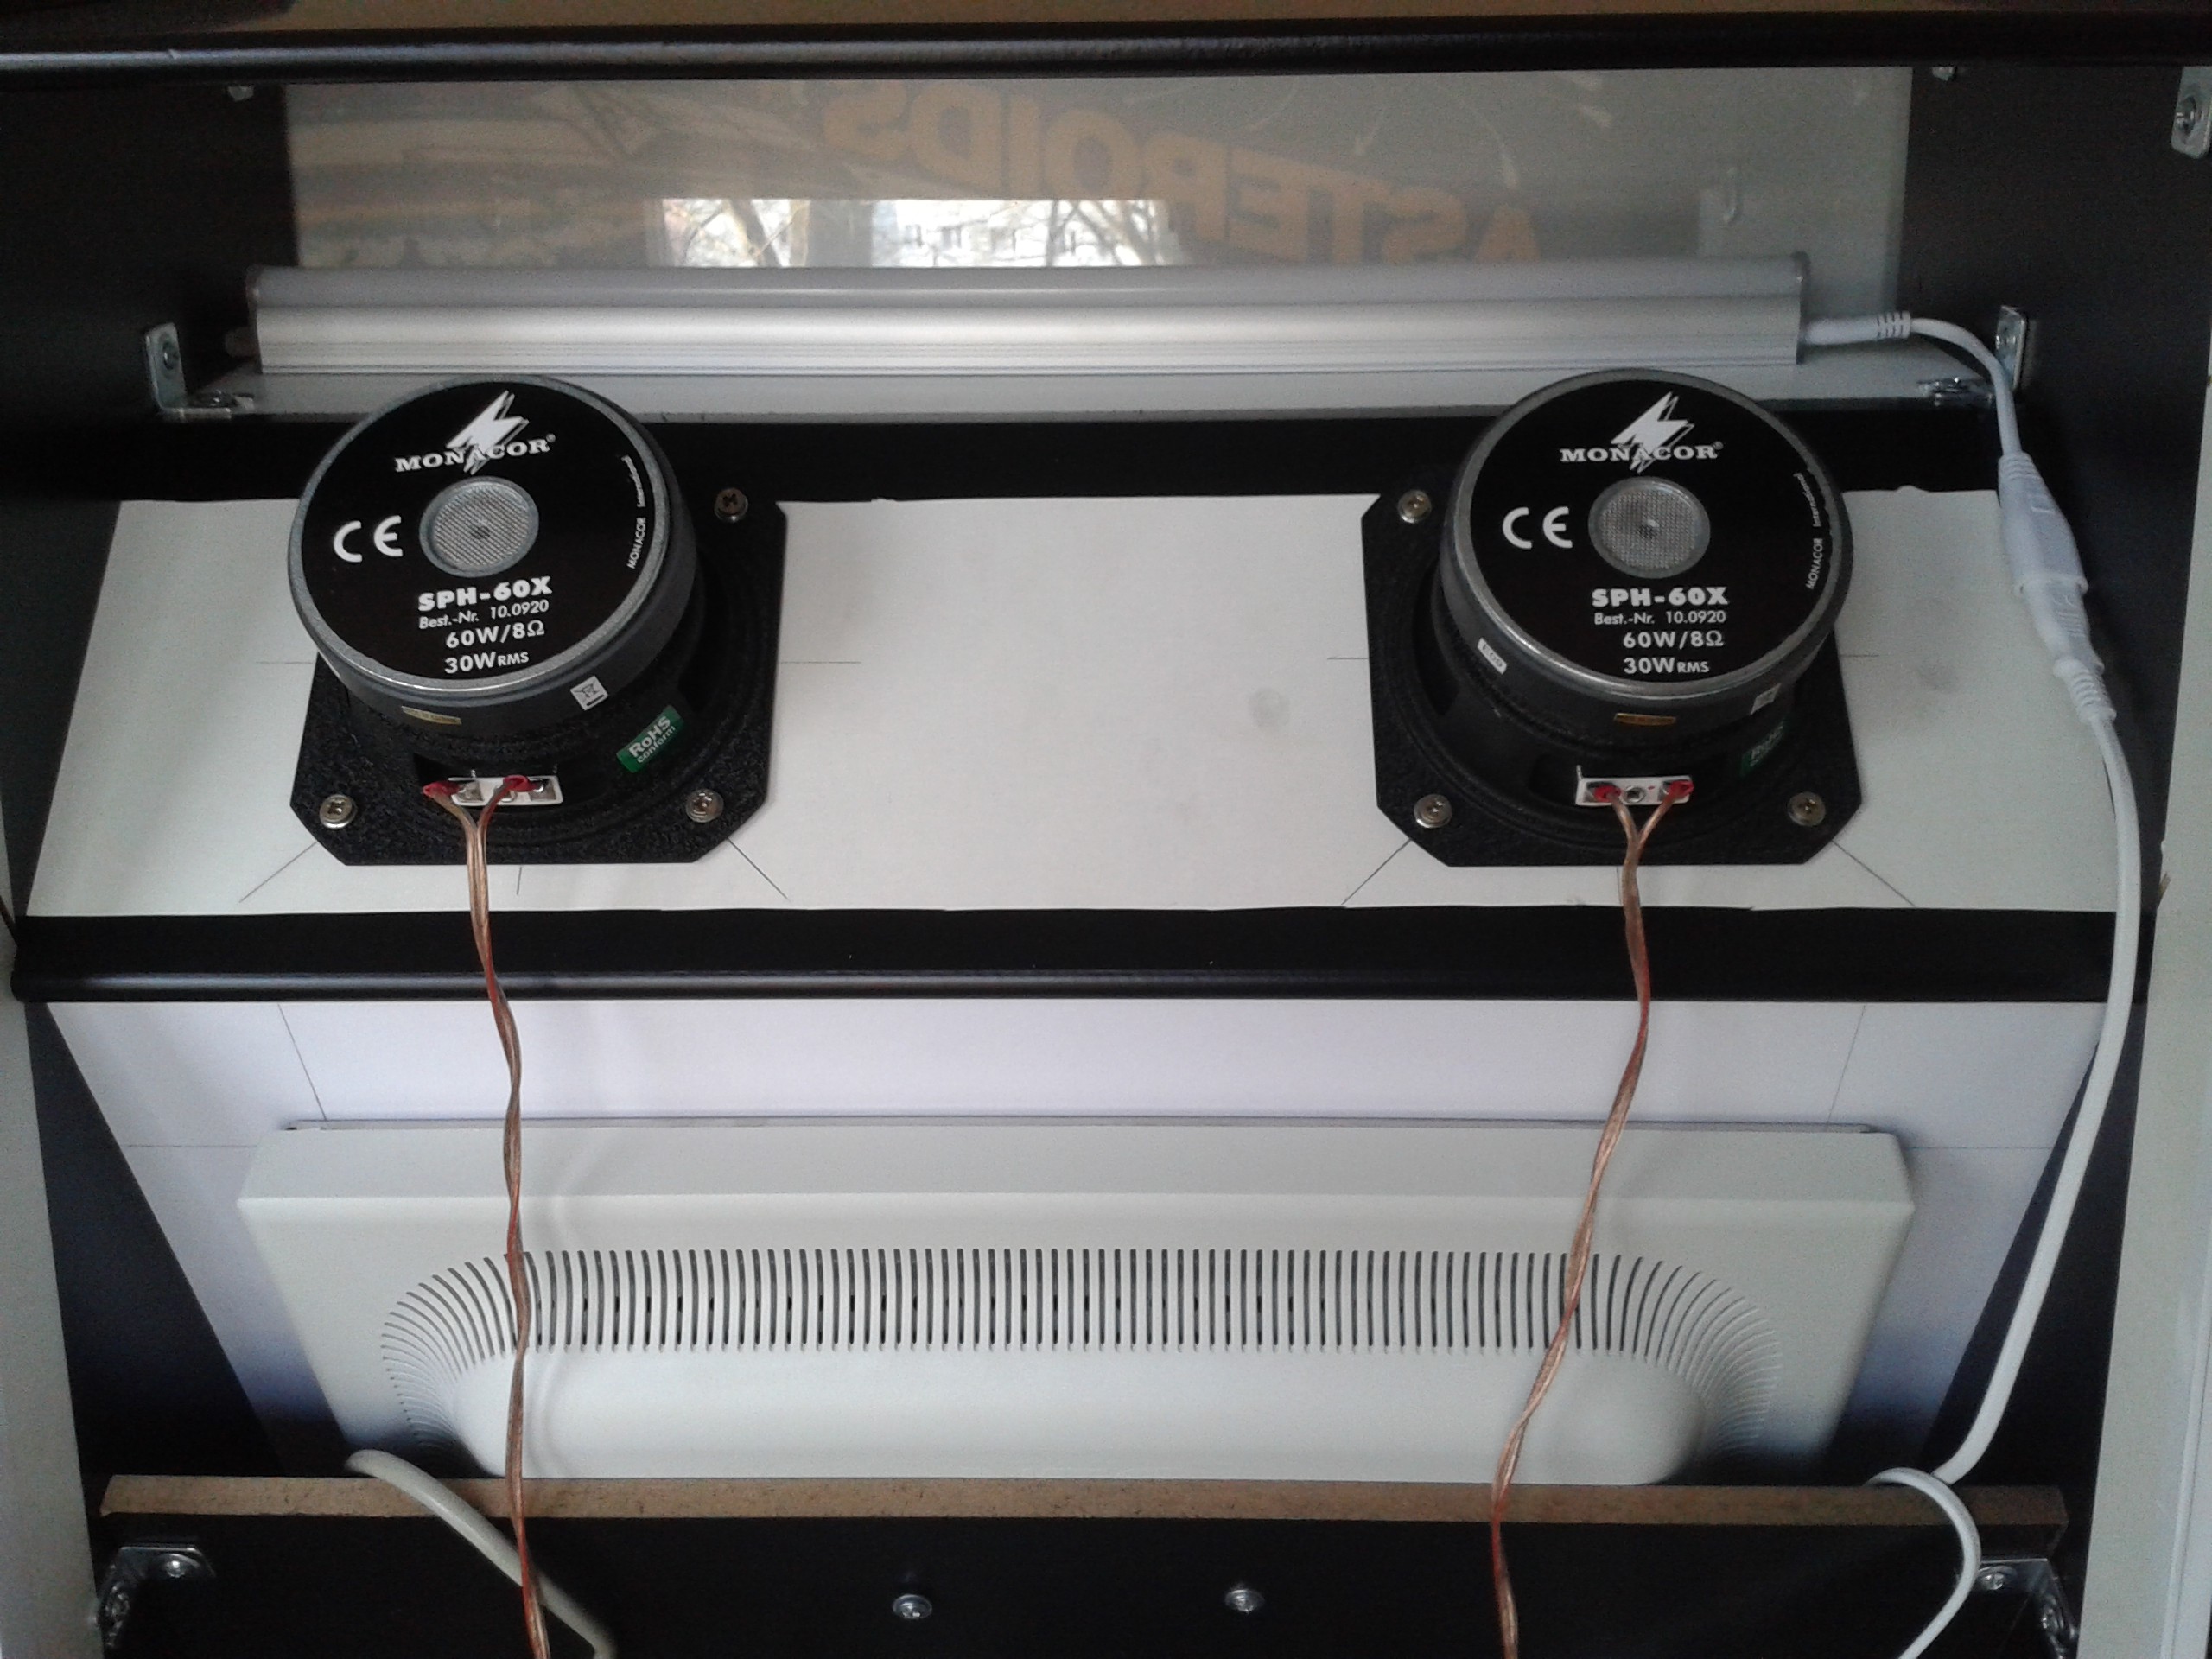
My mini aplifier even has an output for a subwoover, so I may add one to the cabinet someday. :)
Contributions to the project are always appreciated, so if you would like to support us with a donation you can do so here.
Hosting provided by Mythic-Beasts. See the Hosting Information page for more information.