Handheld with 7 inch screen finished
-
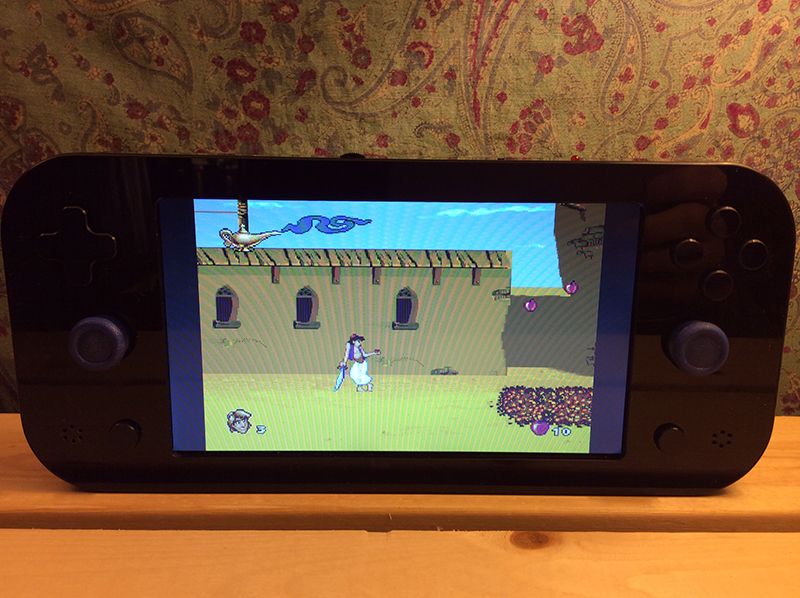
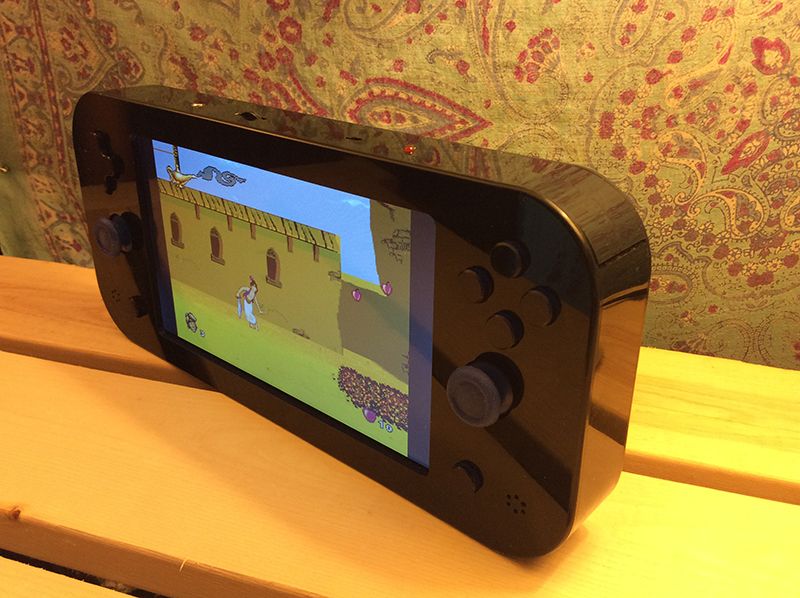
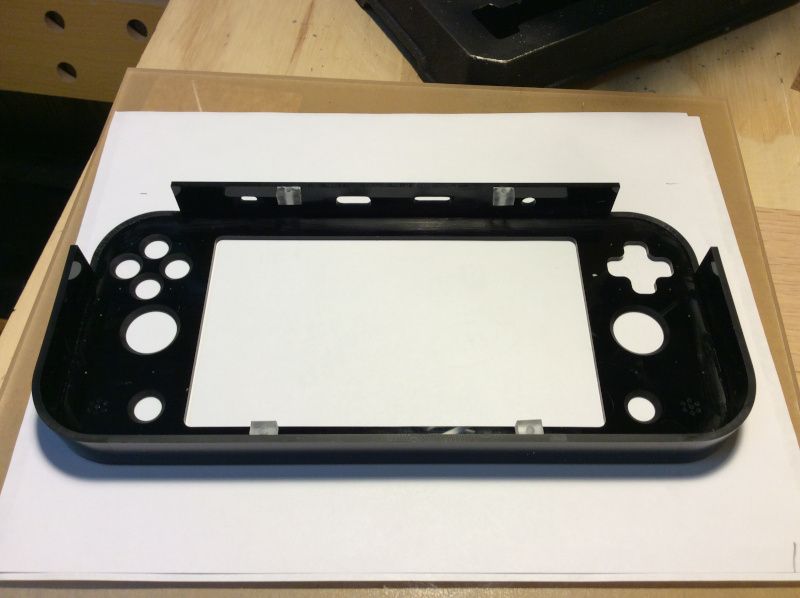
Just wanted to show off my homemade handheld, I made the case out of acrylic. it has:
- 7" screen
- ps4 analog sticks
- 5000 mAh battery
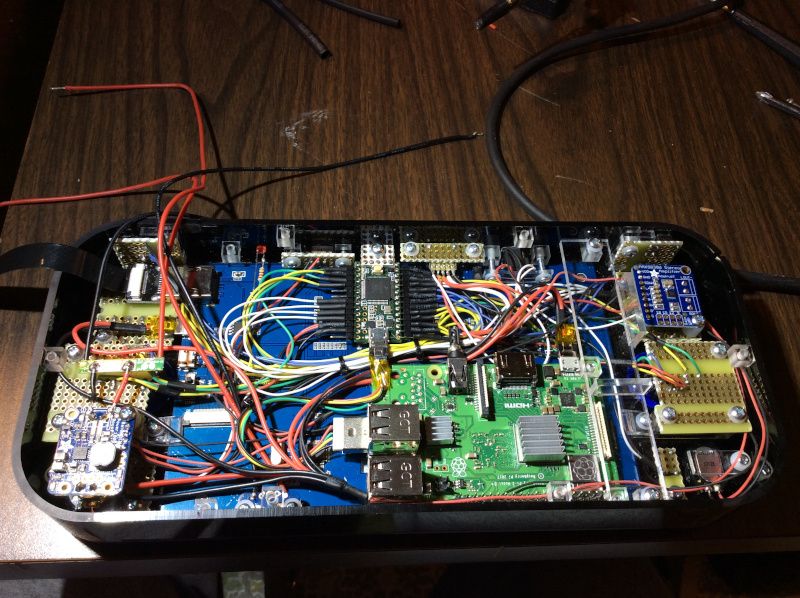
- Pi 3 B+
- teensy 3.2 for controls
- powerboost 1000 basic
- 4 shoulder buttons
Top has headphone jack, volume control, on/off switch, low battery led. Bottom has charger input.
I didn't add an onboard charger yet, been plugging it into my Imax for now which works great as it has ability to charge at up to 6 A, but I usually charge at just 1-2A
Retropie rules! (sorry for the crappy pics, I plan on taking better ones soon)
-
Awesome build!
Can we get more details on how you made the case?
ws
-
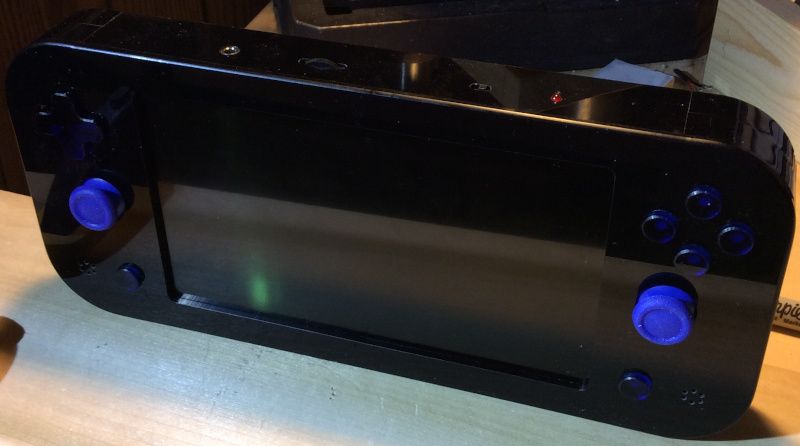
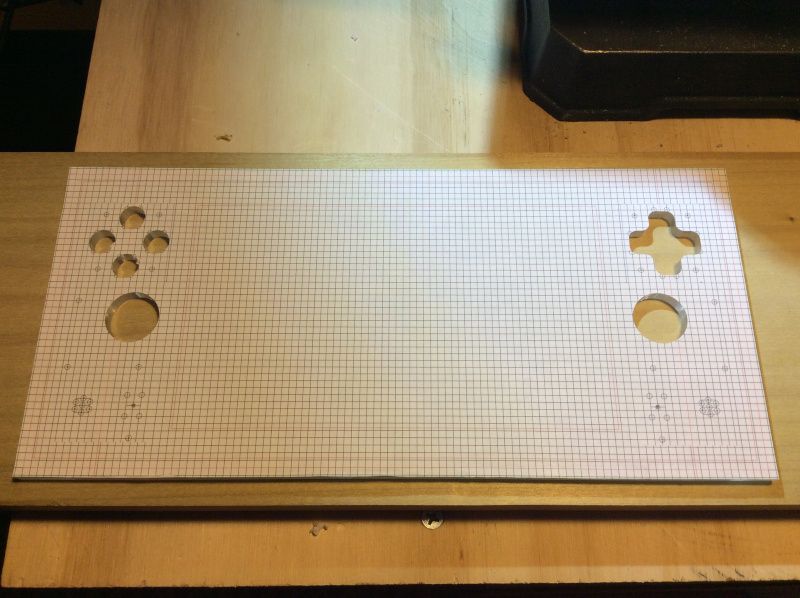
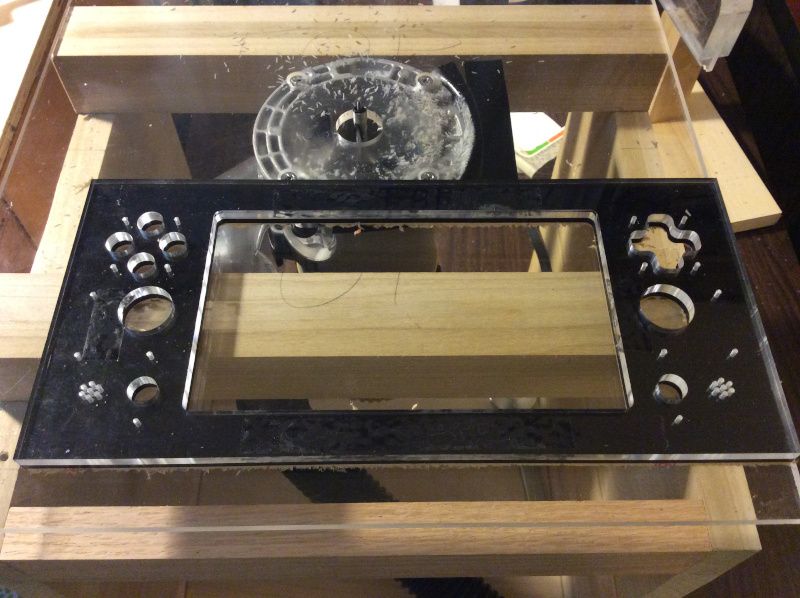
Sure, I used a router, jigsaw, and drill press as my main tools. For the button/joystick holes I would drill the acrylic with a bit just larger than the router bit then double stick tape a temple I made to route the hole to their final size. This resulted in very clean holes with not chipping cracking of the acrylic.
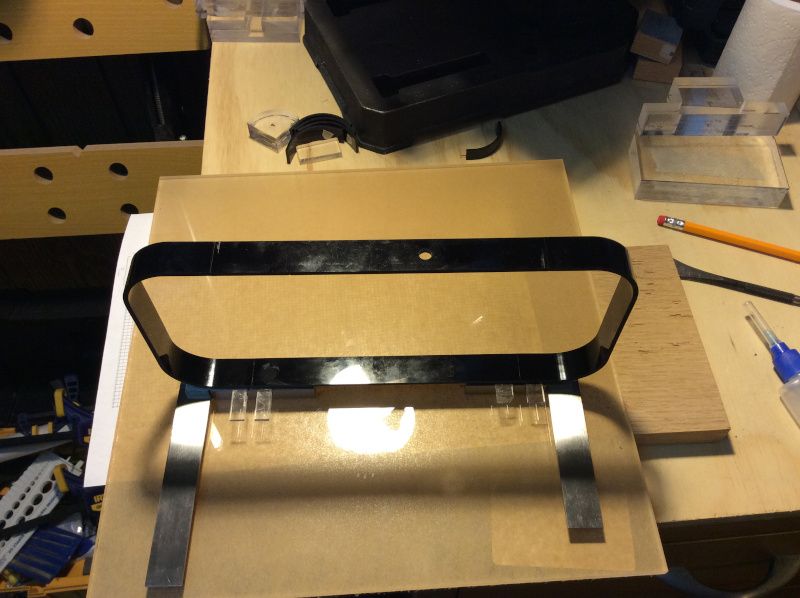
To do the rounded corners I made another template (out of acrylic) and heated pieces in the oven, then stretched them over the template.
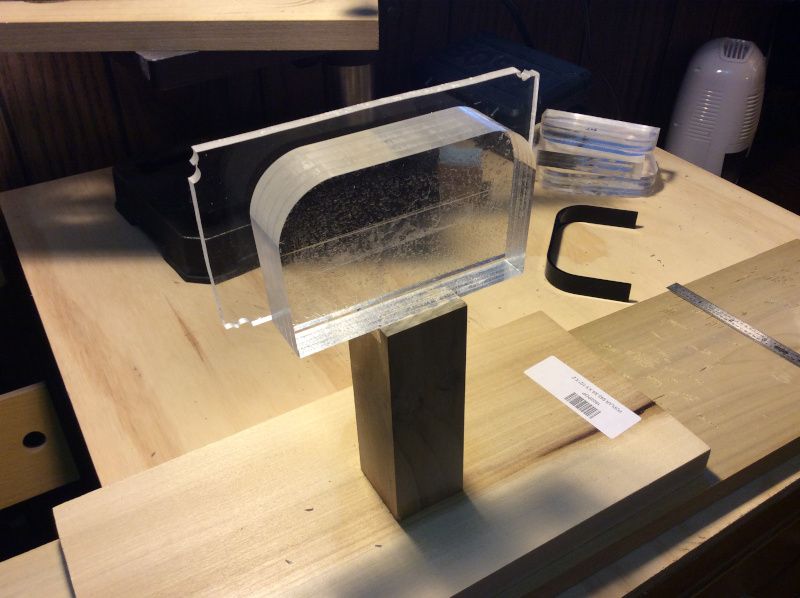
After the first step of bending the piece, I then had anther template to cut it to the correct width (with the router) and then another to finish up the ends.
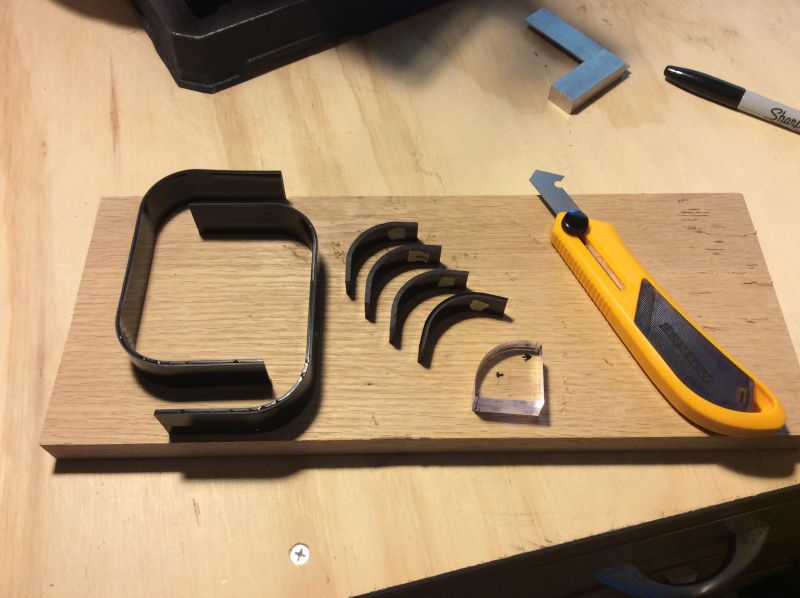
The shoulder buttons were similar as I would bend a piece then use various template to finish them to size.For the volume/power switch/charger inputs I again made acrylic templates then used a guide similar to this https://www.amazon.com/POWERTEC-71051-Template-Components-Carrying/dp/B01IMORJHM/ref=sr_1_1?keywords=router+template&qid=1578858898&sr=8-1
to cut the slots.
The dpad took a lot of measuring and template making to get right, but in the end I'm very happy with how it turned out.I have a ton of pics I took while building... here's a few (in no particular order)
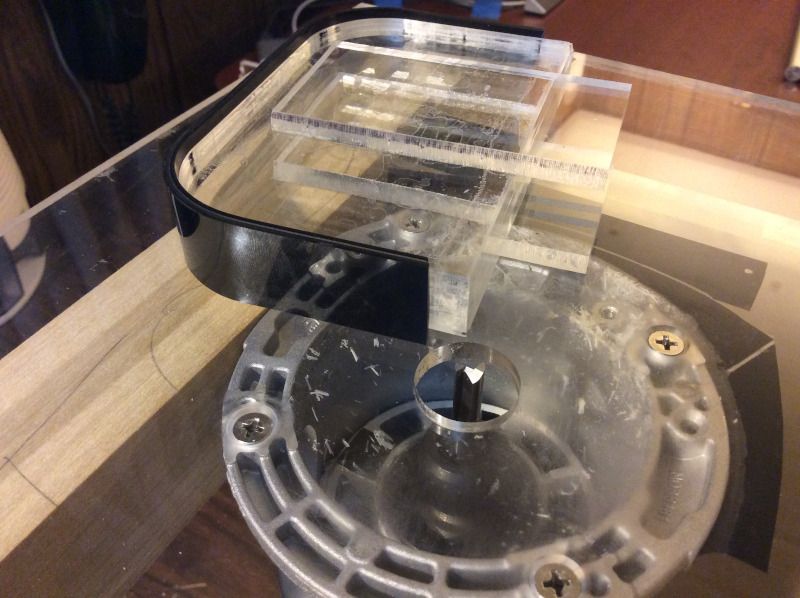
My router table is a piece of acrylic I cut and drilled to fit the router and then just a simple base of poplar I got from local hardware store, it took some attention to make sure it was nice and flat, but it was cheap to make and worked great overall.
-
My case building skills need a LOT of help, that router table looks like a good idea. Is that an end mill bit you have in there? I work in a machine shop and while we use almost all CNC machines, I've done some work on a manual mill. My equipment and skills need an upgrade if I'm to quit making ghetto cases. LOL
-
That is a straight bit, here's a pic of my other bits, the one in the middle center got the most use, it's a "Solid Carbide Spiral Plastic Flush Trim Router Bit with Double Ball Bearing" the 2 other flush bits didn't get used after I bought that one, and of the two 45 degree bits, only the smaller one got used.
I had 0 skills when I started this project, just used a lot of trial and error, I now have 1 case and a huuuuge pile of scrap acrylic.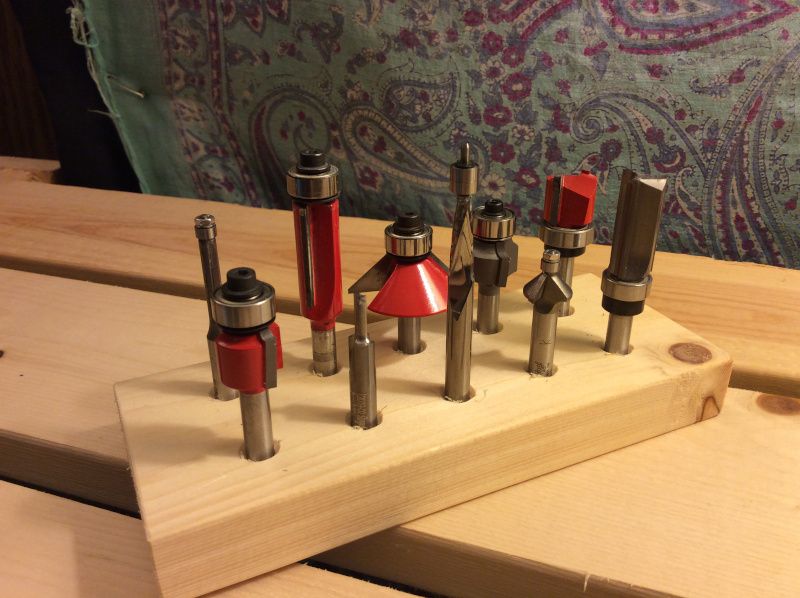
-
ah HA! A jig means you've got to make another! Let us know if you would build and sell.
That is some great craftmanship.
ws
-
:) I built this with the plan to make some and sell them, but after building one now I'm not sure. It takes a long time to build one between cutting/bending/drilling all the acrylic and then soldering so many wires. Plus it's quite expensive for all the components that go into a build.
If I were to sell any the price may be so high that nobody would ever buy one :) -
I love it. If I knew anything about 3D printing, I'd suggest a 3D printed case.
How much does it weigh?
How long do you get out of the battery?
-
I could have gone with a 3d printed case, but the reason I went with acrylic is the quality. Acrylic may be hard to work with, and take a lot longer, but it's very rigid and has a beautiful finish. 3d printed items have always seemed lumpy and soft to me.
I haven't done much testing yet on battery life with this specific battery, but my guess based on tests I've done with similar batteries would be approx. 2.5 hrs.
It weighs about 647g or 22.8 ounces
-
Half a kilo.
I can handle that. Going to build one for my boy, I'll need to shave off some weight wherever I can. Plus, anything mechanical is way beyond me. The electronics and software is nothing at all.
I'll go for the 3D, unless I can find a case ready made online.
Still, nice one. I'll start getting all my parts together and post it all up here.
-
There is a case, a few of them, on Thingiverse. I printed a couple of them out and started to round up all the guts. I haven't quite had time to put it all together.
I absolutely love the acrylic case though! So well done. @mud2005 What do you use to assemble the pieces, what kind of cement?
ws
-
I used https://www.amazon.com/SCIGRIP-Acrylic-Solvent-Cement-Water-thin/dp/B000KZUTEM
needs ventilation, the fumes are strong, sets very fast, cures very strong, but takes a while to fully cure
-
That looks amazing you did excellent work. I like the job you did on the hand wiring too, kinda reminds me of the diy Arduboy i built.
-
Excellent work on the build. Very polished and a lovely finish. The fact you used acrylic just adds to the quality.
I keep looking at handhelds, I want one but don't really have the time to attempt making my own. I thought about the Retroflag Gpi case for simplicity but I want something punchier than the Pi Zero. I will see how well received the new Odroid Go Advance is and maybe consider that. Ideally I want something which can run RetroPie though!
-
-
@mitu said in Handheld with 7 inch screen finished:
I know, I know, this thing is awesome. I have seen it. I think my brother is going to get one. I kind of want something which can emulate multiple systems though and i'm pretty familiar with Retropie, so would love to see that running on a handheld.
edit: when I mean multiple systems, I mean 16-bit as well :)
-
@mitu The display is nice, but we can build better here for the price.
Contributions to the project are always appreciated, so if you would like to support us with a donation you can do so here.
Hosting provided by Mythic-Beasts. See the Hosting Information page for more information.