Homemade Star Wars Upright Cabinet
-
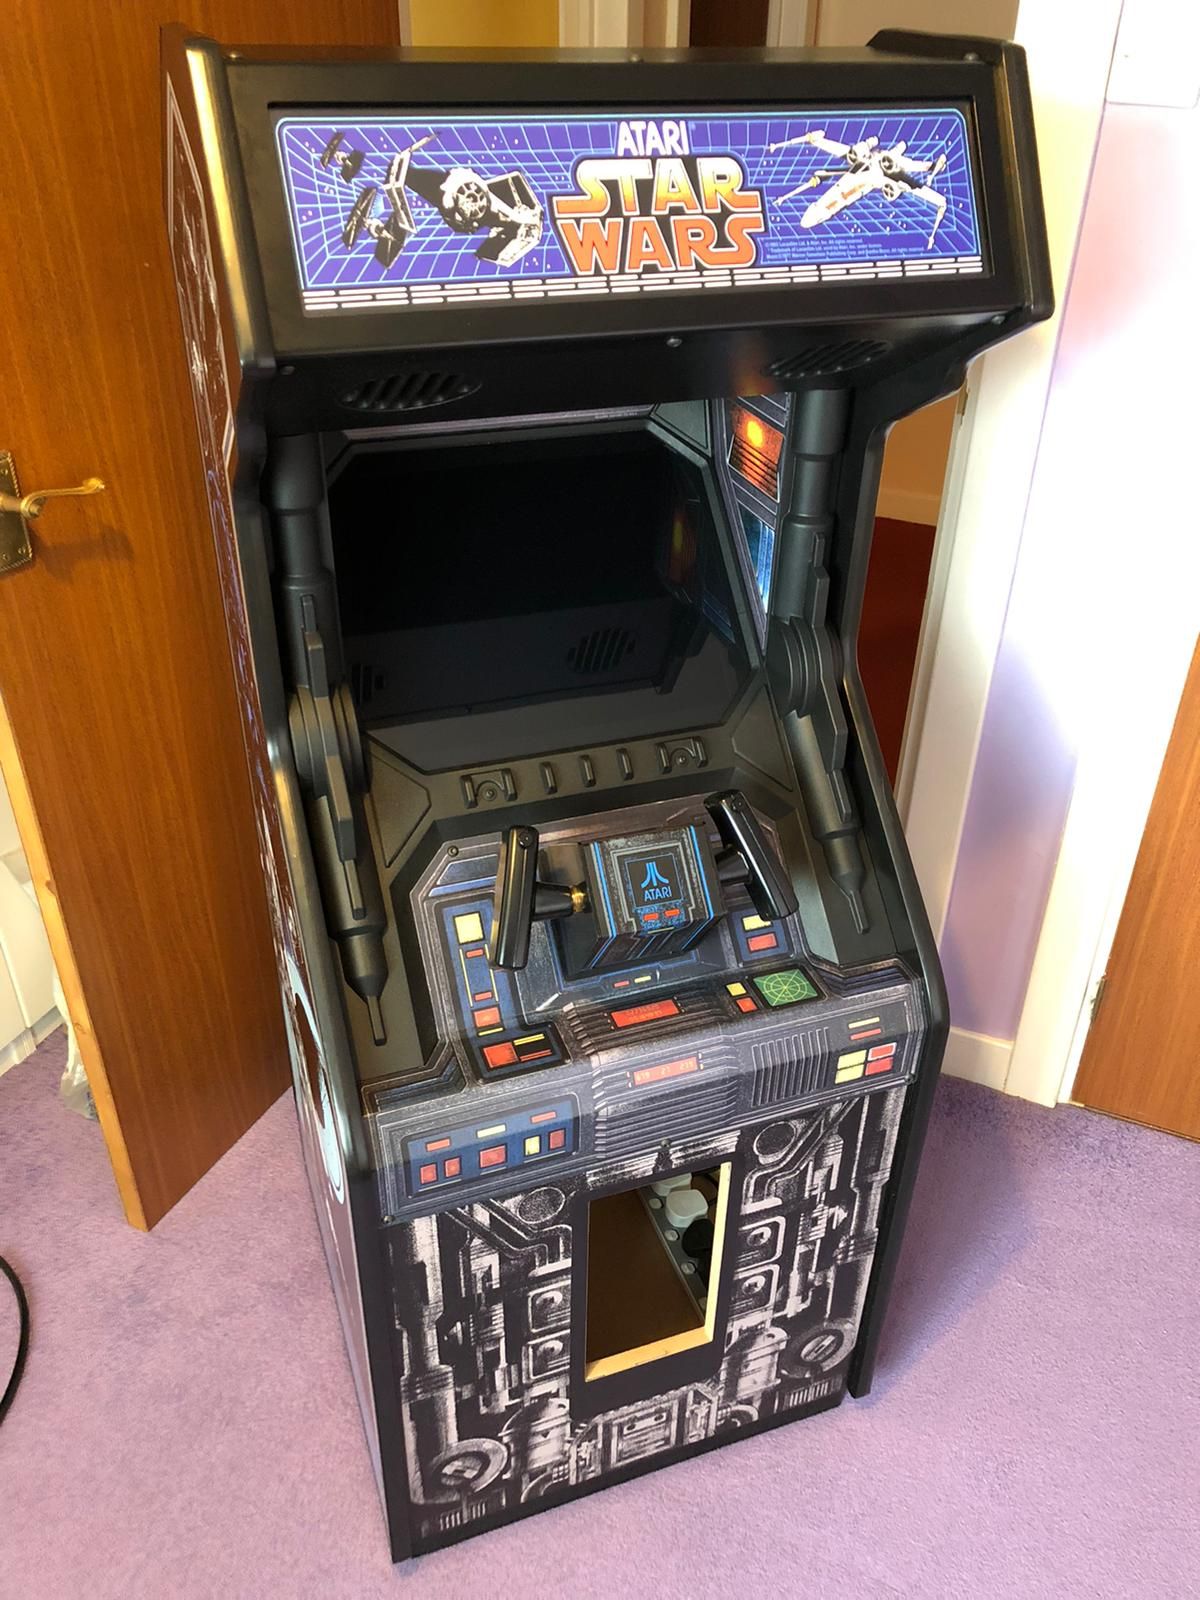
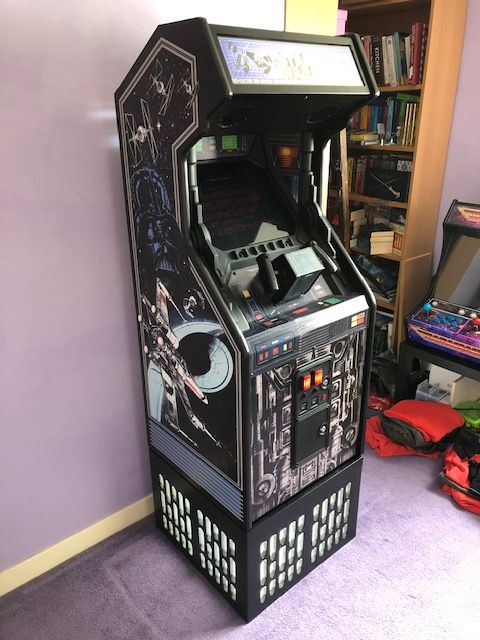
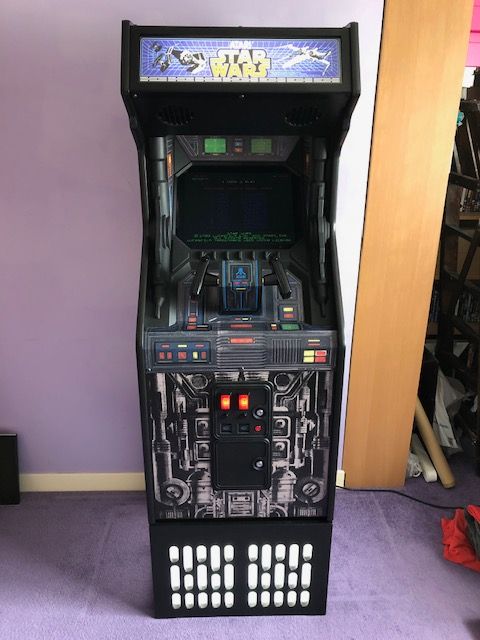
Nearing completion of my Star Wars Upright Cabinet. Been a long time coming, juggling work, family life and most recently the dreaded 'Lockdown' but I'm nearly there!
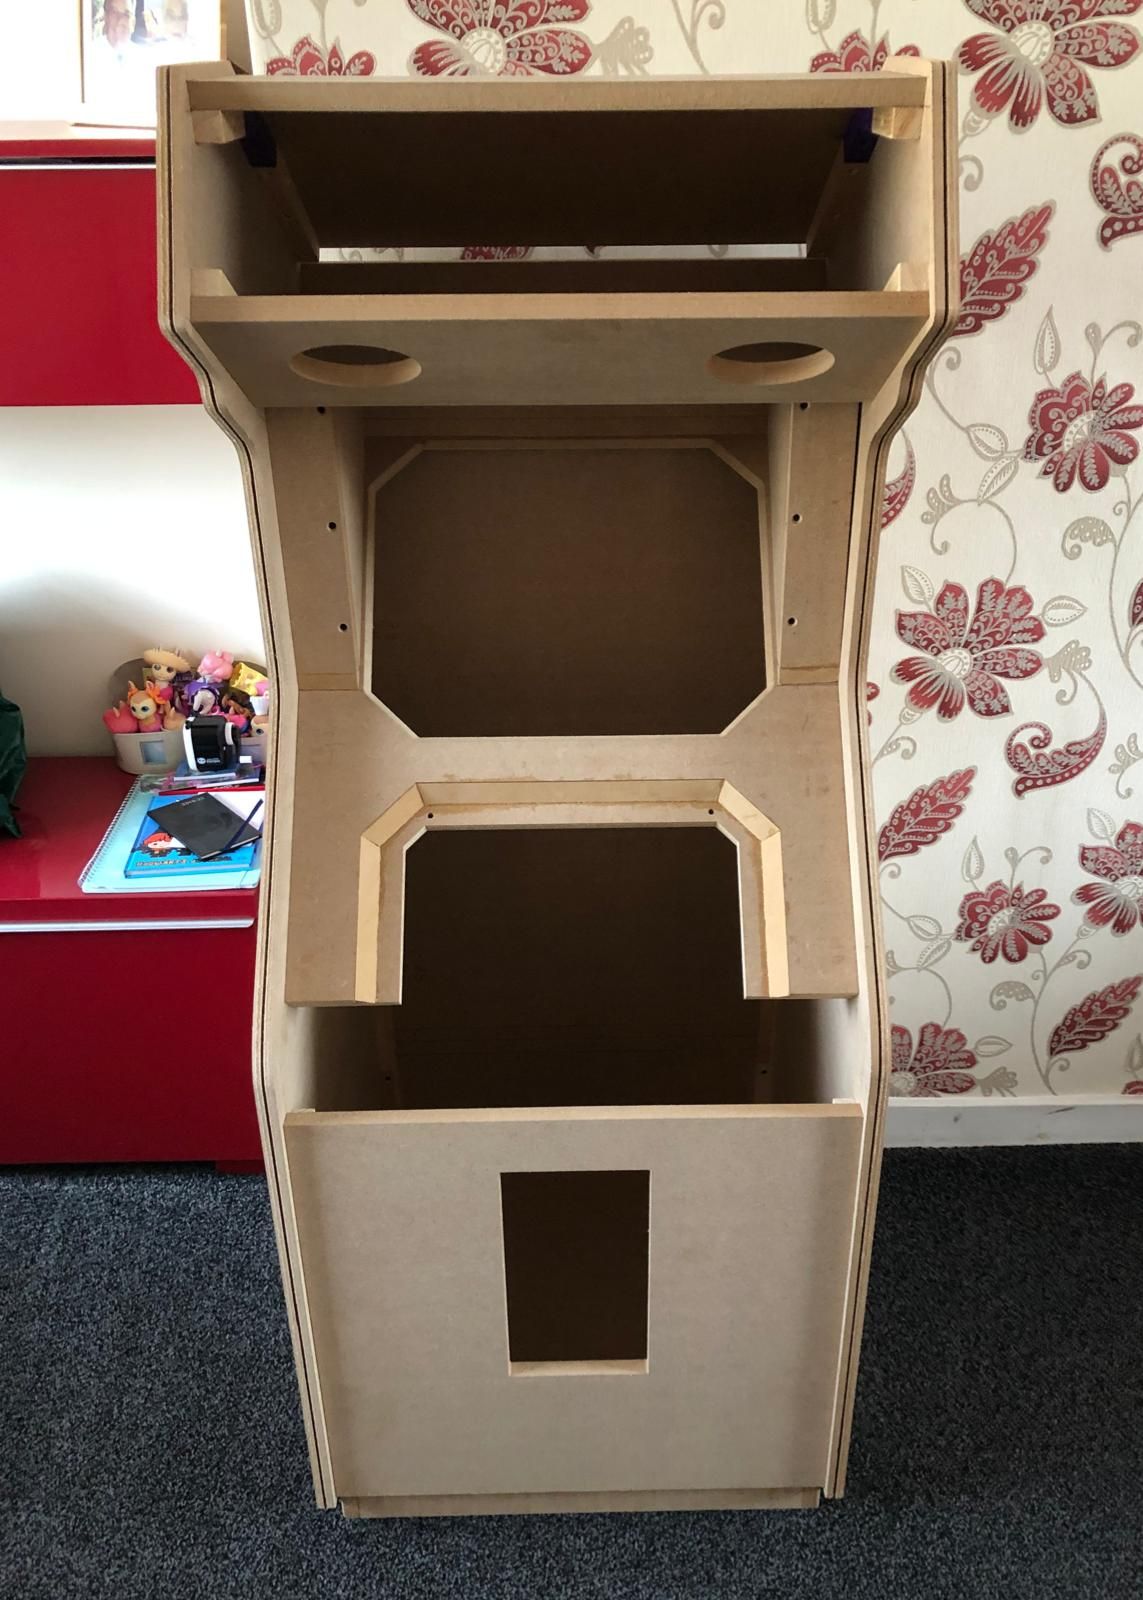
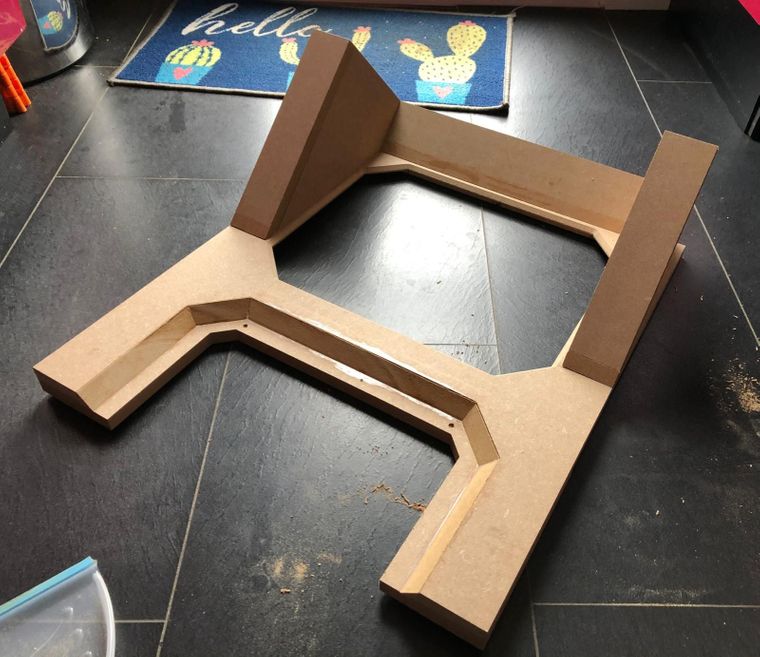
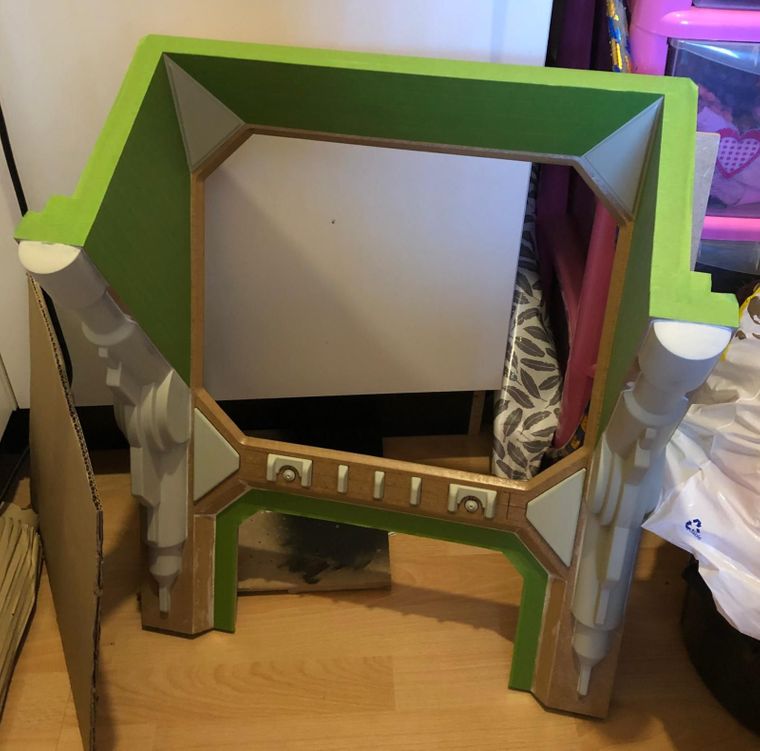
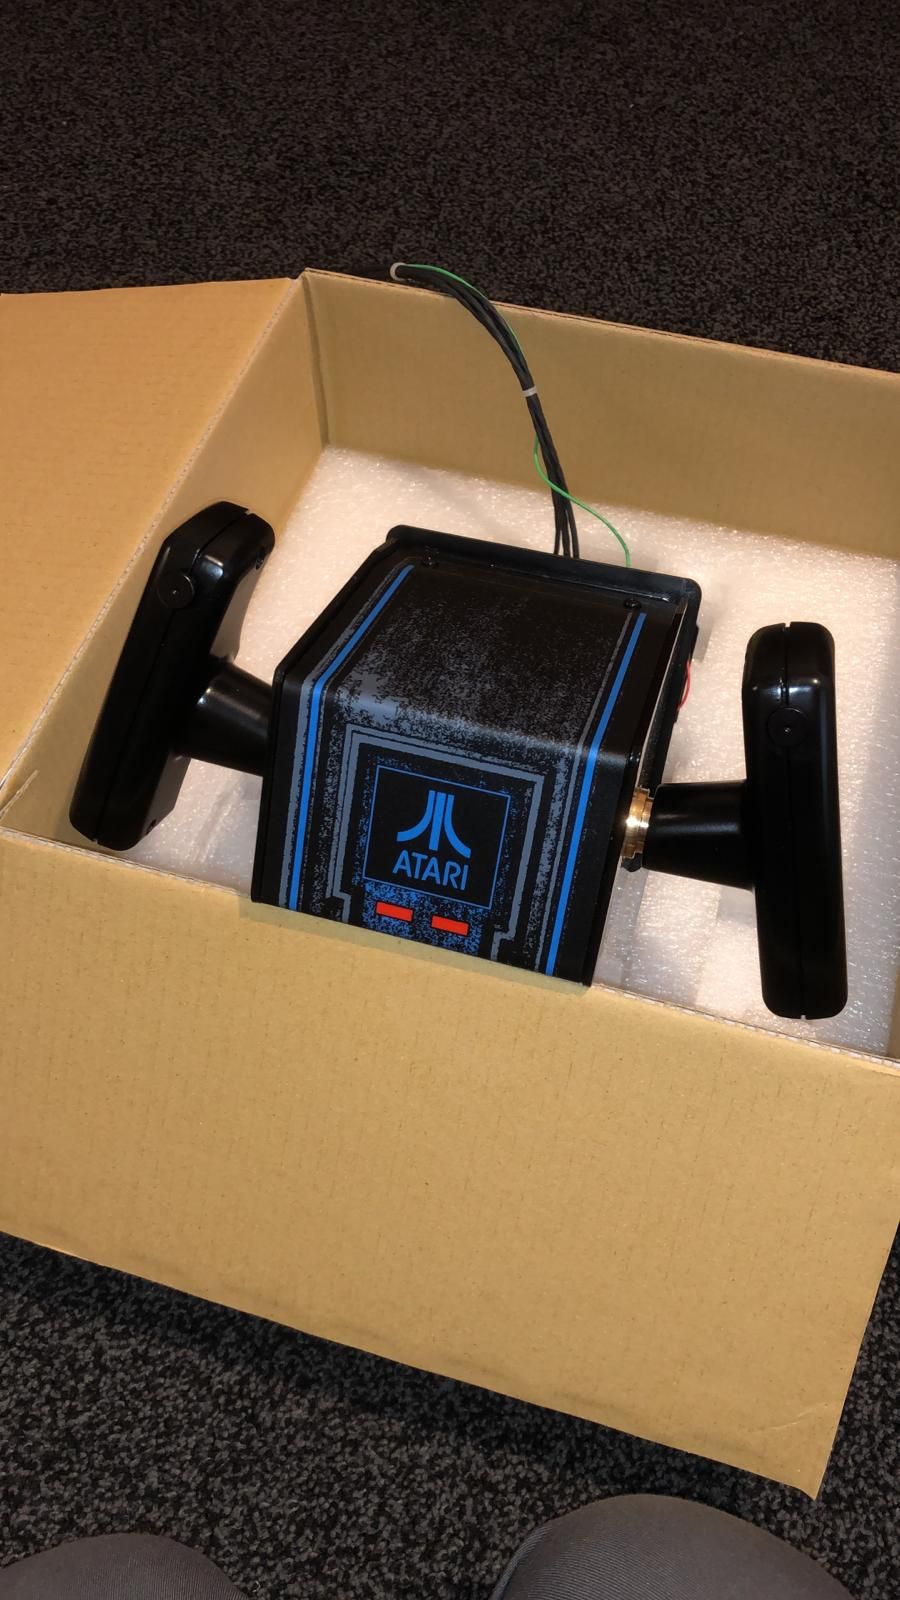
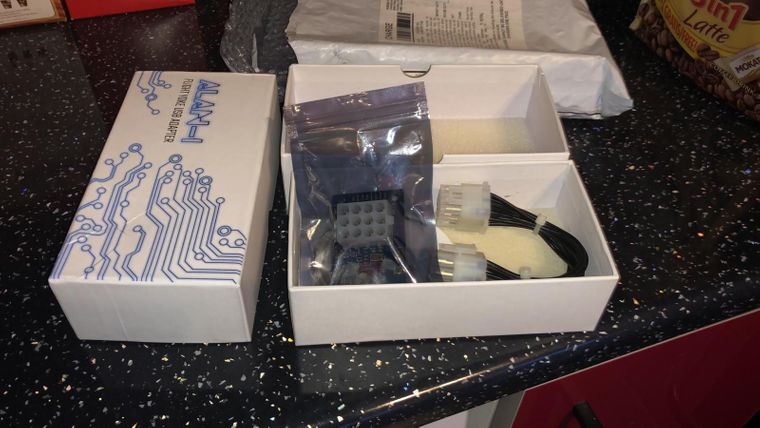
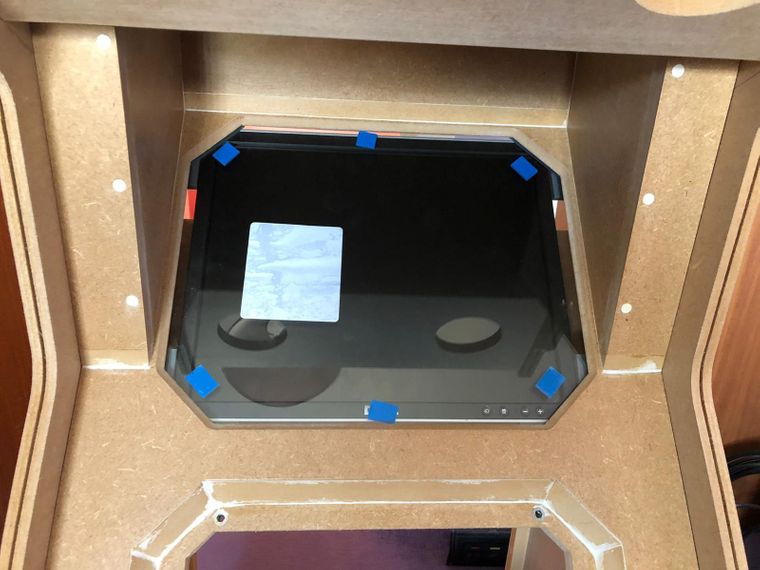
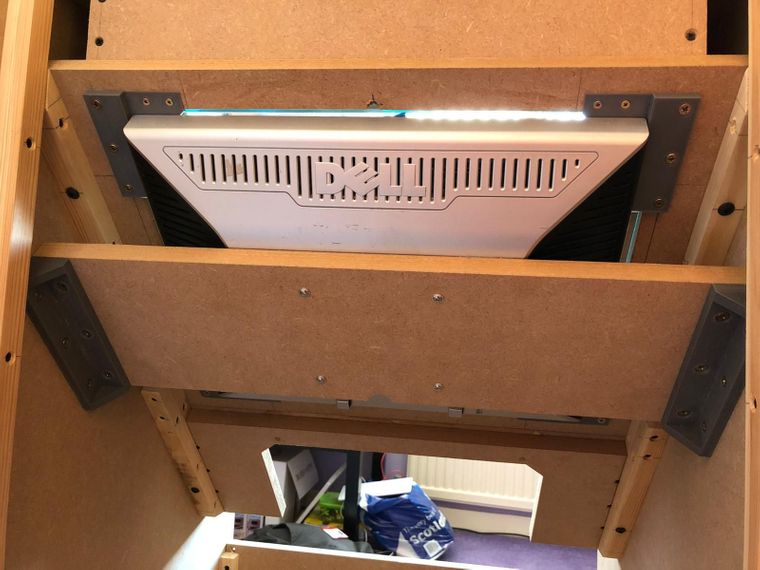
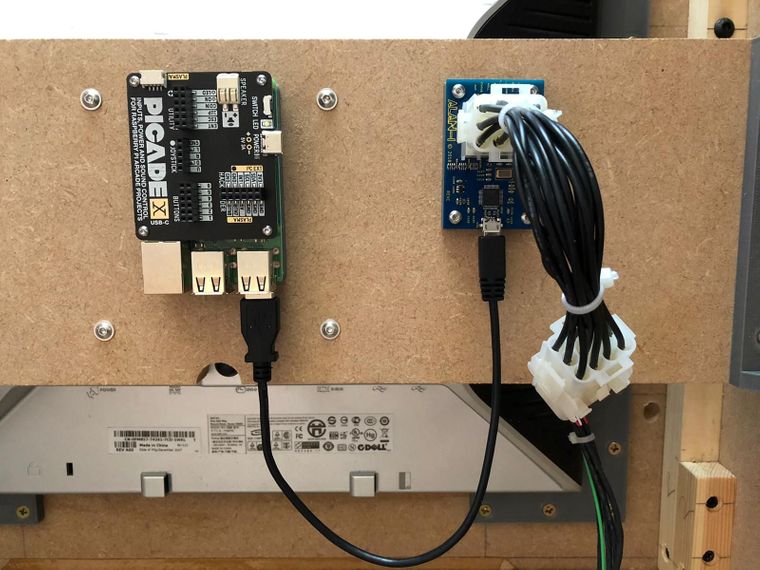
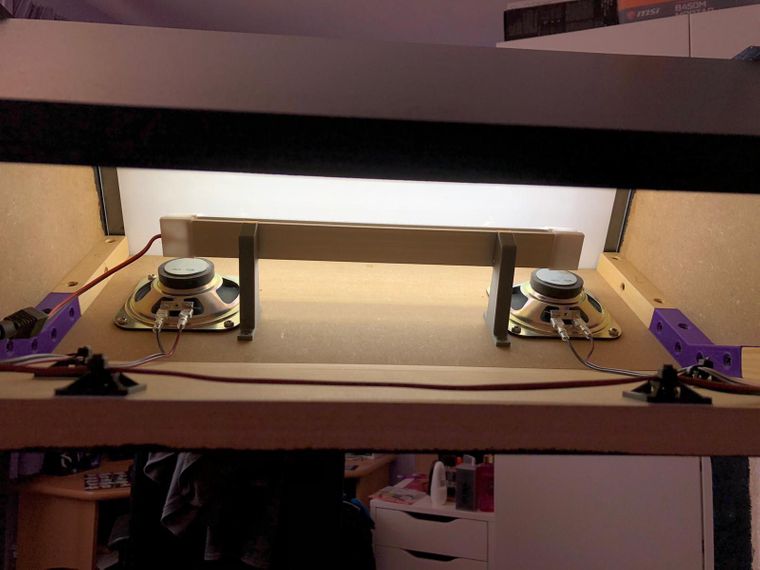
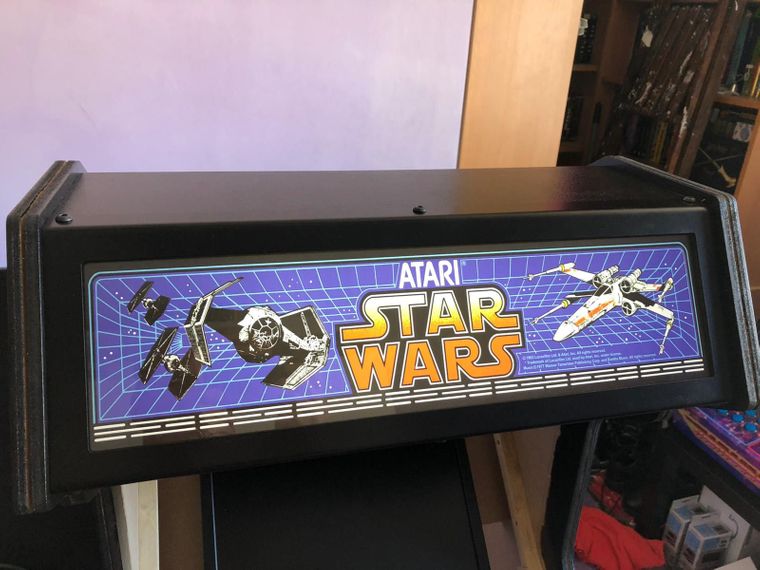
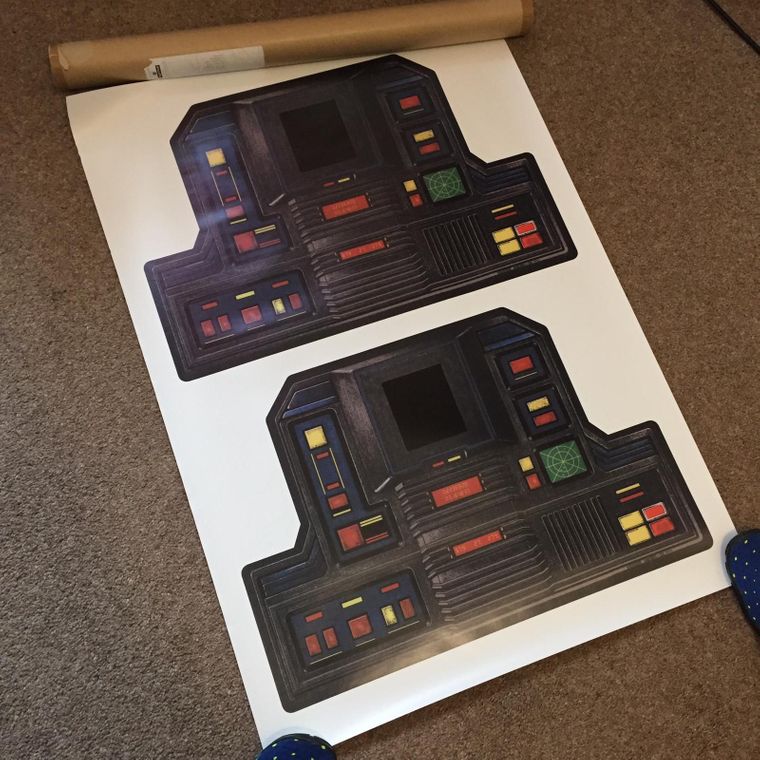
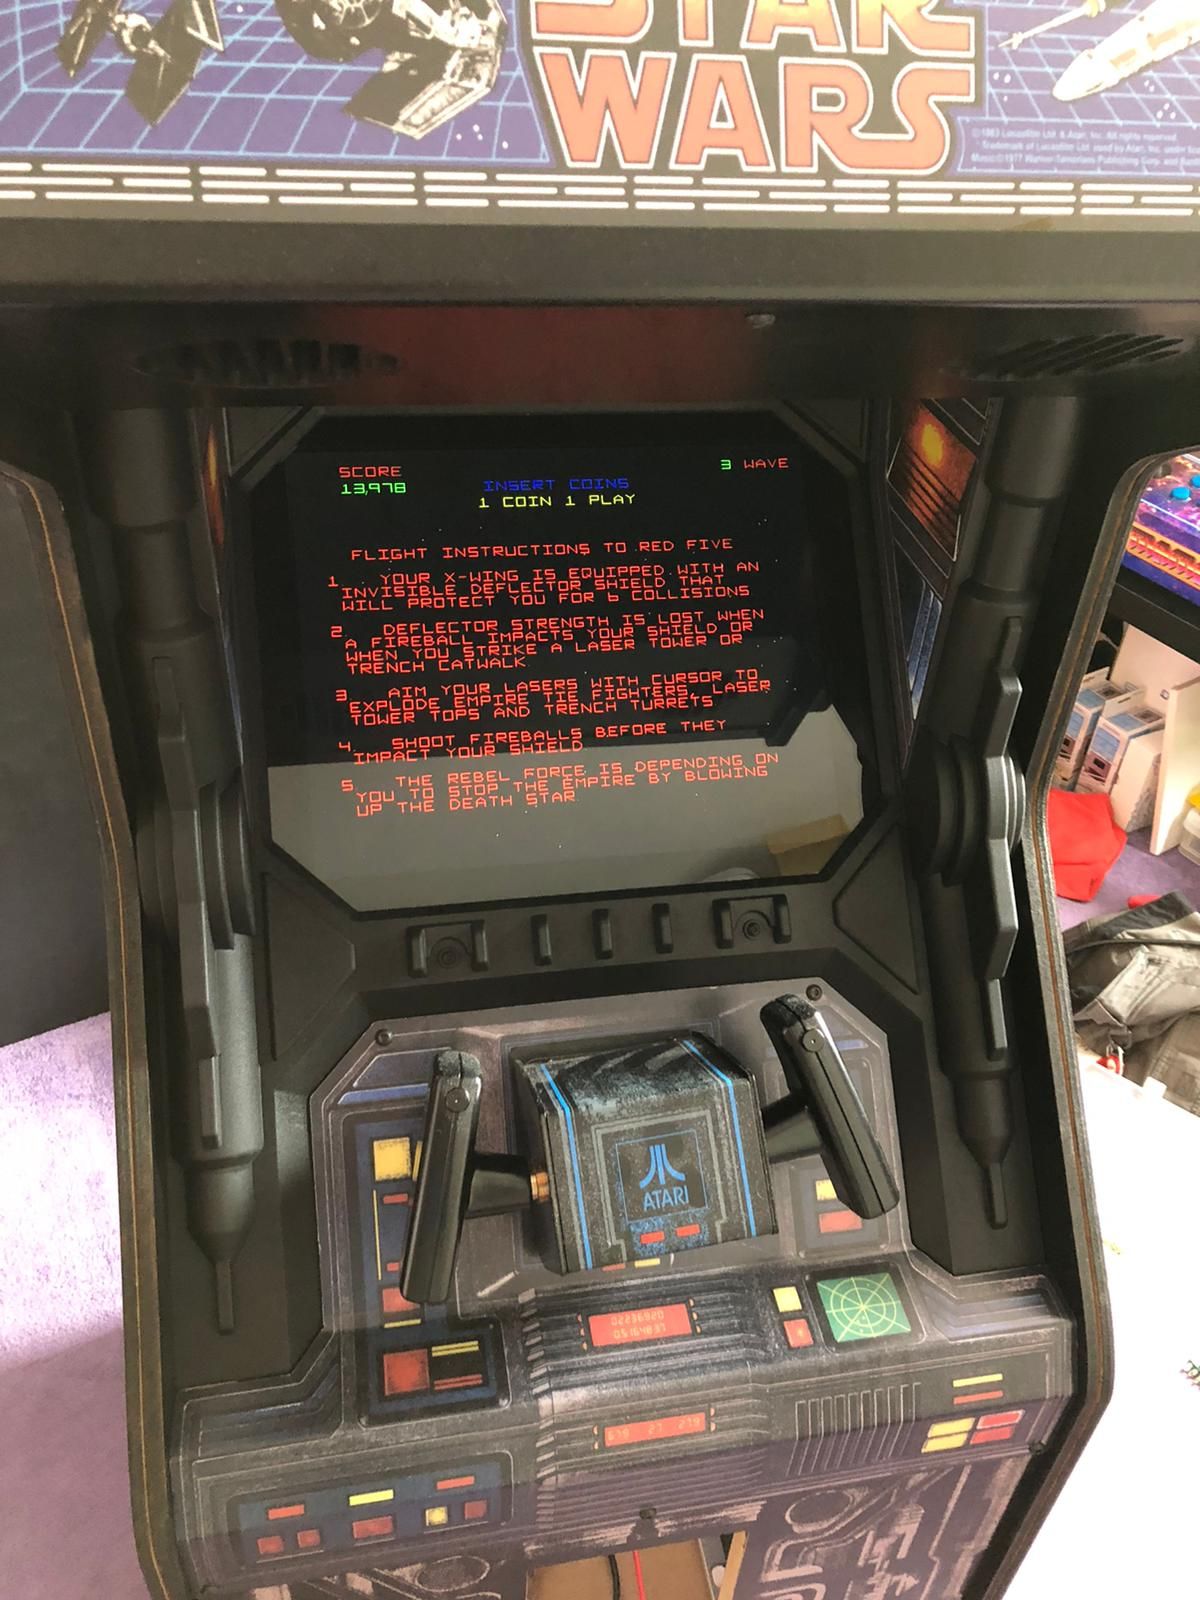
Cabinet is 18mm MDF professionally CNC cut by a local firm. Control panel and Marquee surround are laser cut steel bent and powder coated again at a local firm. I designed the cabinet in Fusion 360. It had to take a full size yoke but It is a 3/4 scale cabinet. This presented a few headaches along the way but I got there in the end. It sits on a riser Arcade1Up style to bring it to proper playing height. Control is an Alan-1 replica yoke with USB adapter. Emulation is Advmame on a Pi3B+ with Pimoroni Picade X HAT. Dell 17" TFT and stereo speakers. All artwork is based on the Atari Originals and has been resized to suit the cabinet by my friend. BTW he is co building with me and has a duplicate cabinet at his albeit at a different state of completion. A lot of custom 3D printed parts including the details on the bezel and the coin-door which I am using to hide extra buttons and 2 USB sockets. The coin door has still to be textured so it hasn't been fitted yet. The weather is not playing ball here in Scotland for me to spray the texture coat, hopefully get it done this week at some point.Here are a few pictures:
-
This i what i call dedication to the art.
Wonderful Sir just wonderful! -
This is freaking awesome!
-
Top quality work that. Wish I had the patience to replicate that amount of hard work!
-
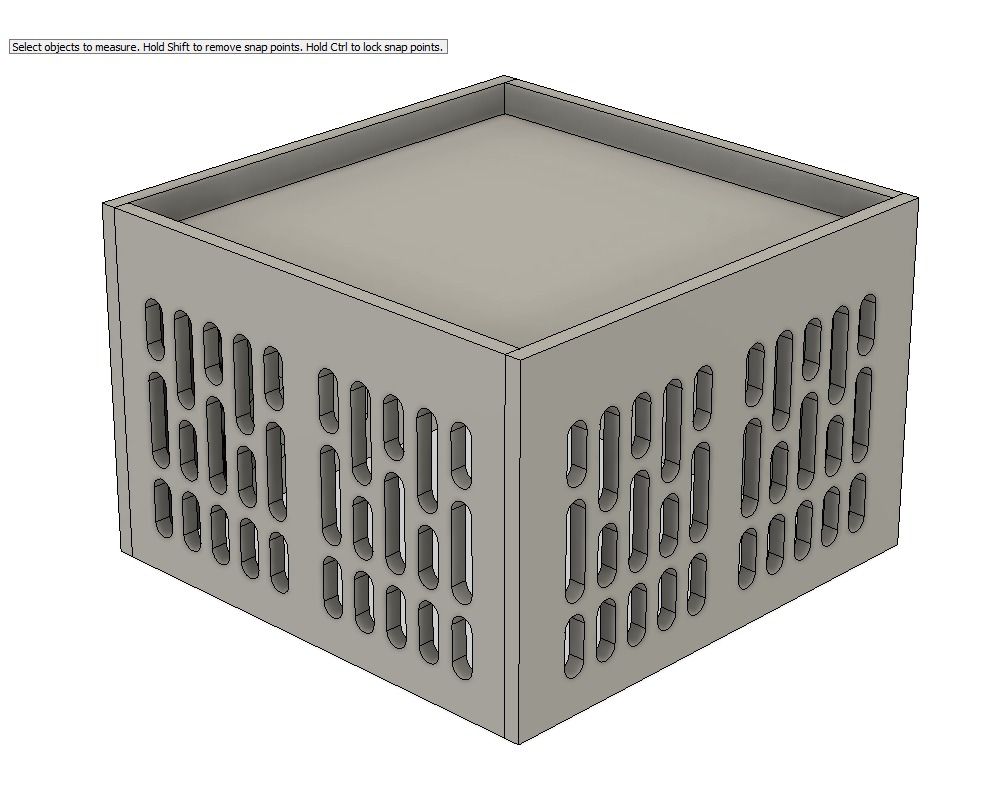
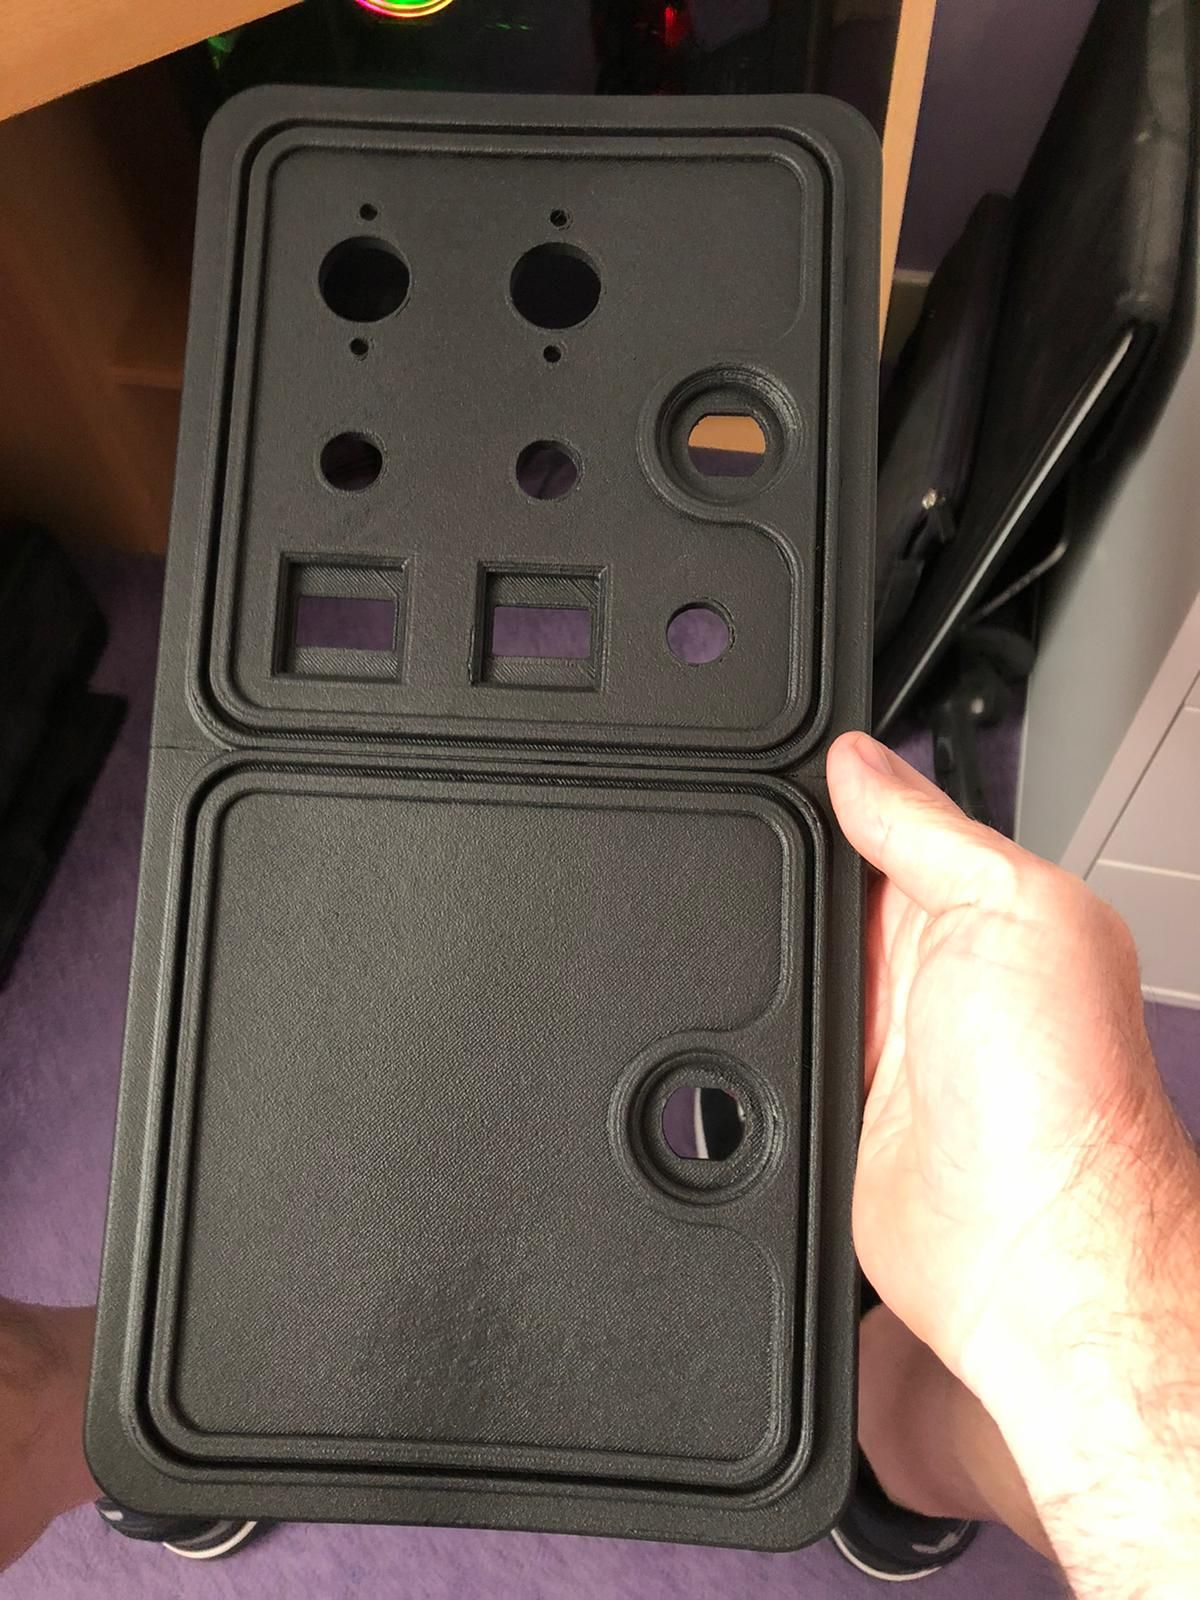
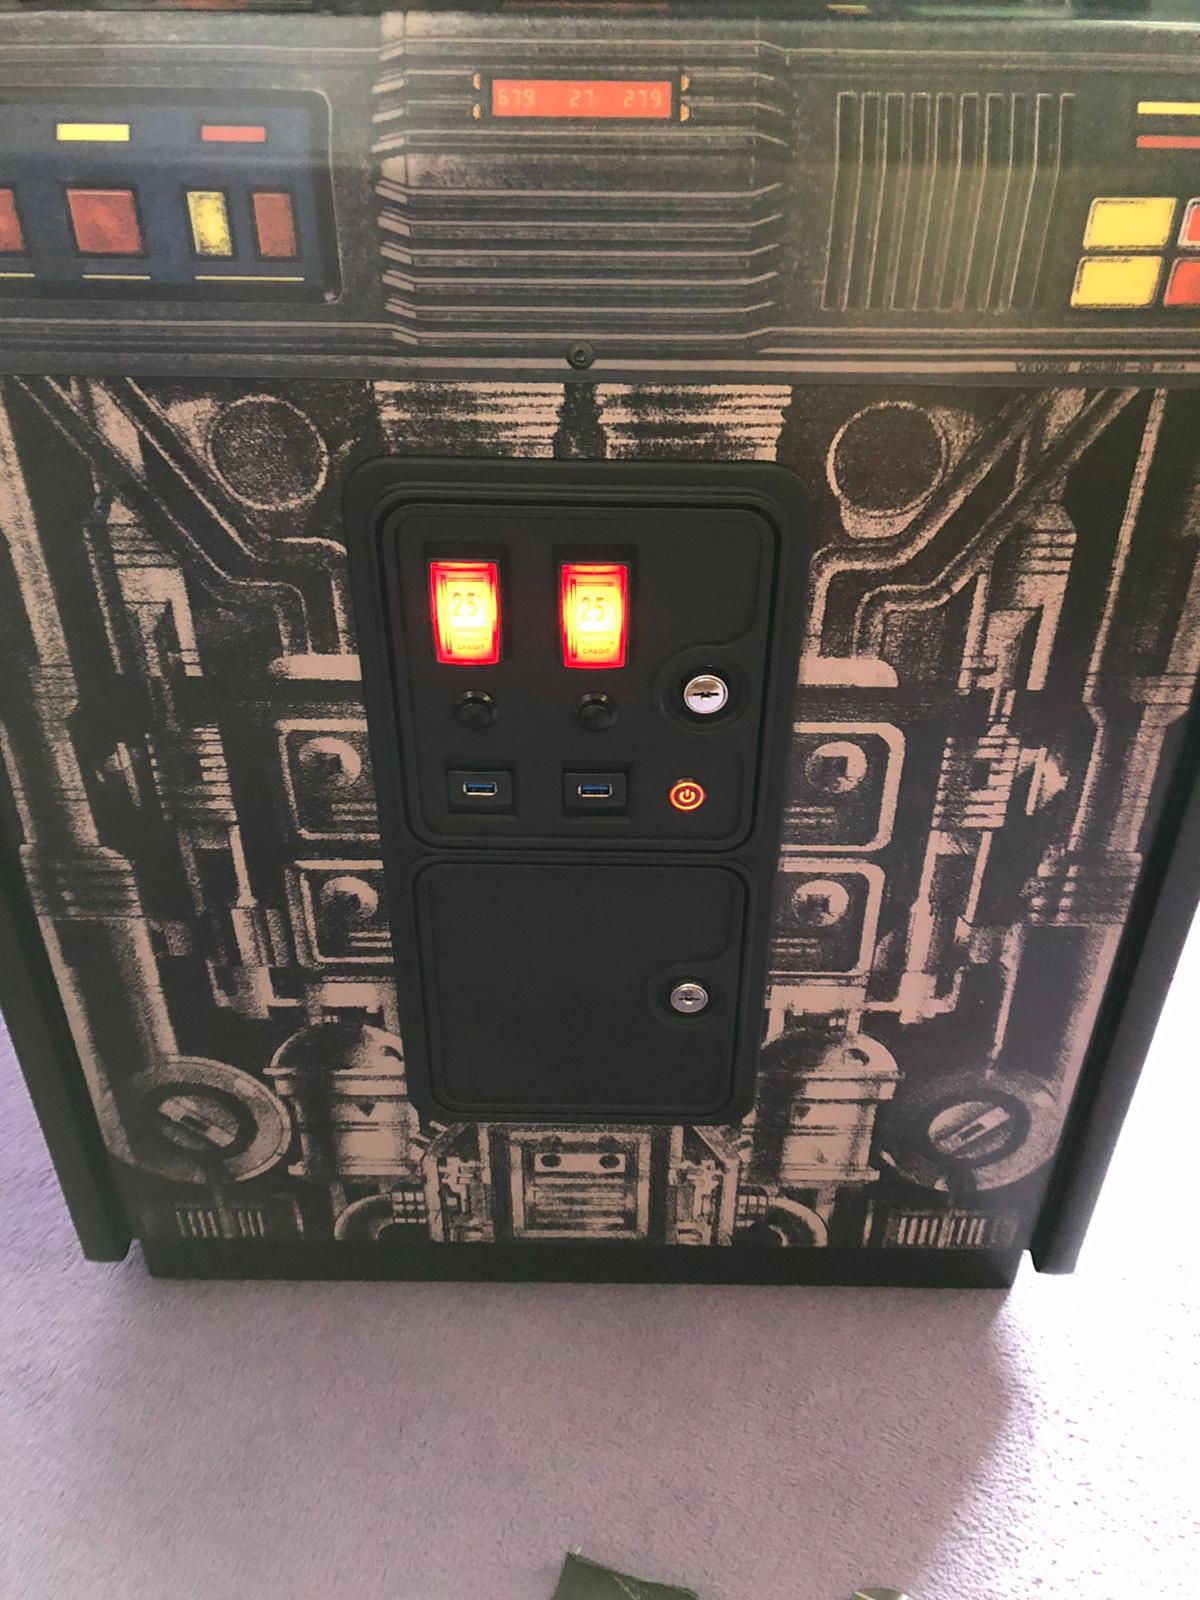
Thanks for the kind comments. I'm on the home straight now, coin door to texture and fit, loom to sort out for the buttons on the coin door. The coin door I have pictured above was my first attempt. I had sprayed it outside on one of the very warm days and left it to cure in the sun. I returned half an hour later to find it had warped. I couldn't save it. So it was approximately 30 hours give or take on the 3d printer, assembly (3 parts) allowing adhesive to set for 24 hours, filler primer, sanding and more primer. Now its waiting for a coat of black bumper texture spray and then I can fit it and install the buttons and USB sockets and make a loom to attach to the Picade X HAT.
I still have to adjust the pots on the yoke as its off centre. A bit of fiddling with settings in advmame for the analog controls and we're good to go. If anyone has good tested settings for a yoke on advmame 3.9, I'd like to try them. I think I'm there but could fiddle with settings forever, a pointer in the right direction is all I'm looking for. Deliberately avoiding powering it up as its hard to resist the temptation to play!
-
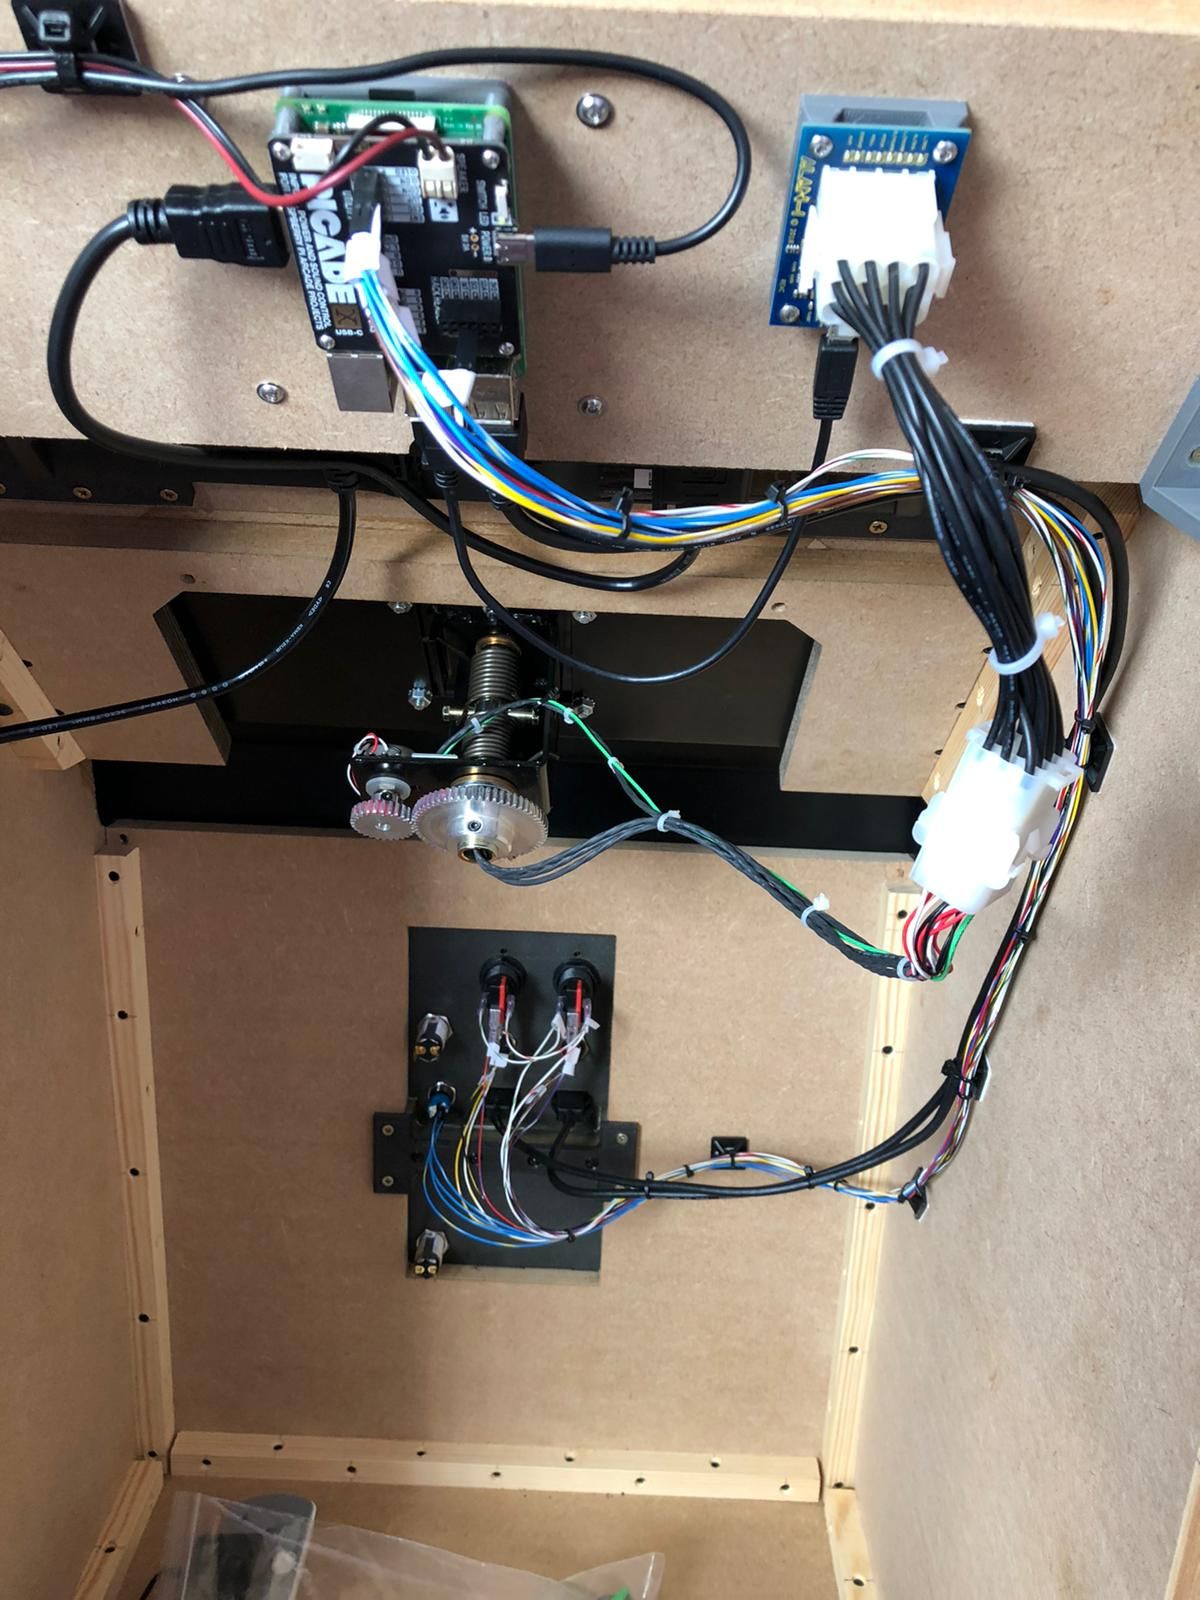
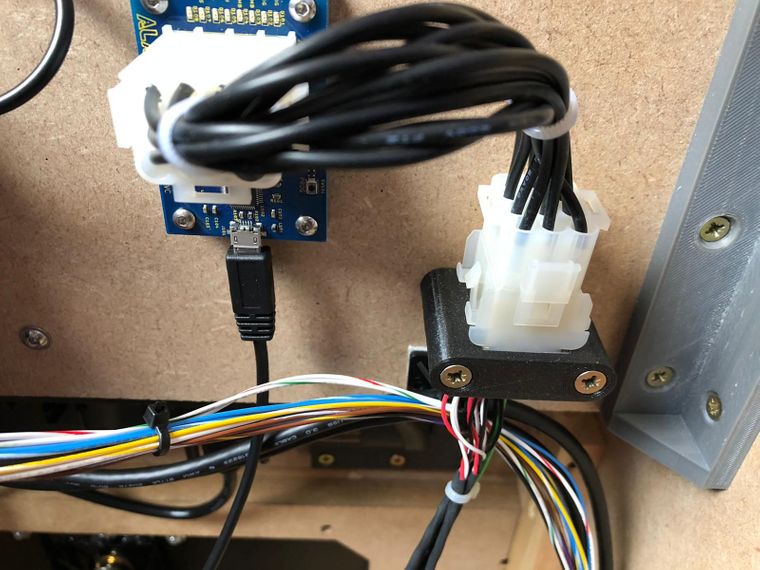
Coin door finally finished and my OCD wiring installed. Deadzone eliminated on the Alan-1 yoke and USB adapter with help writing the appropriate UDEV rule from @mitu. I still need to make a duplicate loom for my friend's cabinet and then I can finally put the back on and lift it onto the illuminated riser. Pictures of this to follow soon.

-
Very clean layout inside. Nice.
-
@IanDaemon Thanks, i'm a bit OCD about wires and I like to keep things neat. Probably went a bit over the top with cable ties and those stick mounts though.
-
Not to me. Thumbs up.
-
Awesome job! And NO, there is no such thing as being too neat with wiring. There is a word to describe my wiring jobs and it begins with 'cluster'...
-
@james-milroy said in Homemade Star Wars Upright Cabinet:
@IanDaemon Thanks, i'm a bit OCD about wires and I like to keep things neat. Probably went a bit over the top with cable ties and those stick mounts though.
That's just what you call an installation. Ask any electrician. 😊
-
@james-milroy said in Homemade Star Wars Upright Cabinet:
Probably went a bit over the top with cable ties
Ha, good one! You can't go "over the top" with cable ties.
Awesome cab, really great looking craftmanship.
-
@james-milroy said in Homemade Star Wars Upright Cabinet:
@IanDaemon Thanks, i'm a bit OCD about wires and I like to keep things neat. Probably went a bit over the top with cable ties and those stick mounts though.
Certainly not, you have already done more than a stellar job on the exterior, the interior should look just as great. If I didn't know any better I would be certain that this was NOT a DIY project.
Also, I really love that this post keeps coming up in the recent topics so I can scroll through the pictures once again and appreciate the craftsmanship.
-
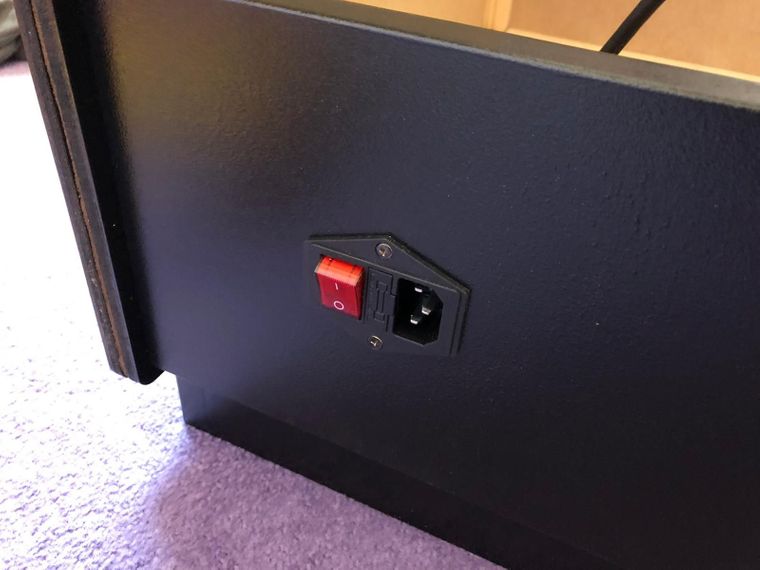
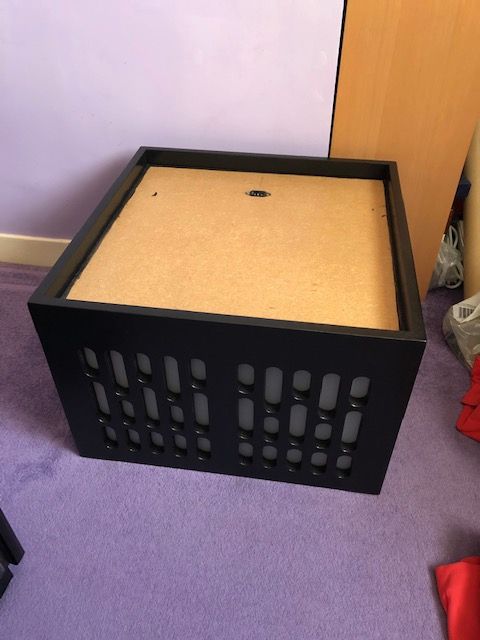
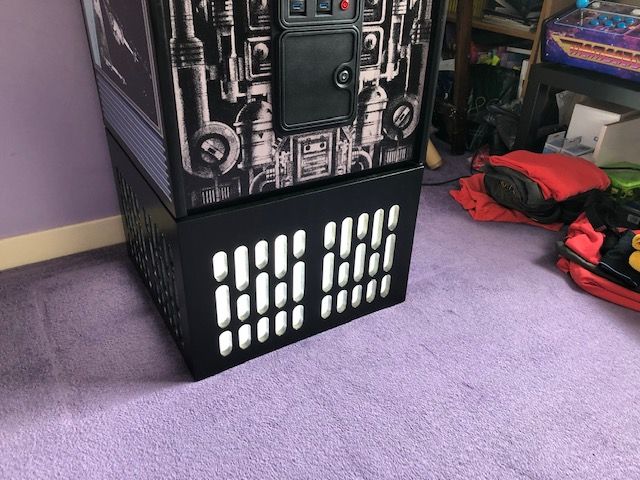
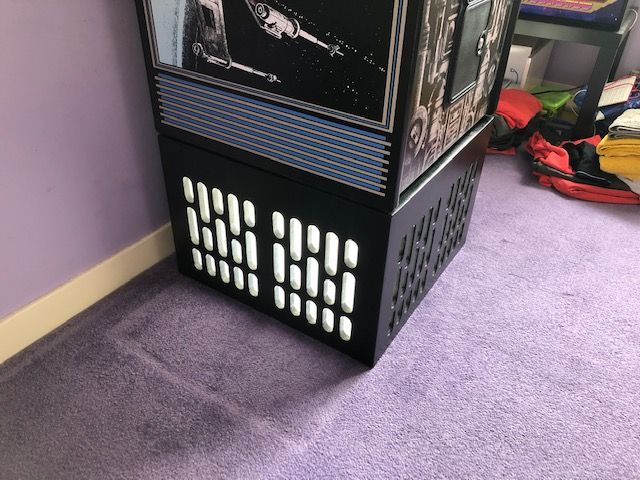
Enlisted some help to lift the cabinet onto the illuminated riser. Its a bit of a beast as the cabinet is constructed of 18mm MDF, no Arcade1up nonsense here!! The riser has an IEC socket on top and a corresponding IEC lead from the cabinet plugs in to supply power to the daylight LED bulb installed in the riser. This shines through the opal frosted acrylic behind the cutouts. Inspiration here was the illumination found throughout the Star Wars universe.
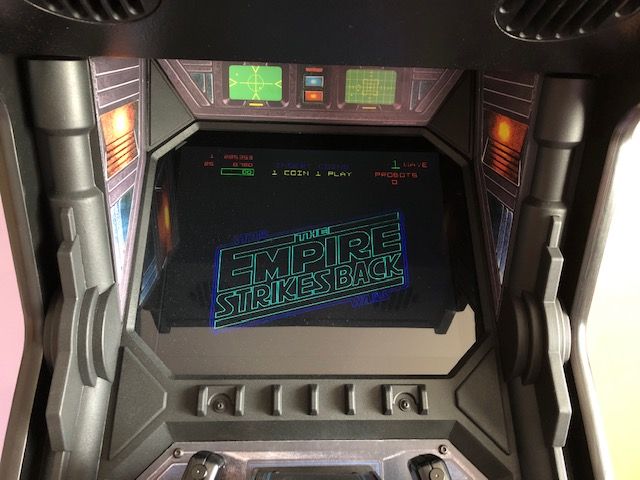
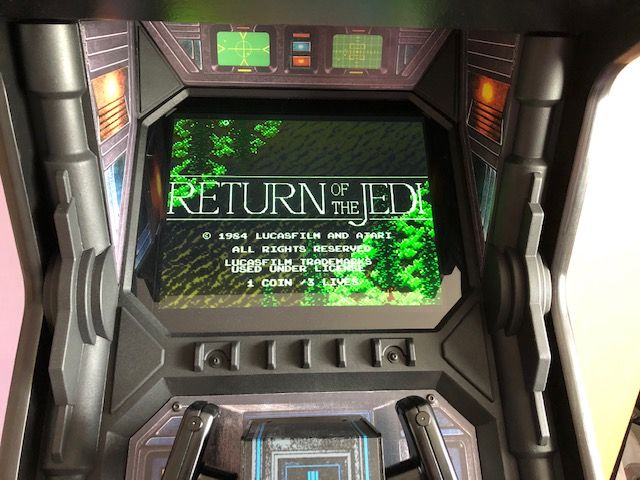
I've also dropped in Empire Strikes Back and Return of the Jedi. Jedi runs a bit slow on Advmame so I've got it running on lr-mame2003 plus. The interesting thing I found out there was that there are only 3 buttons described in the mame menu. It turns out that the thumb buttons turn the AT-ST head left or right and the triggers are duplicated, hence the 3 buttons although there are 4 physical buttons. On ly worked this out after viewing gameplay videos on YouTube and reading the installation manual for the game (found through good old Google BTW)
Here are some pictures:
-
The riser looks awesome and complements the cabinet perfectly!
-
Just WOW.
So well done. Congratulations!
-
This post is deleted! -
@james-milroy
Hi I amgetting info for a build and I am looking for dimensions if you have any you could post.
Thanks -
@sgc1 Hi there, what dimensions are you looking for? I created my cabinet in Fusion 360 and had the MDF parts CNC'd at a local firm. I had to work out all the dimensions from scratch seeing as its not a 1:1 replica. The main criteria for the size of the final cabinet was determined by the size and positioning of the yoke, 17" screen and the fact that I would be standing as in a 'real arcade'. I got this final measurement from an arcade show we have here in the UK. I was lucky enough to get actual measurements from a real cabinet of how high the yoke was from the ground. After that was determined, everything else fell into place. As you will no doubt have noticed, I have a 'riser' just like the Arcade1up products. This allowed me to keep the dimensions of the cabinet in proportion. Had I not went for the riser, the cabinet would have looked rather tall and ungainly to get the yoke up to playing height. I did not want to make a 1:1 replica as this would have been a monster, about 6 inches wider and a lot taller than my final build.
-
Contributions to the project are always appreciated, so if you would like to support us with a donation you can do so here.
Hosting provided by Mythic-Beasts. See the Hosting Information page for more information.