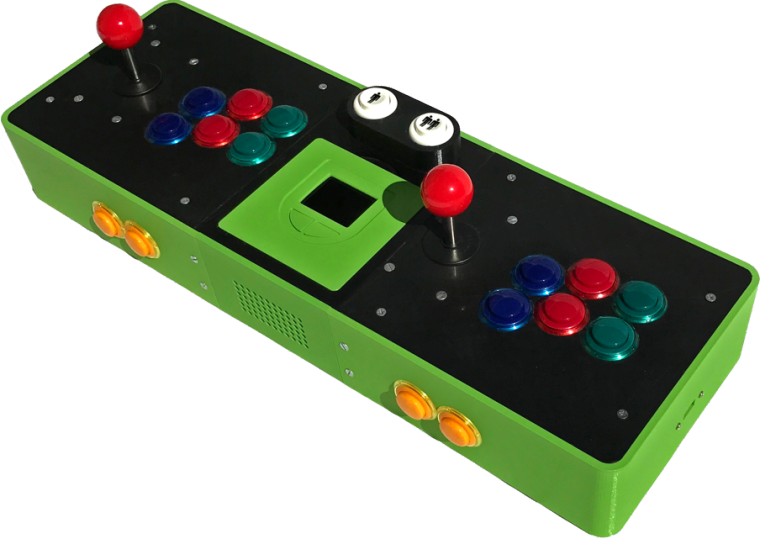
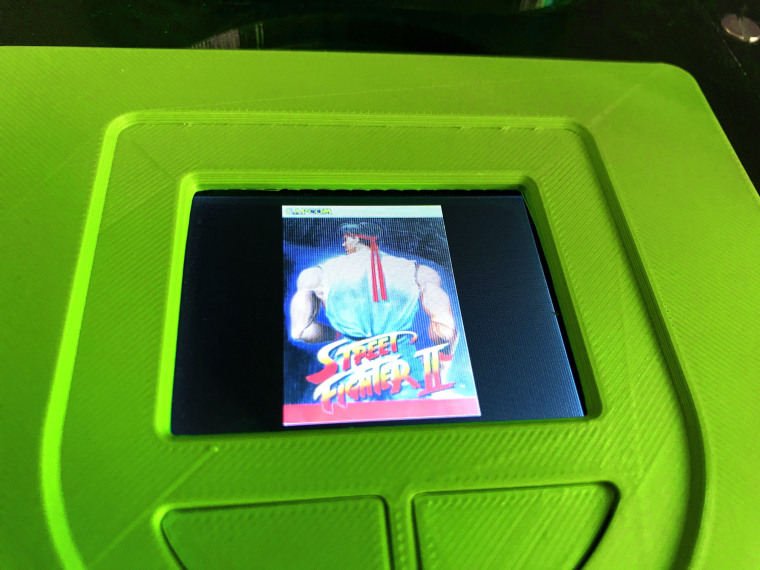
RomTaStick MKII+ (3d printed console with mini LCD display)
-
Hi all,
I'm happy to share with you the new version of my 3D printed console : the RomTaStick MKII+.
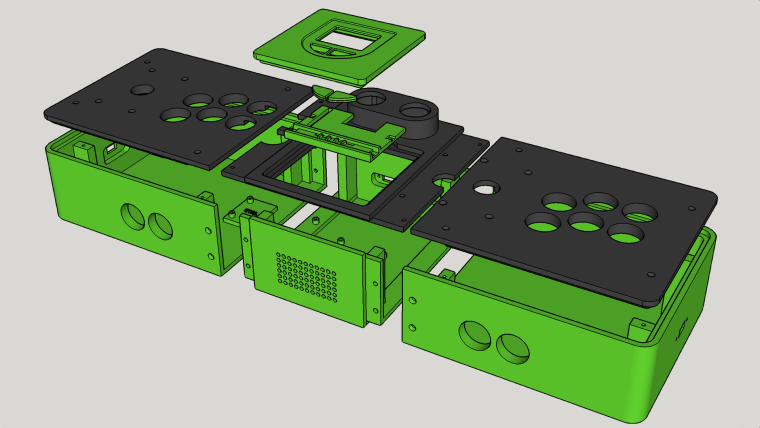
If you are interested in building one, all the instructions are here.
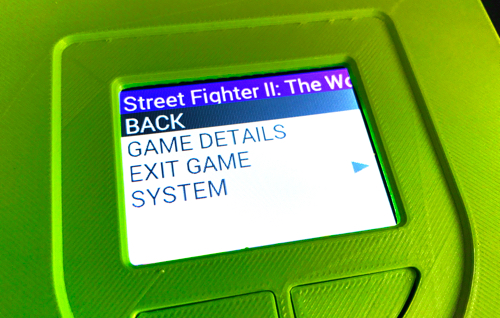
Note also that the software running the LCD panel with buttons is available on GitHub and is reusable for your own projects.
Have a nice day !
Gilles
-
@zippy1978 this is cool. I checked the site. Nice setup there. It might be nice to know the dimensions of a few more pieces not just the largest. That way, people could outsource the printing of just the parts that do not fit, but might still be able to print other parts themselves.
I’d love to see this thing in action. Do you have play test videos? -
whereas this looks cool. I dont think this is a great thing to make with an Ultimaker 3d printer. It is simply too big to be reasonable in my opinion. I just downloaded the STLs and ran them through cura, and that is one hell of a lot of plastic in order to print it.
I think you would be better off if you were to design it so that the walls of the box are made from something like 6mm or 12mm MDF then print corner pieces that hold it all together, you could then print the LCD surround and button holder etc,
by all means take advantage of the 3d printer, but throwing 3 reels of plastic into this (assuming no warping and reprints, ) puts the cost at around 100 USD just for the enclosure.
for that kind of money you could get something like this :
http://www.ebay.co.uk/itm/Double-Stick-Arcade-Machine-LED-Console-815-Video-Games-Pandora-Box-4s-Joystick-/282559827997?hash=item41c9e0d01d:g:Z84AAOSwicJZXiUMand put a pi inside it, or not.
I commend the effort of designing the parts that fit in the ultimaker, it must have been a hard process. and the result looks great!
-
@caver01 Thank you for your feedback : I will had dimensions for all parts soon :) I was also thinking of breaking large parts into smaller ones in a next version... So that most 3d printer can print it...
I don't have a play test video yet, but I'll try to do one.
Gilles.
-
@spruce_m00se Thanks for your feedback !
You are right... It's probably not the most efficient way to build a console :) But that was my goal when I started : building a console where all parts are 3d printed...
I don't plan to get into mass production : I made it mostly for my own usage, so I did not really pay attention to the cost and the time it took me.
Gilles
-
Hi! I've tried to use your script with another kind of gpio lcd screen, is a 3.5 tft by elegoo. I get a mixed result, the box image is displayed in the secondary display, but it gets removed as soon as the game starts. Is there any way to let it stay visible on the secondary screen?
-
@mc9625 Well, actually I do realise that the script isn't working for me. I don't know if because I have the wrong LCD. In your instructions is not very clear how to actually connect the screen to the pi, so I don't know if it's relevant or not. Anyway I always get the message: Failed to push event.
-
I may have missed it but can you connect it to an external monitor?
-
Hi! I think I'm pretty close in getting everything to work, but I'm missing something. I have a PiTFT 2.8" w/ Resistive Touch from Adafruit (Not worried about the touchscreen yet) and while I can get it to work outside of Retropie, I can't get anything to show while in it. I have verified that SPI is enabled and looking at the .json file the ILI9341 is enabled. Is there anything else I can check?
-
@ryokurin Adafruit has a guide on how to set up the screen. I use it maybe a year ago and it helped a lot. Take a look at it and if you have any questions I'll see if I can help. No promises, but I'll try. https://learn.adafruit.com/adafruit-pitft-28-inch-resistive-touchscreen-display-raspberry-pi. Or this page talks about RetroPie https://learn.adafruit.com/running-opengl-based-games-and-emulators-on-adafruit-pitft-displays/retropie-setup?view=all
-
@glennlake Sorry if I wasn't clear. The screen is working, newer kernels support it. I just can't get it to work with the romtastick script. I was thinking something was up with the script as when you bring up the menu to choose the ILI9341 it doesn't seem to stick, thus why I looked at the json file to see if I could force it, and at least there it looked like it was set correctly.
I tried tonight with the quick install from adafruit and had the same result. I'm going to try again tomorrow with their image to see if the cause is anything that was upgraded when I updated packages during setup. Thanks for your help.
Contributions to the project are always appreciated, so if you would like to support us with a donation you can do so here.
Hosting provided by Mythic-Beasts. See the Hosting Information page for more information.