• Recent
  • Tags
  • Popular
  • Home
  • Docs
  • Register
  • Login
RetroPie forum home
  • Recent
  • Tags
  • Popular
  • Home
  • Docs
  • Register
  • Login

My First Bartop Build

Scheduled Pinned Locked Moved Projects and Themes
arcadebartopretro piefirst timer
19 Posts 12 Posters 3.6k Views
Loading More Posts
  • Oldest to Newest
  • Newest to Oldest
  • Most Votes
Reply
  • Reply as topic
Log in to reply
This topic has been deleted. Only users with topic management privileges can see it.
  • B
    borgish
    last edited by borgish 1 Apr 2019, 15:07 4 Jan 2019, 14:51

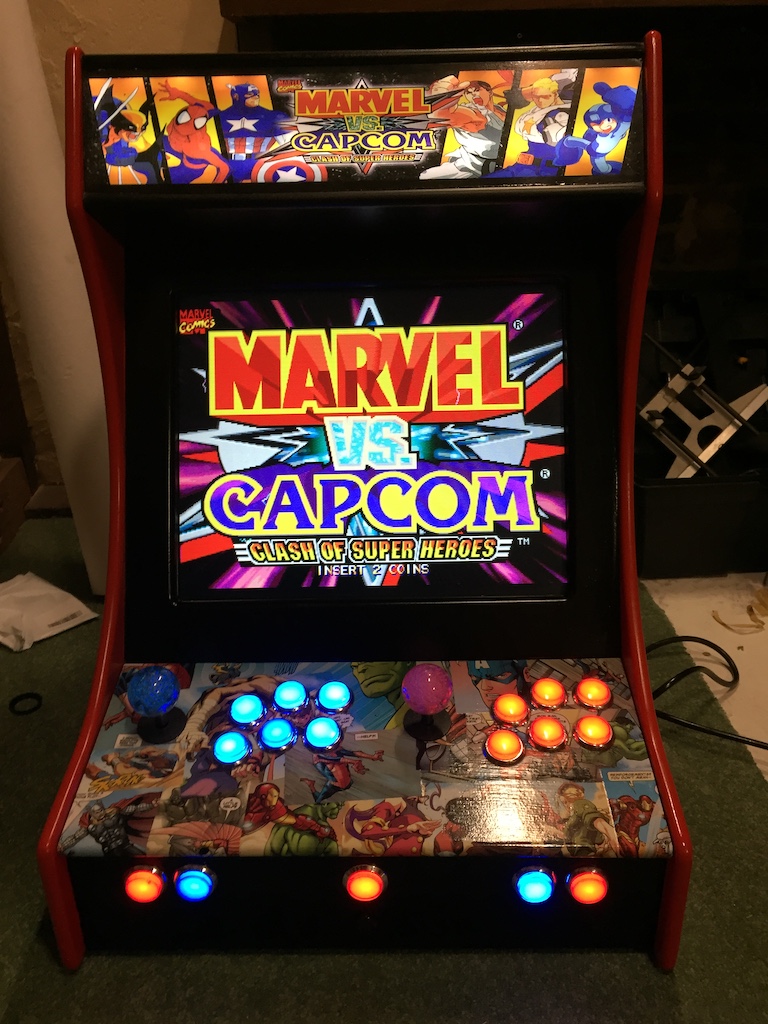
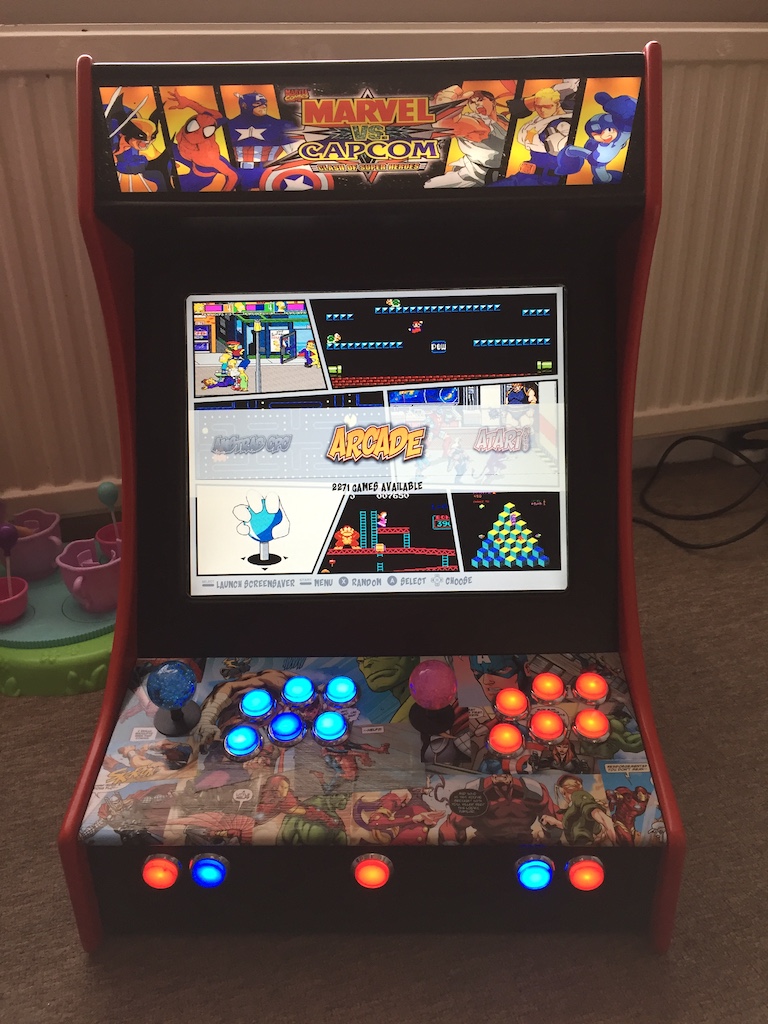
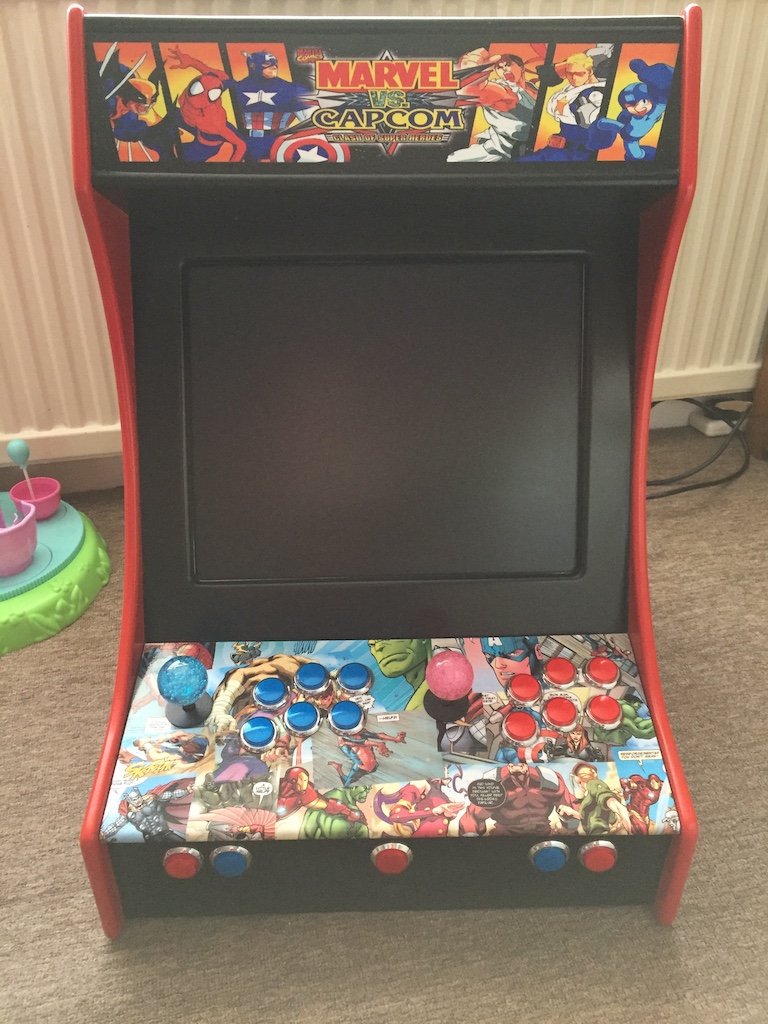
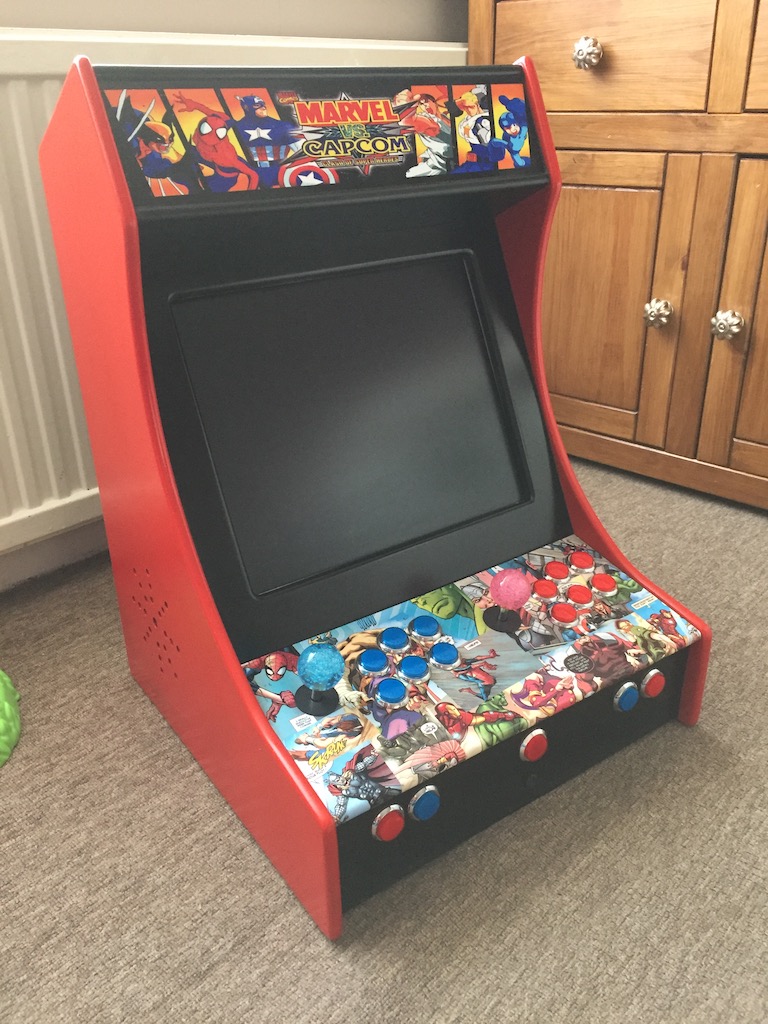
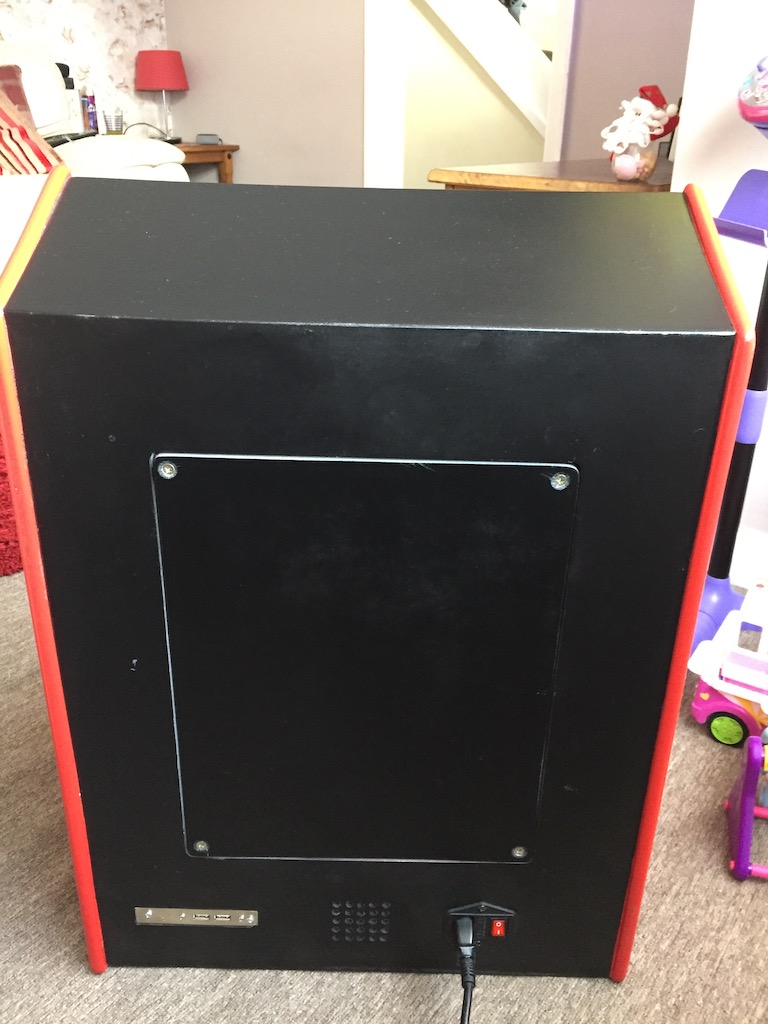
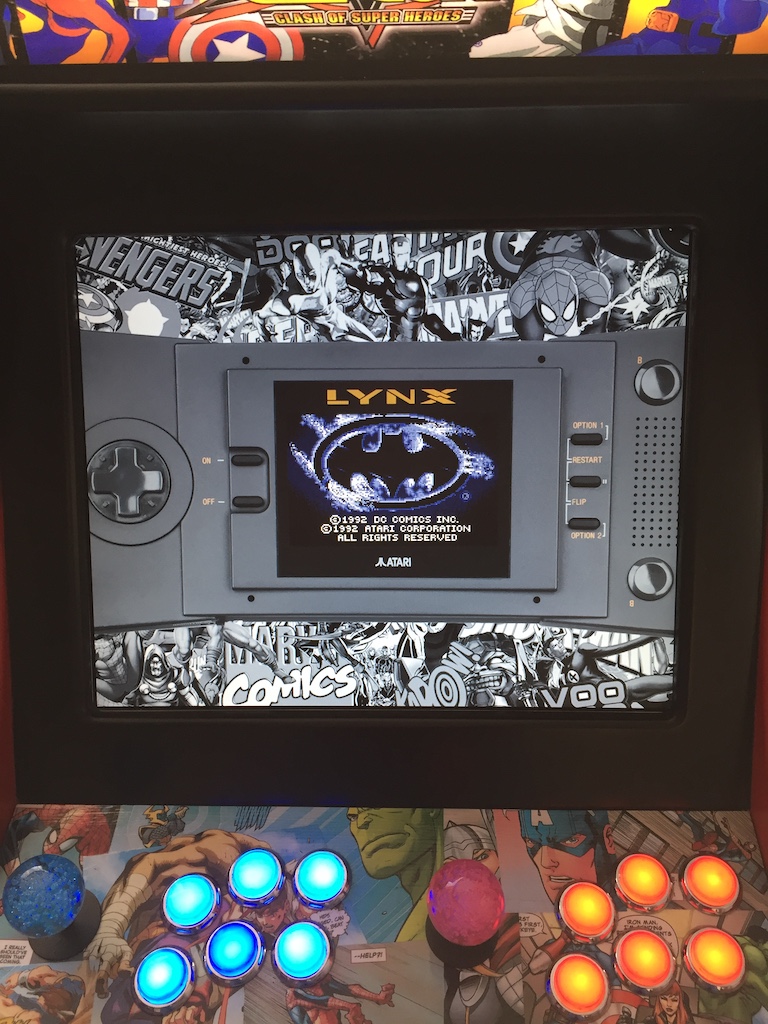
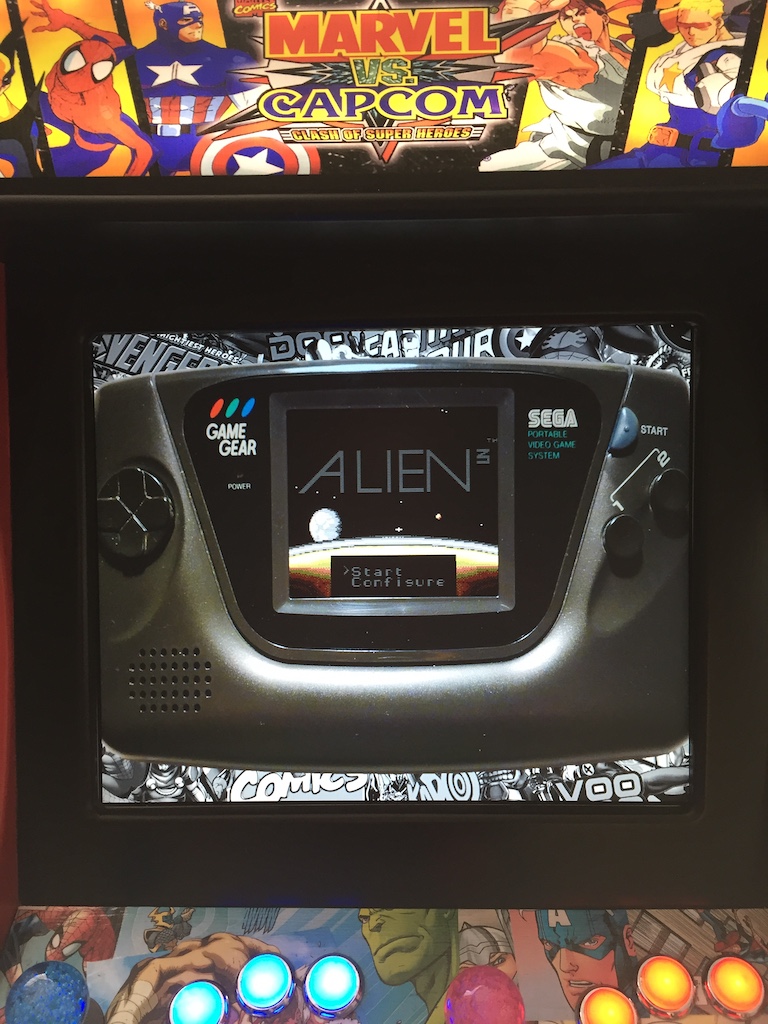
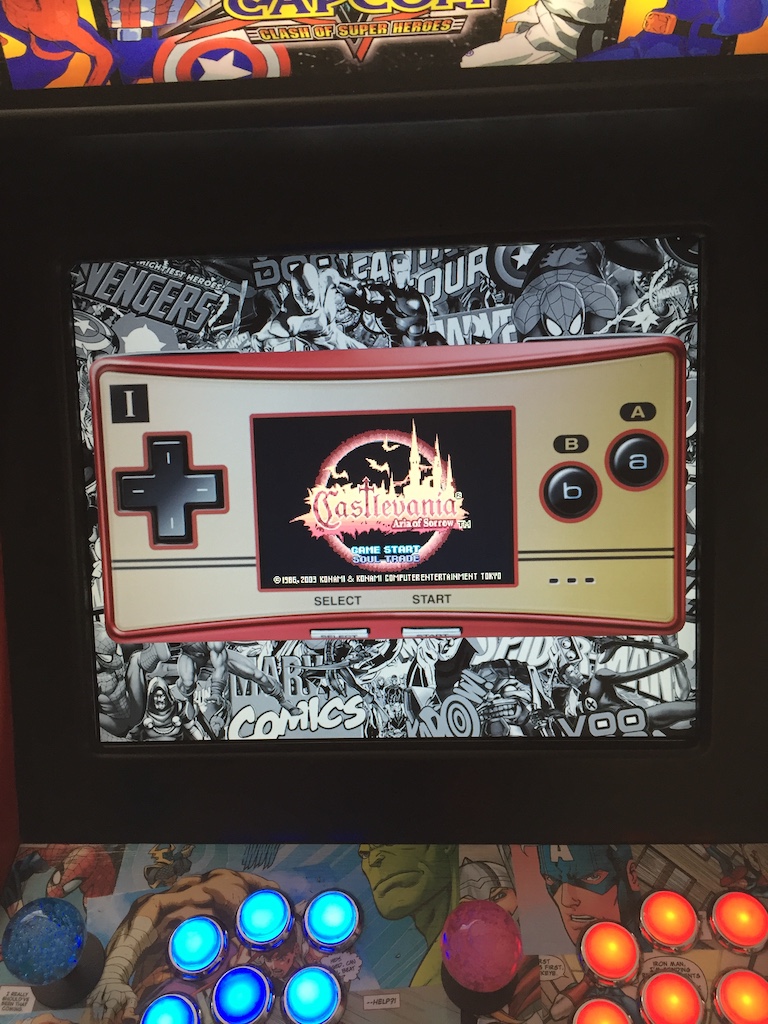
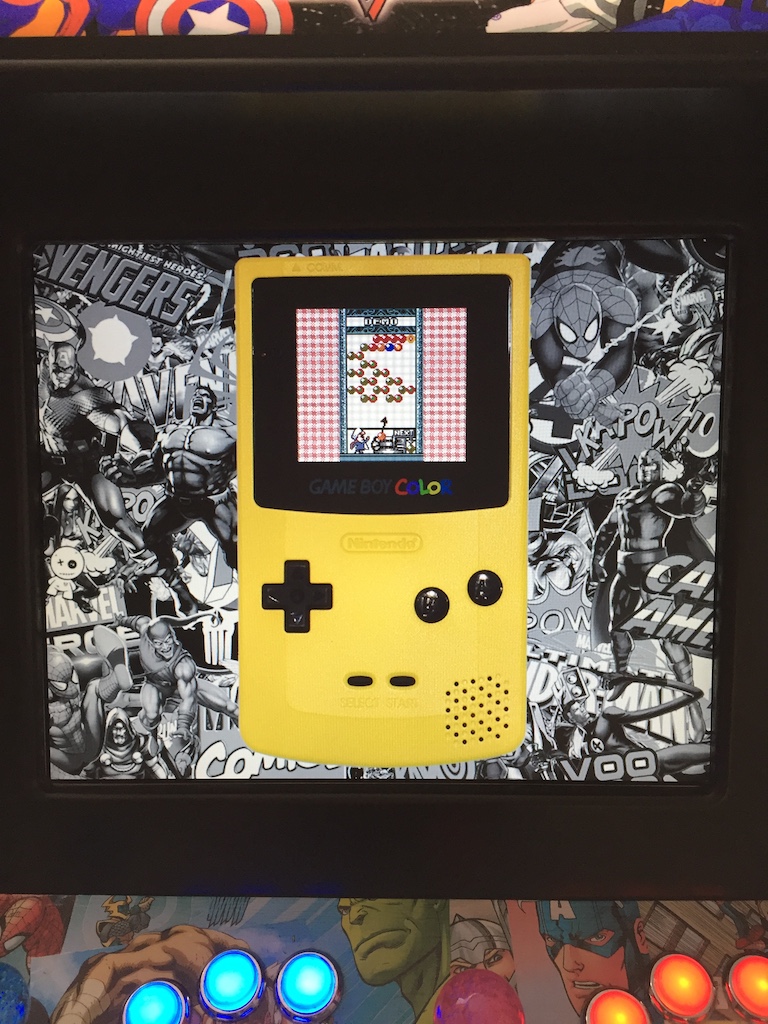
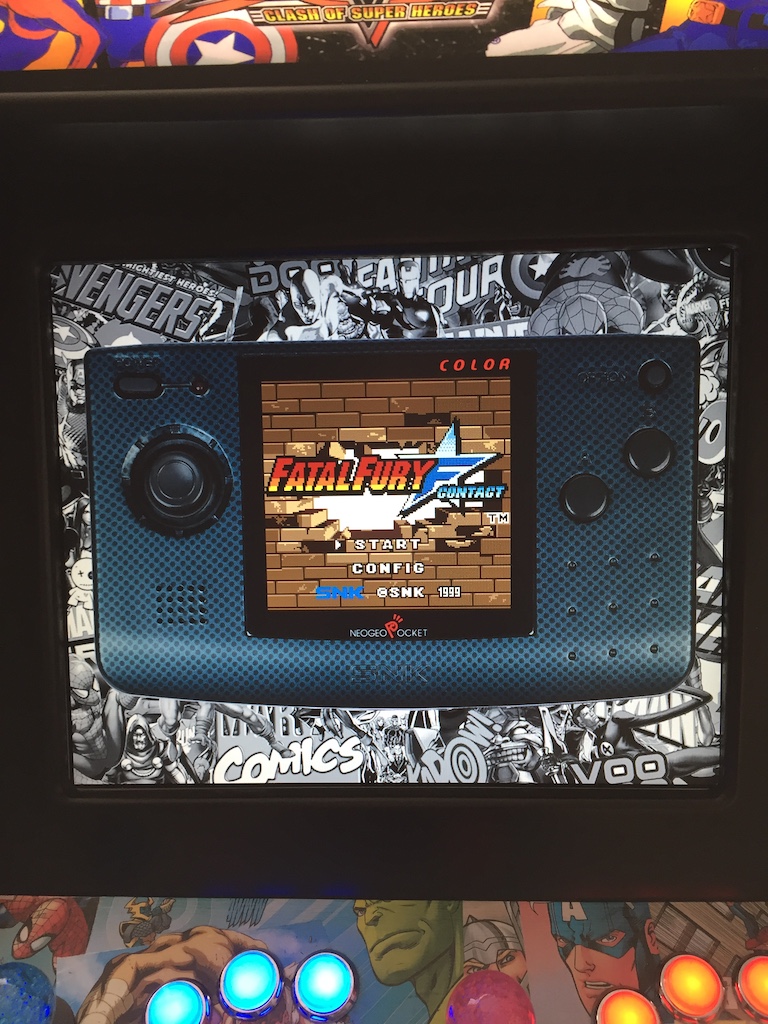
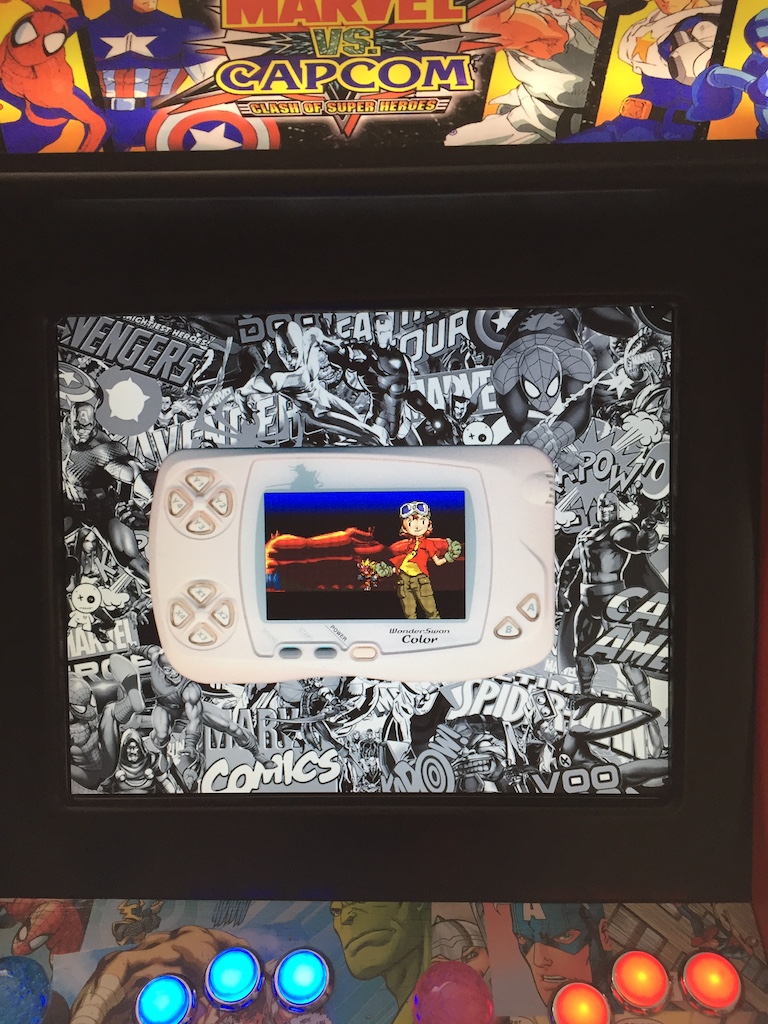
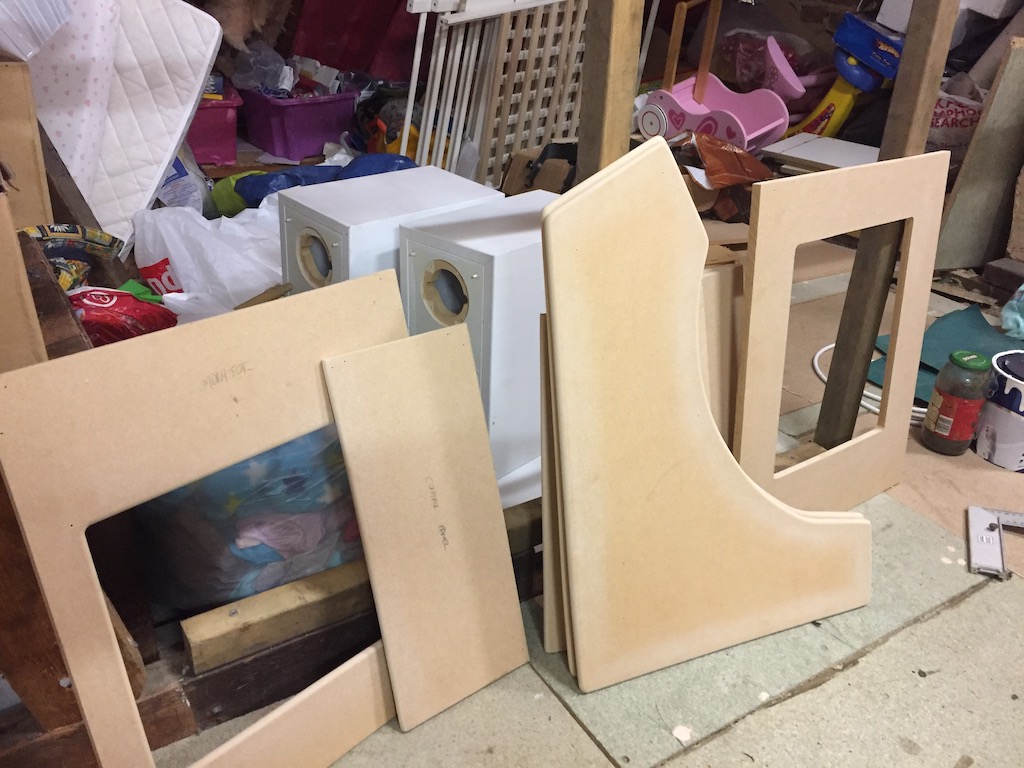
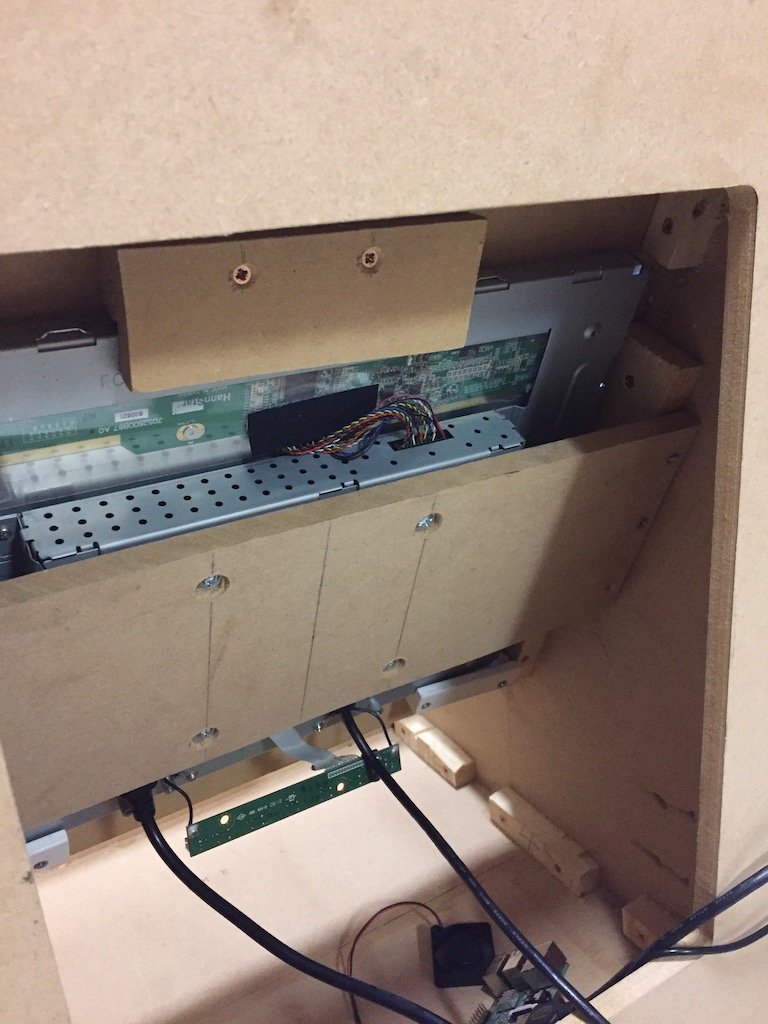
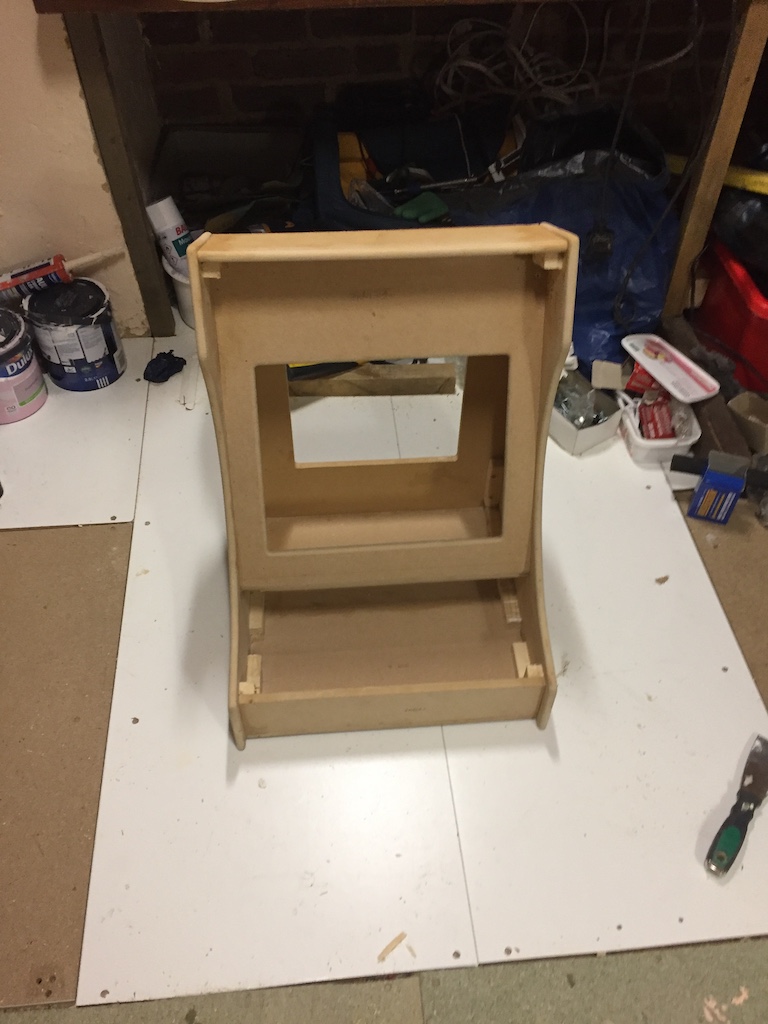
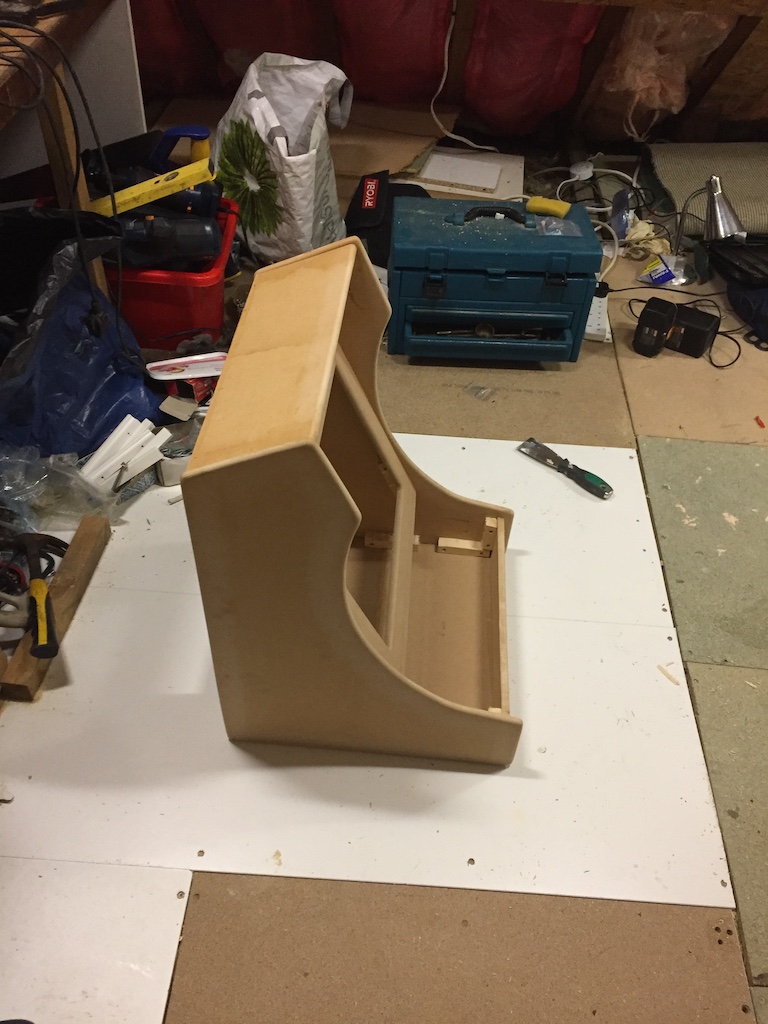
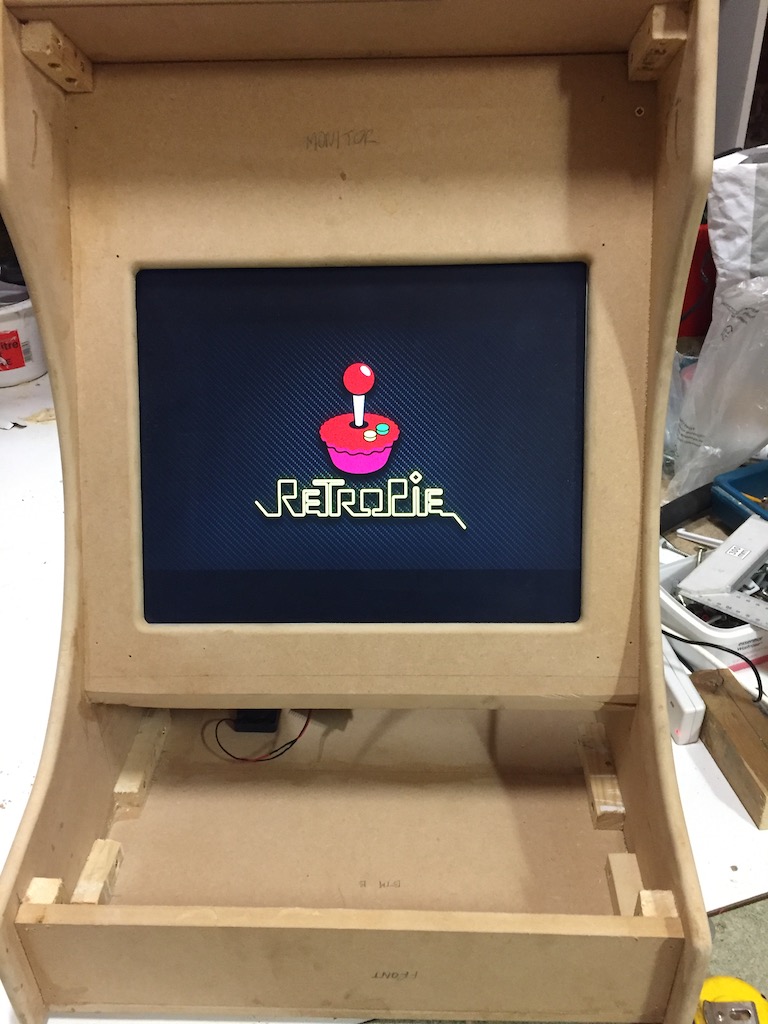
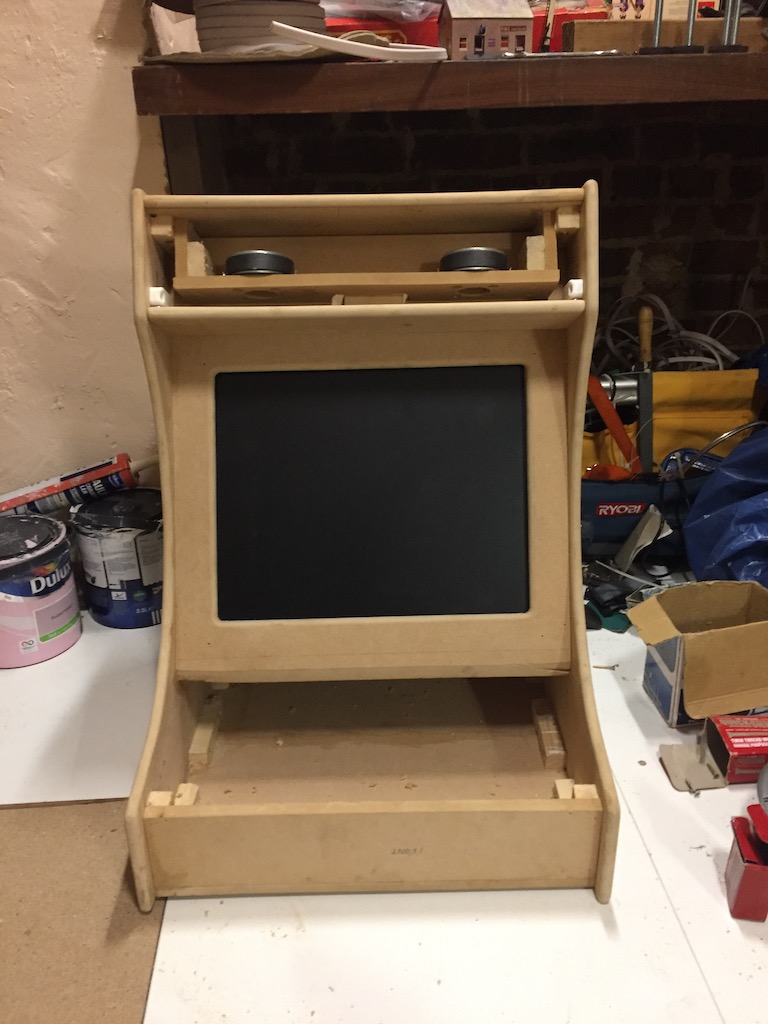
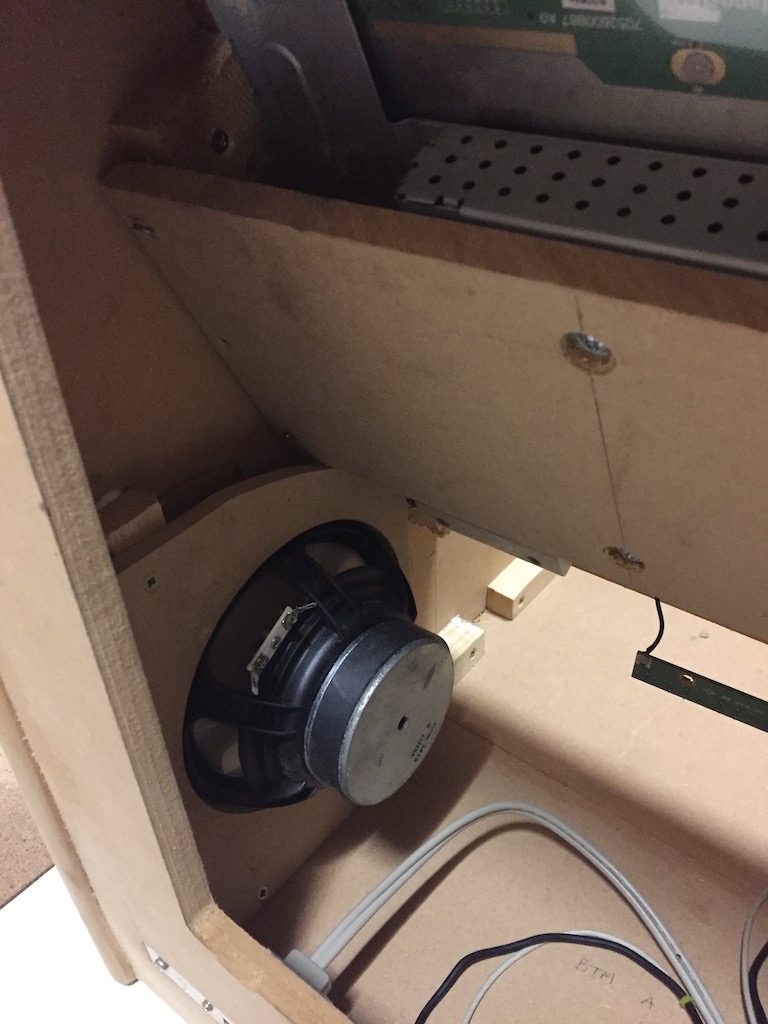
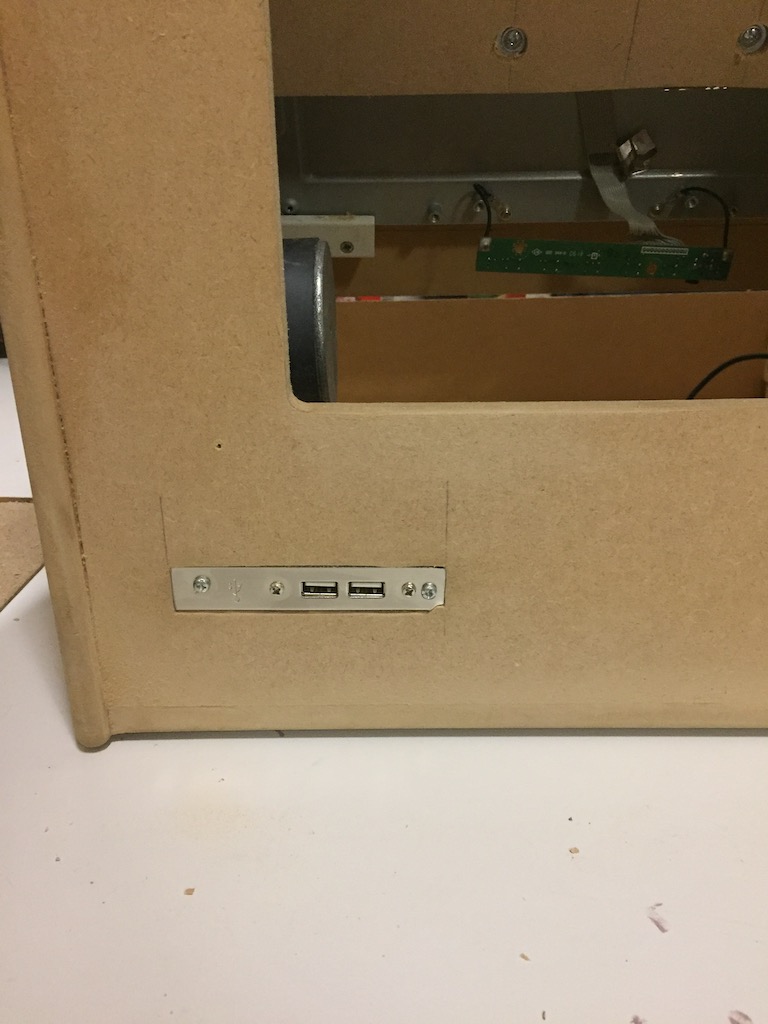
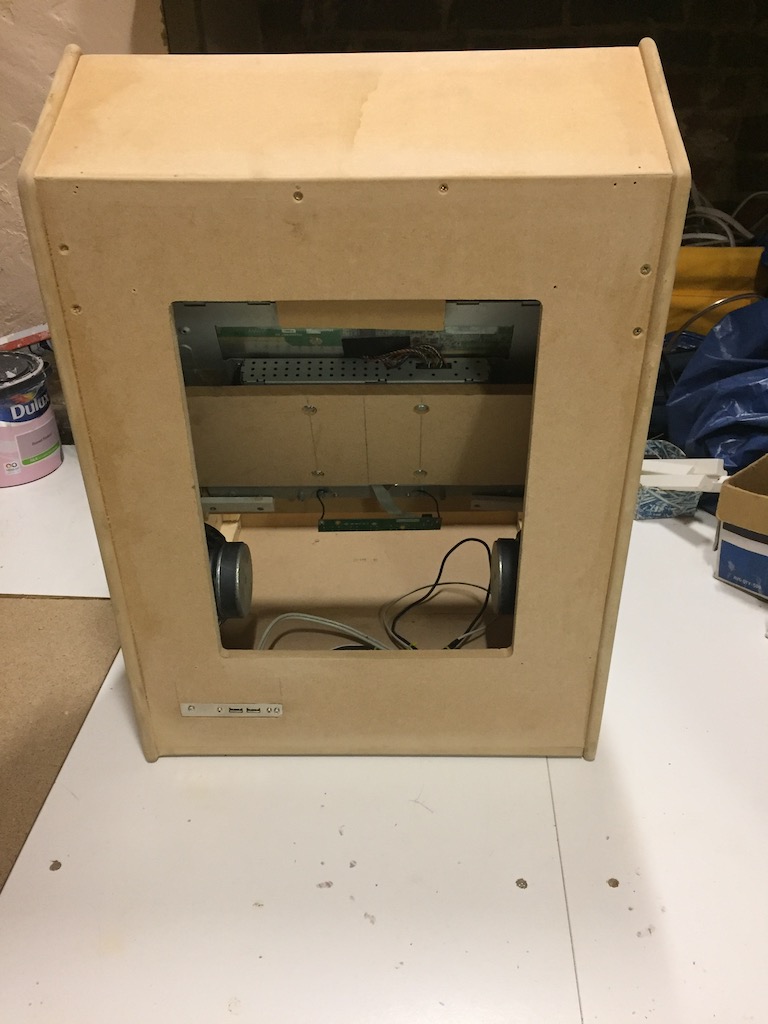
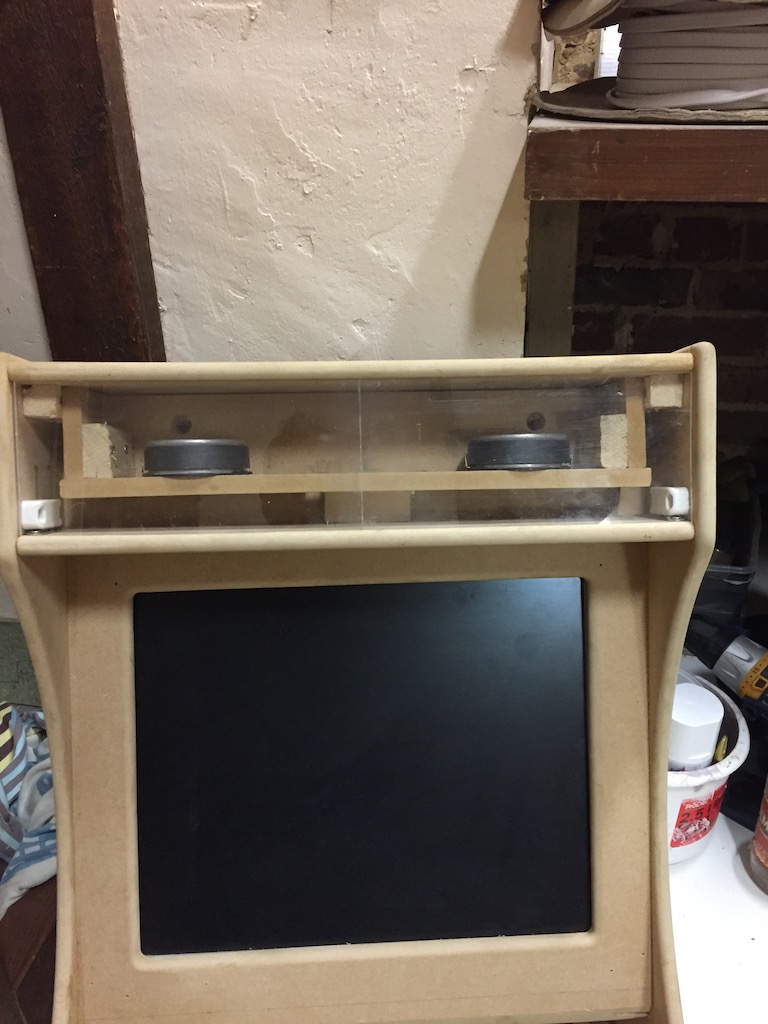
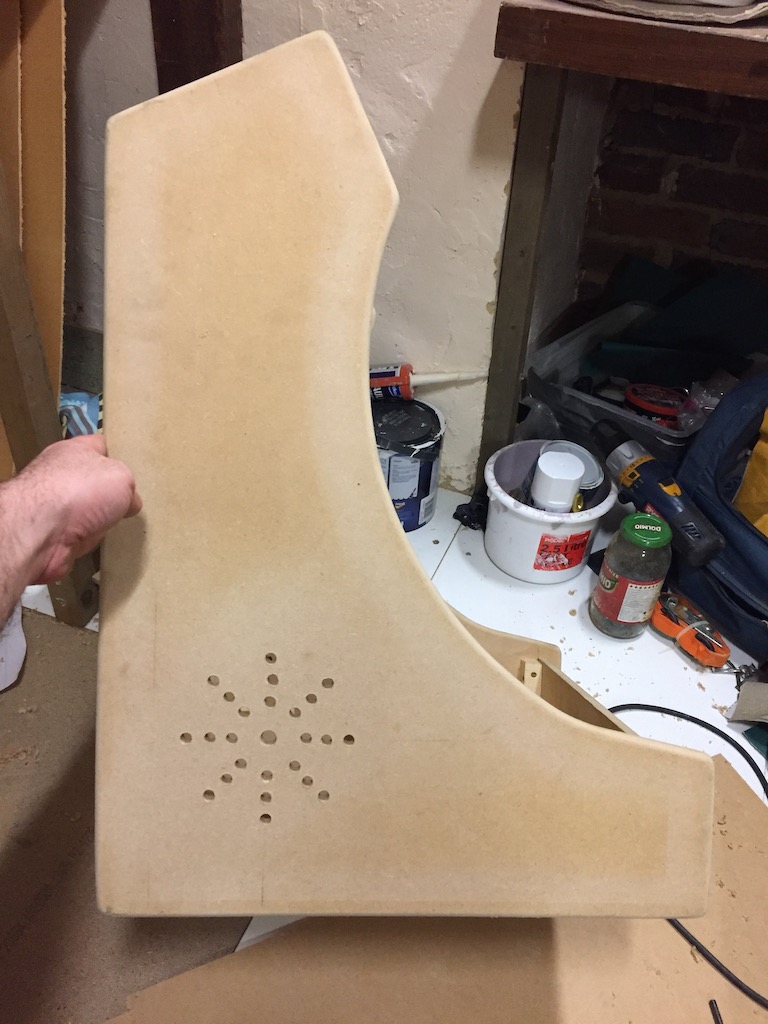
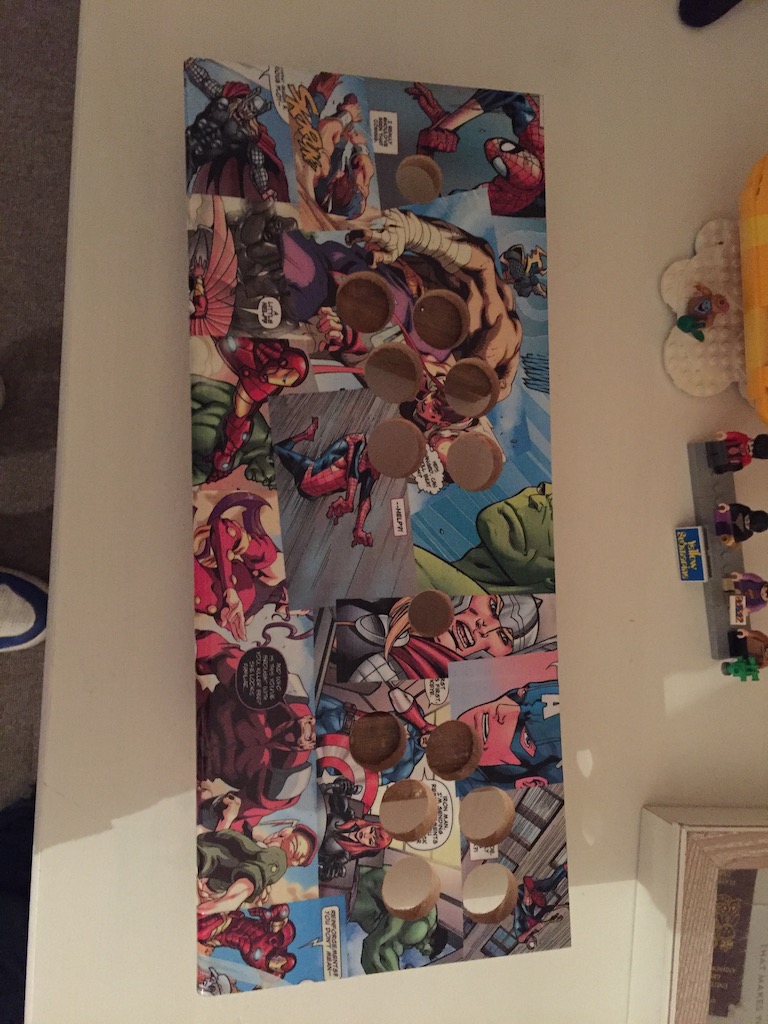
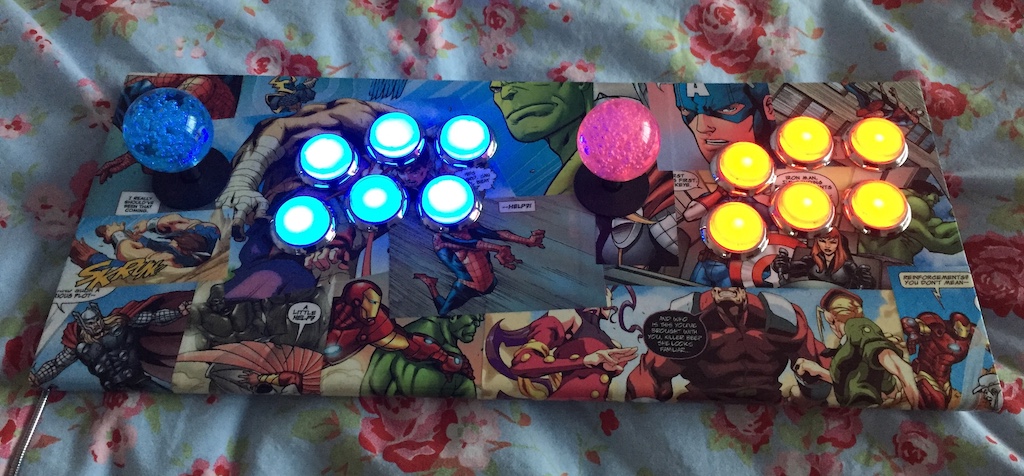
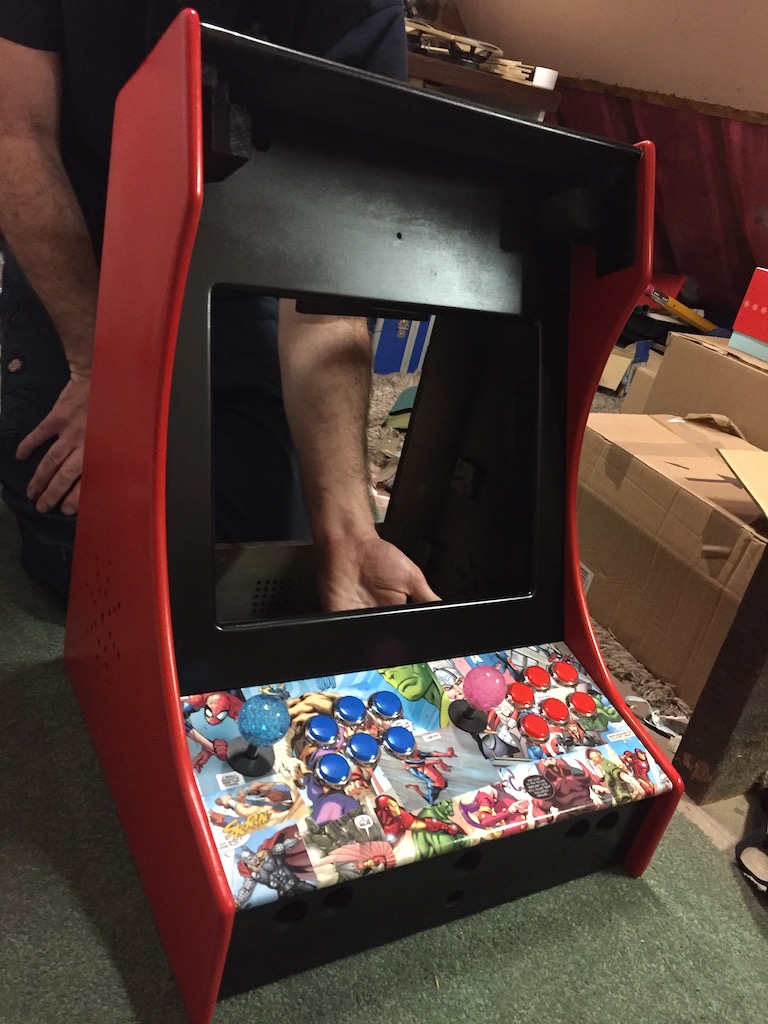
    Hi I thought I would share my first bartop I have made it was for my son for Christmas. it was made completely by hand as I have no access to CNC and did not want to use a kit as its a non standard size. The control panel was made using printed comics cut out and stuck on then lacquered, it has a 5:4 hanspree 17" DVI monitor found in the loft that was stripped down and mounted. Built in amp with Elatax speakers. I made custom overlays for personal use for the handheld consoles to fit in with the theme, and a lot of spray paint. I am very pleased with my first build but I could not have done it with out this forum although I have not posted but reading all the advice given and knowledge really helped me complete this so thank you.

    IMG_0664.JPG IMG_0720.JPG IMG_0707.JPG IMG_0708.JPG IMG_0709.JPG IMG_0711.JPG IMG_0712.JPG IMG_0713.JPG IMG_0714.JPG IMG_0718.JPG IMG_0719.JPG

    1 Reply Last reply Reply Quote 8
    • B
      borgish
      last edited by 4 Jan 2019, 14:54

      These are all the pics from the build

      IMG_0585.JPG 56233723578__D31EAB90-AF98-4791-AB9F-4C2C4EA6BB9D.JPG IMG_0586.JPG IMG_0587.JPG IMG_0589.JPG IMG_0591.JPG IMG_0607.JPG IMG_0608.JPG IMG_0609.JPG IMG_0610.JPG IMG_0611.JPG IMG_0615.JPG IMG_0632.JPG IMG_0636.jpg IMG_0659.JPG IMG_0661.JPG

      C R 2 Replies Last reply 4 Jan 2019, 22:13 Reply Quote 6
      • B
        Baz
        last edited by 4 Jan 2019, 20:39

        That looks awesome. Good job!

        1 Reply Last reply Reply Quote 0
        • M
          markyh444
          last edited by 4 Jan 2019, 21:41

          Pretty sweet. Good job!

          Retropie in a NES - Pi 3 with Mausberry circuit shutdown switch wired to buttons and 8bitdo NesPro30 controller
          Retropie in a Saturn Controller - Pi Zero, GPIO controls using DB9 driver
          Retropie in a PSX - Pi3
          https://markyh444.wordpress.com

          1 Reply Last reply Reply Quote 0
          • C
            Clyde @borgish
            last edited by 4 Jan 2019, 22:13

            @borgish Great build! Especially since you made it completely from scratch.

            I also use the Comic Book them on my DIY upright cabinet (based on a kit to spare me the wood work). How did you stretch it to 5:4? Since I only know about a 4:3 version of it.

            B 1 Reply Last reply 4 Jan 2019, 22:20 Reply Quote 0
            • B
              borgish @Clyde
              last edited by borgish 1 Apr 2019, 22:25 4 Jan 2019, 22:20

              @Clyde to be honest I just used the 4:3 version on RetroPie not sure how it stretched looks ok though with no issues

              C 1 Reply Last reply 4 Jan 2019, 22:46 Reply Quote 0
              • C
                Clyde @borgish
                last edited by 4 Jan 2019, 22:46

                @borgish Thanks. Before you edited your post, I wanted to mention that I don't know a 1280x1024 version of the theme. But now it is clear that you are using the 4:3 version. :)

                The maker of the theme, @TMNTturtlguy, mentioned some misalignment on 5:4 monitors here and here, but he may have a sharper eye for its details than us mere users.

                Howsoever, this theme is definitely my favourite of all of them. 😍

                B 1 Reply Last reply 4 Jan 2019, 22:58 Reply Quote 0
                • B
                  borgish @Clyde
                  last edited by 4 Jan 2019, 22:58

                  @Clyde yes I love it and fits the theme of my cabinet exactly I’ve used his splash screen too thankyou for the kind comments

                  1 Reply Last reply Reply Quote 0
                  • G
                    goobatroopa
                    last edited by 5 Jan 2019, 05:42

                    Excellent build there buddy.

                    1 Reply Last reply Reply Quote 0
                    • M
                      m2306
                      last edited by 5 Jan 2019, 07:17

                      I’m nearly finished with a very similar build. Looks good but seems you wont be able to get the display out anymore (if it dies)? What I actually wanted to ask was, how did you connect the power switch? I have a similar one and want to connect it to an extension cord with several outlets on the inside. I just dont know how to connect the several pins and it would also leave the copper exposed which just feels dangerous.

                      B R 2 Replies Last reply 5 Jan 2019, 07:25 Reply Quote 0
                      • B
                        borgish @m2306
                        last edited by 5 Jan 2019, 07:25

                        @m2306 the display can be un-screwed as well as the control panel and it then can be slid through if it does die, everything is removable inside for either replacement or upgrade. Sorry don’t have any pictures of the power supply but google was my friend and all my pins were soldered and insulated to stay safe and it all depends on the switch type on how it’s wired so my best advice is google your part no. and you should find the wiring diagram.

                        M 1 Reply Last reply 5 Jan 2019, 08:34 Reply Quote 0
                        • M
                          m2306 @borgish
                          last edited by 5 Jan 2019, 08:34

                          @borgish Ok, I just thought your back door looked small. I did the back door so it's the same width as the cabinet but my display is also bigger in comparison to the cabinet, I think.

                          The part I have almost looks as if it should have another part on the inside to cover it up. That's partly why I got to think it might be dangerous to connect it straight up, but thats's right, I have to get some insulation for the wires so I can cover everything up after connecting. Can I solder the copper from the extension cord to the pins on the switch? I havent done anything with actual full power electrical wires before, just small wires to pins on PCBs..

                          B 1 Reply Last reply 5 Jan 2019, 10:04 Reply Quote 0
                          • B
                            borgish @m2306
                            last edited by 5 Jan 2019, 10:04

                            @m2306 yes you can but I would recommend with a little bit of sand paper to rough up the pins to make sure the solder gets a good connection to stop it from coming off or you can crimp and use spade connections if you want a safer and less permanent connection

                            1 Reply Last reply Reply Quote 1
                            • R
                              RedFarmer @m2306
                              last edited by RedFarmer 1 May 2019, 22:33 5 Jan 2019, 20:23

                              Congrats on your build! Looks awesome!

                              @m2306 said in My First Bartop Build:

                              I’m nearly finished with a very similar build. Looks good but seems you wont be able to get the display out anymore (if it dies)? What I actually wanted to ask was, how did you connect the power switch? I have a similar one and want to connect it to an extension cord with several outlets on the inside. I just dont know how to connect the several pins and it would also leave the copper exposed which just feels dangerous.

                              This is how i did mine. This way, the buttons power light is only lit when the switch is on. It can also be wired to be always lit.

                              alt text

                              1 Reply Last reply Reply Quote 1
                              • J
                                Jules1974
                                last edited by 11 Jan 2019, 15:40

                                I have yet to do mine, this is an inspiration thanks!.

                                1 Reply Last reply Reply Quote 1
                                • F
                                  Fergy1987
                                  last edited by 17 Jan 2019, 01:09

                                  I put my Pi in a regular case and thought I was super fancy!...........seeing this has taken me down a few pegs. Great stuff!

                                  1 Reply Last reply Reply Quote 1
                                  • R
                                    Rastan80 @borgish
                                    last edited by 28 Mar 2019, 03:33

                                    @borgish nice!!!

                                    1 Reply Last reply Reply Quote 0
                                    • tpo1990T
                                      tpo1990
                                      last edited by 28 Mar 2019, 09:17

                                      I am impressed by your build. It makes me remember my childhood experience of the Marvel Super Heroes vs. Street Fighter arcade cab from my family vacation in Spain. :-)

                                      I also dream of building my own bartop cab some time.

                                      Thanks for sharing your build.

                                      Greetings from Denmark. :-)

                                      Developer of install scripts for ports such as Hexen 2, Return to Castle Wolfenstein and Caesar III. See my other projects at my profile.

                                      1 Reply Last reply Reply Quote 0
                                      • P
                                        ppuspfc
                                        last edited by 28 Mar 2019, 13:22

                                        What a superb work man! I always dreamt of doing something like that

                                        1 Reply Last reply Reply Quote 0
                                        • First post
                                          Last post

                                        Contributions to the project are always appreciated, so if you would like to support us with a donation you can do so here.

                                        Hosting provided by Mythic-Beasts. See the Hosting Information page for more information.

                                          This community forum collects and processes your personal information.
                                          consent.not_received