Mad Planets Cabinet Build [Finished!]
-
Hi All
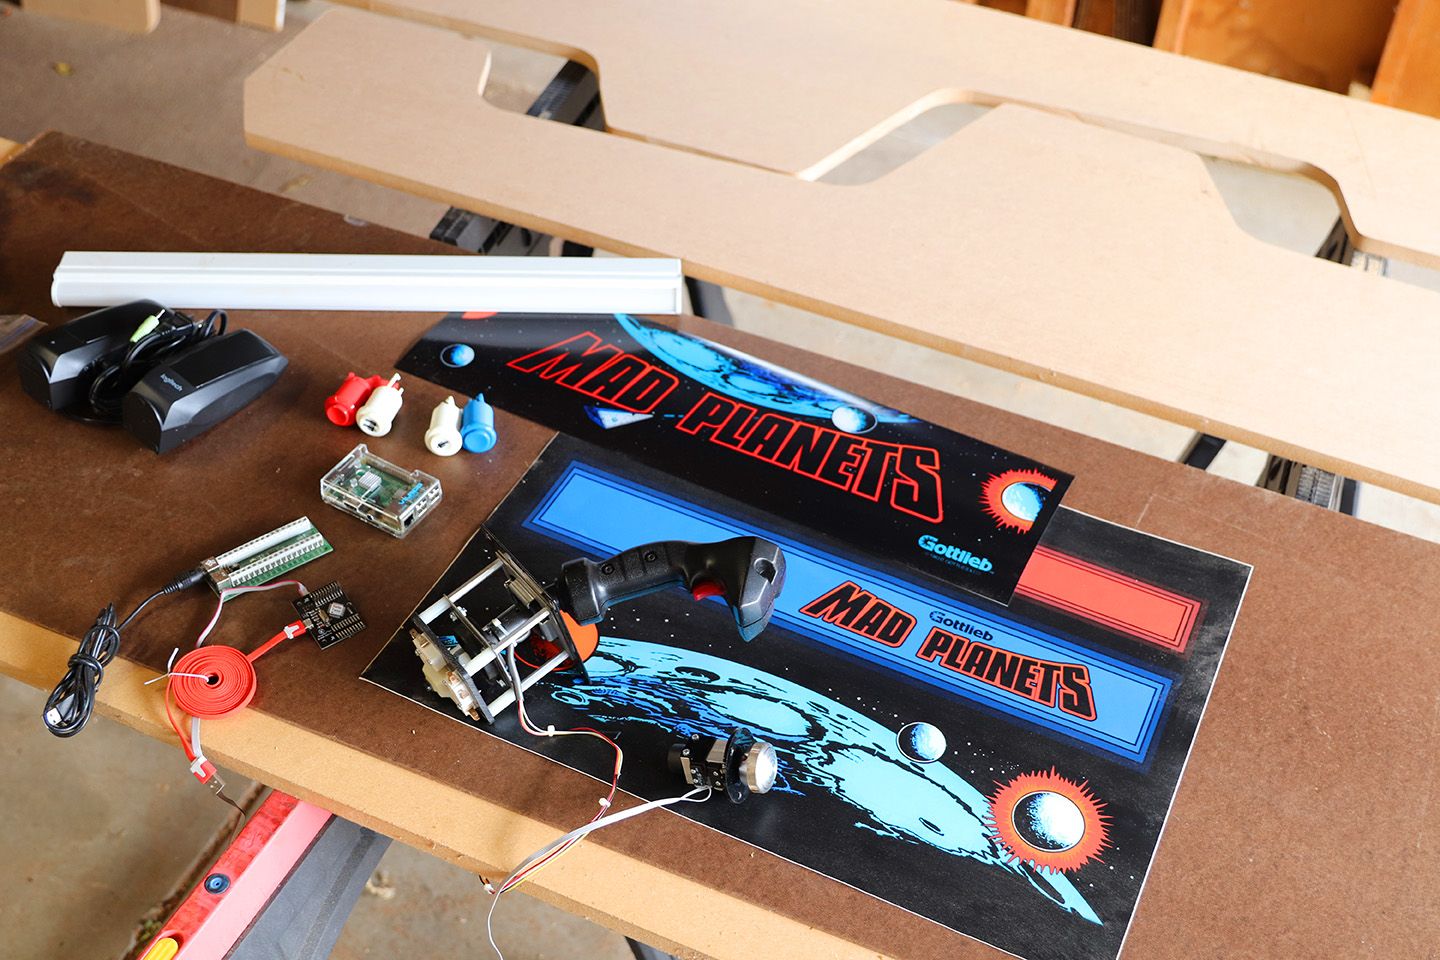
Started a new cabinet build today, and I thought I'd share the build. I've been rounding up the parts and art for a while now, but its time to take blade to board! I build slim cabs that attach to the wall of my gameroom and are about 18"deep. I try to build reproductions, but I make some of my own mods. I'm doing Mad Planets, I really was into that game, but its maybe more of a pathway to Tron and Discs of Tron. I even went the Cadillac and got that push/pull spinner.
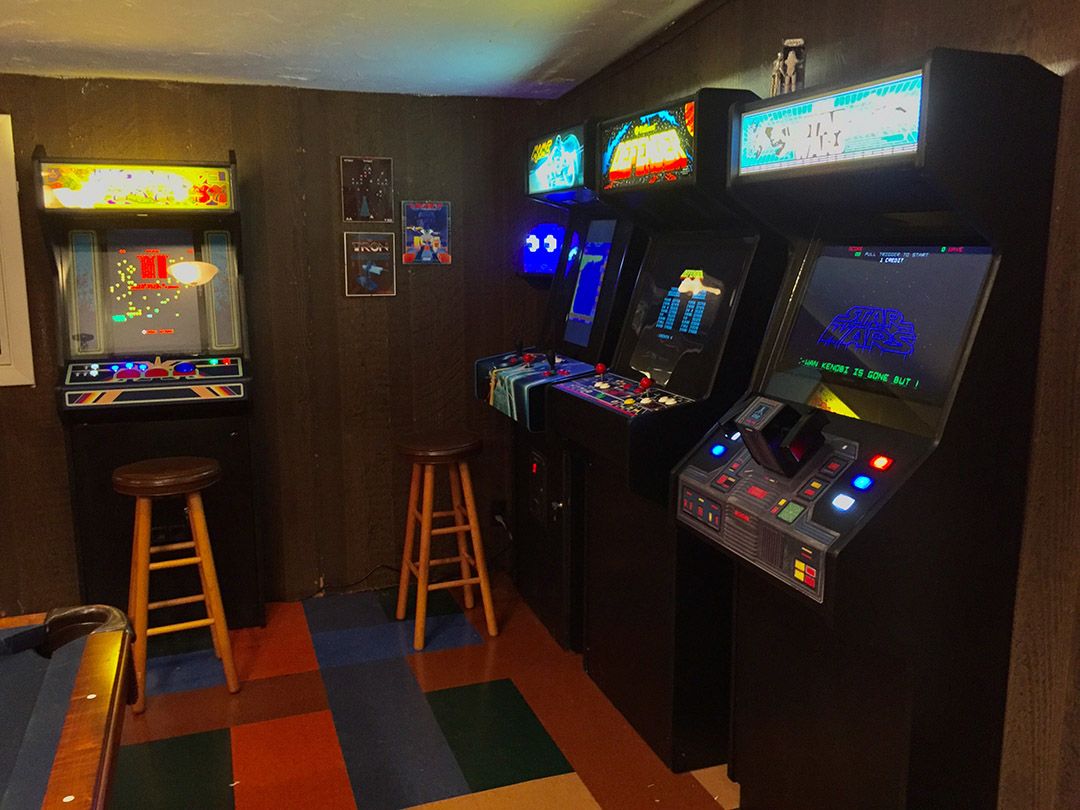
Here's my collection of builds that Mad Planets will join:
I bought 1 sheet of MDF, and 1 sheet of 1/8" HDF. I had Lowes rip cut both sheets in half--24". One half will be all the front, top and bottom panels. The other half will be the sides.
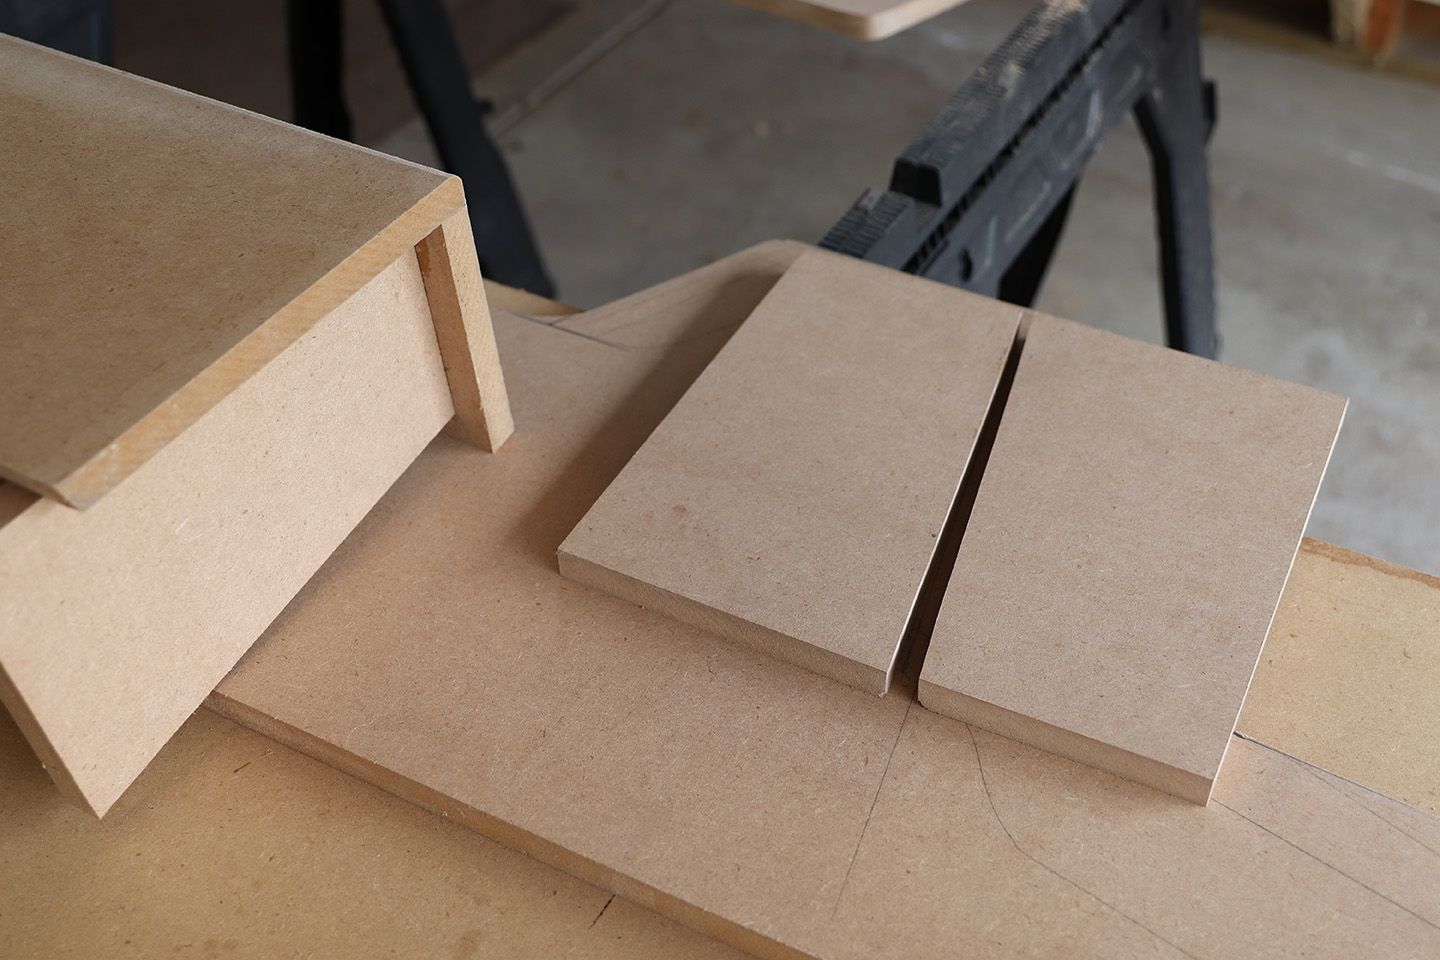
I did a rough cut between the two side profiles, then clamped the two halves together and did a finish cut through both halves then belt sanded the edges and corners.

Thats as far as I got today. Stay tuned for next steps!
-
Cut the control panels pieces, top and bottom marquee, front panel and base--all simple cross cuts from the 23.5" wide half of the MDF.
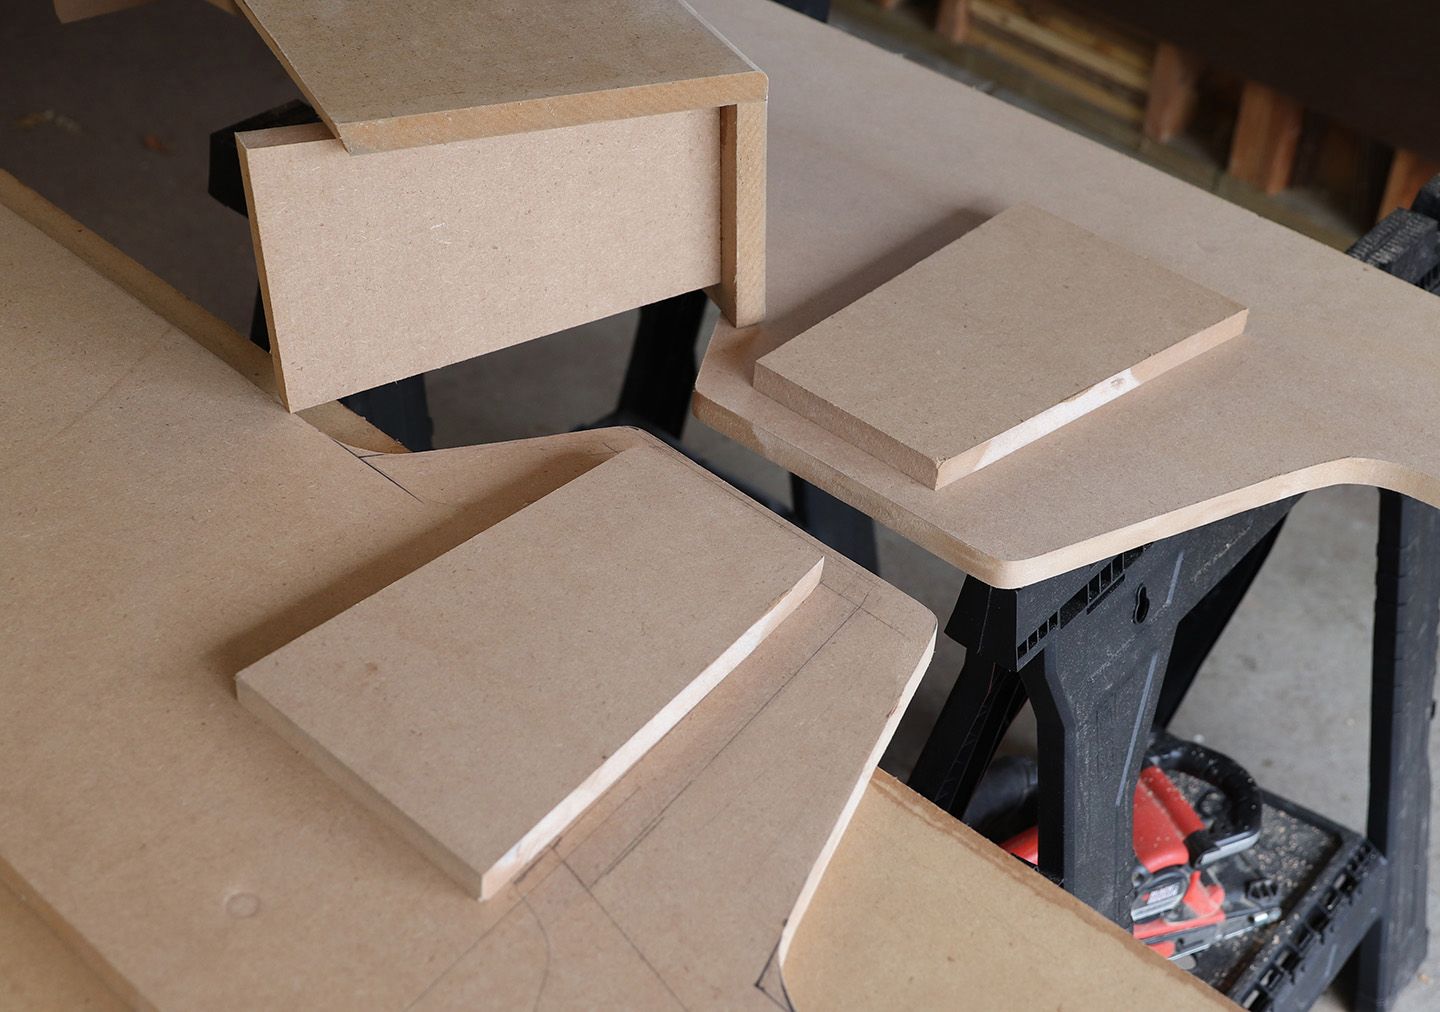
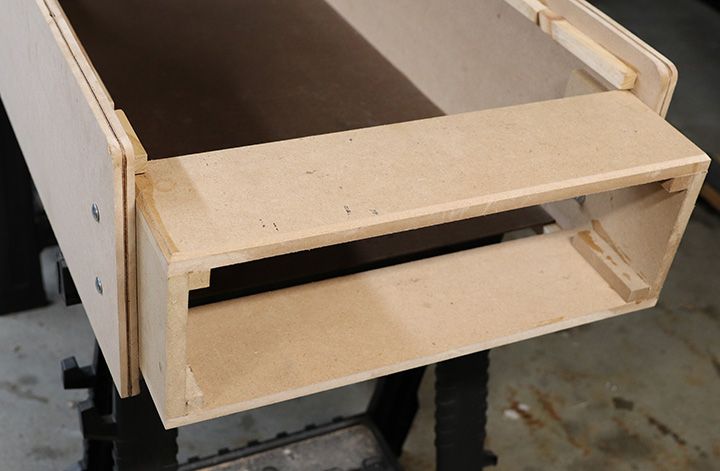
Cut control panel supports and control panel mounts. I cut an angle through the center point of two square pieces so I end up with four identical trapezoids. Two are the control panel supports, two are the control panel mounts. Glued up.
-
Keep the pictures coming. I always enjoy these arcade build posts, especially when it's a step-by-step.
-
@wstanek Damn, that is an awesome game room! Love these build threads as well.
-
A simple base bolts to the bottom. Theres a lot of good things about the base; its serves a good first step for assembly, it accommodates baseboard when mounted to the wall, it gives access for power cords, its a toe kick, and...the height can be adjusted if I ever felt like it. I also thought that if you had a damp floor or a small flood, and the base got wrecked, you could easily replace it.
Glued up the top and bottom marquee pieces.
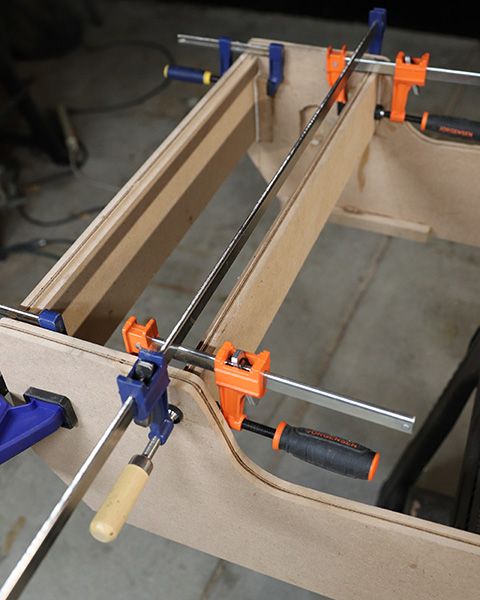
Glued up the HDF back panel once everything is square. I forgot to say I did all the slot cutting before assembly.
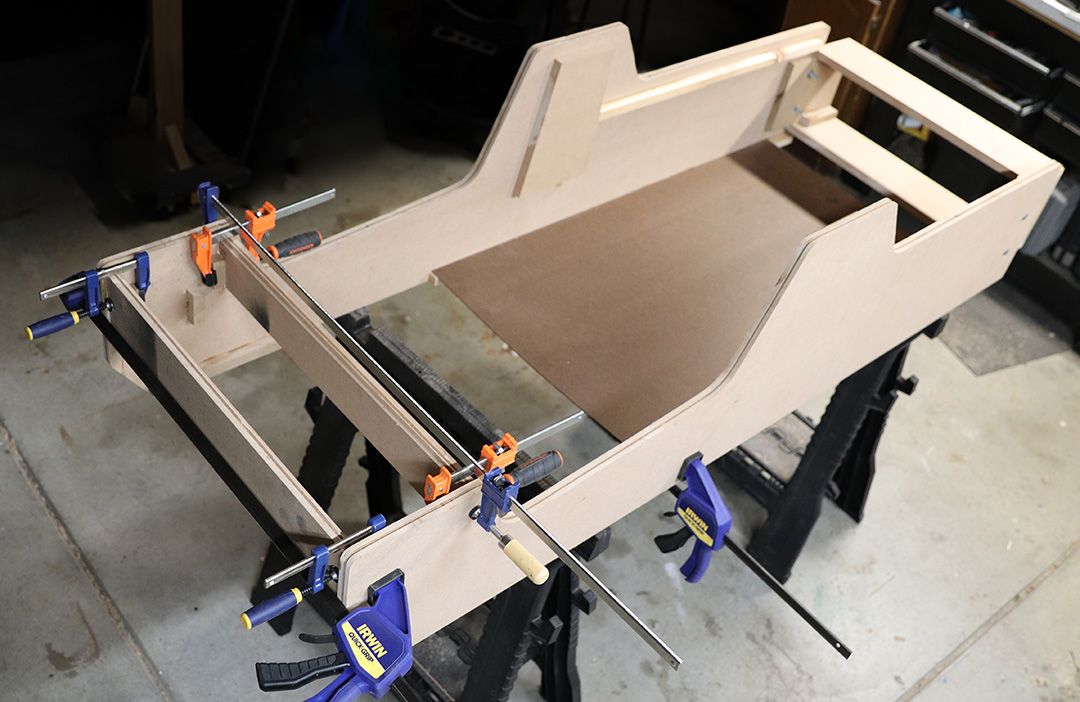
Looks like Frankenstein lying there.
-
@wstanek said in Mad Planets Cabinet Build:
Looks like Frankenstein lying there.
So, you'll only have to way for the next thunderstorm. 😁
-
Did some painting, now working head to toe.
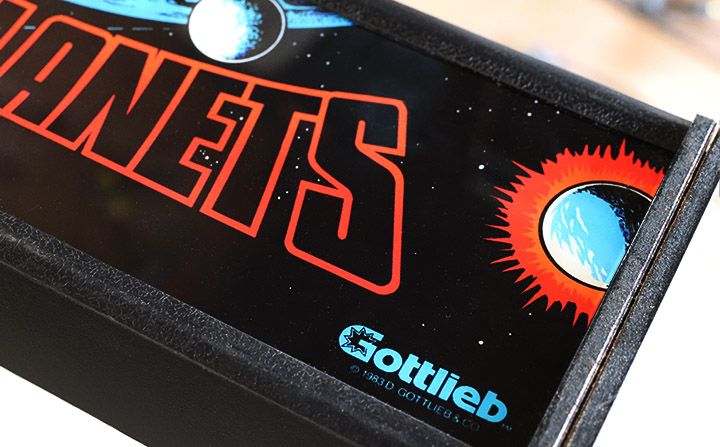
Detail of the top marquee panel edge. There's a slot cut for the T, and then a rabbet for the marquee glass.
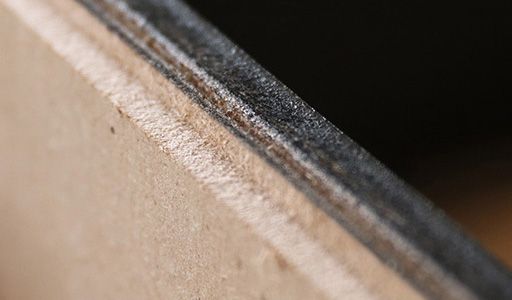
The T-molding retains the glass and trans art.
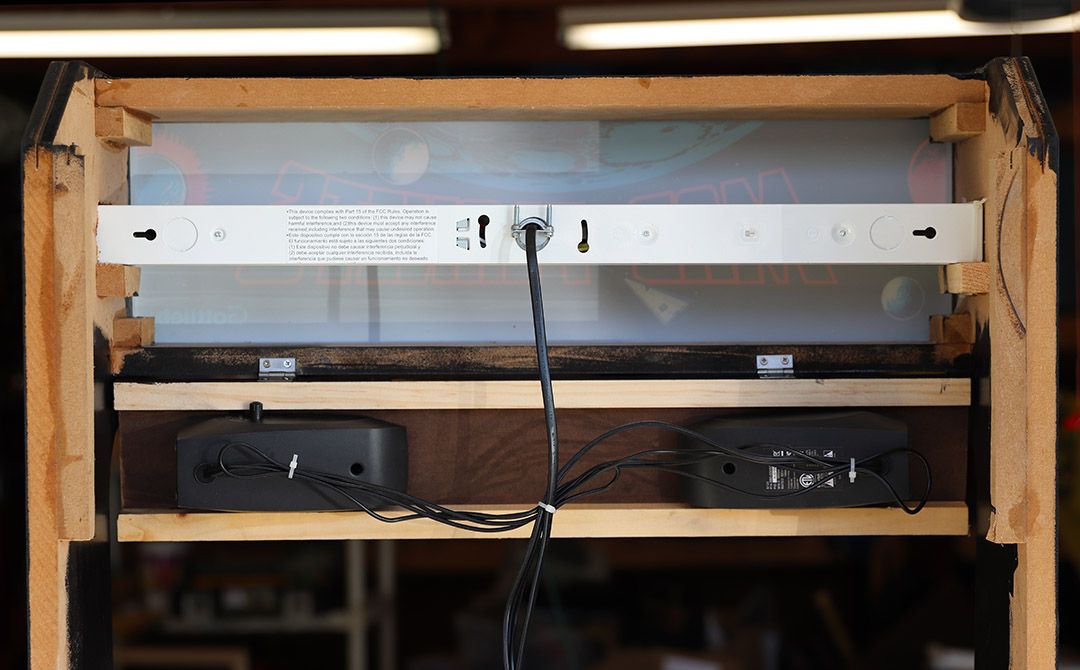
24" Light bar zip tied to small ledgers... I actually had to rout out a recess on one end since the cabinet isn't quite 24" wide.
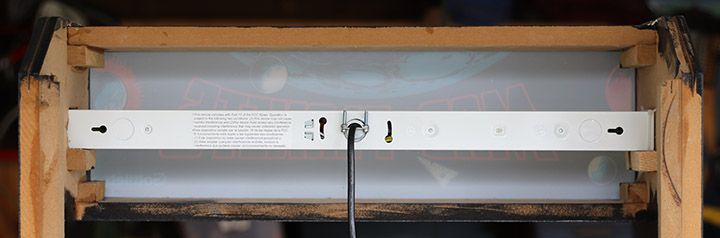
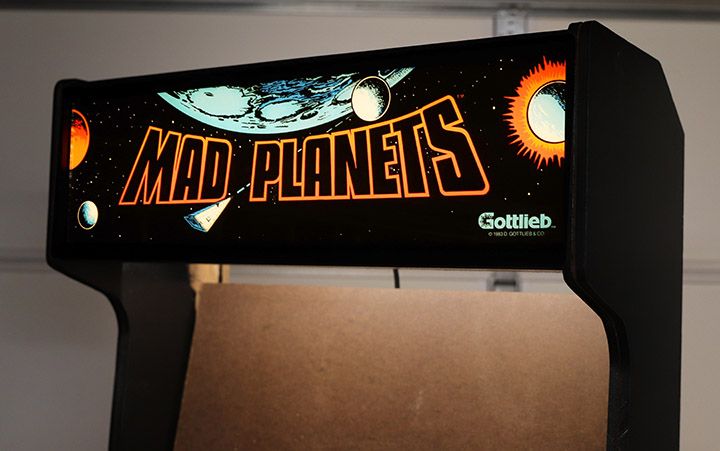
Light test!
-
Speaker panel...
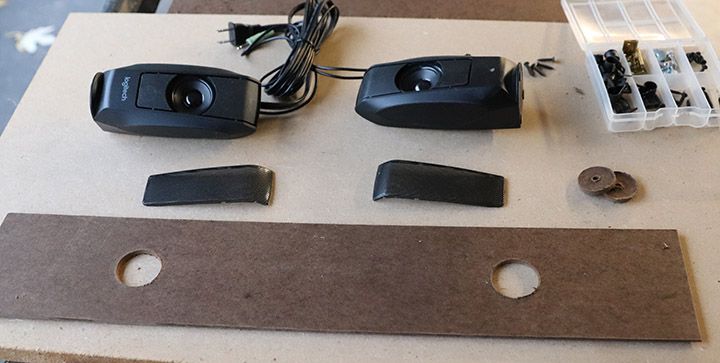
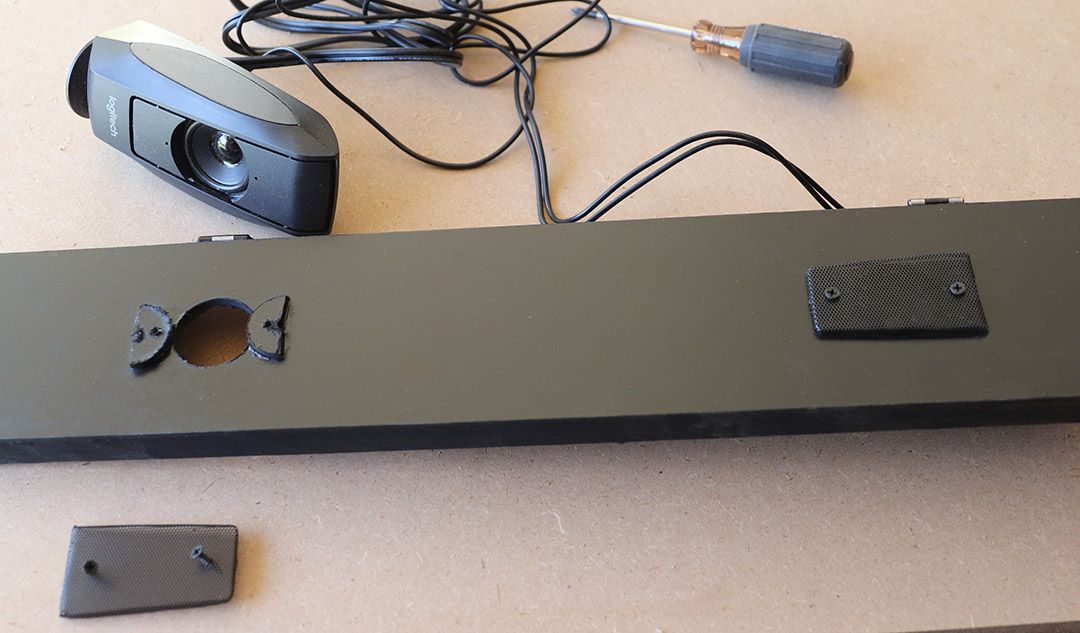
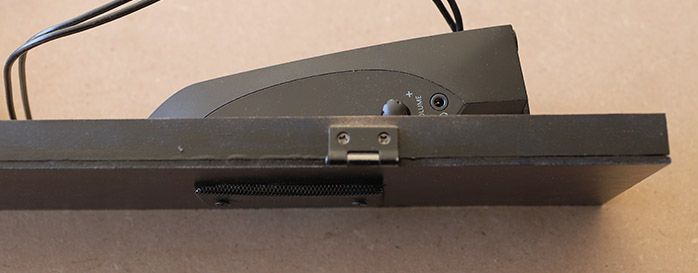
Speaker panel attaches to the bottom marquee panel with hinges, it will swing up to meet and fasten to the monitor bezel.
-
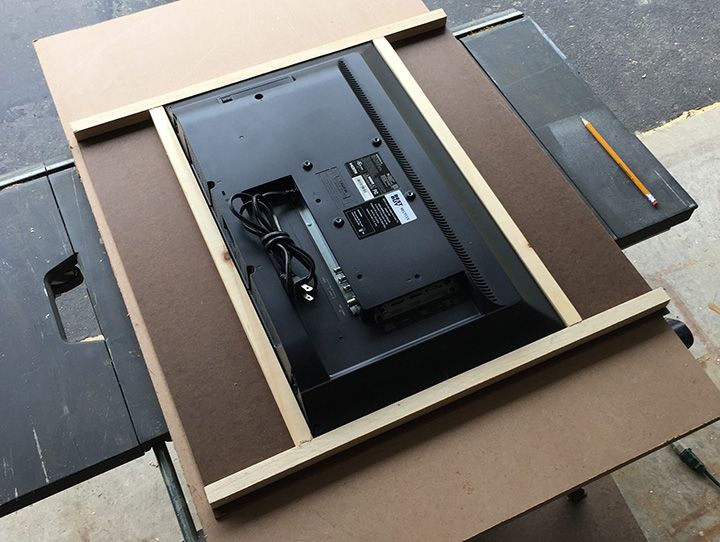
Just finished the display/bezel/glass unit.
The LCD goes face down on the HDF bezel.
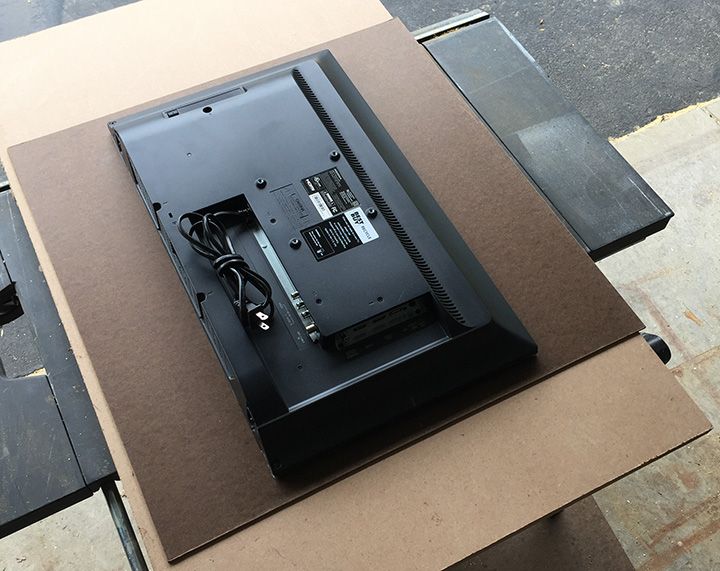
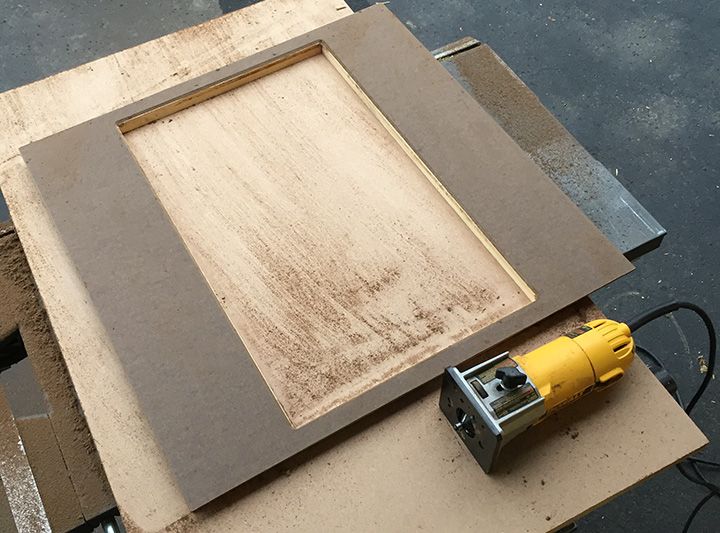
Wood batons glued around the edge of the display.
Love the lam trimmer with a chamfer!
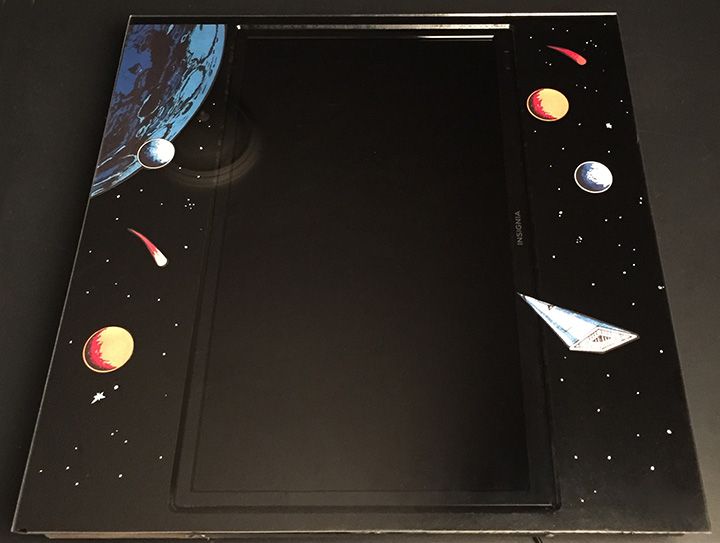
After spray painting the front black and letting dry, I put the bezel and display face down. Set with screws that go into the display just a bit.

Pasted on cut out laser printed graphics. Hand painted the stars. Here it is with the glass...
-
Outstanding! I love that the spaceship (?) protudes over the monitor's frame. (At first, I thought that the reflection of the lamp is also part of the design. 😆 )
-
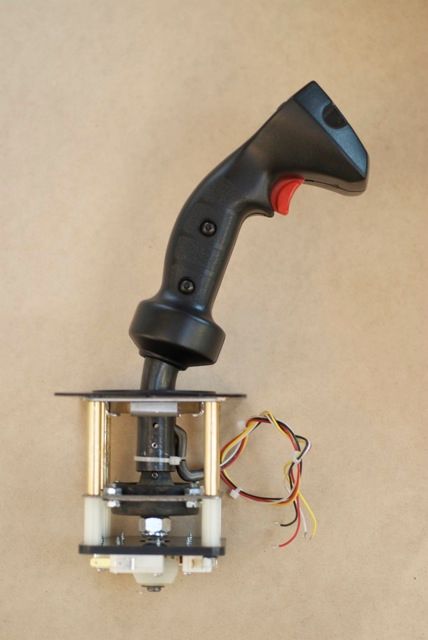
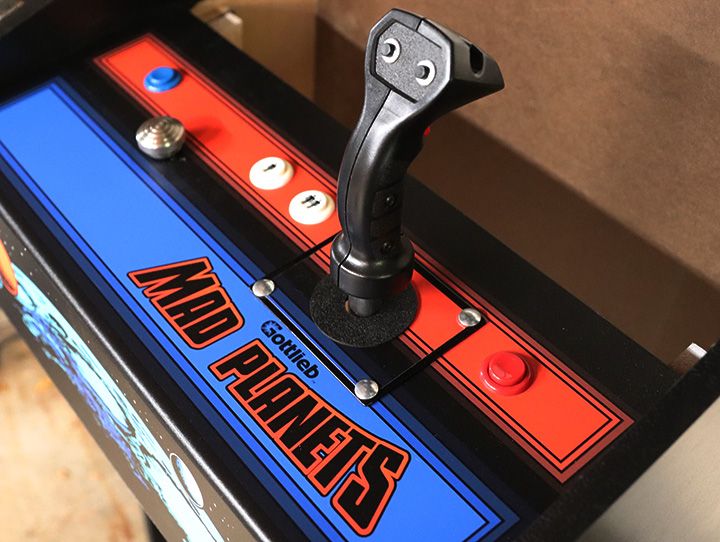
Well...I screwed up. I assembled the panel and found that due to the stick having a big forward angle relative to the panel, the stick nearly went into the glass when pushed forward. It took me about a week of trying to find a solution. I tried shimming the backside of entire assembly below the face plate...no. I was going to add a wedge on top of the panel... no bueno. I ended up doing the first thing I thought of but was afraid to try: bend the shaft. Torch and vice got it done.
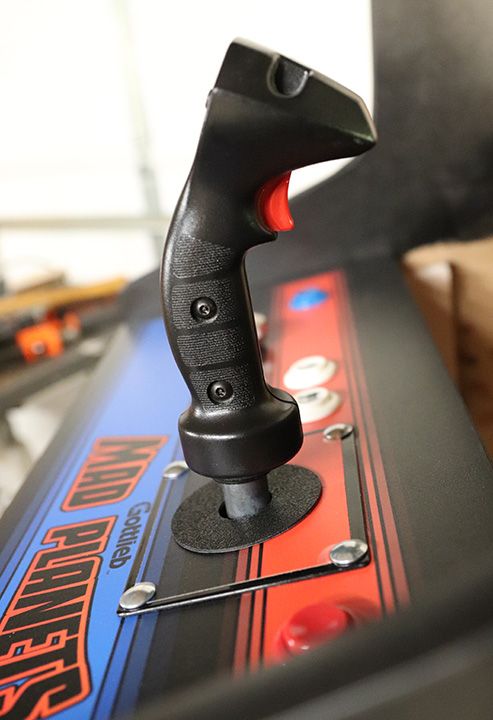
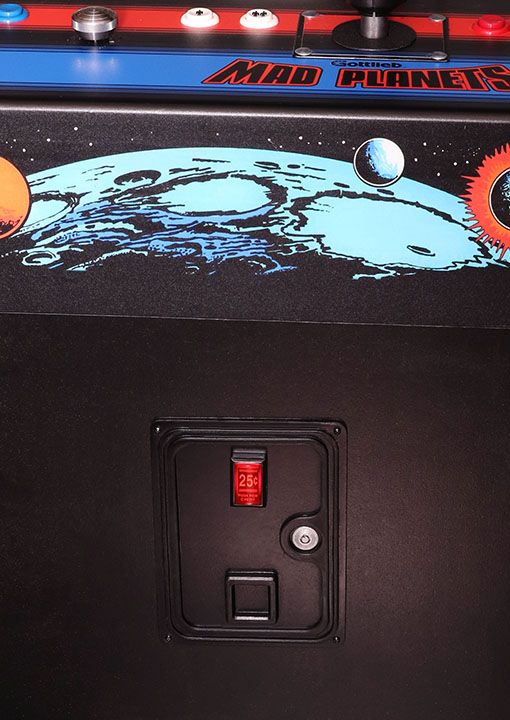
The original CP had MAD PLANETS on the front, just like the marquee, but I used the art that was on the underside of the CP instead.
I maybe should have recessed the stick face plate level with the CP surface, I did that with the spinner plate, but I thought it was more trouble that it was worth. I cut out the CP art and put it on the plate at least. Maybe it wants black bolts...I dont know. Moving on.
-
My sympathies for the trouble. I think the joystick plate is okay. It has a kind of retro science fiction charm. Black bolts may indeed be better, though.
I envy you for being able to to play TRON on this properly, too. 😌
-
Almost done...
Coin door on the cheap: I 3d printed just the contours of a coin door to apply on a piece of hdf. An illuminated push button for the coin drop (I made this from a button I had but you can buy them from Groovy Game Gear).
Its far from good, but looks good from afar. It was so easy to make that I'm making more for my other builds.
I got this idea from pboland with a build thread on KLOV:
https://forums.arcade-museum.com/showthread.php?t=446886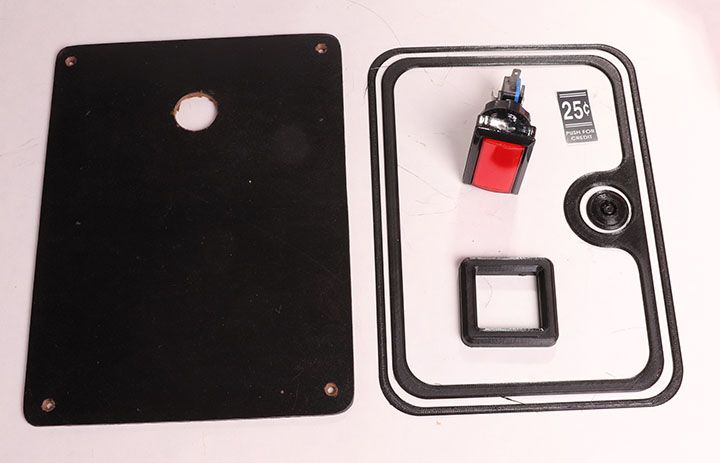
-
a coindoor costs less then 10$ on Aliexpress....wouldn`t bother to print and glue and paint and and and for so little money ;-)
-
@DorkVonWaterfall
Most of the items I order from Aliexpress do not arrive until a month or more later. I've had 2 or 3 items that have never arrived! -
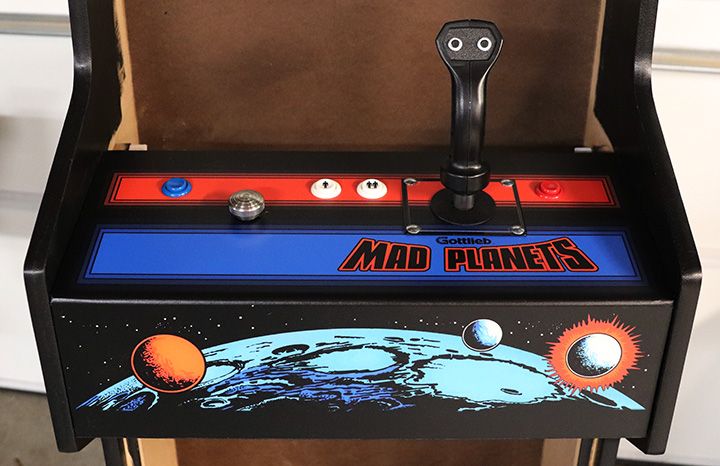
Ok she's finished and happily installed in the row.
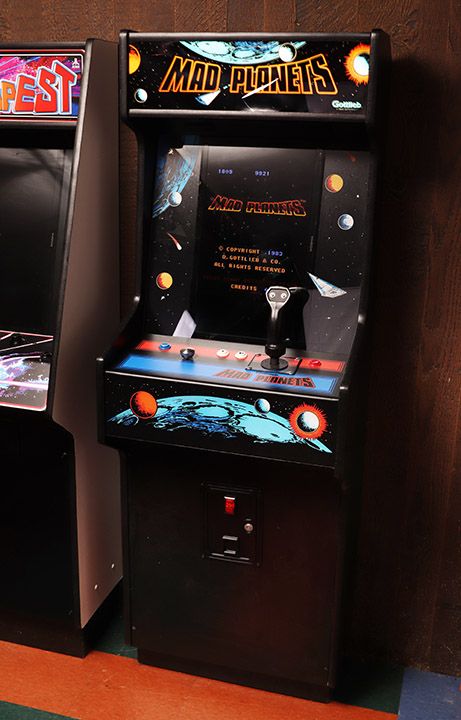
It plays great and the controls work (almost) perfectly.
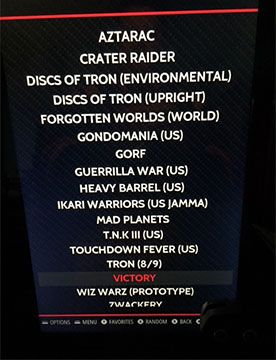
When I set out to make this, I really only thought of 3 or 4 games that would play with this control scheme; Tron, Discs of Tron and Mad Planets. After some research I discovered several others--some favorites like Heavy Barrel and Ikari Warriors, and some I've never seen before like Forgotten Worlds, T.N.K. III, and Zwackery. Zwackery even uses a push pull spinner. Bonus!
I qualified the controls as "almost" perfect because of the Happ stick. The throw is a little too long and the dead zone is a little too large. Its 8-way square-gated, which doesn't work as well for Tron, which is 8-way diamond gated. It also has clicky cherry switches which I don't care for. I intend to replace the gate with a mildly gated 8-way octagon or circle, and convert it to leaf switches, but I'll come back to that.
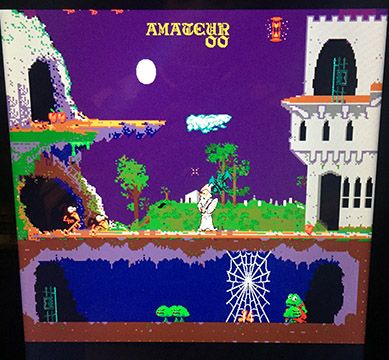
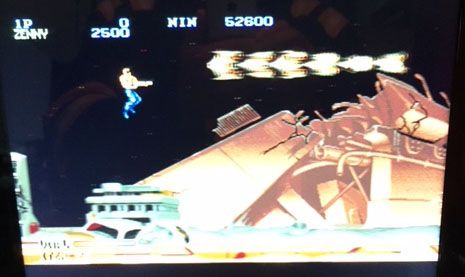
Here's a few of the games up and running on it:
Discs of Tron
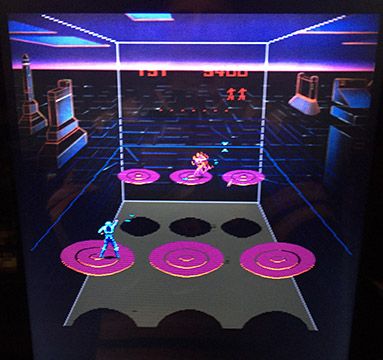
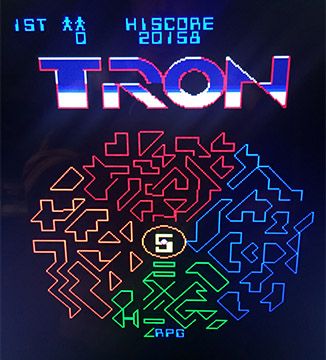
Tron
T.N.K. III
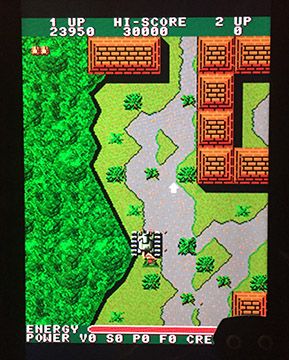
Heavy Barrel

Zwackery
Ikari Warriors
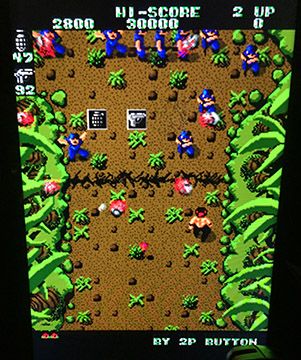
Gondomania
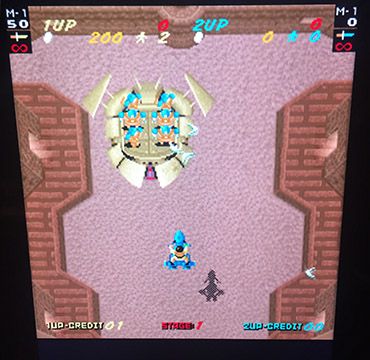
Aztarac
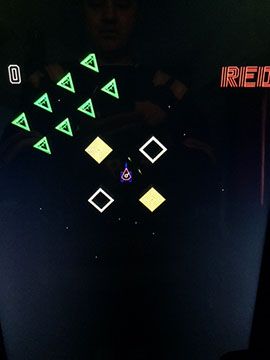
Forgotten Worlds
Complete list
-
When I set out to make this, I really only thought of 3 or 4 games that would play with this control scheme
There's probably not many games that you can play that feel normal with the stick on the right side. Probably just Tron and flight stick games. After Burner?
Zwackery even uses a push pull spinner. Bonus!
I wonder how Smash T.V. plays with the left spinner and right joystick? You might be able to play other arcade twin stick shooters.
-
Great build! I still envy you … but I just don't have the space for more than one upright cabinet. Maybe I'll build a bartop like this sometime in the future. 😌
-
@Clyde Thanks for the support. If you like I'll send you one of my coin door switches...
ws -
@wstanek You mean the illuminated buttons? That would be very generous, but as the forum doesn't allow private messages, one of us would have to publicly share some credentials and I don't really need such a switch right now. But thank you very much for the offer! 👍
Contributions to the project are always appreciated, so if you would like to support us with a donation you can do so here.
Hosting provided by Mythic-Beasts. See the Hosting Information page for more information.