New 3DS modified case pi zero portable
-
@Sephiros wow, that's some impressive case modding! I'm assuming it's still in 2 halves so you can get the pi inside?
want to get a tft into your project, look no further than here https://retropie.org.uk/forum/topic/7464/ili9341-tft-screen-guide
-
@moosepr thanks mate. Yes, it's in 2 halves now. At the beginning it took a bit of time to figure out how to cut the 4 halves (grip top/bottom and 3DS case top/bottom) and almost broke the grip top part after cutting it but it endup working out nicely.
-
Nice, looking forward to seeing what the finished product looks like.
-
Just a small update, 2 round of sanding and filling. It’s getting there.
I’ve also glue a small piece of left over plastic to cover the base of the shoulder button.
-
Wow! your project is coming along nicely! I can't wait to see the finished project.
-
@Sephiros that's really coming together! What are your plans for the surface finish? I have seen a few "modded" cases that are a bit too shiny. If you can find a nice fine texture surface it will look "factory finished"
want to get a tft into your project, look no further than here https://retropie.org.uk/forum/topic/7464/ili9341-tft-screen-guide
-
This post is deleted! -
@moosepr what I was planning was that once I got to a stage where the case smooth and I got the ports location sorted out I will prime it first with a primer/filler spray and if I'm happy with the results, I will spray paint it with a satin colour which is between flat and semi-glossy in terms of finish. I'm still trying to figure out the colour skim too, for a while I was thinking to go with the snes colour but need to think a bit more about this.
-
I’ve done a lot more sanding and filling on the case, still a bit more to go.
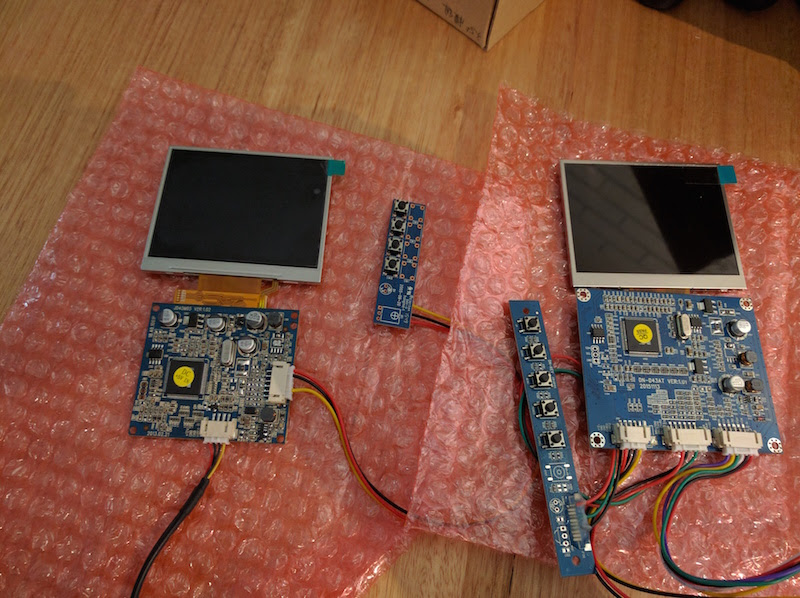
I've spend a bit of time planing and I have a now a rough idea of the port layout, the LEDs placement and the placement the parts inside the case. I also had a idea for the battery cover and the colour skims but will probably discuss this in an other post.I received the two 5 volts dalian good display screens and and they fitted quite well in the case.
I just had to grind the bottom part of the screen section and slightly shave off a few mil on the left and right edge.
I’m still waiting for quite a few the parts which must be on the slow boat from china.
-
@Sephiros looking good!! that screen fits in nicely, where are you going to shoehorn that button board?
I know what you mean with the 'slow boat from china', i think some of the parts im waiting for are being swam across personally by a delivery guy. taking an age :(
want to get a tft into your project, look no further than here https://retropie.org.uk/forum/topic/7464/ili9341-tft-screen-guide
-
I understand that this project is unfinished, but how comfortable is it to hold the case (or at least what you have so far?)
-
@Velocireed it's pretty comfortable, the grip made it much more ergonomic
-
@moosepr thanks mate, waiting for parts is the worst part of this project.
That board will be placed just next to the battery and accessible from the GBA battery compartment -
It’s been quite a few weeks from my last update. Life and work got on the way of this project but I’m back on it, I also received some of the parts that I was waiting so I could start doing the power section of this project.
I have been thinking from a few month ago about a way to see the battery status. The cool thing is that the 3ds replacement case came with the light diffuser which fit at the front of the case.
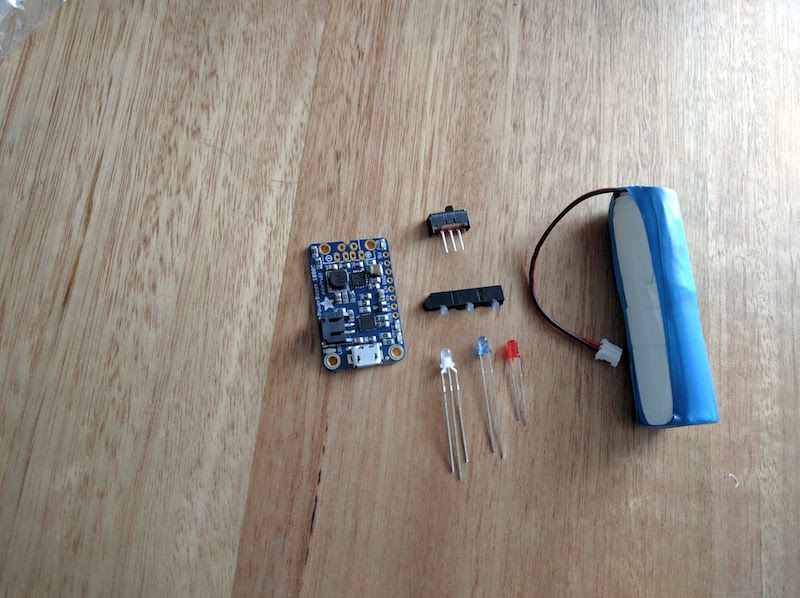
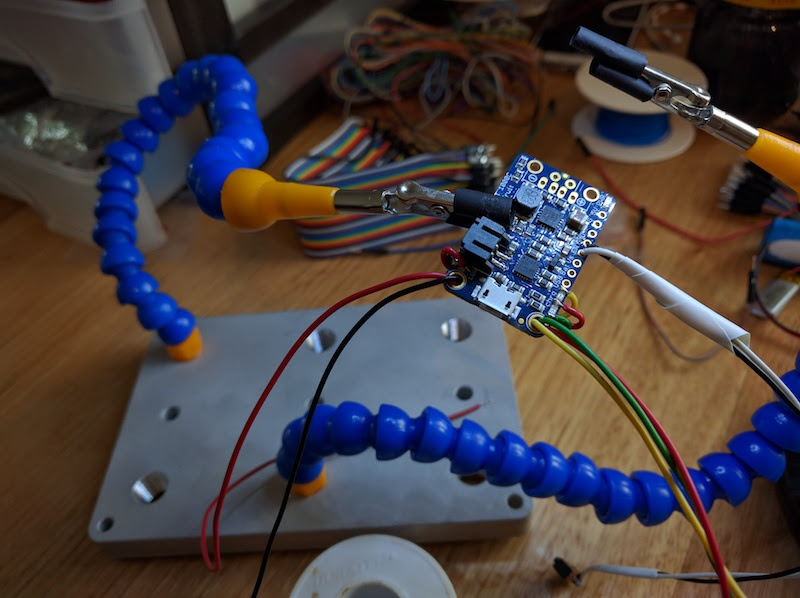
So with this in mind I did a bit of research on the powerboost 1000C board to find a way to do a break board with some LED sitting under the diffuser.
What I’m thinking to use from the board is the Red LED for lower battery, the yellow LED for the charging state and the green LED for the charged state.
On the powerboost board the green and yellow LED share the V line and therefore can but wired to a RGB LED or a Bi-Color LED which has a common anode. I also test the voltage from the onboard LED and they run on 1.94v.
After doing some research I stumble onto this Bi-colour LED which match the colour I wanted to display, green and orange and also run between 1.9v to 3.8v which sounded perfect.
https://www.aliexpress.com/item/Common-anode-Orange-Green-3mm-bi-color-leds-Round-indicator-light-diode-2-0-2/1712202772.html?spm=2114.13010608.0.0.I96emeSo fast forward, I finally got those LEDs and it was play time during the weekend
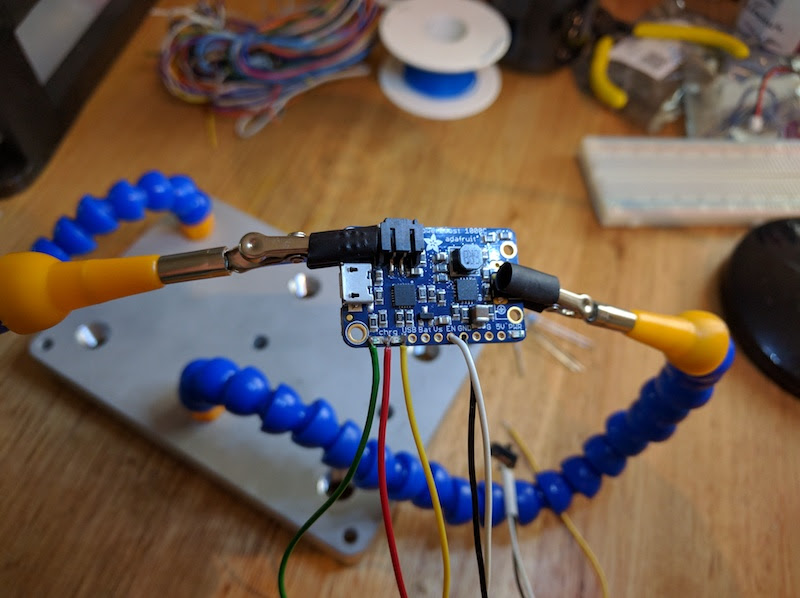
I wired the cable directly on top of the on board LED solder pad with the help of some flux
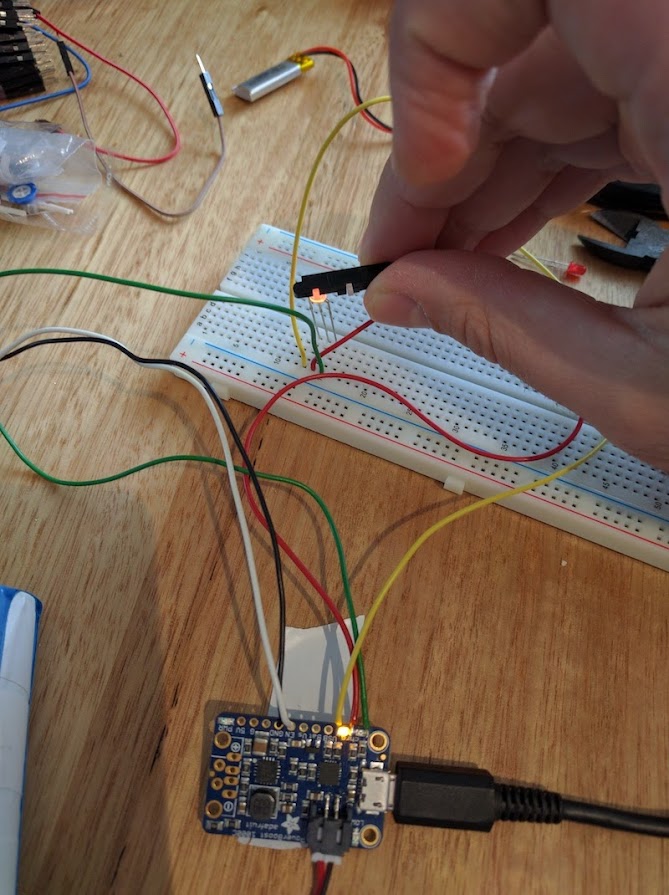
And with the help of a breadboard I could test the LED
And lastly I solder the wired for the red LED which I will test in the future
On the case side I'm doing the few different ports, I will be posting this in my next update.


Contributions to the project are always appreciated, so if you would like to support us with a donation you can do so here.
Hosting provided by Mythic-Beasts. See the Hosting Information page for more information.