Converting Genesis and Super Famicom Controllers to USB
-
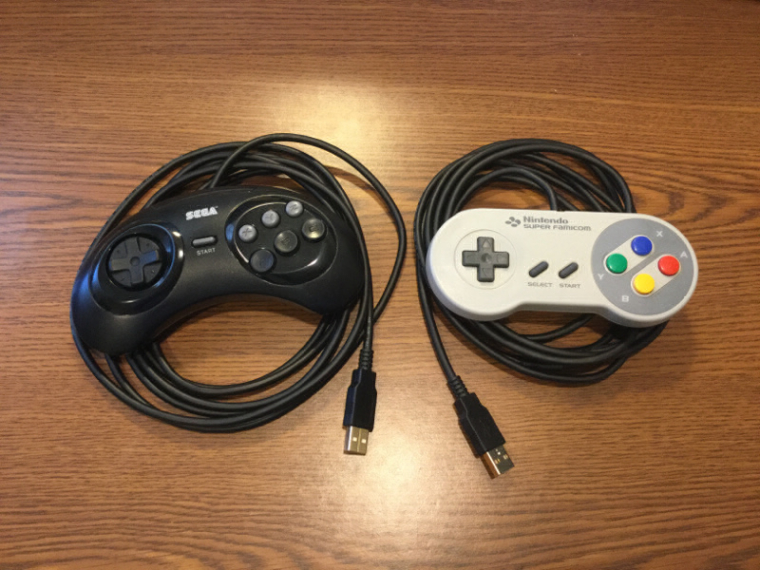
I have a habit of starting on a project, then either getting distracted, or frustrated, then starting something else, and I end up with a stack of unfinished things. One of those unfinished projects was to convert real Super Famicom and Genesis 6-button controllers to USB. There's something about the feel of real first-party controllers that reproductions just can't match.
I bought a working Super Famicom controller on eBay for $4.15 (including shipping), but Genesis 6-button contrllers are harder to come by and the best one I could find for the money was $16.49 (including shipping).
Having great results with Raphnet's BRD-4NES4SNES USB adapter in my Super Famicom project I ordered two of their BRD-NSDB9-USB adapters which can convert NES, SNES, DB9 (Atari/SMS/Genesis), or TGFX16/PC-Engine to USB.
I also ordered two 3 meter USB cables from Amazon Basics.
Converting the Super Famicom controller was really straightforward. Raphnet has extremely thorough instructions(PDF link) on their website and since Nintendo's wire coloring is standardized, I just connected things up, and I was on my way. I chose to use the factory plug, just because really. It looks nice and makes swapping things out easier if I would ever want to, though I don't see that being necessary as these controllers are built like tanks. While I had the controller apart I put in new membranes and washed everything with soap and water.
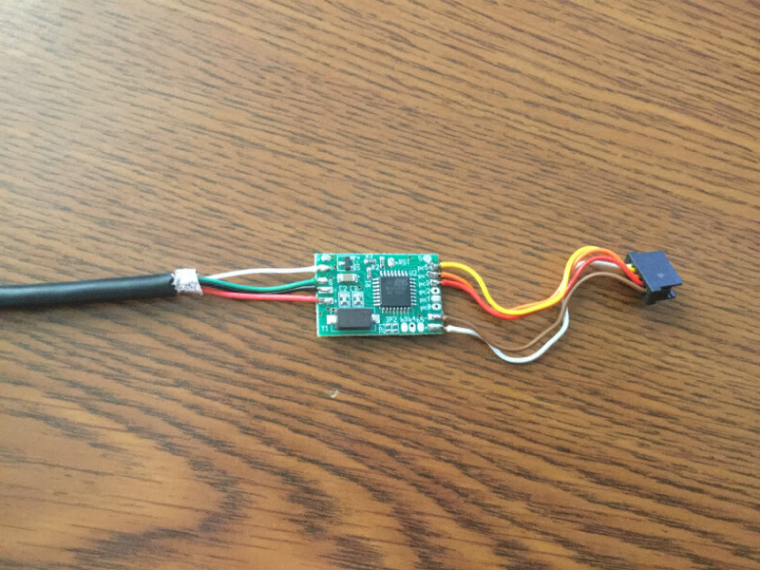
Fitting the board inside the controller was a non-issue, and I was able to route the USB cable through the normal strain relief posts. The bottom screw hole was broken when I got the controller, but using it would not have been an issue if it were intact.
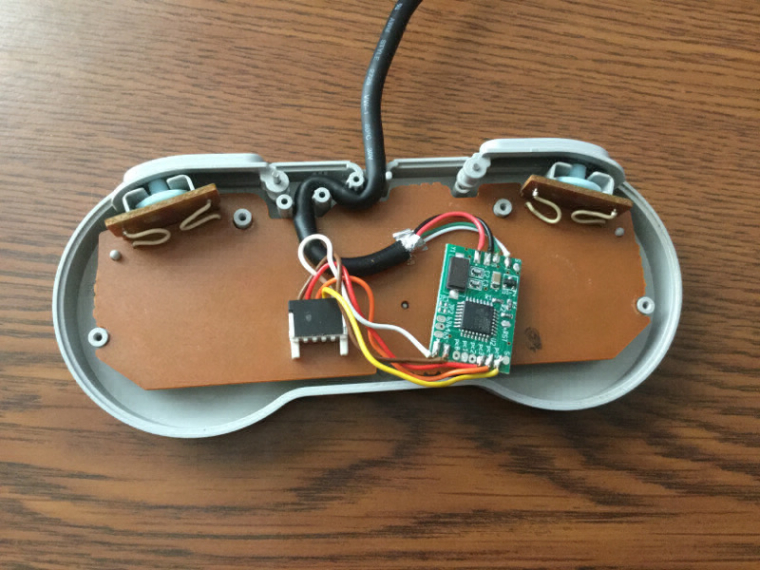
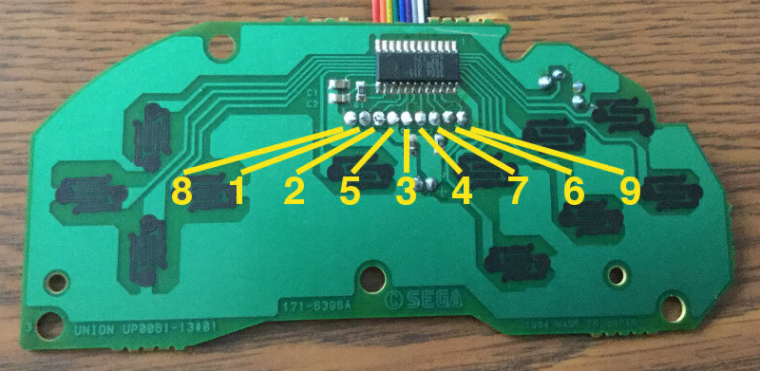
The Genesis controller proved more difficult, mainly due to me making assumptions. The Raphnet guide mentions that the DB9 controllers don't have standard wire colors, but when I had the controller apart I saw that on the PCB the far right connection had a 9 on it, so silly me, I assumed that the pins went in order.
I tried to keep the factory connector, but Sega's wires had very thin conductors interwoven with string, so I removed the junky wire and replaced it with some ribbon cable. I soldered the new ribbon cable up to the adapter, and buttons weren't working.
jstestwas only showing that two buttons were working at all, and things were just not correct. I could have had a bad controller (I had no way to test it before taking it apart), maybe I didn't put the adapter in DB9 mode, what the heck?Going back to the instruction manual for the adapter I decided to get out my meter and test the original wire to determine the pinout, and sure enough, yes, the pin on the far right is 9, but the other pins are NOT in numerical order. Below is a diagram of what I determined the pinout to be on my MK-1653 controller. Yours is probably the same, but get out your meter and save yourself the headaches I had.
Once I had the pins correct, everything else went smoothly.
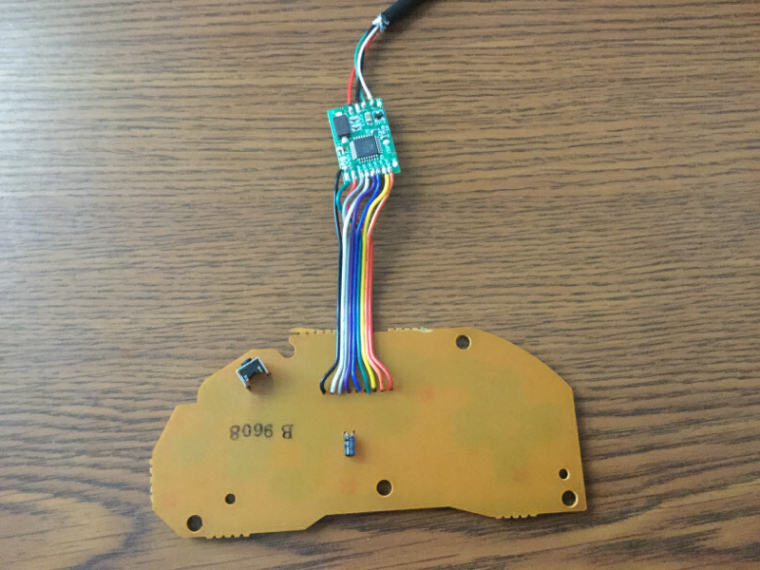
Sega didn't use strain relief posts in their 6-button controllers, it was actually a barb in the cable itself. Since my USB cable didn't have that I routed it around the screw post and it seemed to work well.

Both controllers work great with RetroPie. The only downside is that since the adapters both identify themselves with the same name, RetroPie can't distinguish between them, so I have to remap the buttons if I switch back and forth.
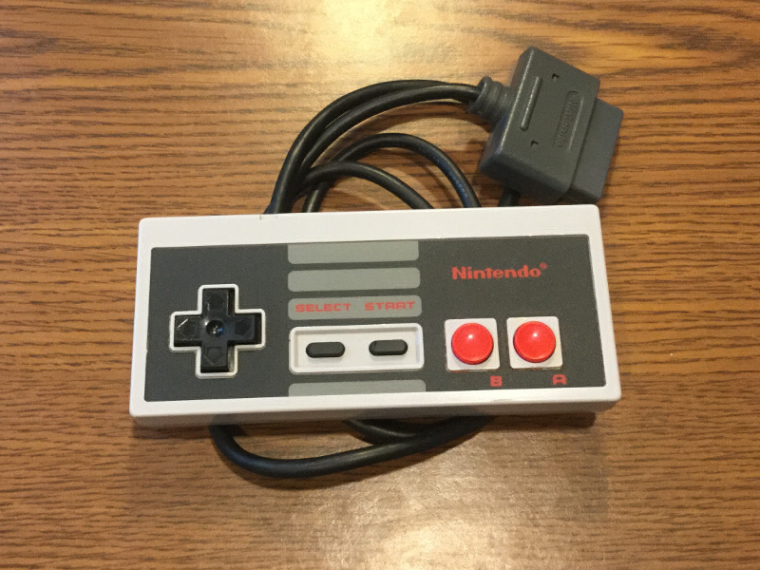
Since I now had a "spare" Super Famicom controller cable, I decided to convert an old NES controller to use the Super Famicom cable. Thanks to the wonders of the Internet I learned that both systems' controllers were essentially swappable. An article on Instructables had a writeup on making an adapter that I used to map the wiring color differences.
The NES controller was has 5 wires
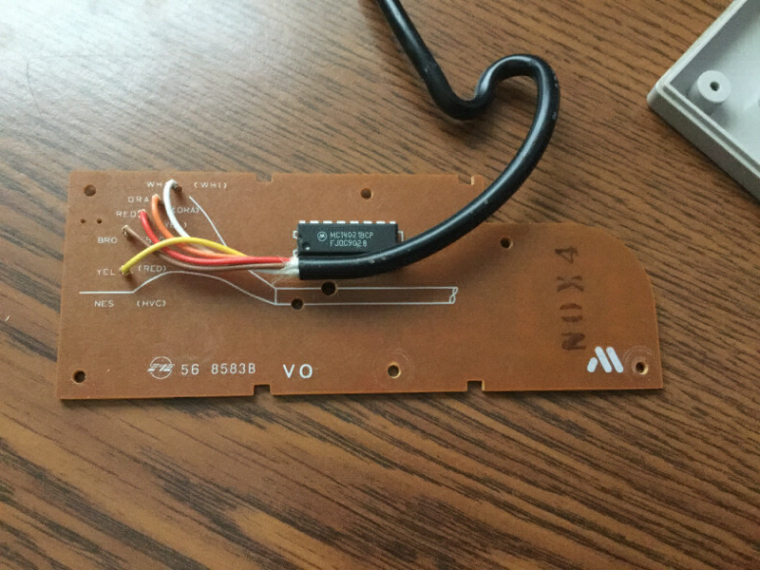
The Super Famicom uses the same 5 wire colors
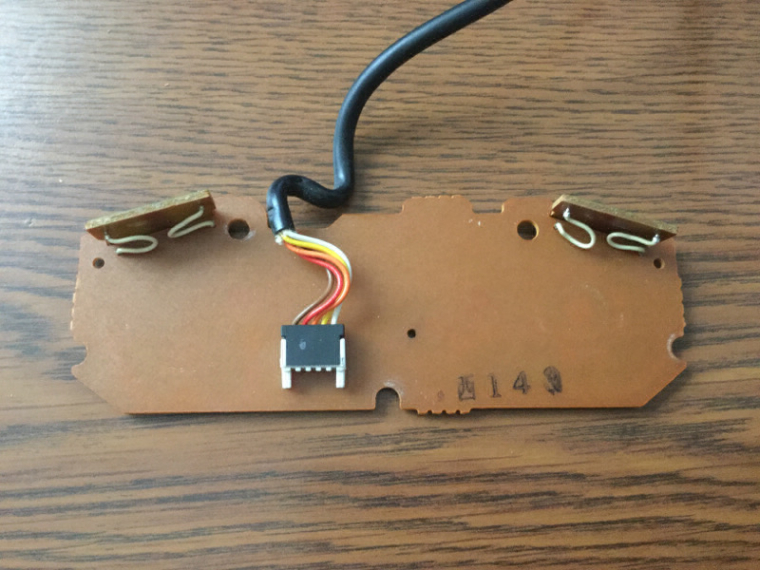
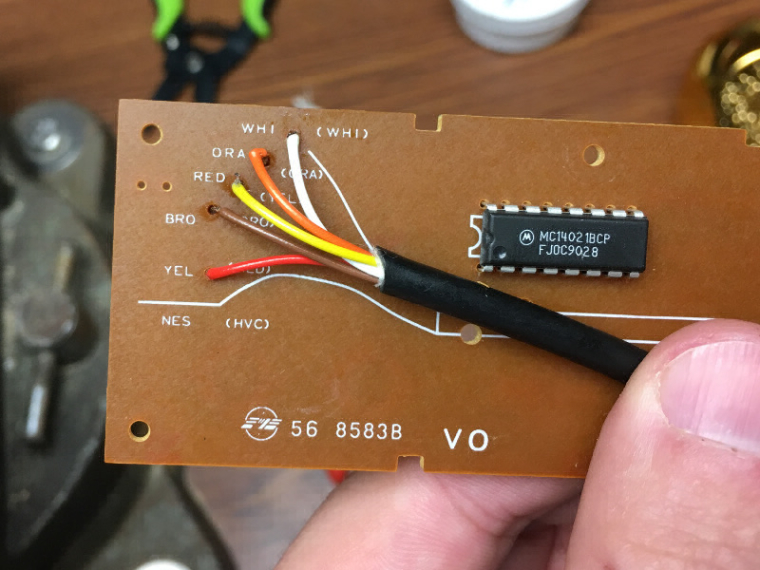
This diagram shows how the pins crosswalk between the two systems.

Soldering up the Super Famicom wiring was easy
Now I can use a real NES controller plugged into my Super Famicom Pi.
-
@obsidianspider That's some nice work there, and a great little write-up guide as well.
I had to do some solid Googling when converting my Saturn pad and wiring to GPIO for my SegaPi to get the pinout right. When I stripped the cord I found the wires to be awful with that stupid string shit in the middle too!
Stupid Sega.
-
@obsidianspider using the 4nes4snes in my buddies nes i changed the snes controllers cables to nes cables so they could be used on that and even on the nes 4 score. They work as super nintendo controllers on 2 player setting on nes 4 score but only work as nes controllers on 4 player setting. I would have to change the cable on a super multitap to play more than 2 players with all buttons on the snes controllers.
-
Another nice tidy project there. The guide is great too. I have a genuine SNES pad at home with a 3rd party USB circuit board inside to achieve this very thing, but although fully useable, it's never been up-to-scratch, doesn't feel quite as good as the genuine pad's internals.
I did have a thought-I have built some custom storage for my Pi gear using Shadowfoam, but one issue I have with the wired USB pad is hiding away the wiring. Is there any reason that I wouldn't be able to solder a female USB to the Raphnet board in order to fit it flush inside the SNES pad? That way I can hide the cable elsewhere...
I'm toying with another 8BitDo (SF30 I think it is) to replace the SNES pad, but I quite like this (cheaper!) option.
Also, incase anybody else picks this up-has anyone purchased one of the Raphnet boards from the UK anywhere?
Keep up the good work man!
-
@Danorak1981 said in Converting Genesis and Super Famicom Controllers to USB:
Is there any reason that I wouldn't be able to solder a female USB to the Raphnet board in order to fit it flush inside the SNES pad?
You should absolutely be able to do that.
Contributions to the project are always appreciated, so if you would like to support us with a donation you can do so here.
Hosting provided by Mythic-Beasts. See the Hosting Information page for more information.