Pi in a Gameboy Advance Build - WIP
-
I don't know why, but it will work through a hub, but not directly plugged into the Pi.
That is odd, I wonder if the solder joints are too close together?
-
@backstander yet other devices work when directly plugged in. So weird. I'm not going to let it derail the project. I'm more mad at myself for frying something.
-
@obsidianspider Could the ferrite beads be causing anything? It is very odd!
want to get a tft into your project, look no further than here https://retropie.org.uk/forum/topic/7464/ili9341-tft-screen-guide
-
@moosepr Nope, because the controller not working happened before the ferrite beads were introduced into the picture. My initial intent was to just try hooking up the tiny piezo speaker by touching the leads to the amp, but when the controller didn't work, plans changed.
To try to figure out what the heck was going on, I Googled around, as one does, and saw that one suggestion for a device not working on one computer, but working on others was that maybe drivers were messed up. I took my spare SD card, put a fresh image of retropie on it, popped it in my Pi 2, and the iBuffalo worked directly plugged into the Pi 2. I added the necessary framebuffer stuff to get the display to output to the TFT, then took the card out and put it in the GBA Pi 3, with the iBuffalo plugged in. No controllers detected message from EmulationStation. I plugged in my Gravis Gamepad Pro, it worked. I plugged in a USB drive, it worked. I plugged in a keyboard, it worked. Even though this Pi obviously has something up with it, I plugged in my "good" Raphnet-converted SFC controller, it worked. It's just that one controller on that one Pi. So bizarre.
The next thing I really need to do is to get some small glass jars so I can make some ABS cement and finally tackle the case mod. The power circuit is on hold until Camble has more safe shutdown boards for sale, or I figure something else out, and I can't fit audio components all in the case until I get it modded for ABXY.
I could buy another Pi 3, cut it down, hope I don't mess it up, and go again, but considering I don't even know if this USB port will be hooked up/exposed, I don't know that I want to go through that effort, especially since other USB devices do work.
-
@obsidianspider that is really weird! The controller works in another pi, and the USB works for other devices! In assuming you are just using the controller for testing? Will it be used in the final build?
want to get a tft into your project, look no further than here https://retropie.org.uk/forum/topic/7464/ili9341-tft-screen-guide
-
@moosepr Yeah, it is weird. Now I'm wondering what broke. I'm almost positive that it was during the stress testing, but what weird was that the controller worked fine during the test, and even yesterday after a few reboots. I was using it for testing as I like the SNES controller form factor, and since it's a dodgy cut up Pi, if I did break something I didn't want to break my "good" Raphnet controller. The Pi also recognizes the iBuffalo controller if I plug it into a hub, and plug the hub into the Pi. So. Weird.
The final build will be using the GBA and DS Lite PCBs connected directly to GPIO for controls via Retrogame.
-
You won't be using that USB port at the end right? This is just for testing right?
You gonna connect the controls to the GPIO?If the answer to all 3 is yes then forget about it and continue...
Important is the final result.
iBuffalos are weird controllers anyway, like having a mind of their own. ;-) -
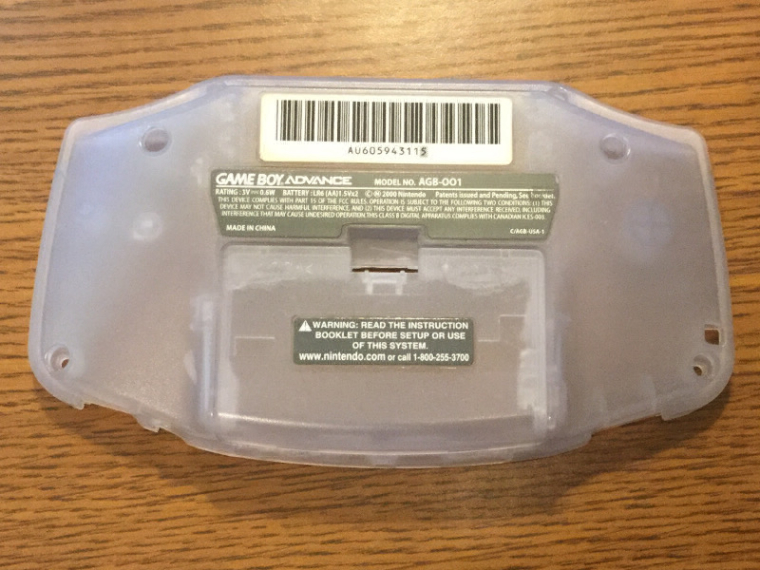
Testing ABS cement on the battery door went really well. I applied four small blobs of glue on the inside of the door and it set up clear. There are some small air bubbles in it, which I knew to expect, but since it's inside the case, I'm just going to let it. I think it's strong enough that I won't bother to add more glue. If anything, I may fill the hole where the battery door clip was (I had to cut it off as it stuck out inside the case), but aside from that, I'm calling this a success. From the outside, there's no warping or signs that it was glued at all.
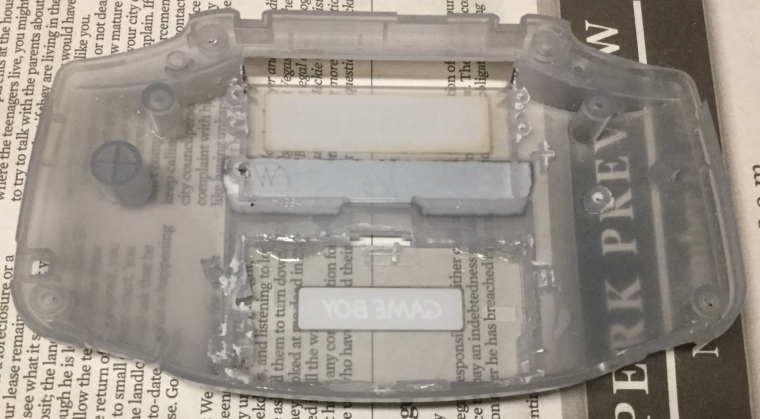
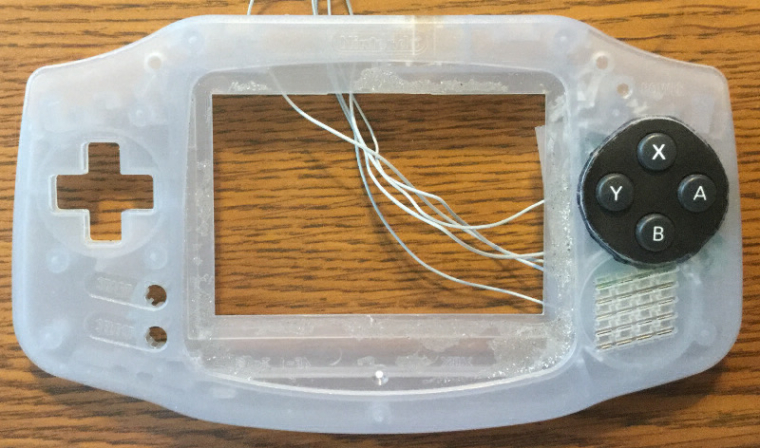
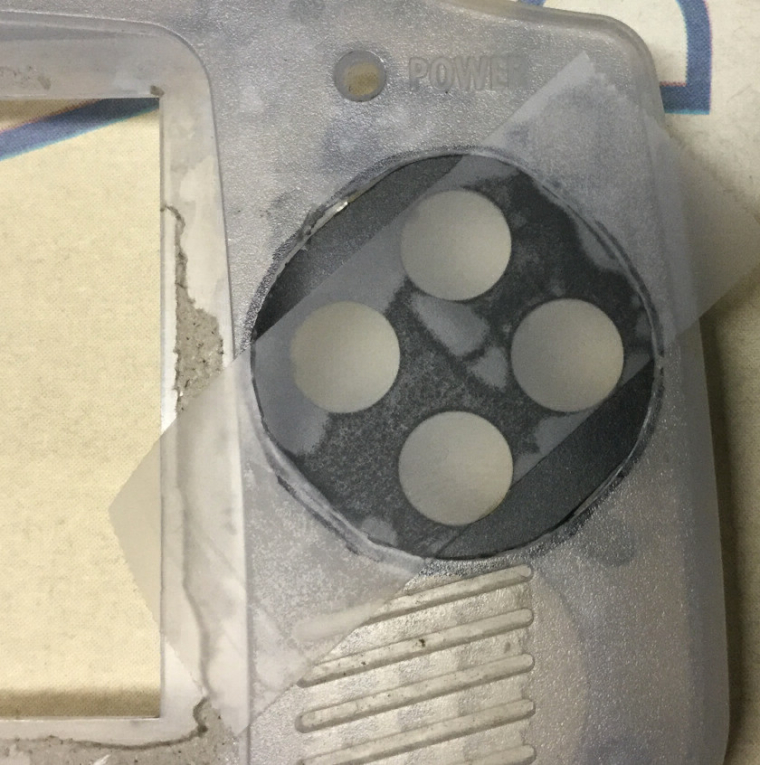
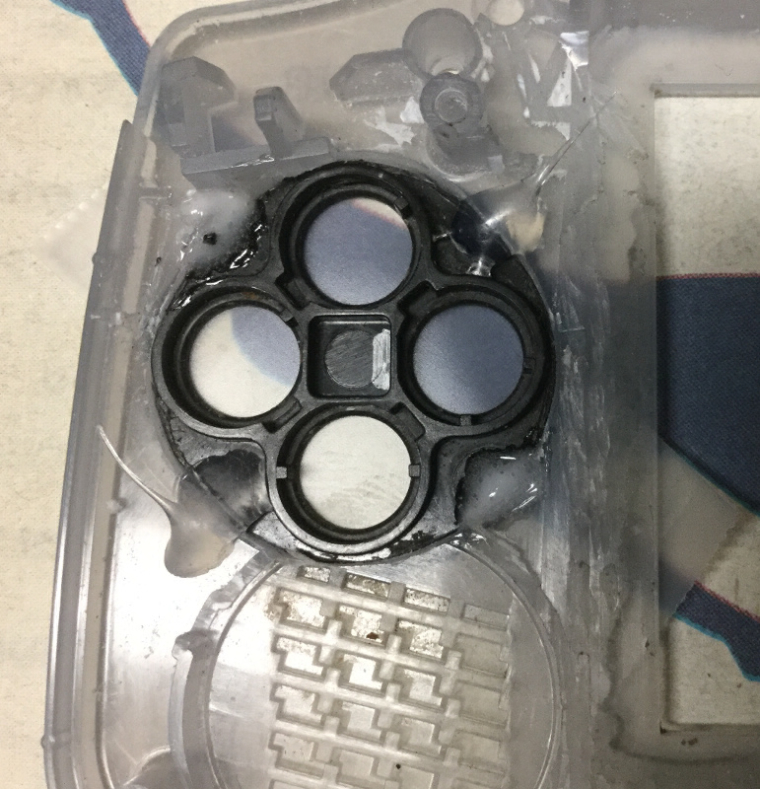
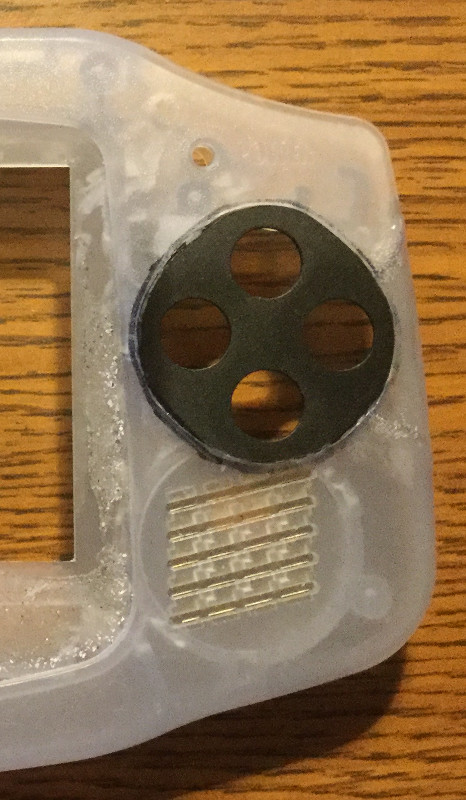
Given that success, I decided to take the leap and try to combine the DS Lite ABXY button area with the front of the GBA. I cut out the area from the DS Lite and after a lot of measuring, I marked the case on the GBA.

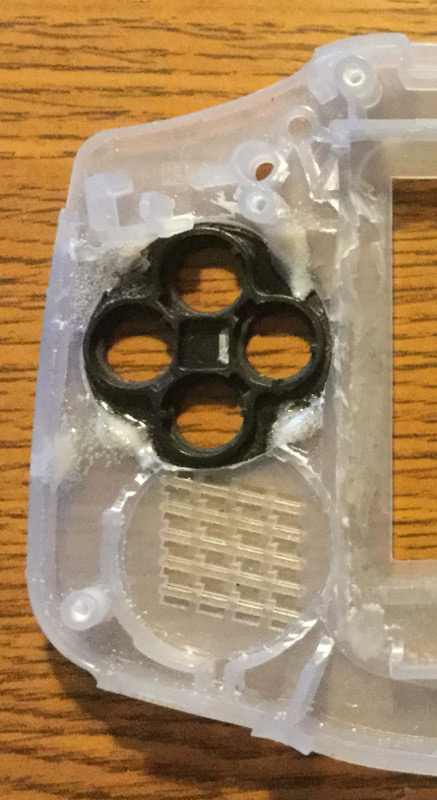
I then used a Dremel, file, and xacto knife to trim the hole. I accidentally bumped the case with the Dremel chuck, which bugs the heck out of me, but since I will be using some filler to smooth things over for the buttons,it should be be OK, but geeze. I also nicked my finger when I was using the xacto knife and it slipped. Be careful kids.
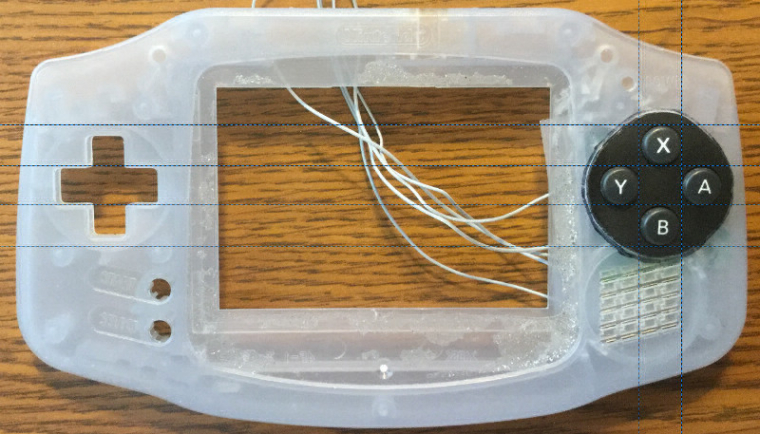
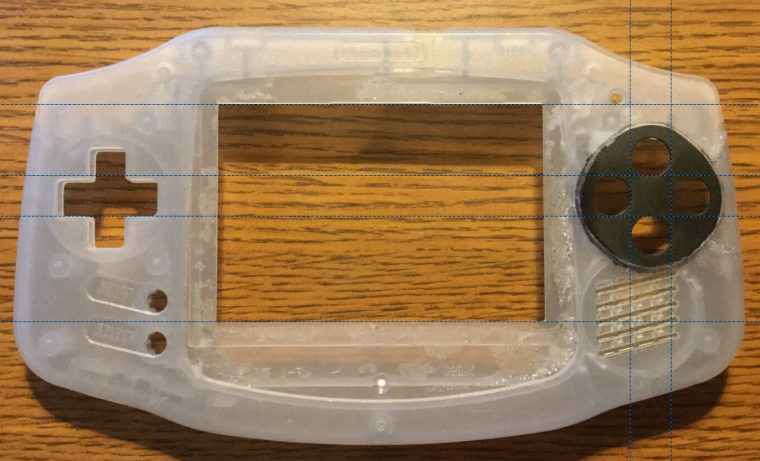
Now I'm at a point where I need to decide if things are lined up properly before attempting to join them permanently. I've tacked the DS Lite plastic in with some hot glue, but I need a few more sets of eyes on this. With a lot of measuring I think I'm within fractions of a millimeter of perfectly straight, but I'd rather get some feed back before I can't easily undo things.
What do you think?
-
@obsidianspider you can't deny those lines! Looks good to me!
-
@obsidianspider said in Pi in a Gameboy Advance Build - WIP:
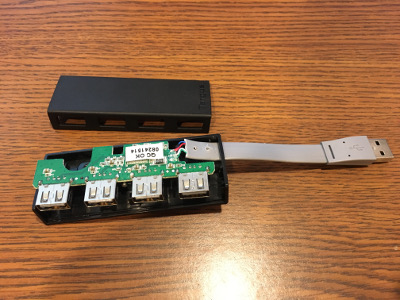
OK, I'm back in business. That "octopus" hub is just a piece of junk. I updated the wiki entry to reflect my findings.
I went to Best Buy on my lunch break and picked up the Targus ACH114US that was listed as the "original" Gameboy Zero hub and it works perfectly. With my wifi adapter, usb controller, usb keyboard and usb soundcard everything is operating as it should.
lsusb -t
/:  Bus 01.Port 1: Dev 1, Class=root_hub, Driver=dwc_otg/1p, 480M
    |__ Port 1: Dev 2, If 0, Class=Hub, Driver=hub/4p, 480M
        |__ Port 1: Dev 3, If 0, Class=Human Interface Device, Driver=usbhid, 1.5M
        |__ Port 2: Dev 6, If 0, Class=Audio, Driver=snd-usb-audio, 12M
        |__ Port 2: Dev 6, If 1, Class=Audio, Driver=snd-usb-audio, 12M
        |__ Port 2: Dev 6, If 2, Class=Audio, Driver=snd-usb-audio, 12M
        |__ Port 2: Dev 6, If 3, Class=Human Interface Device, Driver=usbhid, 12M
        |__ Port 3: Dev 5, If 0, Class=Human Interface Device, Driver=usbhid, 1.5M
        |__ Port 3: Dev 5, If 1, Class=Human Interface Device, Driver=usbhid, 1.5M
        |__ Port 4: Dev 4, If 0, Class=Vendor Specific Class, Driver=rtl8192cu, 480M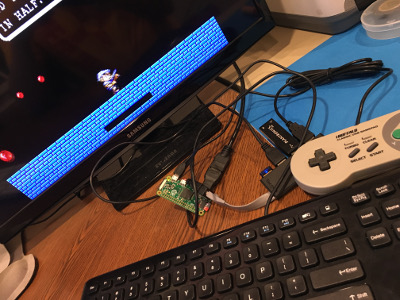
While it works, it's pretty long. Which is the main reason I went with the "octopus" hub originally.
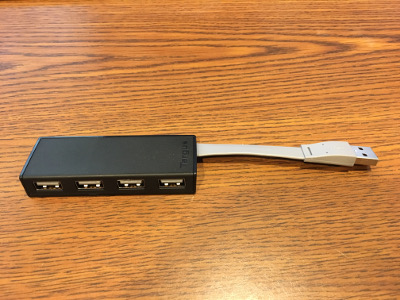
Taking it apart was pretty easy, but I'm going to have to think about how I am going to be able to fit it inside the Gameboy Advance shell.
Another neat thing I learned. The Targus hub has five wires, but it's only USB 2. The plug only has four pins. The fifth blue wire is apparently a "drain" wire and is tied to ground and is connected to all of the metal on the plug and on the socket surrounds.
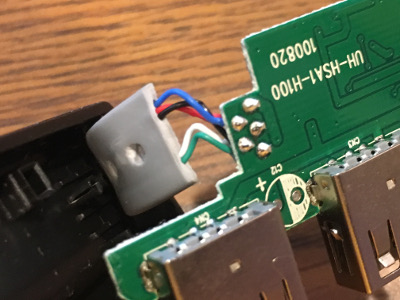
I've been using this same Targus 4 port usb hub for my retropie builds. They work great! I'm curious to learn more about the blue "drain" wire. How'd you find out about that? Does it work without the blue wire? I kind of snapped the blue wire on one of mine...
-
@klachow I believe the drain wire is so if there is a static discharge it will ground through that wire. It's connected up to the metal sheath on the USB port itself, not the pins. It should work fine if that's not connected.
-
@obsidianspider Interesting, that makes sense. Thanks!
-
@klachow enjoy watching your install! On the subject of USBs I don't know much but I googled around and found this site. It may be overkill but it has a lot of info. http://www.usbmadesimple.co.uk/index.html
Check it out. -
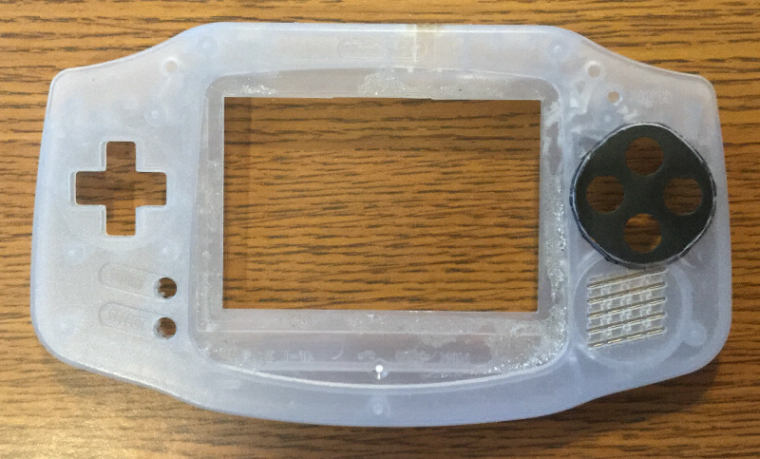
Even though I measured over and over again, it still looked "off", but at a certain point, you just have to go for it. I measured, measured again, then taped, and even compared with guides in GIMP.
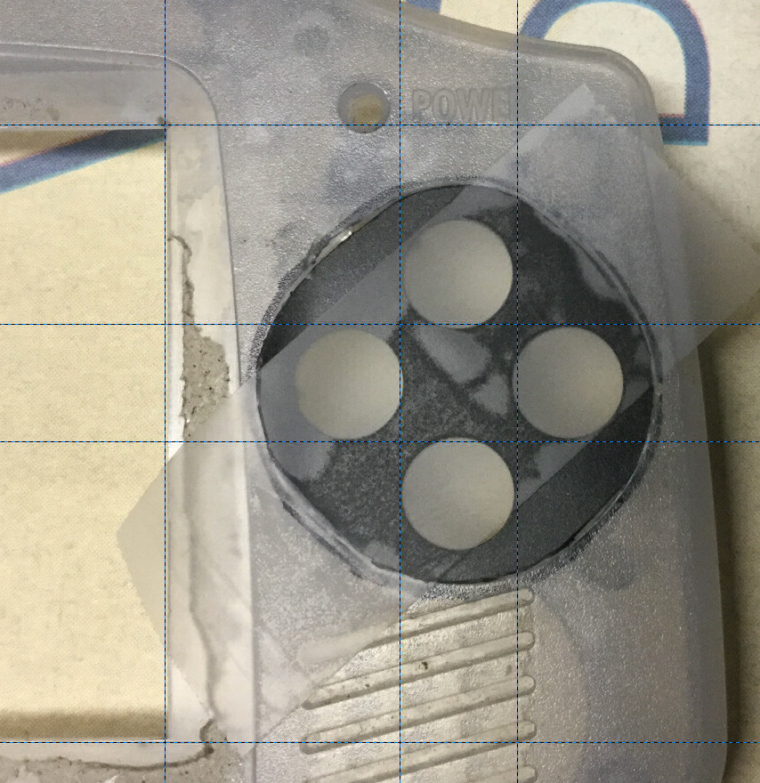
After quintuple checking everything, I added a dab of glue to the two corners not held by hot glue. Now I wait.
Of course, I accidentally got a dab of ABS cement on the front of the case on the opposite side, and while I wiped it off immediately, the case is no longer perfect. Hopefully it'll not show too much when I paint. I need to be more careful.
After things set up overnight I can do the other corners, working my way around over the course of a few days so as to not cause things to warp.
-
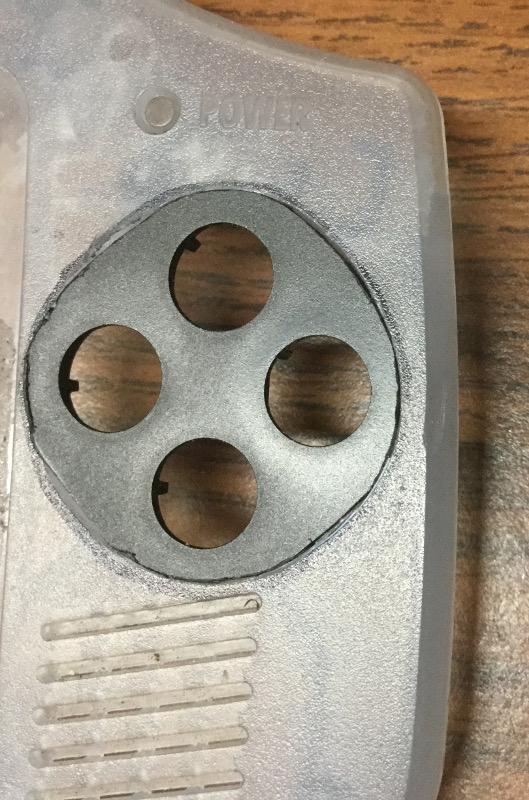
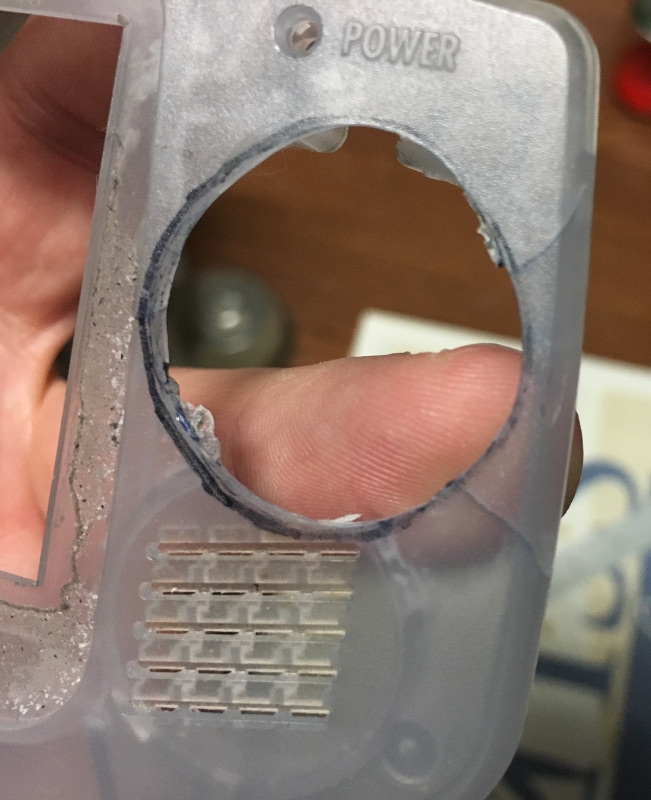
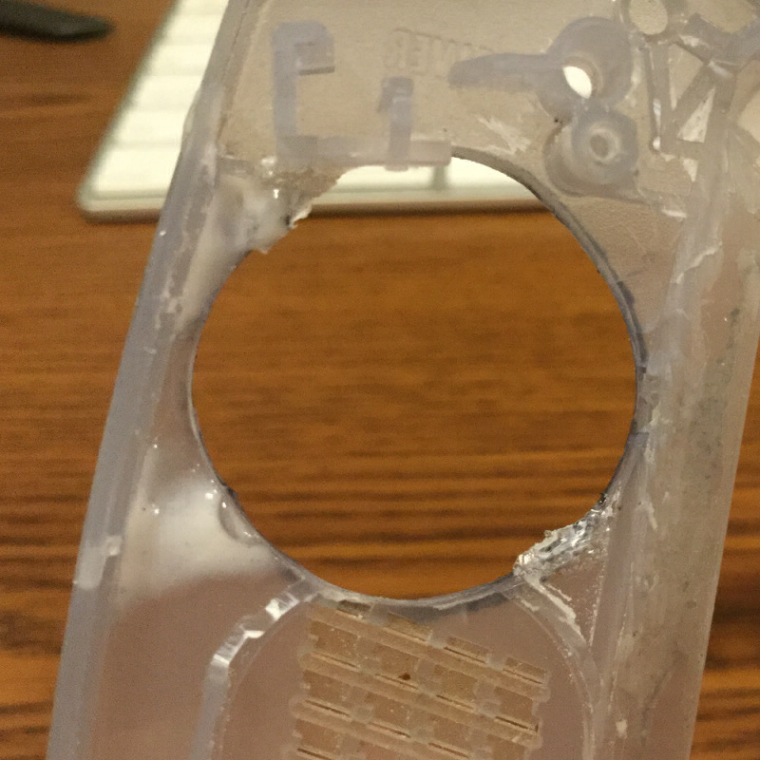
Well THAT didn't work. I checked on the case tonight and at some point while things were curing, the case cracked. I'm not exactly sure why. Maybe the ABS cement caused stress or it contracted or something, but those who lines on the right are cracks. I pulled the DS Lite plastic out before the ABS cement had totally settled so I could attempt to reuse it, but I'm going to have to rethink things now. I do have that spare case from celly, but maybe this DS Lite hybrid thing isn't going to work. I don't want to butcher a ton of cases just to get this figured out.
-
Ouch!
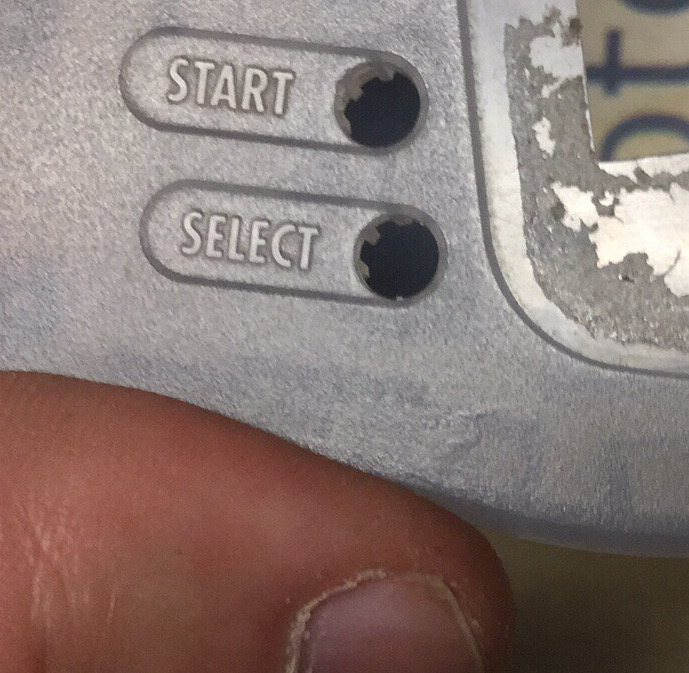
Would it not have been better to just drill out the other two holes on a stock case? The holes would not be straight as with the DS layout but you could avoid cracks. -
@obsidianspider
That's not good...I guess when the ABS cement dries, it must expand? -
@obsidianspider I don't think cracks are a major issue. You can reinforce it from the back with the abs glue, and you will be filling and painting so you won't actually see it
-
@FlyingTomahawk Yeah, but I really wanted symmetrical buttons. When have I ever been known to go the easy route?
@backstander I'm not sure what happened. It was cracked on the face, but not on the perpendicular edge, so at least it wasn't fully separated.
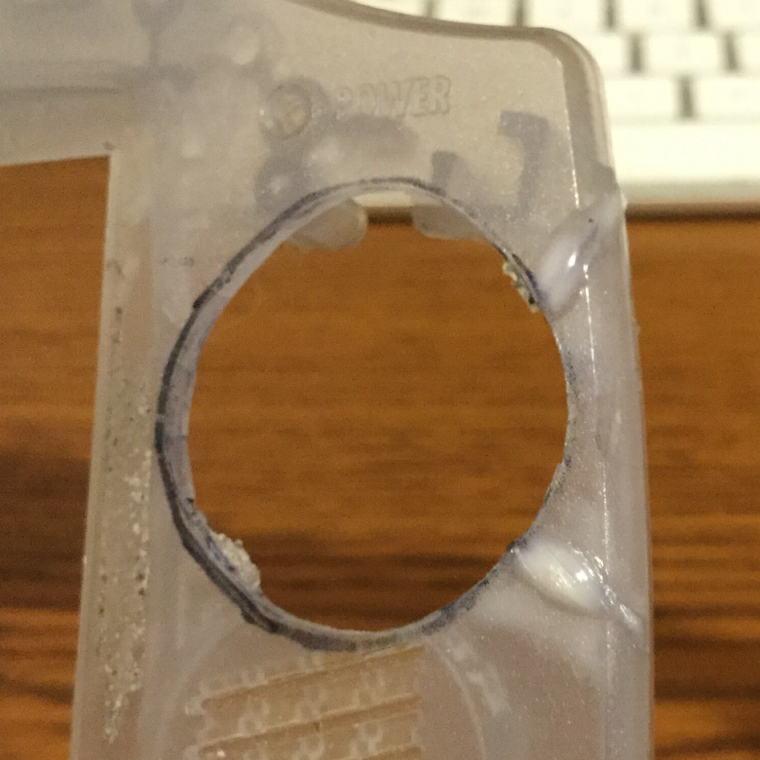
@moosepr You're absolutely right. Since this is already damaged, I might as well try to repair it. I put some ABS cement in the crack, on the front, and rear, and since I'll be smoothing things out anyway, hopefully it won't be noticeable. If it is, well, then I'll adjust.
I'm going to let the repair cure, see how that goes, then try putting in the DS Lite part again.
-
Round 2: Ready... Go!
Contributions to the project are always appreciated, so if you would like to support us with a donation you can do so here.
Hosting provided by Mythic-Beasts. See the Hosting Information page for more information.