Retropie Built into a CRT w/ 240p Complete
-
Hey fellas, thought I'd share my most recent completed project. Shoved a Pi3 directly inside of a CRT television to make a pretty much seamless game TV experience.
Here's a short video overview, more complicated description is below (spoiler, youtube compression makes the scanlines impossible to see... posted photographic evidence below, haha).
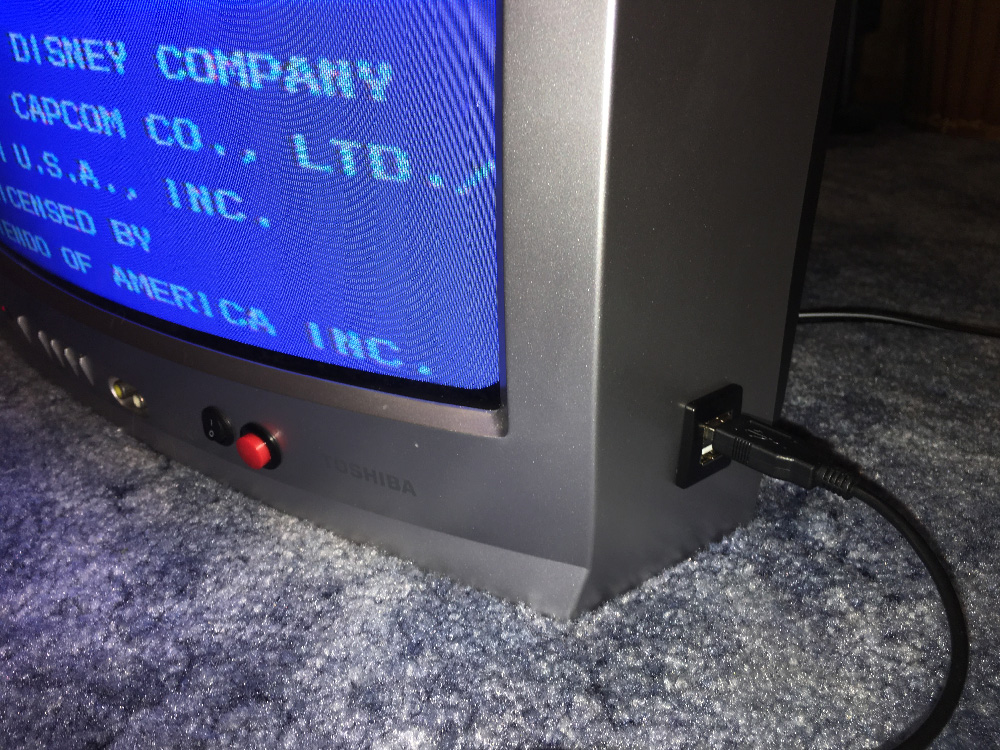
These are all the externals. USB's for controllers, toggle power button and red "reset"
CRT friendly theme
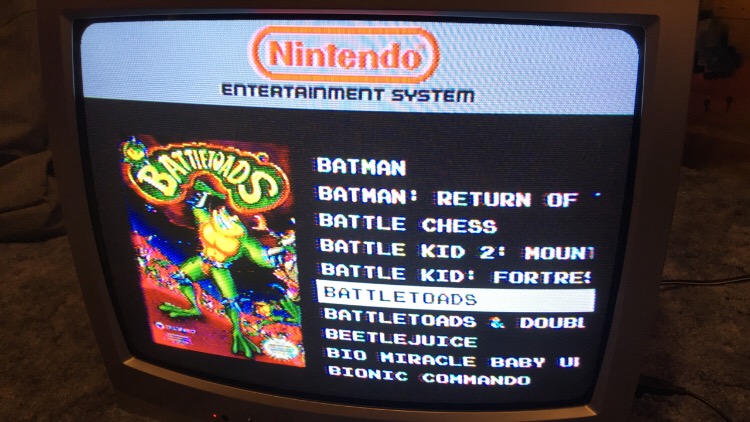
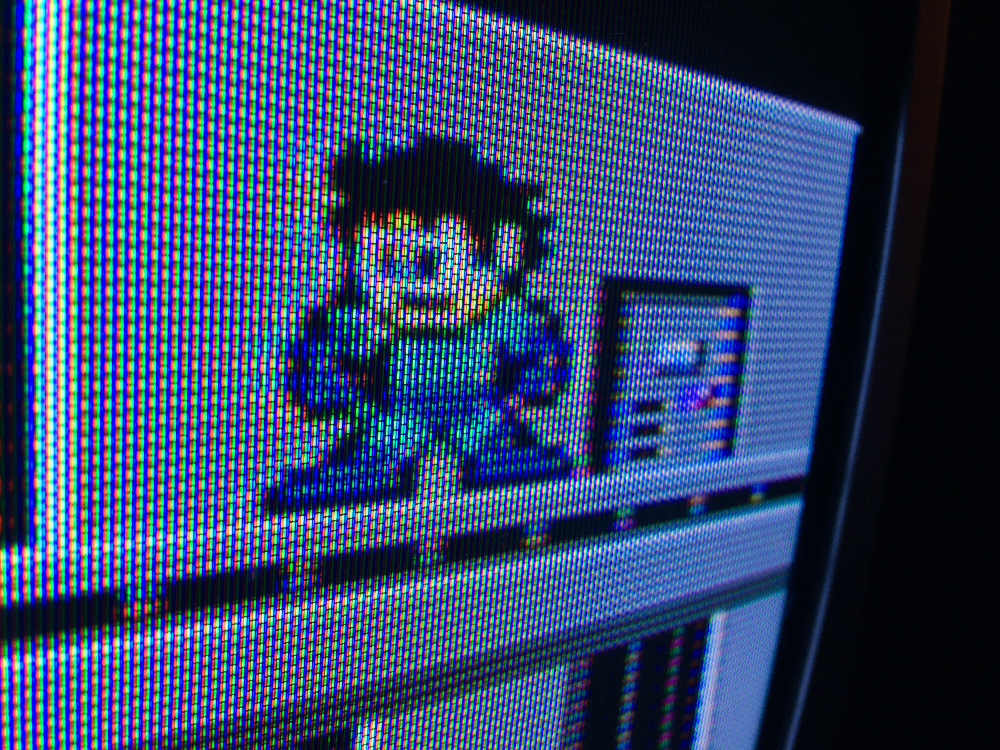
Proper 240p Scanlines (though faint, this ain't no PVM, haha).
It's a pretty easy mod, but it does involve opening up a CRT which i would not recommend to anybody who does not understand the dangers of working with analog high voltage devices...
Anyway, this was my process.
First and foremost, DISCHARGE YOUR CRT AND ALL OF THE HIGH VOLTAGE CAPS and for god's sake, make sure you are working on a CRT that is unplugged. An unplugged CRT may bite hard, but one that's plugged in will more than likely kill you. (there are lots of good videos on youtube on how to discharge a CRT, so i'm not getting into it here).
I used a tv with composite-in ports for ease. This mod can be done to a non-composite TV (RF only), but you would have to have working knowledge of jungle chips and know which traces to cut/solder to wire in the AV, it's complicated, stick with a composite capable TV to make your life easier.
Mount your Pi comfortably inside the case using standoffs.
Remove the main board of the TV from the casing, solder wires to the Yellow, White (and if applicable) Red RCA positive leads, and one wire to the common ground. Run those wires to a 4 pole headphone male breakout (preferrably with screw terminals) and plug into the pi's headphone jack. Plug into the pi and your video is connected.
Mount your AC to DC5v power supply. I prefer caged internal power supplies with screw terminals. On the main board of the TV find the AC input pins and solder shielded cables to the hot and neutral leads. I get my shielded cable from stripping out computer power supply cables, the internal cables are strong and color coded (though AC isn't really polarized, its still better to put + to +). Wire your AC directly to your power supply and run the 5v cables to the Pi.
I use the Petrock Powerblock to supply power. It's safer than a straight power switch.
Get a usb extension with a panel mount and carefully cut a hole in your TV to mount external controller ports. If you are going fully wireless, you caaaaaan skip this step, but it's still better to have at least one external USB so you can connect a keyboard if need be.
On the front i mount a momentary button and a toggle switch. The toggle switch powers the Pi through the powerblock. We all know how the power block works around here, so i wont explain that one in detail.
The momentary switch i use to connect to the Pi's GPIO and use Adafruit's RetroGame application to make the GPIO recognize keystrokes. The outer button hits ESC. I do this to exit games. I prefer to take off all hot keys from the controller, i accidentally hit them too often and when it's that easy to exit games, ADD takes over and i never commit, better to keep a "reset" button on the console IMO.
I did the 240p composite settings in the boot drive, then configured every system config with the proper viewport sizes and BOOM, perfect scanlines and no screen tearing. It was complicated to finally get setup, but after you get it, it's not too hard.
Anyway, that's about it. Anyone else try something like this?
Vector Artist, Designer and Maker of Stuff: Laser Cut Atari / Pixel Theme Bartop
-
Thanks for building my order so quickly! Now get it over here - I'm waiting!!
(yes you weirdos I am being facetious)
-
That's awesome! Well done, sir.
-
@Capeman that is wonderful. What a great setup. Brings back many memories. I remember using an old black and white TV for my Commodore 64 because our colour set had broken. Great times. This really is a super retro setup.
-
cool idea! but i'm afraid i don't see scanlines, even in your photo. what are your viewport settings?
-
@dankcushions I’m not running a pvm by any means, consumer sets don’t make them as apparent as pro screens, but if you look closely at the image of mega man to the right in the solid gray of the building he’s standing in front of you can see the lines go across the otherwise solid color. (You might need to stand back a bit)
I spent a ton of time on each system getting the viewport settings correct, lots of them have wonky vertical line counts. After checking each system individually and adjusting per the systems specs, I’m getting a super solid non-jittery progressive image on screen from every system with no vertical screen tearing. It’s worlds of difference from the default interlaced output.
Arcade was the worst, I had to check per game to make sure I wasn’t getting screen tearing and set custom configurations for over half the games that didn’t adhere to the defaults that I set.
Handhelds didn’t work out because upping to the proper screen res meant I had to line triple vs line double and it never ended up looking good, so this setup doesn’t play gameboy or gba. Womp womp...
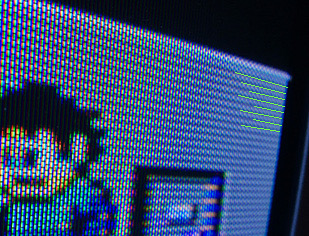
I zoomed in and drew in guides to better point out the effect
-
@dankcushions I can post a Dropbox link to my full config setup if you want to try it out
-
Very impressive
-
@Capeman hi, what is the name of the theme (skin) which is on the video? Tanks
-
@dimetrius It’s not a specific theme, I just modified the regular “simple” theme that was was default to emulationstation (before carbon became the default)
-
@Capeman Hi, please share your settings to make the theme look like yours. Thank you very much
Contributions to the project are always appreciated, so if you would like to support us with a donation you can do so here.
Hosting provided by Mythic-Beasts. See the Hosting Information page for more information.