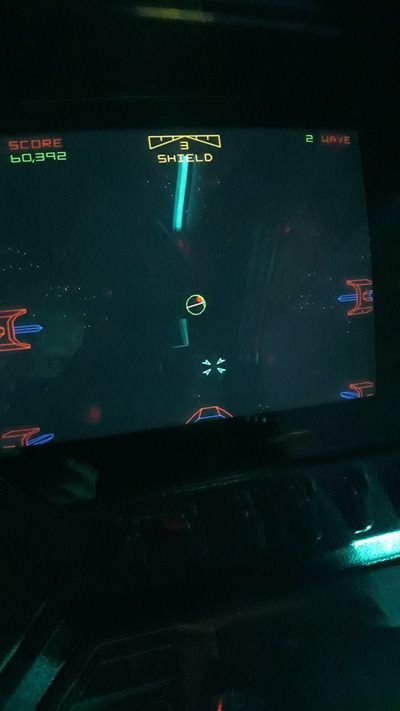
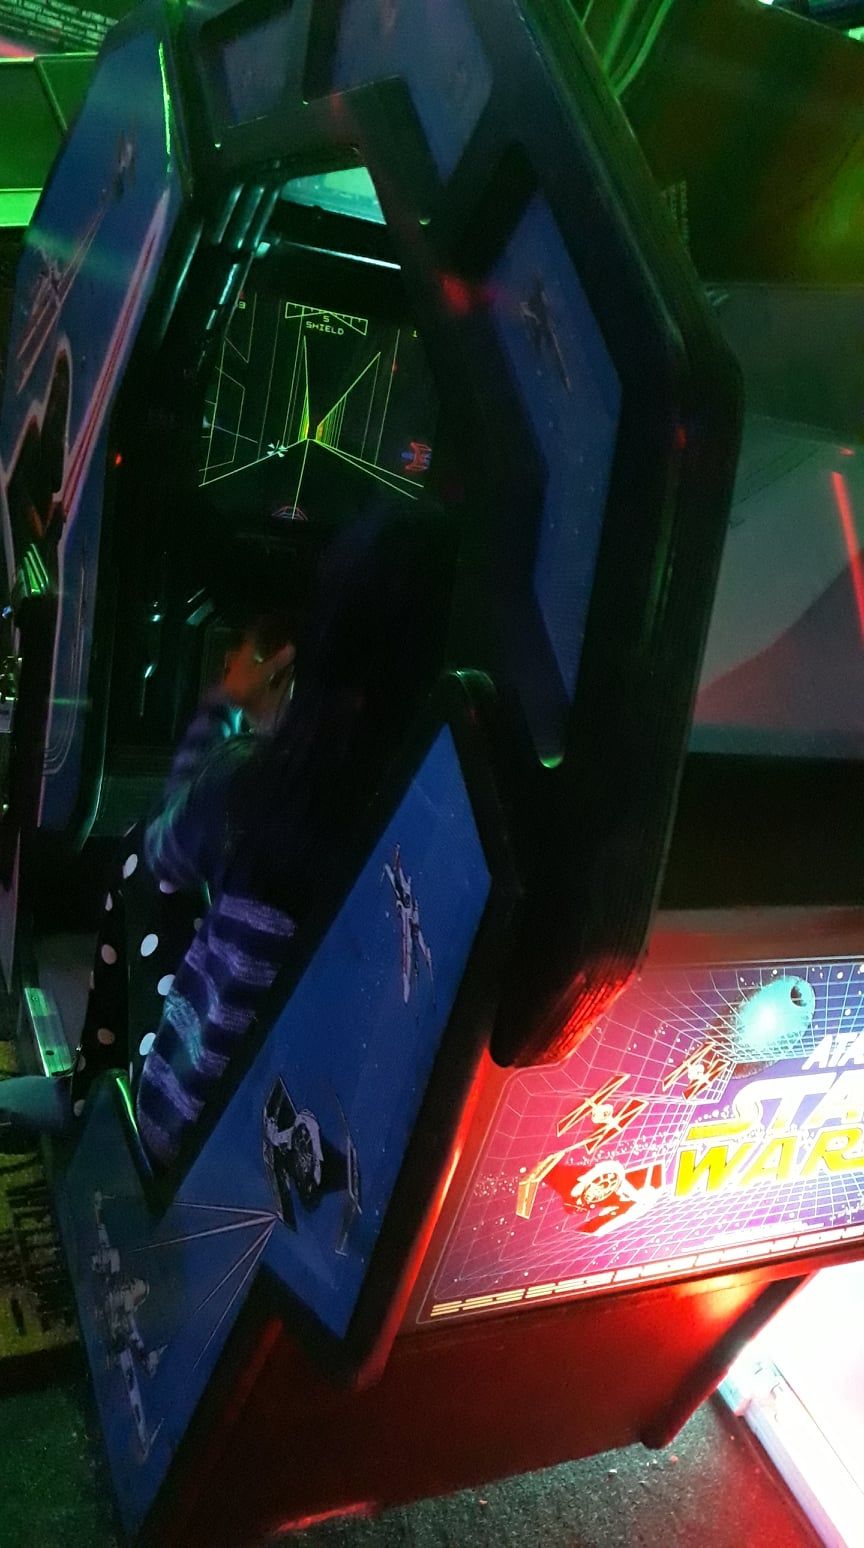
Homemade Star Wars Upright Cabinet
-
For those who have asked for me to share my files, I'll endeavour to get copies put up on my Google Drive over the weekend when I'm off work.
-
Cool, one of the most beautiful I saw here on the forum. Professional and clean work.
-
Ok then, the Fusion 360 file is in the cloud but it can be accessed using this link: Fusion 360 Public Link
The DXF files for the metalwork and the wooden/MDF cabinet parts are in a zip archive on my google drive.
The STL's for the 3D printed parts (bezel details, coin door and speaker grills) are also in the same zip archive.
The Fusion 360 file is only intended as a visual reference to construction, it is by no means a tutorial. As I have said before, if I was to start again, there are a number of things I would have done differently. But this was only ever intended to be a one-off, and snags had to be rectified on the job or new parts made. Thankfully though, the metalwork and all the parts I had cut from MDF all fitted together beautifully from the off.
I can provide links to the companies I used for the sheet metal and the CNC cutting of the MDF if required, but I'm sure there are any number of similar outlets available elsewhere or you may even have access to the required tools yourself.
This is the link to the zip archive: On my google drive
All STL files now in the archive.
-
@dissent Hi there, just measured my cabinet and the height of the flat part of the control panel is 39 inches (99 cm) from the ground. That is the distance I measured on a real cabinet. To get my 3/4 scale cabinet up to the required height, it sits on a riser much like the arcade1up cabinets. One last thing, I've just uploaded links to my files, you'll need fusion 360 to view the main file, its free to download and use for personal use!
-
@james-milroy said in Homemade Star Wars Upright Cabinet:
This is the link to the zip archive: On my google drive
All STL files now in the archive.
This is awesome!
I've been hemming and hawing for the last year about how to finish up the panel for my scratch built sit down version. Last winter, I ended up building a 8'x4' CNC cutter in preparation to try to cut some of the paneling and had sort of settled on making my own greibling out of half cuts of large dowels and stuff like that. I'm going to try to blow up your 3/4's up to full size and give it a test.
-
Wow, this is really cool, well done!
Can you give more details about the hardware solution used here ?
A Pi3B+ with a Pimoroni Picade X HAT connectd on it, but do you also use and adapter to transform the HDMI signal into VGA for your monitor ? I would be interested to see pictures of all that stuff connected together? :-) -
@dnuno As you've said I'm running a Pi3B+ with a Pimoroni Picade X HAT. This gives me a power switch and LED, buttons and an audio amp with speaker connections. The Pi is connected to the monitor with an HDMI to DVI cable. I had tried HDMI to VGA using a dongle but that resulted in an inferior picture since I was effectively converting the HDMI output (digital) to VGA (analogue) for the monitor to re-convert back to digital internally to create a display. The yoke is an Alan-1 replica with an Atari plug on so you can install in a 'real' arcade machine. I connect this to the Pi with an Alan-1 USB yoke adapter. Thats really the extent of the electronics in the build. There are pictures earlier on in the thread. I can take some more if they would help. Next time I have the back off of the cabinet, I'll be replacing the Pi3 with a Pi4 to get more oomph and hopefully a better emulation using one of the newer emulators.
-
Thanks for your reply.
I've just finished my projet :-)
I'm using a real Star Wars flight yoke controller. I had a computer based system for more than 15 years! But this computer eventually broke, and I got this opportunity to replace this old PC set up with a more reliable & modern solution : a raspberry :-)
I was about to order the Alan1 usb controller to hook the orignal yoke, but I had the very good surprise to see my Microsoft Dual Strike USB hack (See here) I've done for PC 15 years ago .... is also recognized by the Retropie 'out of the box' :-)I however still have one issue to fix... a very strange issue.
Sometime, at the end of the first level, I don't fly to the death star.
The game is not frozen, I mean I can still flight, I can shoot laser, but there's no more enemy... and I can fly endless, without entering to the death star... see ->
This not happen to every game, but quite often. I believe it's because at this time I do not have at this time a power supply enough powerful to correctly feed the raspberry... I've just orderer it now. Or maybe the Pi3b+ is not powerful enough? A very strange issue... Did you got this too?
-
@dnuno Hi there, well done on completing your project. I'd like to see more pictures of the finished cabinet if thats ok. As for gameplay, I think the 'not flying to the Death Star' you are experiencing is a bug if I recall correctly. It is rectified in newer versions of mame and better reads of the original roms. What emulator are you using? and which roms? I must say I've not experienced this bug myself. I'm using a combination of Advmame 3.9 and lr-mame2003 plus.
-
Here's a pic of my Star Wars cockpit :

I've switched from lr mame version 0.78 to advance mame 0.94 and it seems that the 'not flying to the death star' bug is solved on this version :-)
-
@dnuno Nice, I'd have loved to have built a cockpit but sadly, I don't have the room for one, an upright had to suffice.
-
@dnuno Great build! 👍
-
@james-milroy
Hi there James. Where did you get the artwork for this cabinet? Do you have any files?Nic
-
@james-milroy
Do you have the artwork files you could possibly share? -
@Nic1169 Please don't bump your posts on such a short time. Just give it some time for the poster to reply.
-
@Nic1169, I got representations of the original artwork from another site on the web. The name escapes me at the moment, I'd have to have a trawl to find it again. My cabinet is not full size and is slightly different in places to accommodate the compromises I had to make. My friend resized and reworked the originals to fit my custom cabinet. I got the resulting files printed onto vinyl through a seller on eBay at really competitive prices. I could certainly forward you the links to the original files when I work out/remember where I got them from. The reworked files however aren't mine and in any case would only fit a cabinet built to my dimensions.
-
I've recently grabbed myself a GRS fight yoke from Amazon US. I am going to swap out my Alan-1 yoke and usb adapter for the GRS and will be upgrading the Pi3b+ to a Pi4. I am still getting audio glitches when destroying the Death Star. Hopefully, I'll be able to get rid of these with the extra power of the Pi4 and a more up to date emulation. I'll post more when I get the swap done.
-
@james-milroy would love to get my hands on a copy of that too.
-
@james-milroy sorry im extremely late to this thread,firstly congratulations,what an exellent job you did!,I need to replace the old pc in my mamed original star wars cab after it died of old age(it was a pentium 3 set up!),I have a pi3b+ with picade hat and alan 1 usb yoke adapter already set up,I just need a copy of the micro sd card to insert into the pi,would you be kind enough to share an image of the card if possible please.
Thankyou
Steve
-
@stevebm1 No requests for games/roms, as per the forum rules. If you want to install RetroPie, you can follow https://retropie.org.uk/docs/First-Installation/ and go from there.
Contributions to the project are always appreciated, so if you would like to support us with a donation you can do so here.
Hosting provided by Mythic-Beasts. See the Hosting Information page for more information.