Pi in a Sega Genesis USB Hub Build
-
@obsidianspider B*ds 😞
Everyone is out to make a quick buck
-
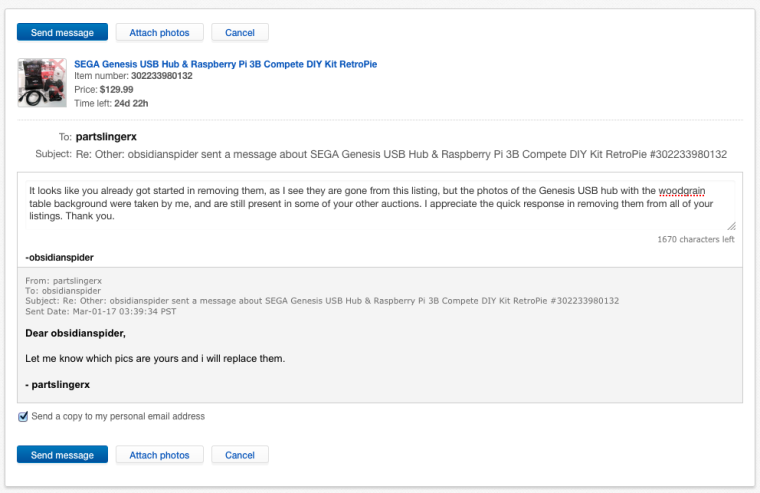
I'll say this, the seller responded first thing this morning, and did remove the photos, at least from the initial post. Hopefully they will also be removed from their other listings.
-
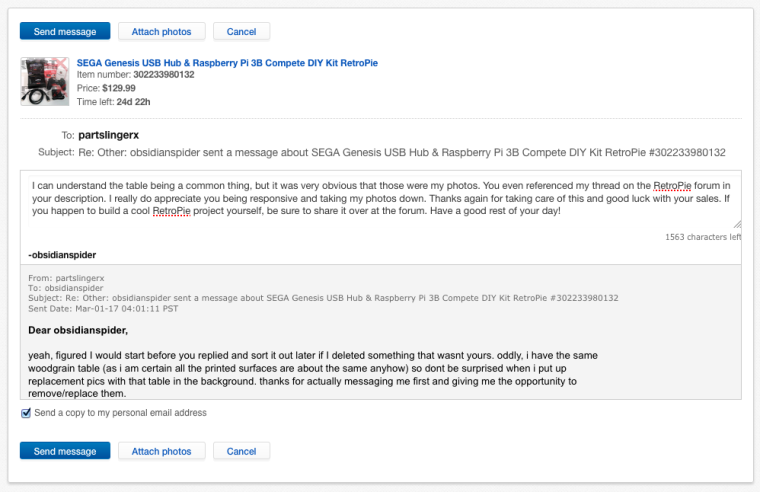
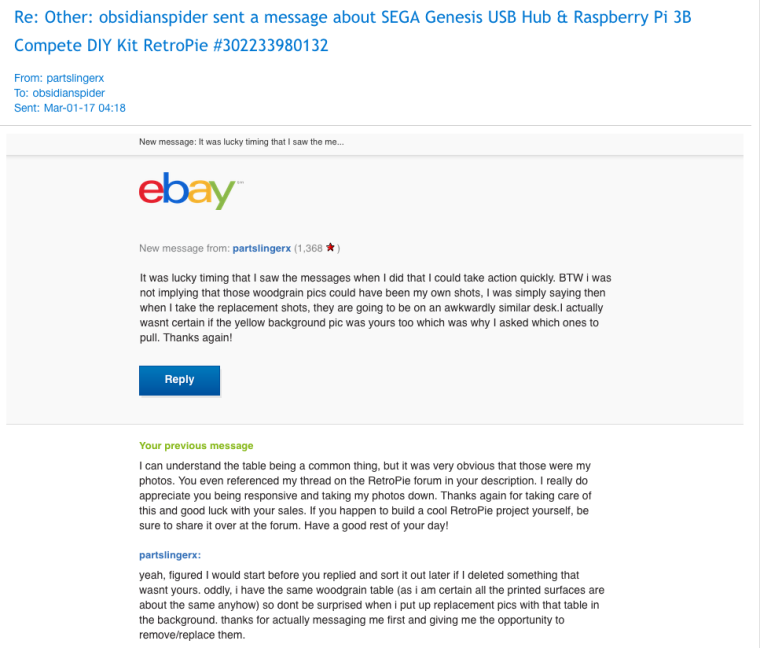
There is some hope for the world. The seller removed my photos from all of their listings and was polite in their correspondence.
I removed my note at the top of the original post.
-
-
just wanted to thank obsidianspider for making this thread..as well as the contributors. i used this idea to make my own sega pi... i managed to fit a 40mm fan and an othermod.com shutoff circuit into mine and love it!
thumbs down to the ebay lame using this thread to profit. least they could do is make it then sell it?!
anyways i thought i was done with mine...but manage to keep making little tweaks to my setup.
special thanks to othermod.com for his help with his circuit!! support this guy's hard work!
"specs"
-Raspberry pi 3b
-Overclocked CPU 1375mhz/ GPU 500mhz
-Retro Pie 4.1
-Sega Genesis and Turbo Grafx logo conversions
-Removed splash screen and rainbow on boot screen
-Custom "now loading" image when loading core
-Eazy Hax's - External USB Drive expansion script
-All emulators optimized for display size and resolution
-Manually Edited, personally compiled Romset, including Universal XML scraped art (9k+ - no duplicates within individual consoles)-Sega Genesis USB hub converted to case (original wire replaced with 22awg)
-Lower intake vents and upper exhaust vent/mesh grill
-40mm fan
-Heatsinks/Arctic Silver thermal paste
-Power button and - otherMod.com - shutdown circuit
-Functional power LED and front USB hubs (tied to raspberry)
-Removed Micro USB
-Playstation 3 Bluetooth Wireless Controller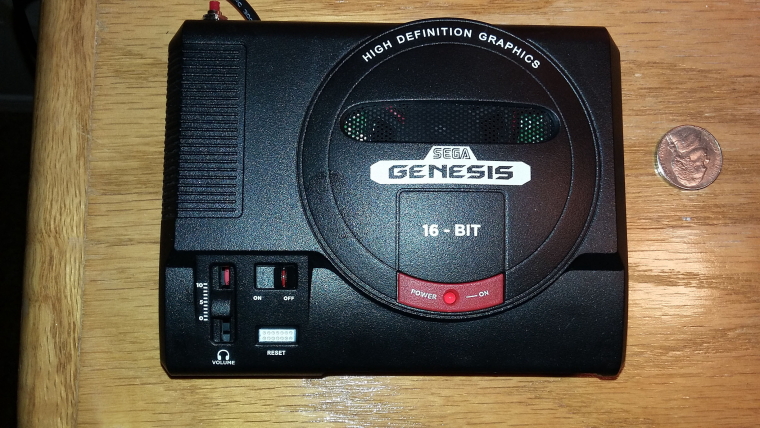
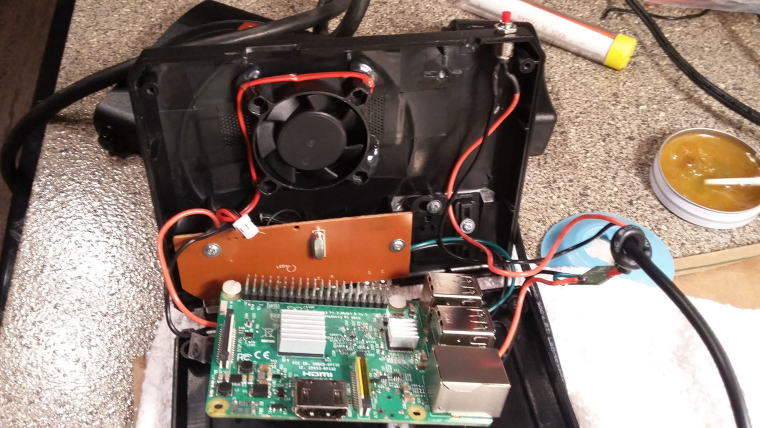
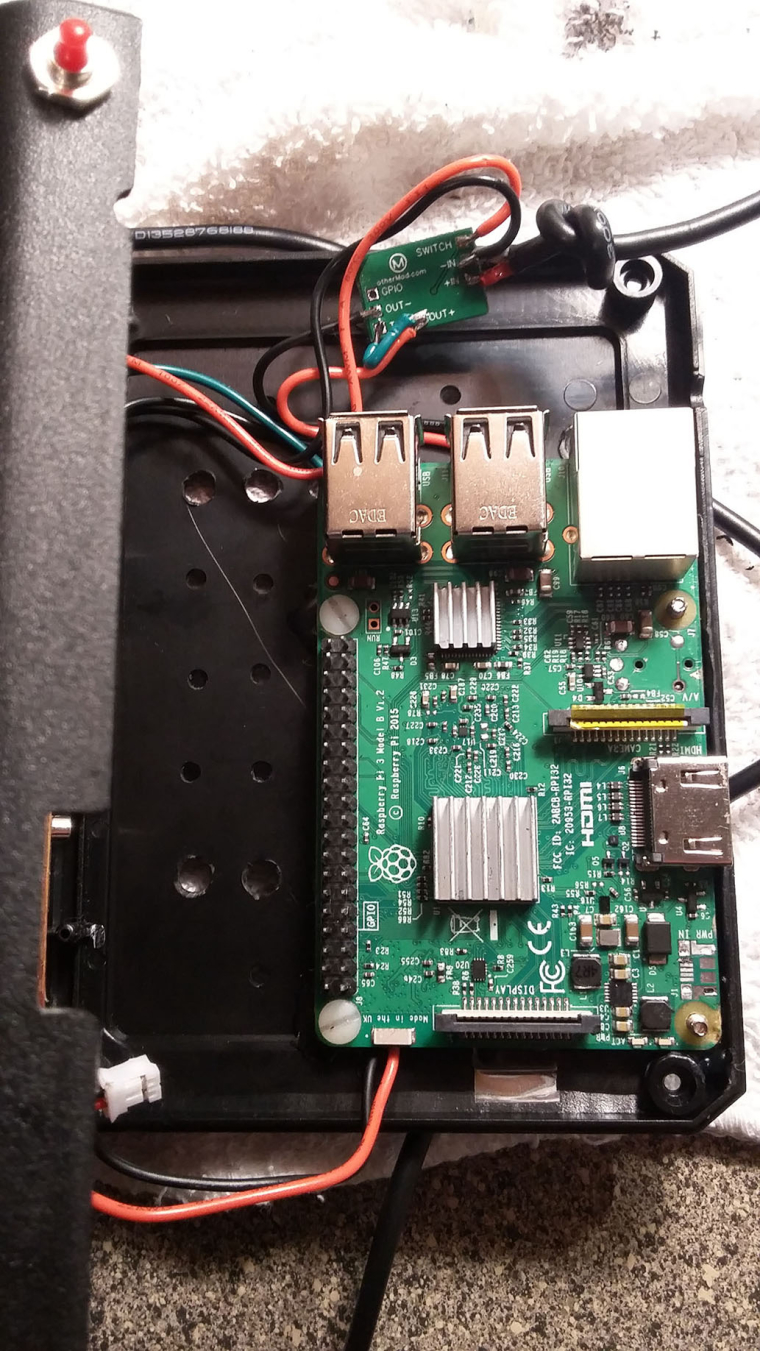
-
@eulogy said in Pi in a Sega Genesis USB Hub Build:
special thanks to othermod.com for his help with his circuit!! support this guy's hard work!
Thanks for the shout out. I love seeing my boards in these builds.
-
@eulogy i love the grill. I would love to know your method you used to cut it /file it?
-
@edmaul69 i used a dremel with a cutoff wheel through the backside..cut a rough hole then kept carefully shaving it down. then used some small cheap files from harbor freight, which for the price are pretty good. ive used them on metal, and they have different shapes in the pack. finished it up with some 1000 and 2000 grit sandpaper.
-
I'm thinking of making one of these as a fun little project and have a quick question? Would this power supply be a good one to get for this? https://www.amazon.com/Sabrent-100V-240V-Adapter-Support-PS-5V25/dp/B00MRFR1XA/ref=nav_ya_signin?ie=UTF8&qid=1488568451&sr=8-16&keywords=5v+2.5a+usb+power+supply&
Just thought I'd ask before going and buying everything for the build? Thank you and have a good day! :)
-
@Koji-Kenshiro That doesn't appear to have a Micro USB plug on the end, so unless you're doing something different to interface with power, that's not going to work.
-
@obsidianspider @eulogy @adamspc
I'm thinking of interfacing it with the Improved On/Off Board that eulogy used for the power switch.
-
that should work as ling as u count on soldering it...raspberry pi 3 need 5v 2.5amp power supply. the one u linked to looks like my "viaboot" i have...which i believe is just a chinese ebay type thing. id just stray away grom the power supplies that have inline power switch built in.
-
Would a power supply like this one be better than the other one I linked since it's primarily designed for the Pi? It also has a nice length to the cord also, which will help when hooking it up. I'm planning on soldering it the the Pi via the test pads underneath the micro USB port.
-
-
as long as its 5v 2.5 amp id say its fine..both u linked might even be the same.
-
I think the second one that I linked has a much longer cord than the first one does. I'm thinking of using the second one for that fact and that it is advertised to work with the Pi.
-
@Koji-Kenshiro the block itself i think is similar...id go longer cord myself
-
@eulogy @obsidianspider @adamspc
That's the one I'm leaning towards as well for the same reason. If I have any more questions, I'll be sure to ask. Thank you all for being patient with me. Have a good day. :)
-
Today I decided to upgrade the internal storage of the Genesis Pi.
Best Buy had 256GB Sandisk USB drives on sale for $65. I got two. One for the Genesis hub and another for my Super Famicom.
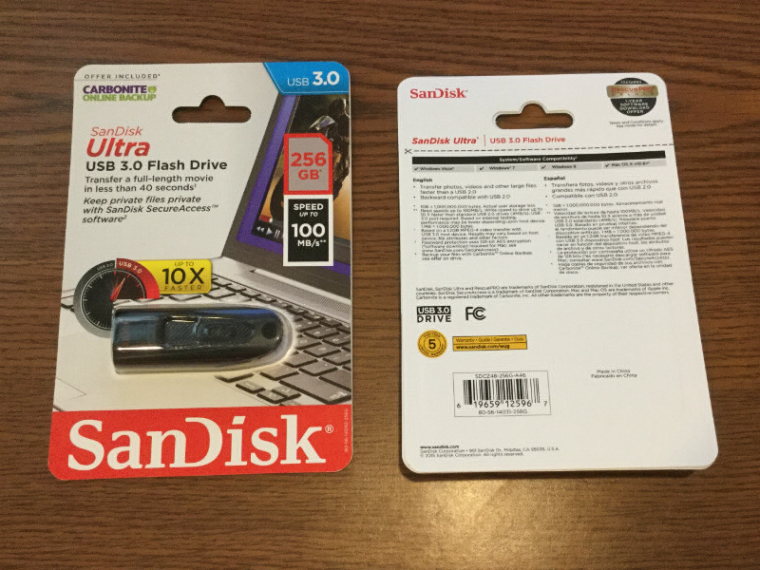
They're small, but not as small as the Sandisk Ultra Fit drives that are known to get so hot you can't even touch them. They're also well-reviewed.
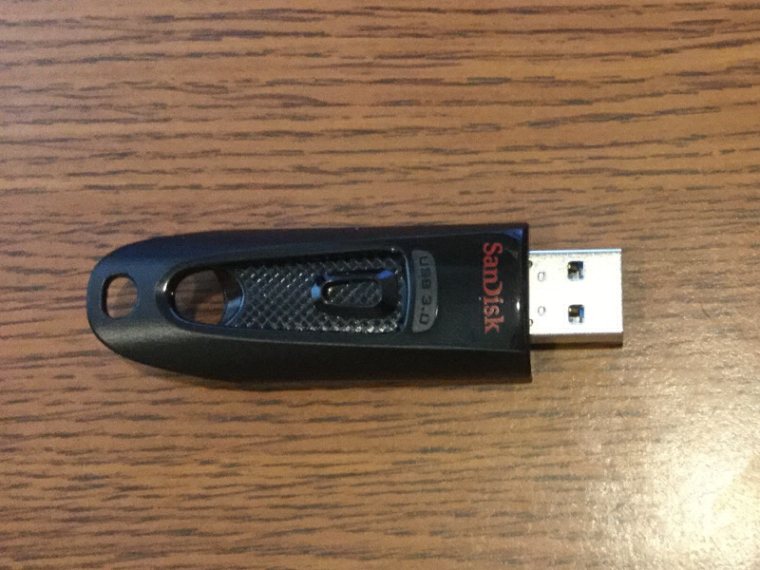
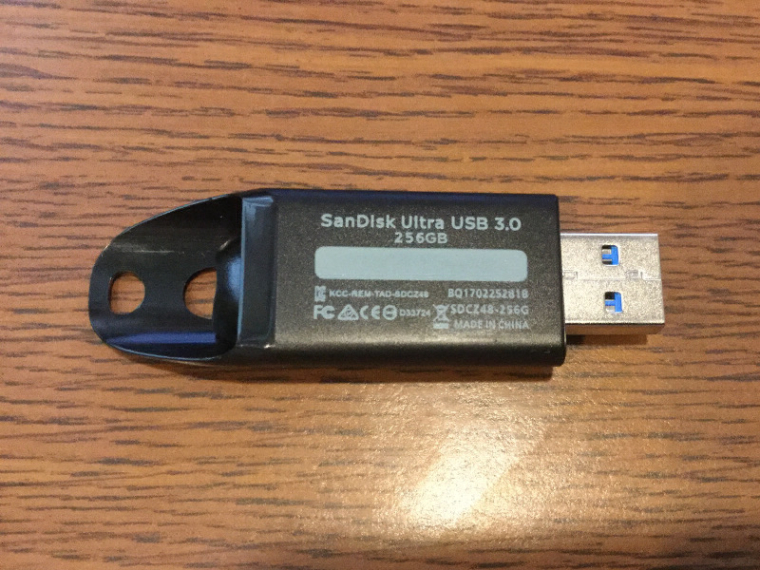
Unfortunately, while small, the drive was a bit too big to fit inside.
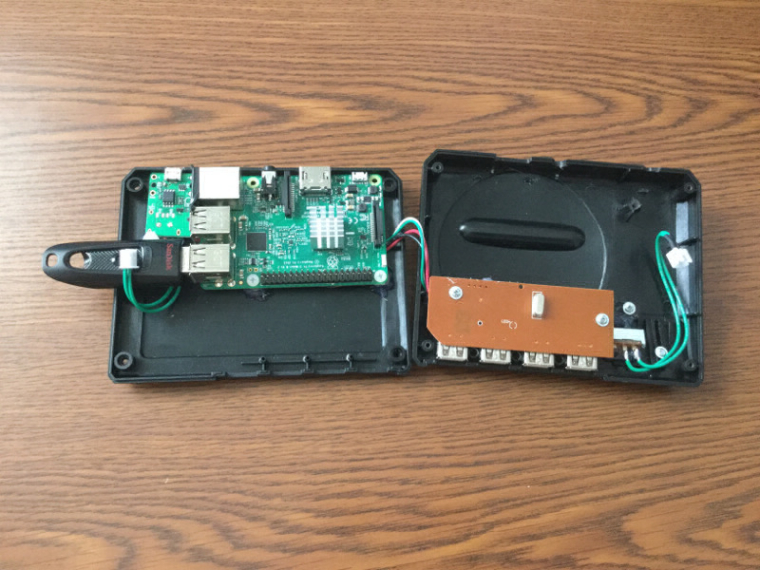
No worries, I knew that the plastic case had a lot of "extra" to it, so I took the plastic off and was left with a much smaller device.
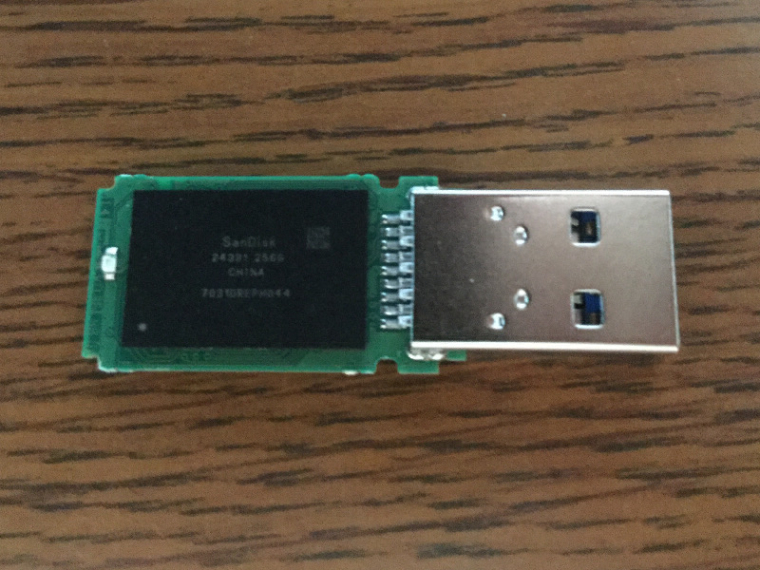
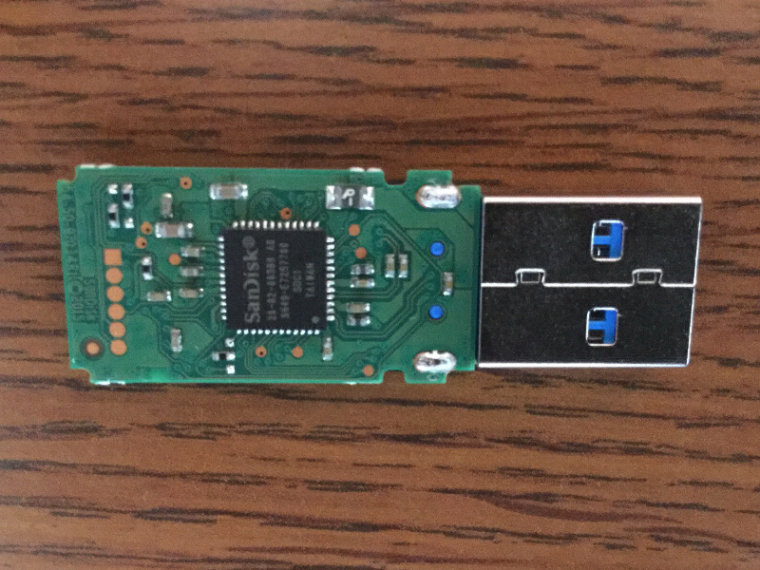
You can't see it quite from this angle, but the edge of the PCB is just about flush with the edge of the case when plugged in. That said, the case was a bit in the way, and was putting pressure on the board.
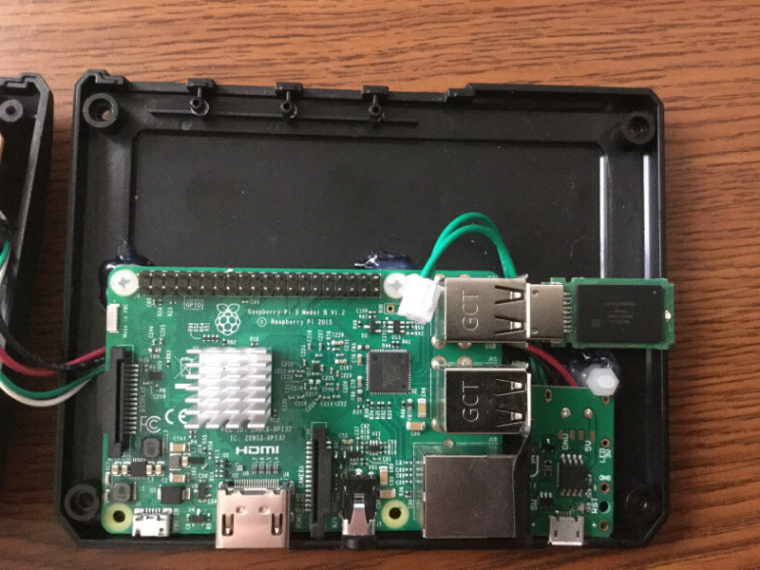
Using a file I made a notch for the PCB and its LED. I didn't want the case to put pressure on the board when it was closed.
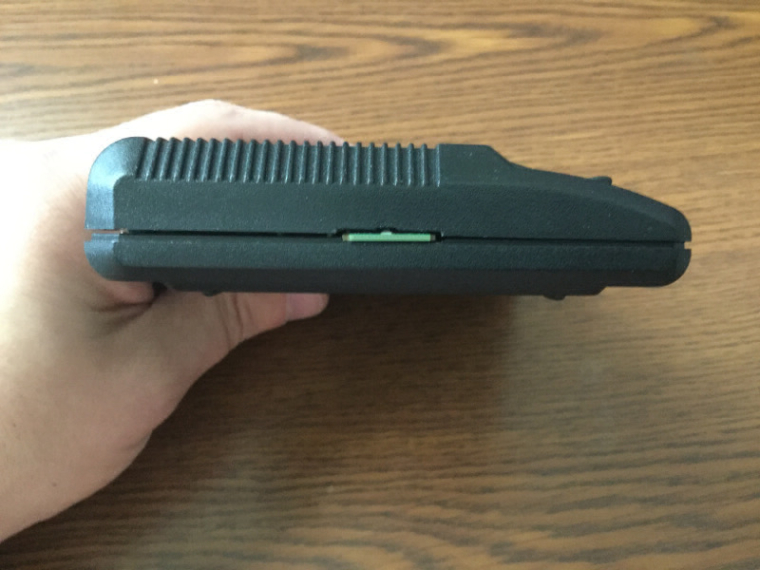
It fit well, but after screwing things shut and powering up the Pi, the blue light from the LED was pretty annoying.
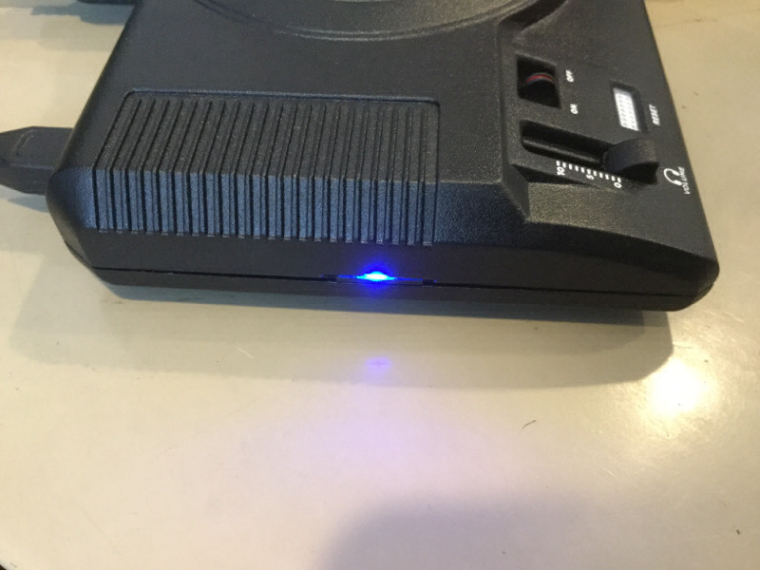
To remedy the situation I put a piece of black tape over the LED, and also to help the board blend in with the case, I colored the edge with a black Sharpie.
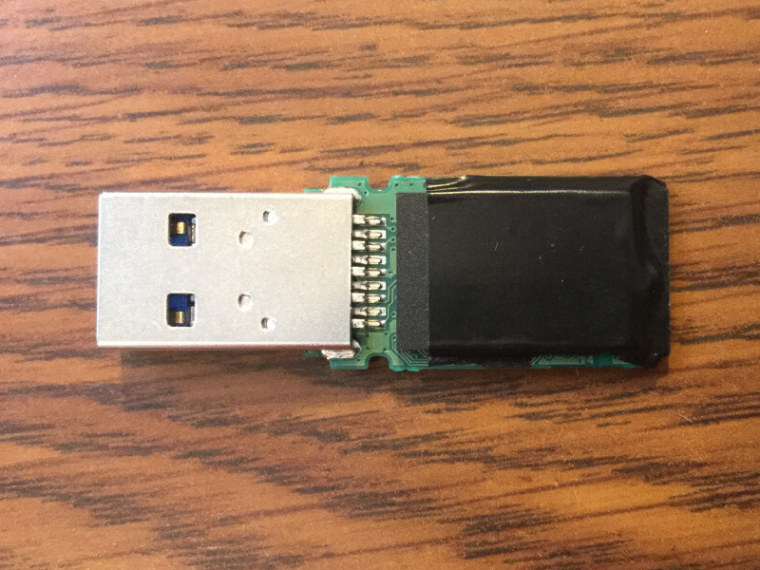
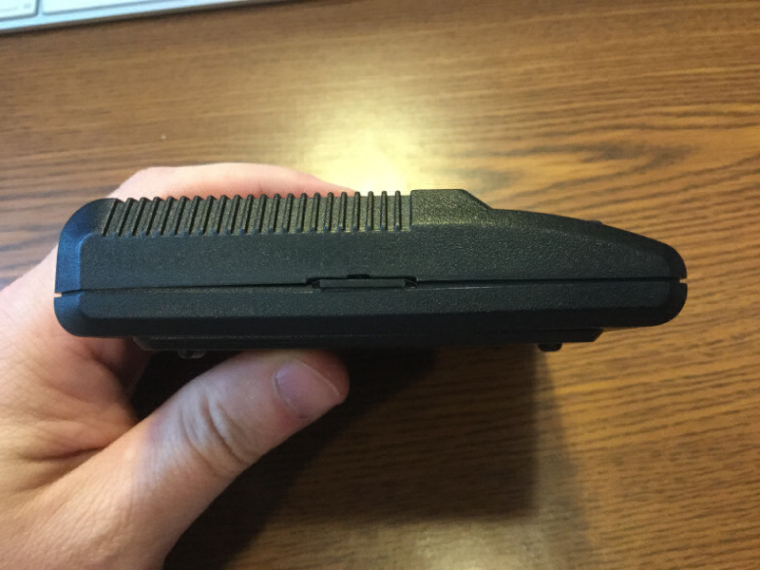
Now when it's powered up, if you aren't looking for it, you really can't see that the drive PCB is there.
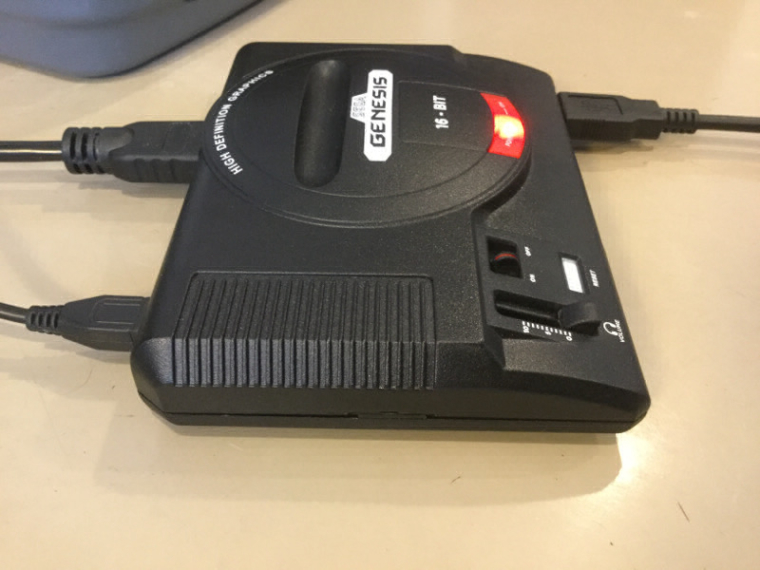
I followed the instructions on the documentation site for how to set up the drive, and I found that while the directory structure and default BIOS files were copied over, the ROMs were not, and the contents of the
retropiemenufolder weren't, so when I rebooted I got a message from EmulationStation that I had no systems installed. Removing the USB drive allowed the Pi to use the SD Card's data in theRetroPiefolder and things worked, so to get things working I manually copied a the data from theRetroPiedirectory from the micro SD card to the USB drive. I then removed all of the ROMs from the Micro SD card except one, so that way it would be very obvious if the USB drive was dead when I booted, because I'd only have one game available.SSHing in to the Pi doesn't show the USB drive, but
df -hshows it's alive and well..***. Sunday, 12 March 2017, 5:08:24 pm EDT ***** Linux 4.4.50-v7+ armv7l GNU/Linux `***' |*| Filesystem Size Used Avail Use% Mounted on |*| /dev/root 29G 4.5G 23G 17% / ..|*|.. Uptime.............: 0 days, 00h00m31s .*** * ***. Memory.............: 590408kB (Free) / 752856kB (Total) *******@@** Running Processes..: 137 `*****@@**' IP Address.........: `*******' Temperature........: CPU: 32°C/89°F GPU: 32°C/89°F `"""' The RetroPie Project, https://retropie.org.uk$ df -h Filesystem Size Used Avail Use% Mounted on /dev/root 29G 4.5G 23G 17% / devtmpfs 364M 0 364M 0% /dev tmpfs 368M 0 368M 0% /dev/shm tmpfs 368M 5.2M 363M 2% /run tmpfs 5.0M 4.0K 5.0M 1% /run/lock tmpfs 368M 0 368M 0% /sys/fs/cgroup /dev/mmcblk0p1 57M 21M 37M 36% /boot /dev/sda1 232G 267M 232G 1% /media/usb0 -
@jackal123uk , can you tell me which is positive and which is ground on your picture? Or is it necessary? I broke my micro usb and would like to try what you did.
Contributions to the project are always appreciated, so if you would like to support us with a donation you can do so here.
Hosting provided by Mythic-Beasts. See the Hosting Information page for more information.