Pi Zero W inside a SNES cart
-
Please forgive my crudeness. My first project like this. I did get the idea from seeing someone do this in a NES cart. I had a Scoobie Doo SNES game that wasnt that great, along with missing a label, so I threw caution to the wind, and decided to create my own work of art.
I also do not have full detailed pics, but I did take some before I closed the case up. I did end up trimming all that I could inside the case to make room for adapters, the USB hub, the pi itself, and the bountiful number of wires. Let me tell you, the NES cart looks easier just because it is taller, and no humps in it like the SNES cart. That made for some interesting decisions and fiddling to fit.
I originally tried to put everything on one side, IE one half of the cart. This did not work at all since I had too much cable slack and the hump part of the top half of the cart was keeping things from closing all the way. Found this out after I had hot/super glued everything in place so I had to remove it all.
After some more playing around and just sitting there attempting to tetris all this stuff into one small space, it hit me to put half of the items on one side, and half on the other.
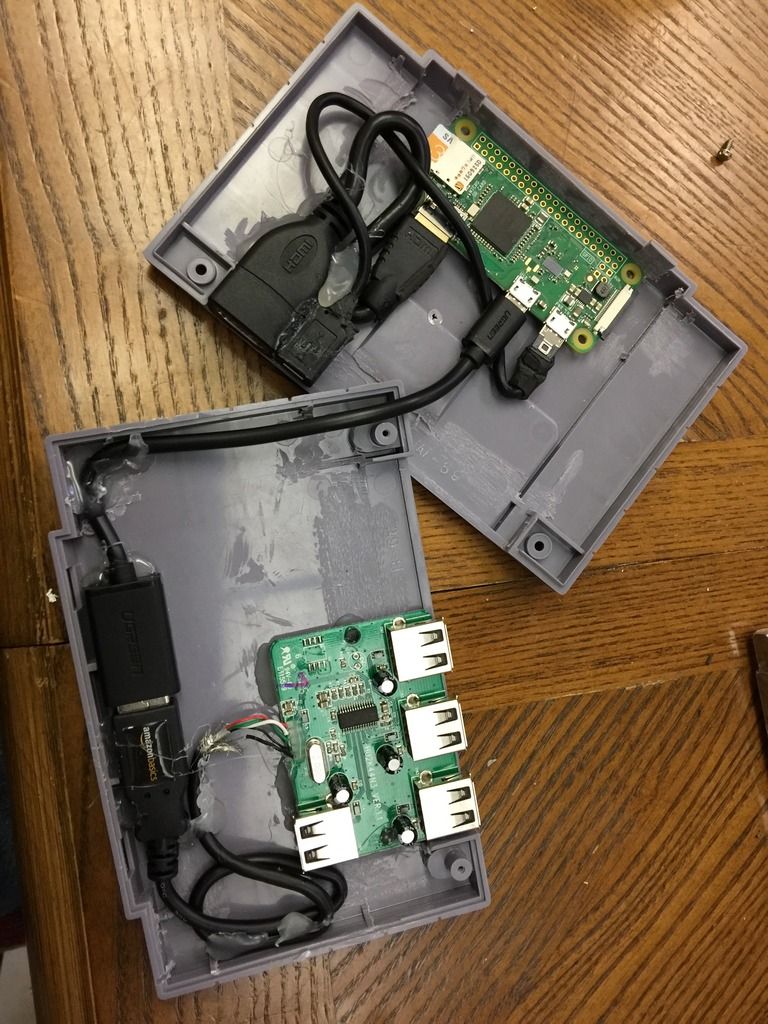
This worked out beautifully. As you can see, the top part of the cart is where the pi is. There is a little dip in the cartridge where the label is put. (but doesnt seem to be there on any other version except the US version)
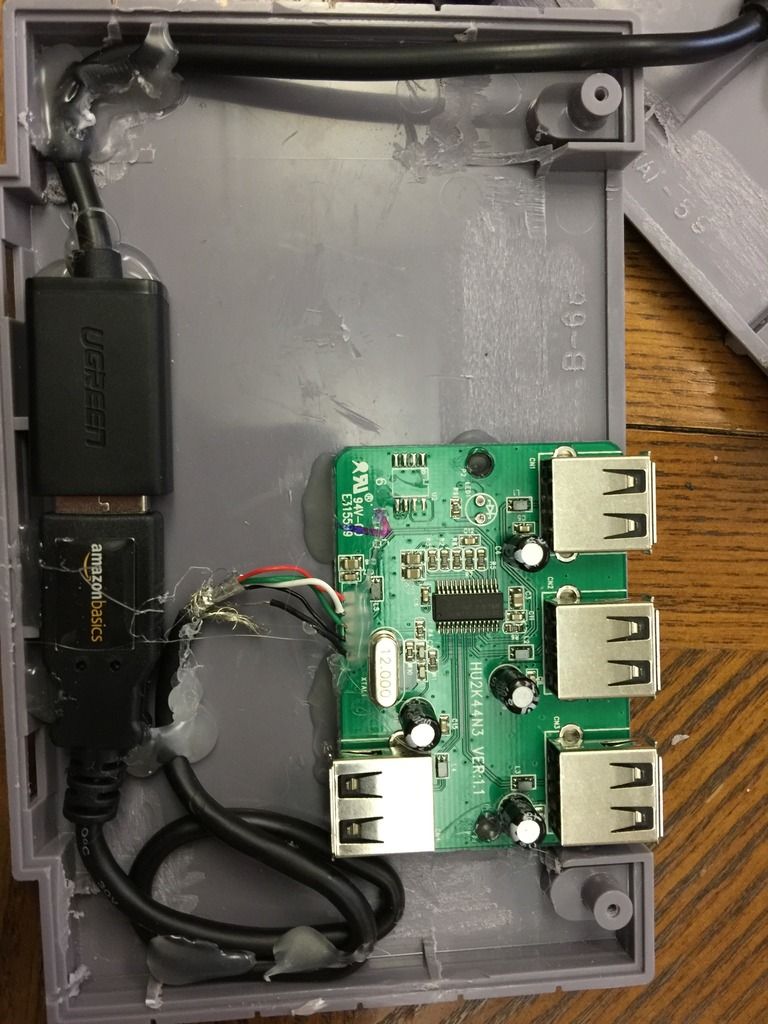
So the bottom/back part of the cart only has the USB hub and the usb to micro usb adapter. Had everything glued into place and ready to go. The only modification was removing the hub from the case and trimming the thicker part of the cable that inserts into the case. This gives for more flexibility.
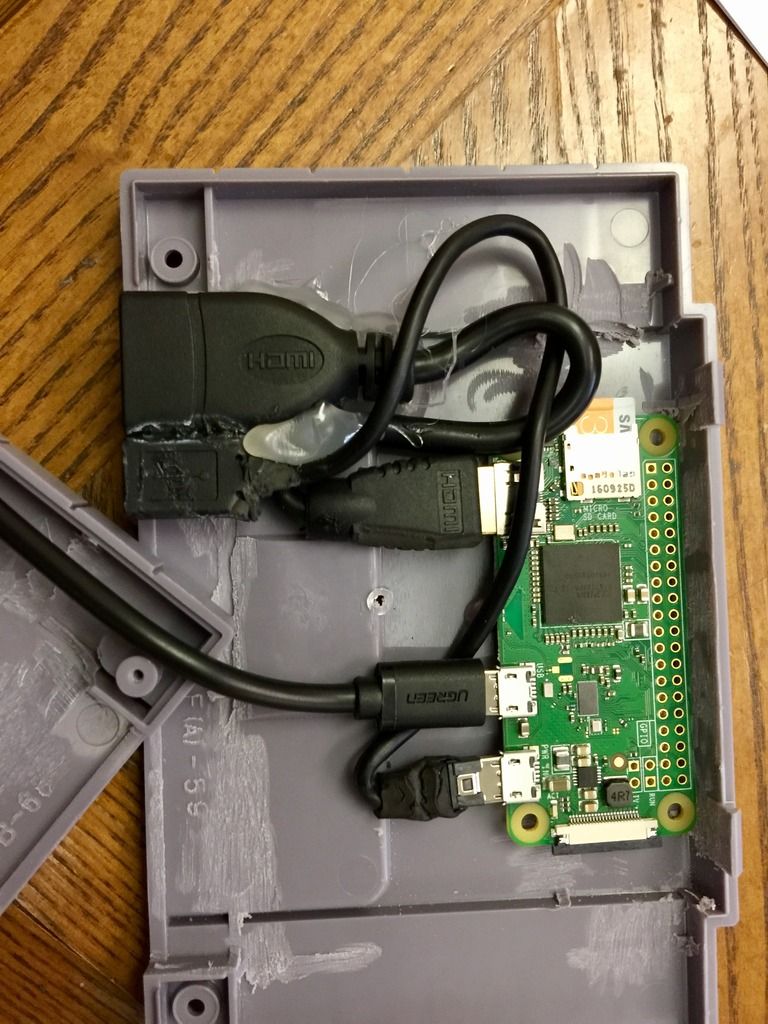
The top/front part of the cart has the pi zero w attached via double sided mounting tape, the micro to micro usb for power, and the mini hdmi to hdmi adapter. WIth this side having a hump about half way into the cart, this meant for a LOT of trimming. The micro HDMI for power needed a complete almost down to the wire trim to get it to fit into the pi. Suprisingly, the adapter for the hub needed no trimming. The mini HDMI going into the pi needed heavy trimming on the bottom in order to clear the hump. I unfortunately did not get a close up shot, but I had to basically trim it down to the connector in order to get it to fit. I then had to figure out how to run all the wires in order to get both sides to fit back together and ended up with this. Wires running between other wires, and connectors being shoved against other connectors. I dont question it, it just works. LOL.
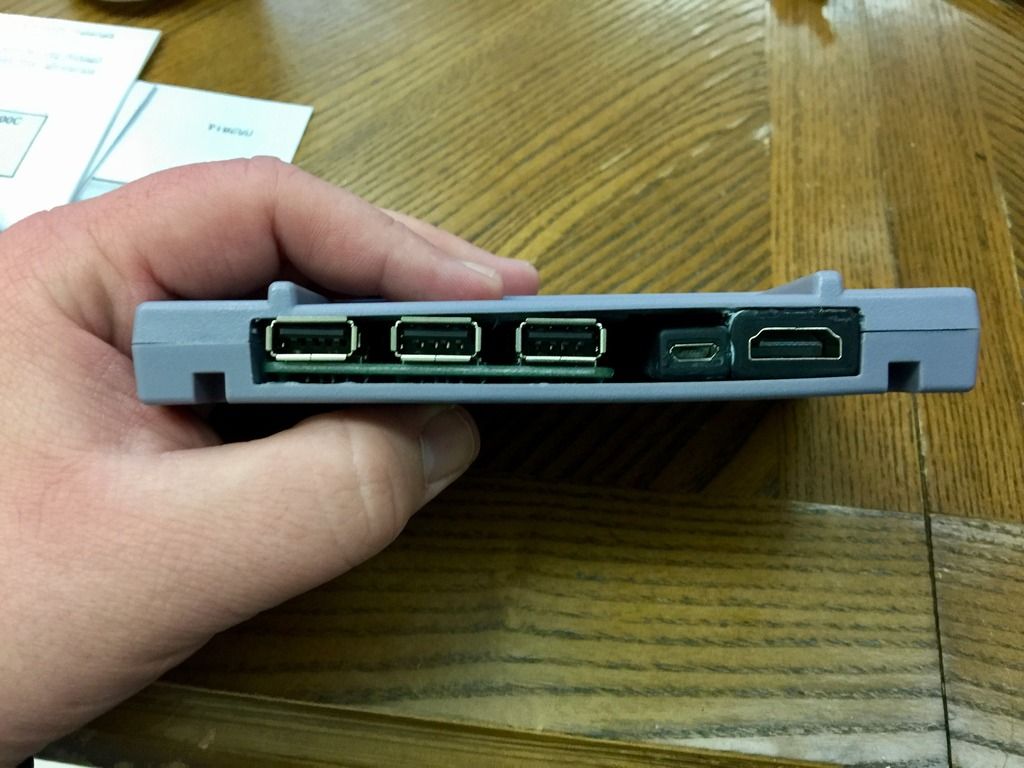
All back together and finally looks like a cart again. This picture does not do much justice. I think some of the spacing is off on the HUB along with the power and HDMI adapter. It is closed and screwed in flush, but just looks kinda odd in this pic. I showed the real thing to my friend and he said it looks a lot better in person.
Lastly, needed a label. My friend at work does some graphic design, and he took the Legend of Zelda Link to the Past label, and modded it to show the Legend of Retro label that matches the start up splash video.
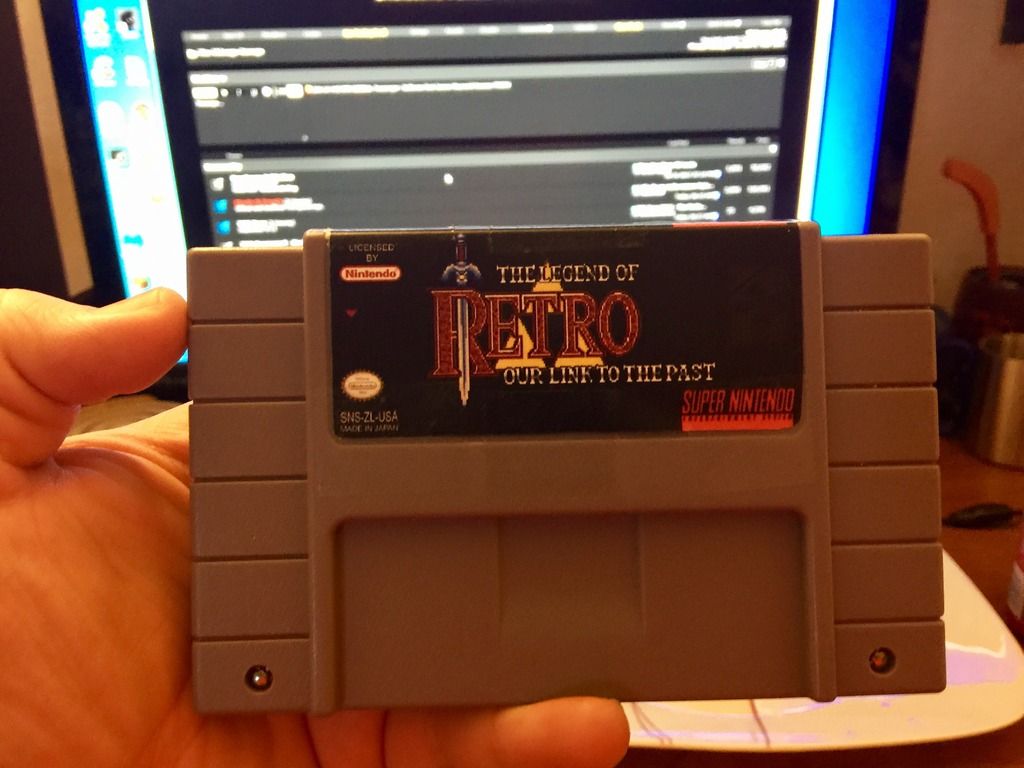
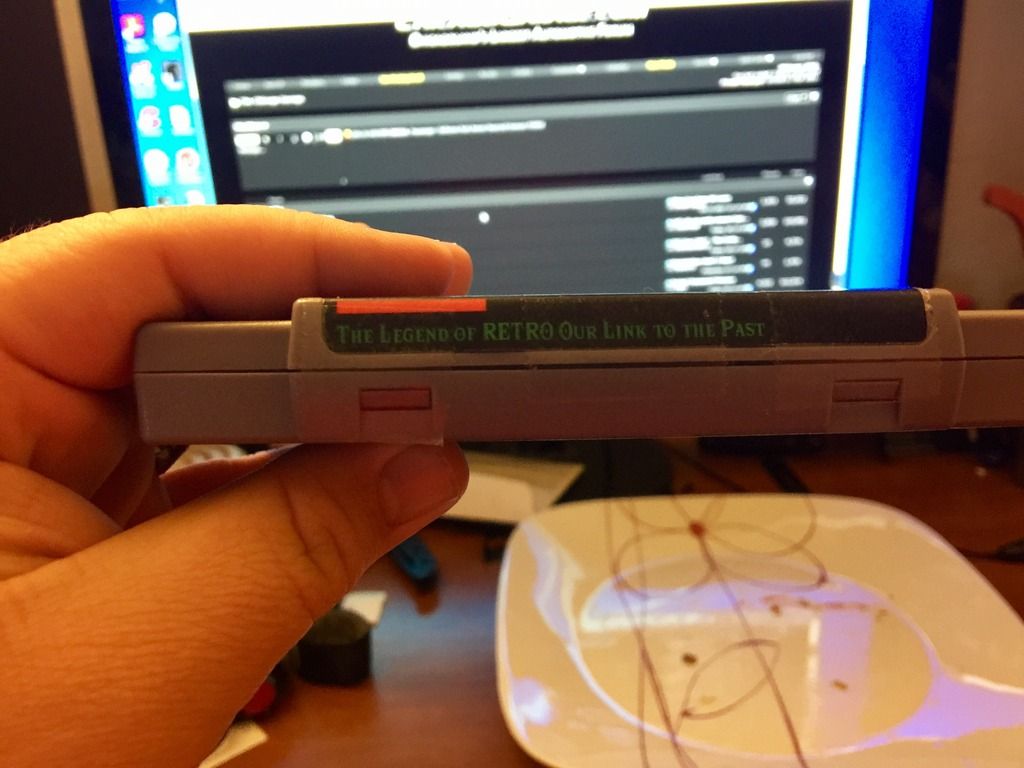
Right now its just a piece of paper taped to the cart, but my wife said she can print it at work on a sticker label, so that will be the last piece.
It was a fun project. I want to fine tune the retropie and roms on it and call it a day. Then move onto another project I saw and want to do. The NES controller with the 3D printed case for the bottom part that houses the pi.
-
Well done man, well one.
Contributions to the project are always appreciated, so if you would like to support us with a donation you can do so here.
Hosting provided by Mythic-Beasts. See the Hosting Information page for more information.