PC Engine build
-
@mrjordaaany said in PC Engine build:
@ruckage said in [PC Engine build]:
A man after my own heart. Respect the classics! Not many of these Retro consoles left, so look after them :)Always makes me worried when people tear apart old consoles just to put a Raspberry Pi in them. They are finite and only getting old (I know there are millions, but still). But its nice to see if someone does do this they do it in a way that the console can be restored if needed.
Yeah, for this one especially I didn't want to destroy it as it's much less common than other consoles (particulalrtly in UK) so the internals will be kept safe for the future and the only damage to the case will be a few drill holes - most people who mod these for RGB etc. cause much more damage to the cases than that so I don't feel guilty :) .
@herb_fargus said in PC Engine build:
@ruckage now, if you really want to be ambitious you could look into Plymouth boot...
I saw your PacMan boot a while back, I really like it. I don't think I'll try Plymouth for this build though, it does look interesting but also quite complicated and I've already made this build more complicated than I originally planned :D. Animated gif support would actually be a good option for the boot screen, I wonder if that's possible.
@mitu said in PC Engine build:
@ruckage In addition to disabling Samba, you can also disable the Wifi and configure ES with Parse Gamelists only, this way ES will not re-scan the ROM folders on start.
Thanks, I like to have the wifi on so i can access the machine easily if needed but once everything is completely setup it may not be necessary so I'll look into it. Setting ES to 'parse gamelists only' is a good tip if you have a lot systems and roms but for this build I'm not loading ES at all so it wouldn't have any impact.
@stuart2773 said in PC Engine build:
@ruckage Can't wait to see what "theme" you come up with for this build
I'm sorry to disappoint you but this build won't be using ES at all so it won't have a theme, all games will be launched by inserting my fake Hucards (I have enough plastic blanks to make 100 at least which will easily cover all the PC Engine games I'm interested in.
@flyingtomahawk said in PC Engine build:
8-9 seconds till boot video
15-21 seconds till menuI ain't braking any records here but it has become faster and that is good enough for me. Many thanks for the pointers.
Hope ruckage can cut off a bit more so I'll be following this discussion closely.That's a pretty good improvement, thanks for posting the different boot times as it gives a good indication of what changes make the most difference. Is it a pi3 or a pi2 you're using? The SD card can definitely make a big difference up to a point, you don't need a super expensive card as the SD reader is limited anyway but I've always found Sandisc Ultra to be a good affordable card with good performance (32gb is about £10 sold by Amazon).
-
Are you 3d printing the fake cards? And I assume they'll use NFC?
-
@sgtjimmyrustles They're lasercut and using NFC. Hucards are the size and shape of a credit card (only thicker) so it was relatively cheap to have them cut which makes this feasible for a large number of games (more details in my post a few days ago https://retropie.org.uk/forum/topic/14989/pc-engine-build/16 )
-
@ruckage
It's a Pi3 with a Mausberry switch.
I'll definitely have a look at different SD cards to see if I can get the boot time down a few more seconds. -
I just made what I think will be the finalised Hucard design, it's come out pretty well. There is a slight bulge on the back of the card where the NFC label is placed under the rear hucard label but there isn't much I can do about that as the NFC label has to go somewhere.
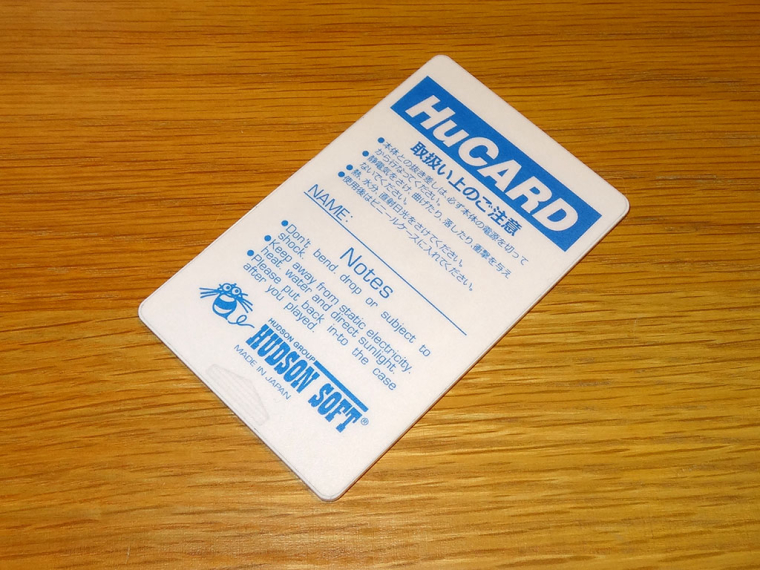
The art on the hucards will not be accurate in most cases, finding high quality scans of hucards is difficult and in many cases is just text which is a bit boring so I'm using the cover art as the hucard art. Also the artwork on real hucards varies in size as the pcb (the black area) varies depending on the game size. For mine I'm sticking to an artwork size that is as large as possible while still being fully visible when inserted into the console.
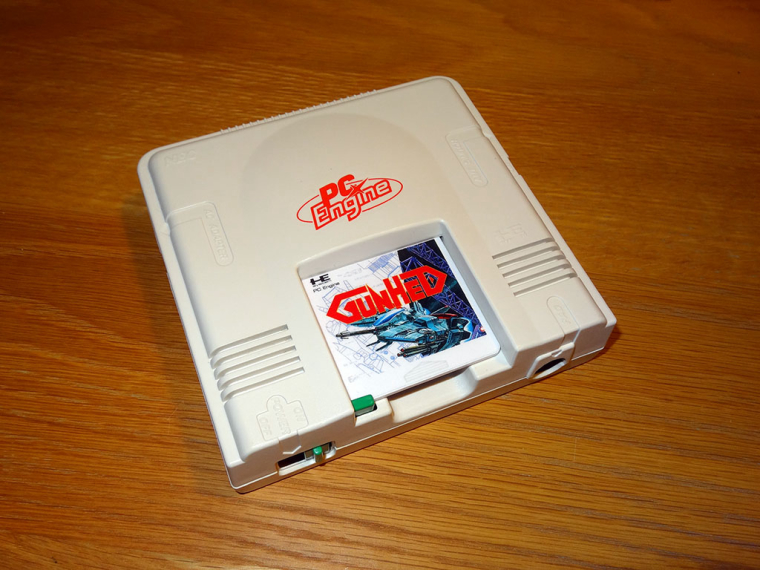
I'm also making cases for these complete with a custom made insert to really add the finishing touch, I'm really pleased with the way they look.
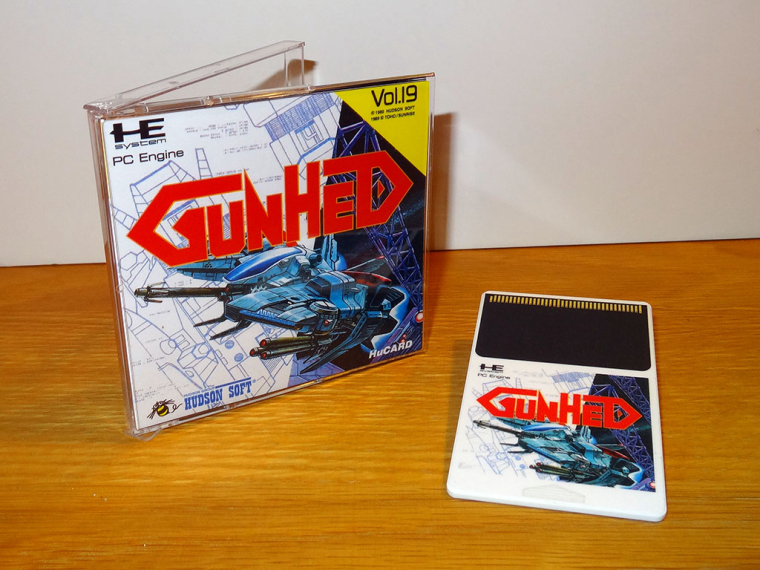
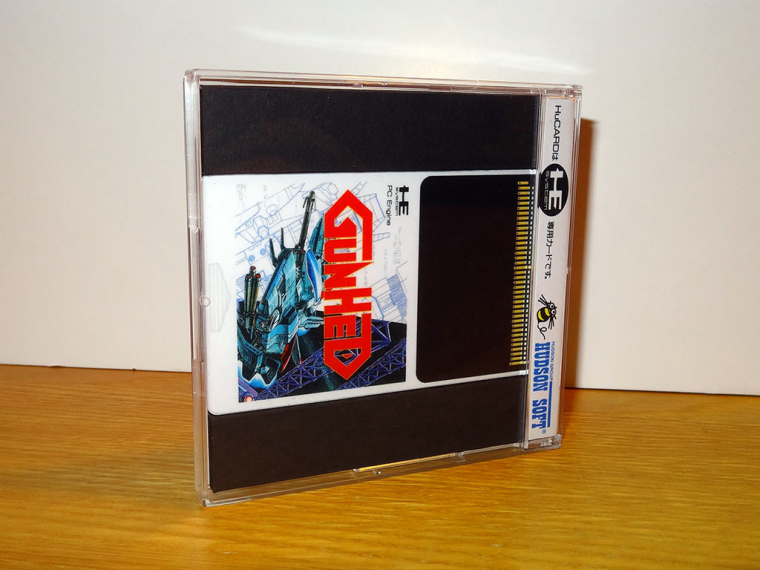
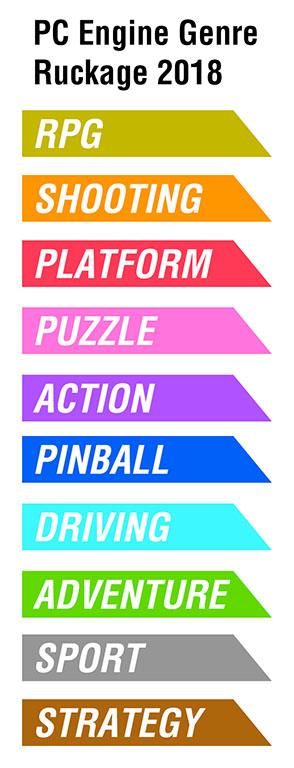
You can't see in the photos but at the top of the spine I have a colour coded genre similar to TurboGrafx 16 boxes, these I think will cover most games.
-
Funny you show this game. Just saw it yesterday at Hard Off for 12000 yen. So you just saved yourself a big amount of money.
A guy that I used to have contact in Yokohama owns the complete Shmups collection for PCEngine and some were REALLY expensive he said.
Still I don't understand how you gonna run these games without ES. Is there a different software you gonna use? Can you explain more details?
-
@flyingtomahawk Kinda going off memory here from the NESPI project. But what would happen is he would insert the "HuCard" into the slot and underneath would be the NFC reader. When he presses a button or toggle, the reader will read the rom on the NFC sticker, pass the rom along to RA which would load it in the proper emulator.
-
@flyingtomahawk said in PC Engine build:
Funny you show this game. Just saw it yesterday at Hard Off for 12000 yen. So you just saved your self a big amount of money.
A guy that I used to have contact in Yokohama owns the complete Shmups collection for PCEngine and some were REALLY expensive he said.
Still I don't understand how you gonna run these games without ES. Is there a different software you gonna use? Can you explain more details?
Yeah some of the games for PC engine are stupidly expensive, i'd never be able to afford most of the genuine hucards so It will be cool to have a collection with all those rare games (even if they are just pretend :D )
@lilbud is very close with how it works, mine is bit different to the nespi as everything happens automatically when the console is switched on.
I've modified autostart.sh and have removed emulationstation from it (this means that ES isn't launched) and in it's place I call a python script. The python script reads the nfc (using nfcpy library) which contains the rom name and launches the game using 'Runcommand' which is exactly the same way ES launches the games as well. -
~~So how do you get those games/roms into the hucards? Where did you get the python script from to let it read that game data and then run them?
I am not familiar with the NESPI build. So forgive me the questions.~~
Never mind. I'll just keep watching this build and see how it goes. I probably will never build anything close to it so no need to know everything behind it.
-
@flyingtomahawk Me too. PC Engine's that look like they were used as a doorstop are way too expensive and the nearmint ones are even more. I wanted to solder a microsd usb reader to a hucard's pins but that also might've been near impossible.
-
@flyingtomahawk said in PC Engine build:
~~So how do you get those games/roms into the hucards? Where did you get the python script from to let it read that game data and then run them?
There's a NES mini build with NFC support explained at http://www.daftmike.com/p/nespi-software-install-guide_30.html. The concept I think is the same - read the NFC card label and then execute a command on the Pi. Note that the game is not on the card, it's just the name of the game. The script reads the NFC label (name of the game), searches for the ROM file (on the Pi) and then executes
runcommandwith the proper parameters to start the emulator for the ROM name found on the NFC card.
The code used is published at https://github.com/imdaftmike/NESPi.git . -
@mitu
Now that makes sense.
So the the card is just a trigger to load the rom which is on the SD card. Cool stuff! -
@ruckage
Sorry to go again off-topic with the following question.I was looking at SD cards on amazon and they offer 2 types of SanDisk Ultras.
One is red/grey and says Class10 / A1 Sandisk microSDHC 98mb/S GB Ultra SD
They other is white/grey and says Class10 Sandisk microSDHC Ultra 80MB/s GB
Can the Pi read either one? -
Hi. Yes, both should work. A1 should technically be better I think (it's a new rating that I believe signifies good 4KB read/write performance which from my reading is important when it comes to the pi). My current card is A1 and works perfectly. Just make sure to buy directly from Amazon themselves as there are a lot of fake SD cards around.
Regarding your previous question, @mitu description is correct. Mine is slightly different to daftmikes as I don't have an arduino as a middleman reading the tags, instead I have it connected directly to the gpio and I'm using a python library to read the tags ndef data. To write the tags I'm just using my tablet and an app which i think is called nfctool. Daftmikes software is much more advanced than mine as it handles multiple systems and can also write the tags, I didn't need that so mine is quite simple.
I'd post a link to the tutorial I followed but the site doesn't seem to be working, there is a google cache of it though https://webcache.googleusercontent.com/search?q=cache:fPoZv3oSw_kJ:blog.digitaloctave.com/posts/hardware/nfc-module-v3-raspberry-pi/+&cd=1&hl=en&ct=clnk&gl=uk
My code is based on the sample from that tutorial, I'll post my code below though I'll probably tweak it some more before I'm finished, it could be simplified (particularly where it joins the strings to create the command) but I'm trying to keep it easily readable.
import subprocess
import nfc
import ndef
from nfc.tag import tt1
from nfc.tag import tt2
from nfc.tag import tt3
from nfc.tag import tt4


tagtypes = (
    ('uid', nfc.tag.tt1.Type1Tag),
    ('uid', nfc.tag.tt2.Type2Tag),
    ('idm', nfc.tag.tt3.Type3Tag),
    ('uid', nfc.tag.tt4.Type4Tag)
)


with nfc.ContactlessFrontend('tty:S0:pn532') as clf:

    tag = clf.connect(rdwr={'on-connect': lambda tag: False})
    record = tag.ndef.message[0]
    rom = nfc.ndef.TextRecord(record).text
    rom = rom + ".zip"
    path = "\"/home/pi/RetroPie/roms/pcengine/"
    command = "sudo /opt/retropie/supplementary/runcommand/runcommand.sh 0 _SYS_ pcengine "
    command=command+path+rom+"\""
    subprocess.call(command, shell=True)
Edit: Forgot to say, daftmike is a really nice helpful guy. I've sent him a few emails and he kindly pointed me in the right direction to buy an NFC reader after my fake one didn't work as expected.
-
Thanks a lot for explaining. Now things start to make sense.
Regarding my boot time, not sure why but I had a 16GB Class 4 SD card inside my Pi3. That might explain why I had slow loading times. I have a 32GB SanDisk Ultra Class 10 A1 coming my way now that should hopefully speed things up a bit.
-
@flyingtomahawk
You should definitely notice a difference going from a class 4 to class 10 SD card, will be interesting to see your boot times with the new card.The cable you're looking for is just called a 'micro sd extension cable'
I think this is the one I bought but they should be fairly easy to find on ebay/amazon as well.
https://shop.pimoroni.com/products/microsd-extension-cable -
Thank you.
I found the cable info in your SNES build right after I wrote here that is why I removed it.
Will order it now and see where to put it inside my Famicom. -
@flyingtomahawk
:D I hadn't even noticed you removed that from your message.
I can't think of anywhere obvious you could put the extension cable apart from maybe in the cartridge slot. I'll have to have a look at my famicom as I can't remember what ports it has and I'll likely use an extension cable as well when I do my famicom mod. -
Got my SanDisk Ultra Class10 A1 SD card today and slapped on my backup image file.
I did 10 boot ups and I get 9 seconds to boot video and 15 seconds to menu consistent. No ups or downs in boot time, always 9 and 15.
Maybe if I remove the splash video I can get the time lower but then all the fun is gone and I really like the splash video. -
@flyingtomahawk
That's a nice improvement. You might find that ES is already loaded a bit before that and the splash video is playing over the top of it. Could you try without the splash video to get an accurate boot time?What splash video are you using by the way?
Contributions to the project are always appreciated, so if you would like to support us with a donation you can do so here.
Hosting provided by Mythic-Beasts. See the Hosting Information page for more information.