Bartop Arcade
-
I decided to try my hand at making one of these fancy bar top arcades that everyone seems to be talking about. I purchased the PI last December, started going through the rom set that I got, deleting games that I knew I wouldn't play. Then I stopped working on it for no real reason for a few months, had my first child in July, then really ramped up my efforts to get it done before Thanksgiving so that my family could all enjoy it.
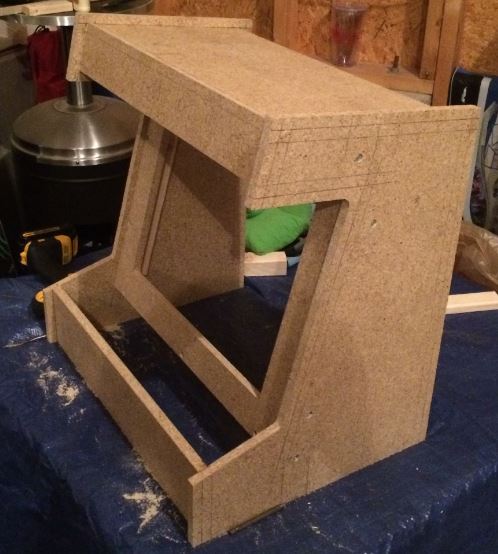
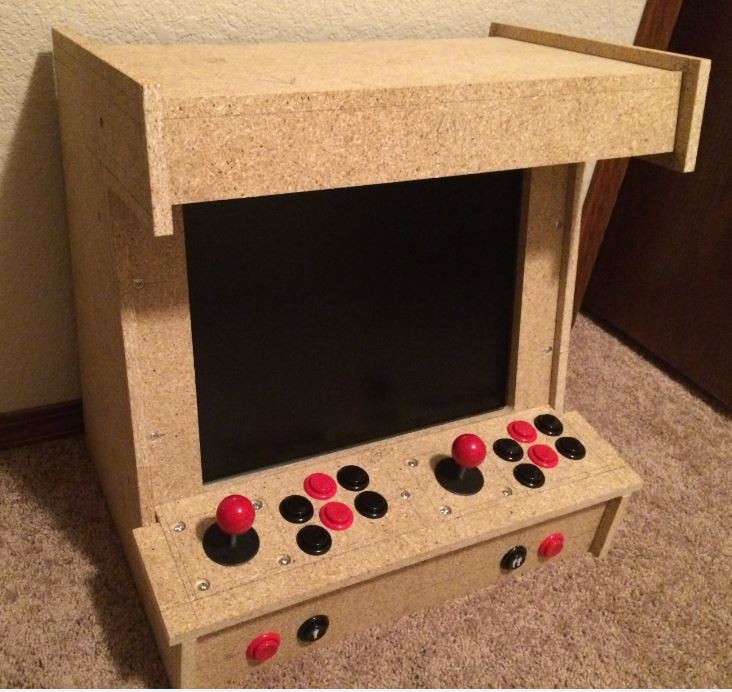
I started the project with just two measurements in mind, and then built off of guess and check the rest of the way. Looking back, I got extremely lucky. The first measurement I wanted to be sure to stay within, was the depth. Since this was a bartop build, I wanted to make sure that the base would not be deeper than my bar top. I measure the bar that I have in my kitchen now, and it measured right around 15 inches deep. So this is how deep the deepest part of the arcade is.
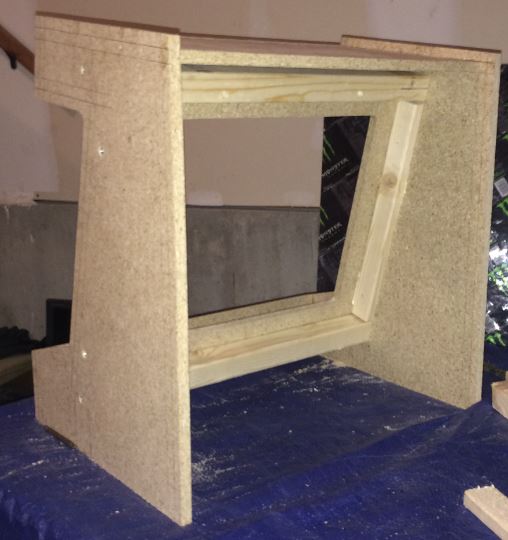
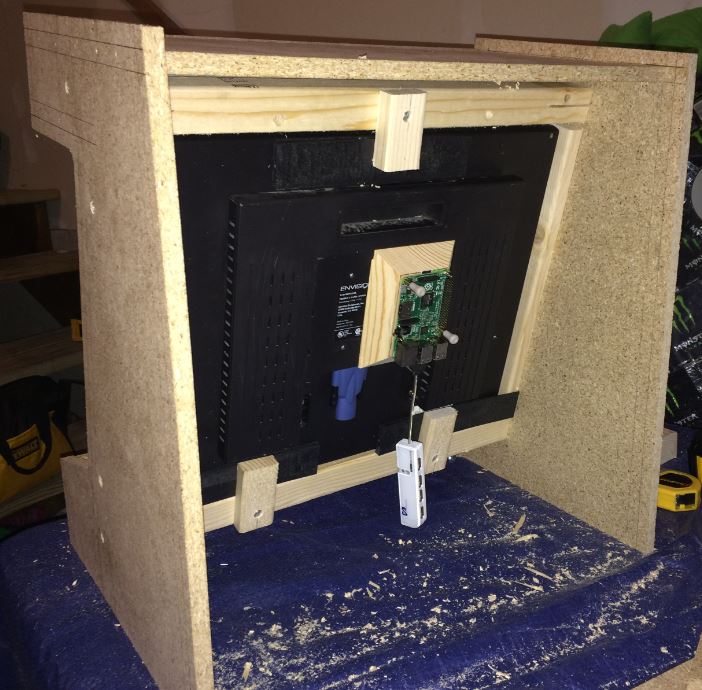
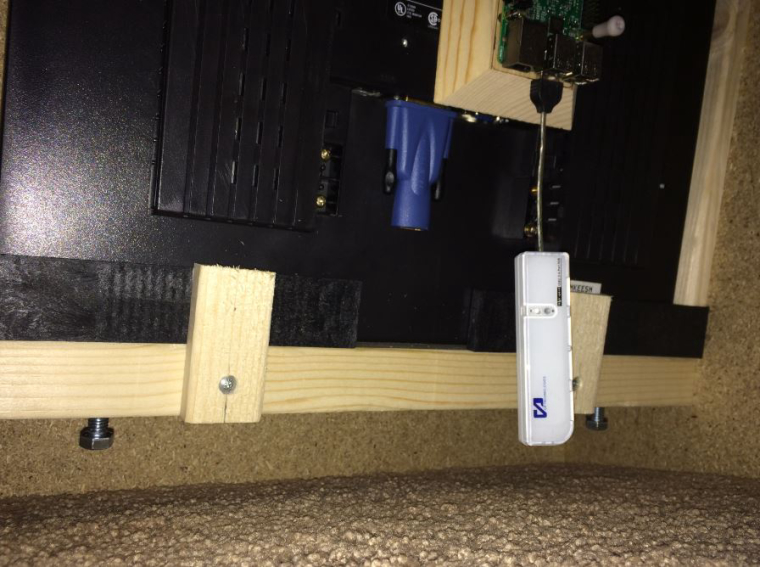
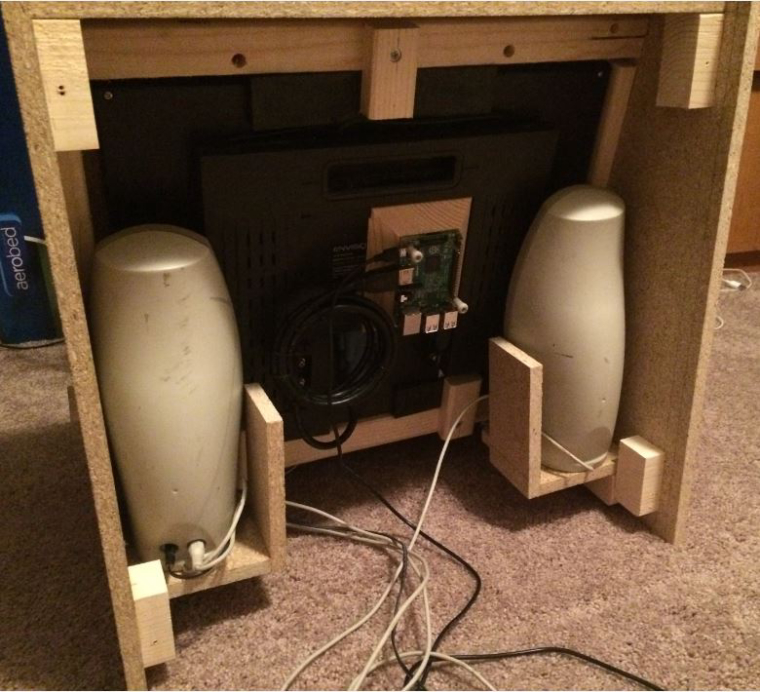
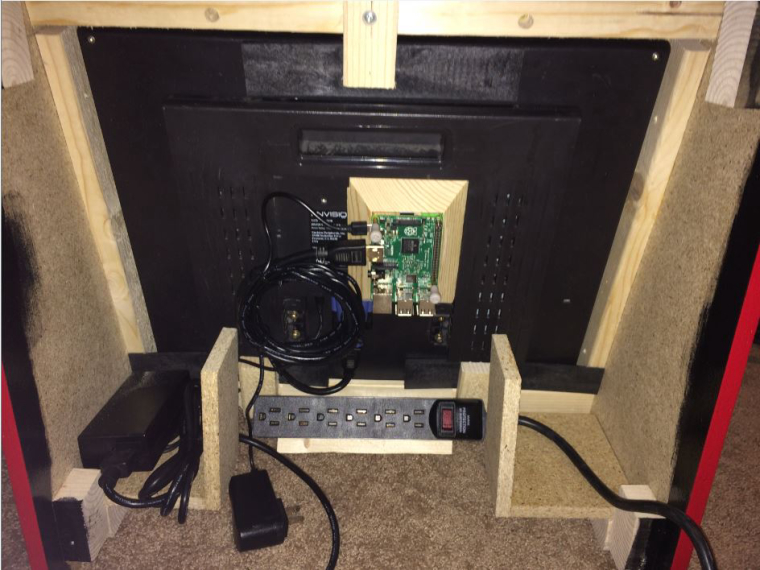
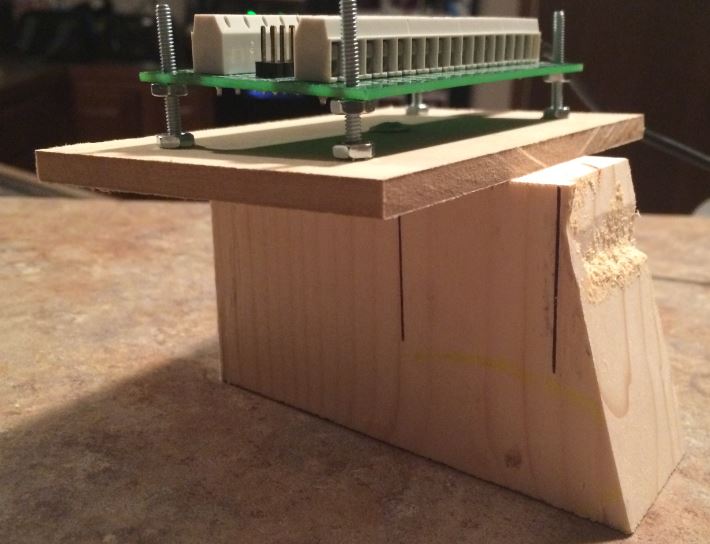
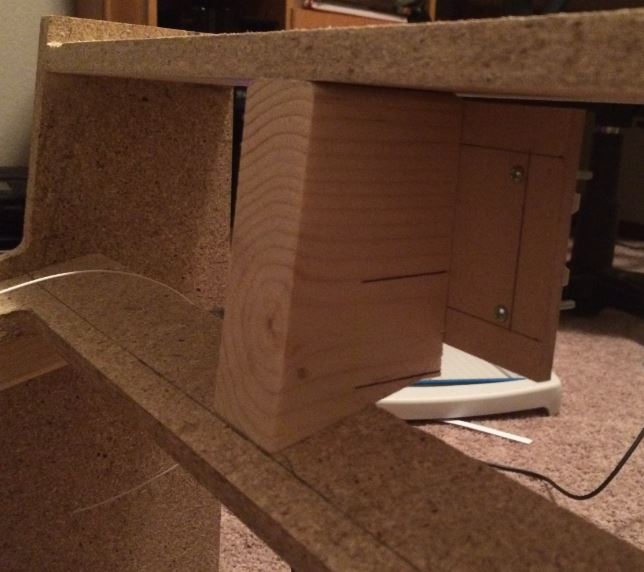
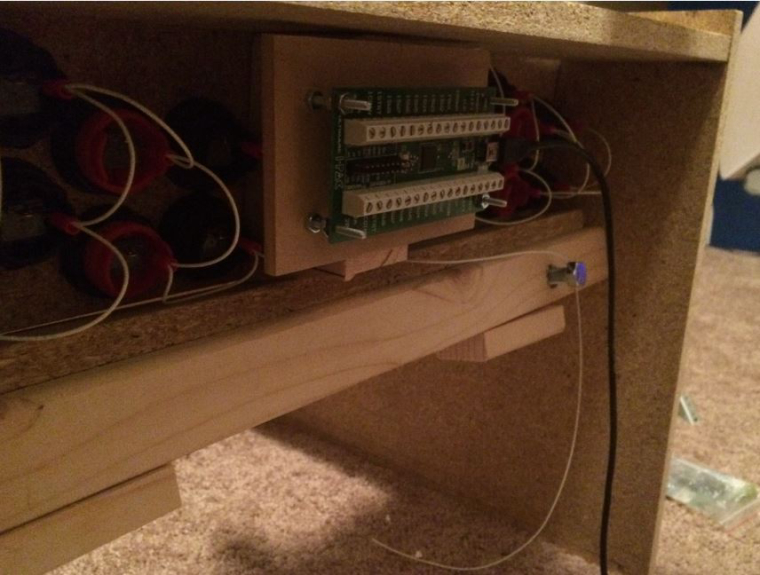
For the second measurement, I decided I wanted it as close to as wide as the monitor was. After getting the framing around the monitor and everything, I achieved just that. Everything else was built around those two measurements. Even the slant for the angle of the monitor was just done by a guess. You will see that the internals are pretty tight quarters, however, nothing needed to be modified after the fact. I tried to make everything as future proof as possible. So the screen can easily be taken out if it ever goes out on me. Also the control panel is removable, and will lift straight up out of the cabinet if I needed to do any work on it. That was part of the reason I designed the IPAC mount the way I did, and also why I kept as much as I could related to the control panel, on the control panel fro easy removal.
Had a lot of help from a family member who is a carpenter. That was probably the most enjoyable part of the project, was getting to learn how to use some of the correct tools for the job. The screen piece, and both side pieces were cut out using a template that I made with his help. Then we used a router to get the cabinet pieces cut from the template.
Also wanted to give a shout out to everyone on here, and all the people who have played their part in the creation of RetroPie. It's amazing talent from you that allows simple people like me to have an idea based around your core, and build something that is so great! Thank you for the time and effort. I look forward to the next project now, using RetroPie as the OS.
Specs:
Raspberry PI 2 model B (~$25 with jet.com first time order deal)
16 gig SanDisk (~$15 from Bestbuy)
19 inch 4:3 LCD monitor with DVI to HDMI converter (Had both laying around)
JBL speakers (Hand me down, very good volume, good amount of bass for cut scenes)
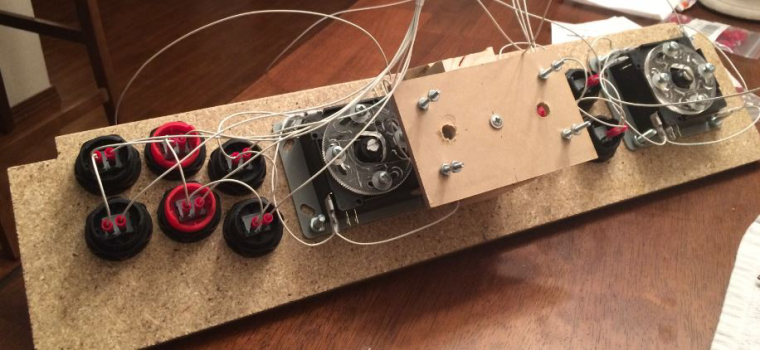
IPAC2, Buttons and Sticks from Ultimarc (~$150 after tax and shipping)
Surge protector from Walmart cut up to work with an old PSU switch/outlet (~$10 for a two pack)
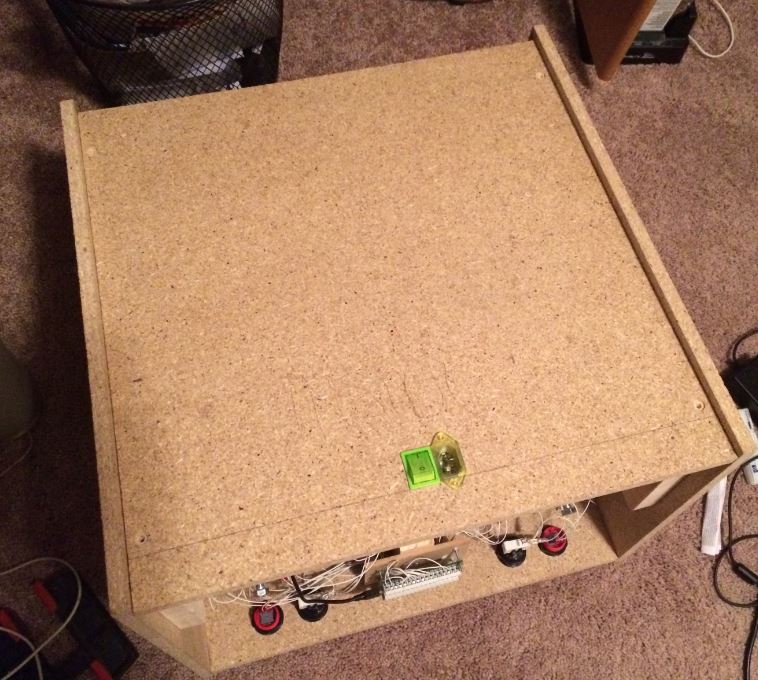
1/2in particle board 4x8 sheet (~$7 damaged item)
2x6x8 board for IPAC mount (~$4)
2x2x8 board for screen frame ($2)
Pan head screws (~$3)
Screen Adjustment bolts/threaded inserts (~$5)
Wire (From a friend, aircraft grade 24 gauge)
Paint (Black was laying around, red was picked up as a sample from lowes, ~$4)
Polycrylic (~$17)
Connectors (Free, Amazon messed up twice and gave me money back on both)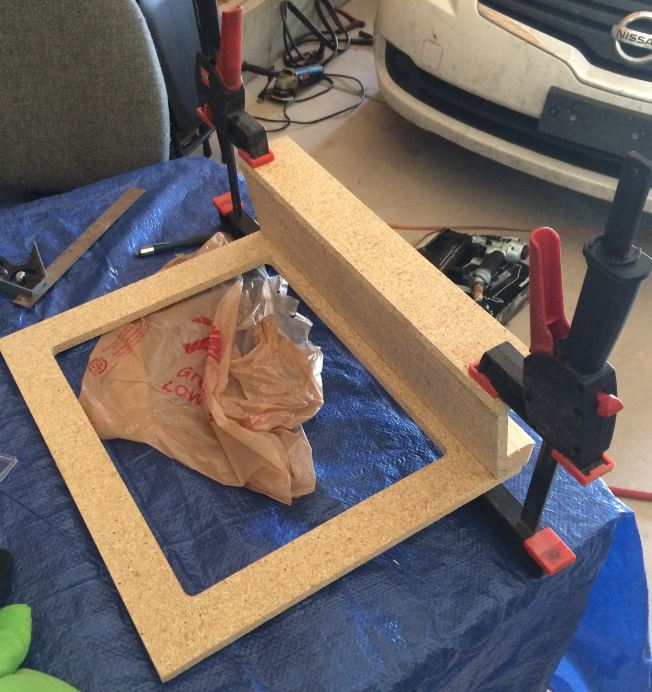

-
That is very good looking.
-
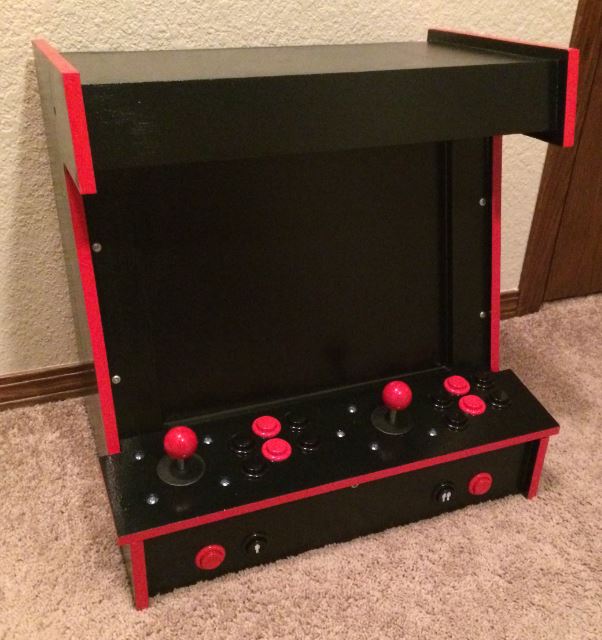
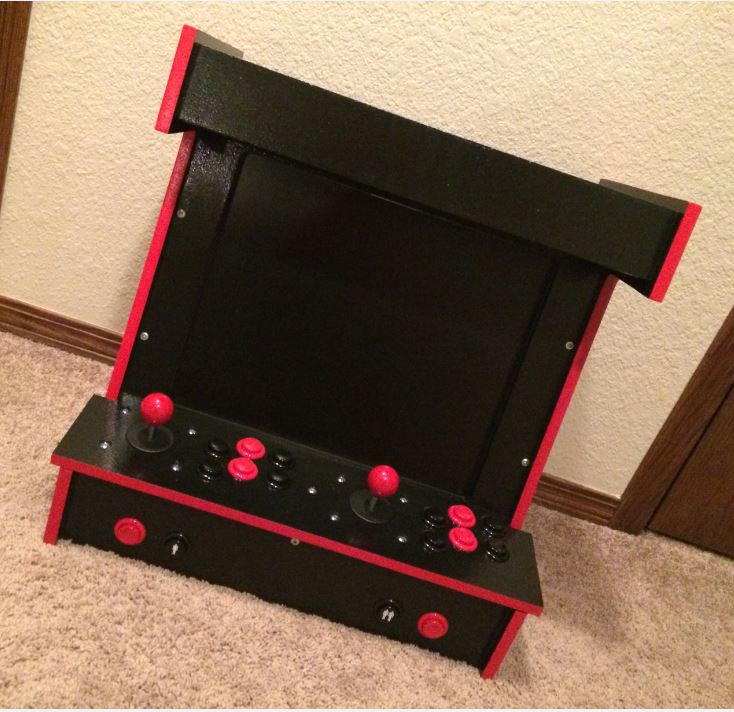
Nothing like classic red and black.
Contributions to the project are always appreciated, so if you would like to support us with a donation you can do so here.
Hosting provided by Mythic-Beasts. See the Hosting Information page for more information.