Pi in a Dreamcast VMU Build - WIP
-
@ABrugsch When you remove a component that has through hole and surface mount parts to it, like that USB port, how do you go about it? Things like that kick my butt every time and I end up making a huge mess.
How did you go about replacing the inductor? It looks like all of the contacts are underneath it.
-
@obsidianspider it was a bit of a bitch tbh... The tall Inductor was in the way of the usb so that had to come off first... Bit of hot air, but not too much because of the surrounding stuff, bit of light prising with the hot iron but again not too much that the opposite pad doesn't lift. And just go back and forth til is comes off. Then the usb port i got lucky with as one side wasn't too well soldered and some wick got most of the through hole part. Then more flux and wick for the surface mount legs with some gentle prising with heavy tweezers.
This was pretty next level desoldering really! But then I'm a soldering ninja ;)

-
@ABrugsch If you've seen my cut down Pi 3, you'll notice that I am definitely not a ninja, but I'm working on it.
-
@obsidianspider said in Pi in a Dreamcast VMU Build - WIP:
@ABrugsch If you've seen my cut down Pi 3, you'll notice that I am definitely not a ninja, but I'm working on it.
It's not too bad really. Those ribbon sockets are super tricky to get off cleanly. My very first attempt at an A+ looks much worse than that... I'll get a pic...
Edit: check this https://www.hackster.io/abrugsch/mameboypi-ff2428 -
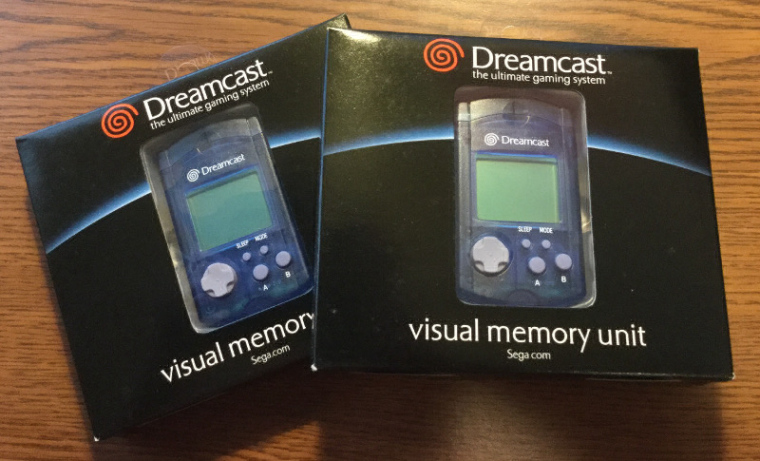
My blue VMUs arrived today. Brand new, perfect shape, and yeah, small. I know I read the dimensions on the Internet, but seeing one in person is different. I hadn't seen a VMU in real life in at least ten years, and wow, this is going to be interesting. Screens are still on their way over from China, but I can work on finding test points for the buttons and hope that there's some common grounding going on.
-
@obsidianspider I have that problem all the time! Design a PCB, see the components all zoomed in, think nothing of if, then I see those smd components arrive in the post, and I need a microscope!
want to get a tft into your project, look no further than here https://retropie.org.uk/forum/topic/7464/ili9341-tft-screen-guide
-
@moosepr At this point it's more of a sense of "how the heck am I going to do this?"
I look at my Burger King toy and that thing looks absolutely massive by comparison.
-
@obsidianspider that's what she said :|
-
some helpful info @obsidianspider : the zero fits exactly between the screw posts :) perhaps some shaving required, but literally scrapings.
the main pcb has screw mountings right next to the button pads so ideal for cutting down. I haven't tested for common ground etc but i don't think it'll be a problem with 4 buttons and 4 directions.The 1.44 128x128's take up less internal space than the original mono LCD, especially once you remove the carrier PCB.
if you line up the uSD card to be at the bottom, you can cut out the lanyard post and surround and have a perfectly lined up hole for uSD access. -
@ABrugsch Thanks for the tips! I have a bunch going on this weekend, but if I get time to take a VMU apart, I'll be sure to post up what I find regarding test pads, etc.
-
I'll be playing on tuesday night (my hackerspace night) assuming I'm not spending the whole time desoldering DS lite Slot-2 cartridge ports! (I'm doing a roaring rade in them now...!)
and that the whole space isn't in disarray because of a large storage project going on. -
I took apart one of the VMUs on my lunch break today. I took a load of pictures, but this teardown at iFixit does a really good job of explaining things, so I won't reinvent the wheel here.
I wanted to see if I could use the tiny speaker from the VMU right off the Pi's GPIO, so I tried using the Adafruit Pi Zero PWM Audio guide to enable PWM. Since I'll be using Retrogame, I just used the image that I had already set up for my Burger King build. Unfortunately I got crazy boot errors.
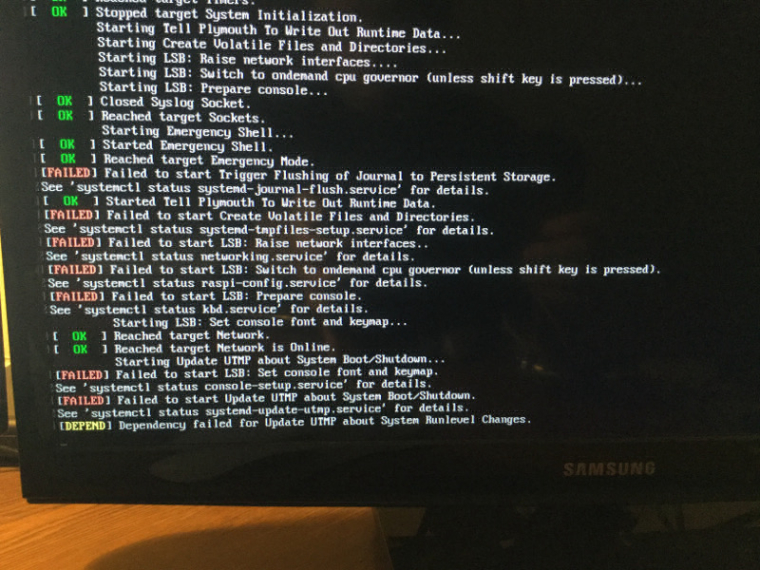
Since I was really just trying to see if PWM worked, I put a fresh image on the SD card, set the dtoverlay, and then, well, no sound.
I knew these speakers are tiny, and generally low quality, so I decided to see if the GPIO just wasn't powerful enough. I wired it up to the amp that's powering the speaker on my GBA build, and even with things cranked up, it was really quiet. The VMU speaker is effectively out.
If can't get sound to work on this tiny thing, it won't break my heart, but once parts show up, I'll see if I can cram a tiny Adafruit I2S amp and speaker in the case along with everything else.
-
@obsidianspider did you take the metal disk out of the casing? They make practically no noise without some form of casing round them to amplify it a bit
want to get a tft into your project, look no further than here https://retropie.org.uk/forum/topic/7464/ili9341-tft-screen-guide
-
@moosepr Yeah, it was out of the case, but even with my hand cupped around it, and plugged into the 2.5W Adafruit amp, it was still really quiet. If I'm going to have to run an amp anyway, I might as well get a speaker that;s more than a piece of brass with a blob of solder on the back of it.
-
@obsidianspider Yeah it's never going to replace your HiFi, but back in the proper casing it will get louder (that's the magic that gives you musical birthday cards)
They are actually a thin later of peizo crystals that make the disk flex when voltage is applied
-
Yeah, piezos need casing. I could never understand why my watches in the 80's didn't make a sound when i took the piezo out of its holder...
-
@ABrugsch I'll see how things all fit in the case, but I have a feeling that area normally used as a "speaker box" will need to be ground down so it can be filled with battery.
-
I have the same feeling but hope i can maybe 3D print something that works better
-
@ABrugsch 3D Print a whole case? Kind of defeats the purpose of putting it in a VMU shell, no? Or just a speaker box for inside?
-
surface mount piezo's can be pretty small, and are all self contained
http://uk.rs-online.com/web/p/piezo-buzzer-components/6198456/
12x12x3mm could maybe squeeze one in somewhere
want to get a tft into your project, look no further than here https://retropie.org.uk/forum/topic/7464/ili9341-tft-screen-guide
Contributions to the project are always appreciated, so if you would like to support us with a donation you can do so here.
Hosting provided by Mythic-Beasts. See the Hosting Information page for more information.