My SNES Build
-
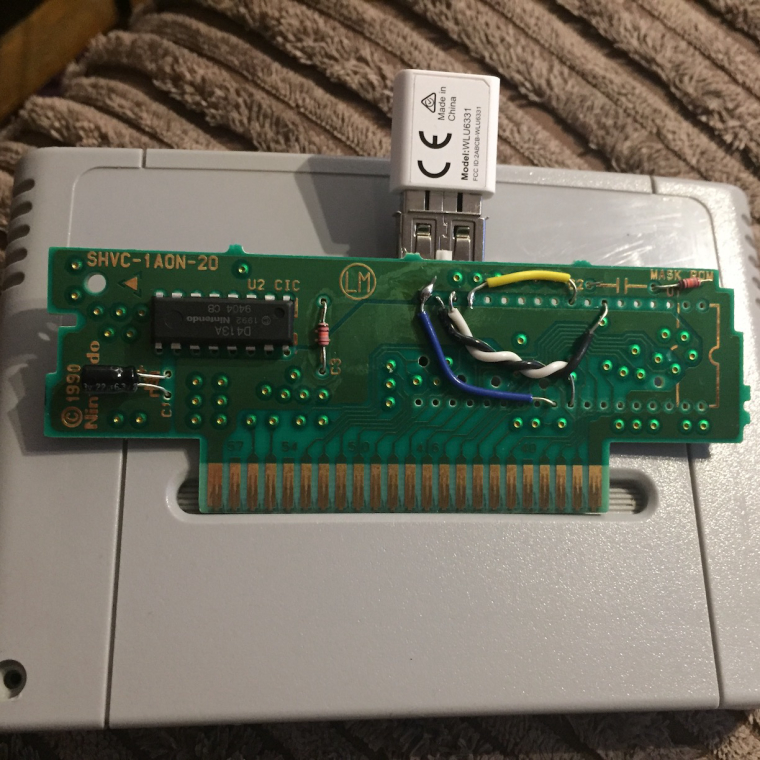
@jsawhite Point taken about the data wires; I'll tidy those up.
Curiously, I've tried the same hub (I actually picked up two) directly in the Pi zero with an OTG adaptor and it's still not recognised, although works fine in a full sized Pi. Could it be something with the OTG protocol and hub rather that my sloppy wiring?
-
@jackal123uk it certainly can be the hub with a pi zero. You should jumper the 5v off of the power going in and not off the usb ports power.
-
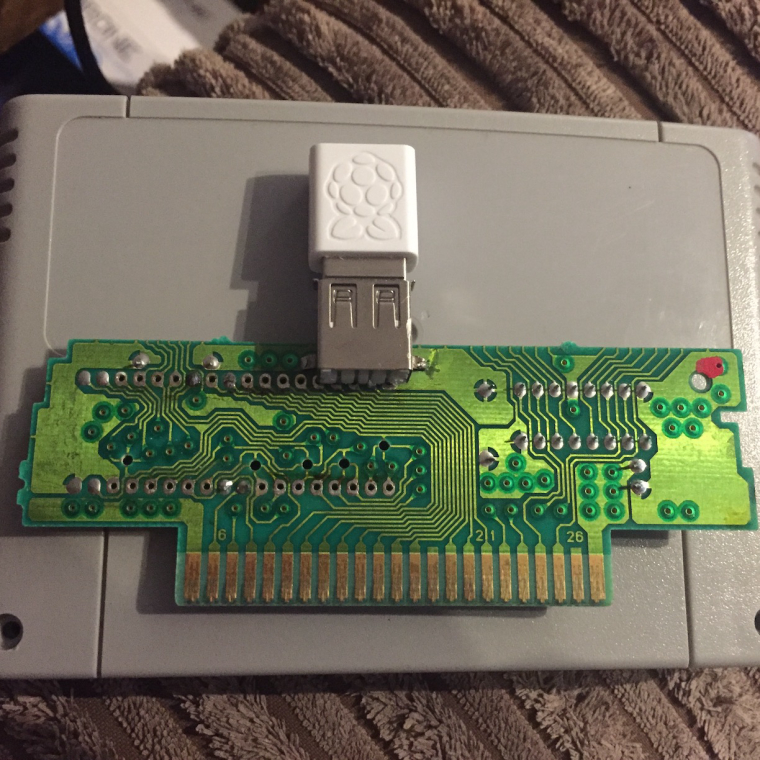
I've tried a couple of different hubs now with no success through my cartridge connector hack job. Neither work connected directly to the pi by USB either.
Just to make sure I wasn't going mad I connected a single USB port to to my cartridge adaptor and low and behold it works fine - at least I know my wiring's not to blame. Guess I'll need to pick up a hub that's confirmed to work with the zero.
-
@jackal123uk I've read in more than a few places that the Zero doesn't do well with powering hubs, but if you power the hub from the same 5V source as the Pi you'll have better results. To echo @edmaul69's comment about powering the hub, what might be worth testing would be to use the same hub that you were having trouble with, but instead of using the OTG power pins, use the 5V pins from the GPIO.
-
@jackal123uk i use the rockband usb hub. The one that has 4 usb ports in a row that is not self powered. The only issue i found is if you are going to set bluetooth or wifi you have to unplug every device except for that device and your keyboard. It wont accept you wifi password if you dont. It still may take 2-3 tries even if you do as i said. Even with a powered hub. The pi zero is kinda wonky with that.
-
@obsidianspider The supply to the cartridge connector has always come from the GPIO 5V pin so I'm not convinced it's a power problem.
I've just found a old hub that I had laying around (a Trust 4-port usb 2.0) and surprisingly it works. Incidentally it uses the GL850G controller which is different to the others I tried - maybe there's something in that. Anyway, it managed to connect to wifi and a wireless keyboard (which is probably the extent of my needs) with no problems. @edmaul69 I've not seen any issues like you describe but its still early days.
Best thing is I've found these hubs still available on eBay so I've got another couple on the way in case I mess up during fitting them to a cartridge.
-
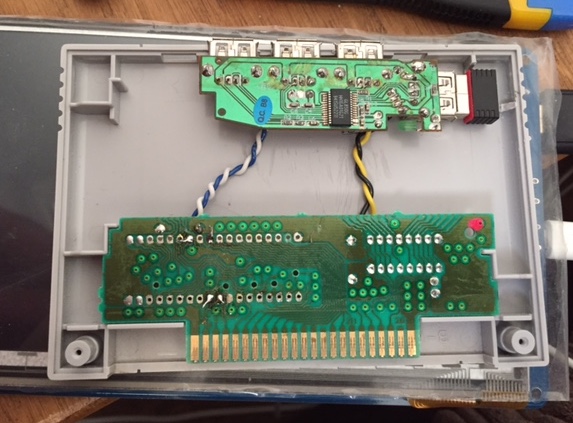
Success! I've now got a working usb hub tucked away in a cartridge. Conveniently, one of the 4 available ports it internal allowing my to hide away a mini wifi dongle leaving 3 outward facing ports.
Next job is the cart label; as the cart is just an expansion to allow usb and wifi connectivity I'm thinking of something along the lines of this:

Although I think I might prefer a flatter Retropie logo to give the whole think a consistent look.
-
I received the latest version of my PCB this week (probably the last too; because it's priced by the sq. in. it's starting to get expensive the bigger it gets).

First of all I'm happy to report that the 62-pin cart connector pins perfectly so looks like my measurements were good! Yeah, I know, cleaning the flux is my next job.
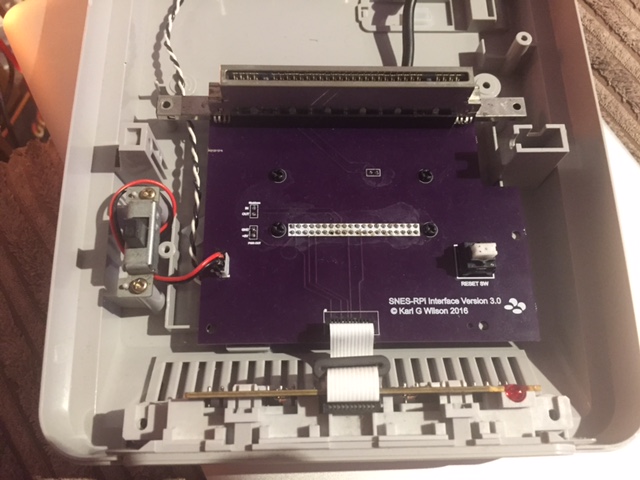
I gave up on the idea of incorporating a DIY shutdown circuit in the board (beyond my abilities), instead hid the Mausberry circuit underneath.
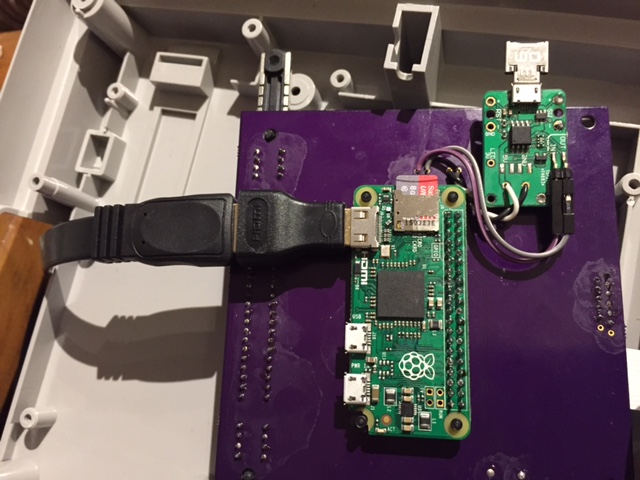
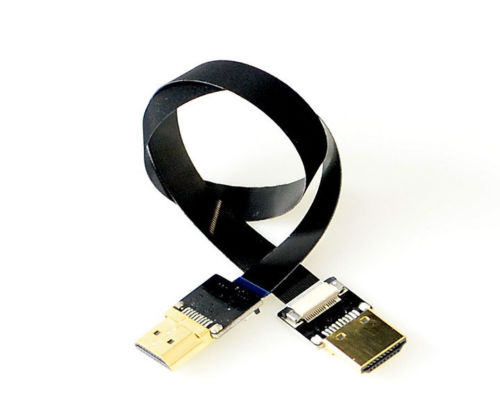
The HDMI plug is a little too fat, in the last version I trimmed it down with a knife but I'd prefer a more elegant solution, I'm looking at something like this but I can't find a mini male to a standard female version - I'll keep hunting.
-
@jackal123uk How about this?

-
@lilbud Thanks, I like that; that's definitely the RetroPie logo for the job. I'll get a few different designs printed up to see what they look like on a cart - that'll be the real test.
-
Just ordered the stickers from vistaprint - has anyone got any from them yet? Any comments on the quality?
I might have taken a bit of a risk but it looks like we should be able to fit 4 on their bumper sticker as below?
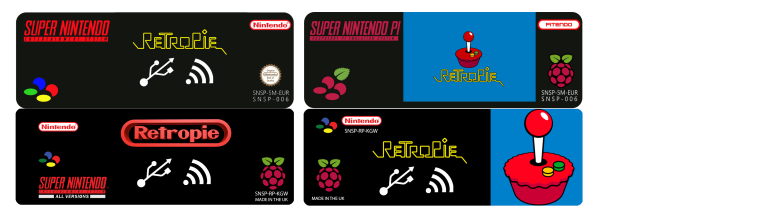
Once they arrive, I'll confirm that nothing is cropped before anyone else takes the same risk. Just a work on the price; £4.99 looked quite reasonable but when you actually go through it all and add shipping and VAT it's just about a tenner - hence trying to squeeze four on to get my money's worth.
-
@jackal123uk I got my label from them and it turned out really well. I went with two per bumper sticker to stay in the "safe zone" of the layout.
-
Nice project , i am happy your pcb is fantastic, but in my case catridge slot reading orginal game is better for play , waiting your pcb project finished to buy or printer , version 2 because my SNES 001.
-
Labels arrived this week and thankfully nothing cropped - even some breathing room:
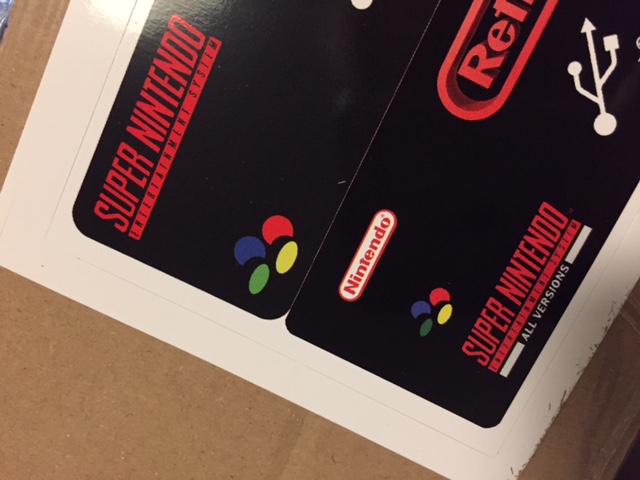
And a perfect fit on the cart, apart from my dodgy scissor job:
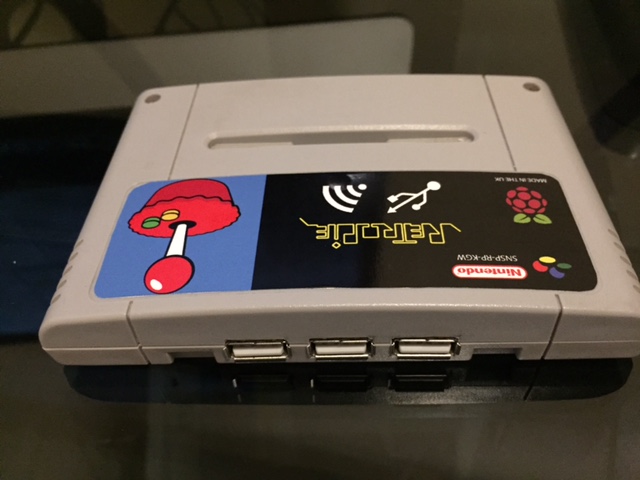
All in all, I'd fully recommend these labels - I was worried about the thickness as the website lists it as 0.95mm and I thought this might stand proud unlike the original cart stickers but as it turns out it's almost indistinguishable for an original.
-
@jackal123uk those USB ports fit like a glove too! Looks great!
-
Been a while since the last post as I've been busy enjoying the finished article. Not encountered any problems other that one slight annoyance - changing the SD card required some disassembly. Thought I'd try and solve it with a SD card extension cable from eBay.
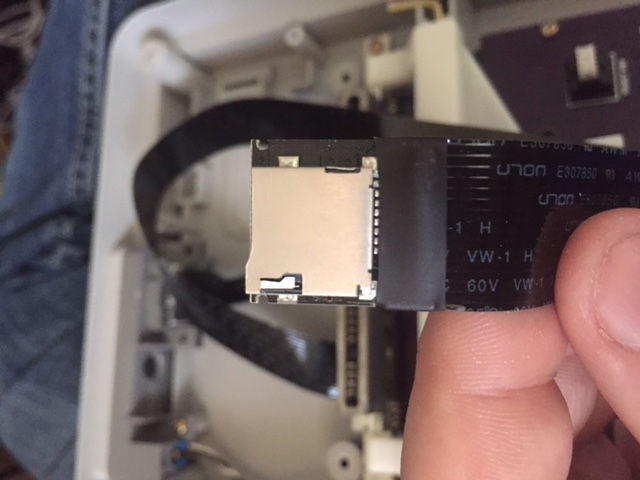
By some sort of incredible fluke the EXT port on the underside of the SNES is exactly the same width and the same depth of the micro SD connector.
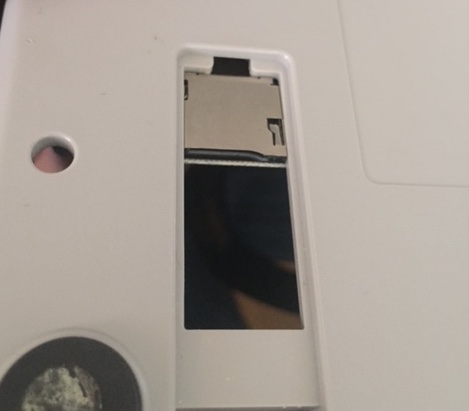
Just need to nicely fix it down and I'm sorted.
-
Sorry for bringing back an old thread. I am building somthing very similar at the moment and this build looks fantastic.
Can you help me out with connecting the original SNES controller ports to the GPIO pins of a Pi Zero? i have read lots of conflicting info and am a bit confused on how to get the 2 controllers connected up.
and if it is possible can you re-upload the STL file for the 3d print of the Rear I/O plate?
would be greatly appreciated.
-
-
thank you so much dude. some great info.
i dont suppose you have any knowledge on doing a similar thing with the genesis/megadrive.. im having a bit of trouble with the db9 driver config.
-
@jackal123uk said in My SNES Build:
Been a while since the last post as I've been busy enjoying the finished article. Not encountered any problems other that one slight annoyance - changing the SD card required some disassembly. Thought I'd try and solve it with a SD card extension cable from eBay.
By some sort of incredible fluke the EXT port on the underside of the SNES is exactly the same width and the same depth of the micro SD connector.Great build.
I could really do with an SD extension like that for my Super Famicom build as gaining access to the sd if needed is a pain. Do you a have an ebay link to the item you bought and has the SD extension worked reliably?
How did you secure it in place in the end?

Contributions to the project are always appreciated, so if you would like to support us with a donation you can do so here.
Hosting provided by Mythic-Beasts. See the Hosting Information page for more information.